Page 631 of 671

To remove the diesel fuel-filler cap�A:
1. Turn the fuel-filler cap counterclockwise to remove.
To install the fuel-filler cap: 1. Insert the fuel-filler cap straight into the fuel- filler tube.
2. Turn the cap clockwise until a single click is heard.DIESEL EXHAUST FLUID (DEF) FILL
CAP
CAUTION
●Overfilling your DEF tank can cause
damage to the tank.
● DEF will freeze below 12°F (-11°C) ;
however, your vehicle is equipped with
an automatic preheating system, which
allows the DEF system to operate be-
low 12°F (-11°C) . When the vehicle is not
in operation for an extended period of
time with temperatures at or below 12°F (-11°C) , the DEF tank could freeze. In
this condition, adding DEF will not
change the gauge level and added DEF
will not reach the pump, because it will
sit on top of the frozen layer. Move the
vehicle to a warm location to thaw the
DEF completely for the gauge to read
accurately and allow new DEF to reach
the pump. If the tank is overfilled and
freezes, it could be damaged, therefore
do not overfill in sustained cold condi-
tions below 12°F (-11°C) .
LPD2386LPD2385LPD2473
DIESEL EXHAUST FLUID (DEF)
Fuel and Refueling4-3
Page 632 of 671

●Do not put DEF into the fuel tank. This
can cause engine damage that is not
covered by your vehicle’s warranty.
● Immediately wipe away any DEF that
has spilled on painted surfaces with wa-
ter and a damp cloth to prevent damage
to the paint.
Outside temperature
sustained at or below. Amount of DEF to
safely add after 25%
warning appears:
–22°F (-30°C) .25 gal
5°F (-15°C) .5 gal
Outside temperature
sustained at or above Amount of DEF to
safely add after 25%
warning appears:
13°F (-10.5°C) Safe to fill the tank
NOTE:
The blue DEF fill cap is located next the
diesel fuel-filler cap.
To remove the Diesel Exhaust Fluid (DEF) cap
�B: 1. Turn the DEF cap counterclockwise to re-
move.
NOTE:
Apply DEF to the fill neck, prior to installing
and tightening the DEF fill cap.
To install the DEF cap: 1. Insert the DEF cap straight into the filler tube.
2. Turn the DEF cap clockwise until clicks are heard.
For additional information, refer to “Recom-
mended fluids/lubricants and capacities” in the
“Capacities and specifications” section of the
Titan Diesel Owner’s Manual.
4-4Fuel and Refueling
Page 643 of 671

NOTE:
The factory fill oil may include a red dye
that is added for manufacturing quality pro-
cesses. The dye makes the oil appear to be
red. This is normal. The red dye will be
flushed from the engine after approxi-
mately 4–5 oil changes.1. Park the vehicle on a level surface and apply the parking brake.
2. Start the engine and let it idle until it reaches operating temperature, then turn it off.
3. Remove the oil filler cap
�Aby turning it
counterclockwise.
4. Place a large drain pan under the drain plug
�B.
5. Remove the drain plug
�Bwith a wrench by
turning it counterclockwise and completely
drain the oil.
Remove and replace the engine oil filter at
this time. For additional information, refer to
“Changing engine oil filter” in this section.
● Waste oil must be disposed of prop-
erly.
● Check your local regulations.
WARNING
●Prolonged and repeated contact with
used engine oil may cause skin cancer.
● Try to avoid direct skin contact with
used oil. If skin contact is made, wash
thoroughly with soap or hand cleaner as
soon as possible.
● Keep used engine oil out of reach of
children.
CAUTION
Be careful not to burn yourself. The engine
oil may be hot.
6. Clean and reinstall the drain plug. Securely tighten the drain plug with a wrench. Do not
use excessive force.
Drain plug tightening torque: 25 ft-lb (34 N·m)
7. Refill engine with recommended oil through the oil filler opening, then install the oil filler
cap securely.
For additional information on drain and refill
capacity, refer to “Recommended
fluids/lubricants and capacities” in the
“Technical and consumer information” sec-
tion of this manual. The drain and refill capacity depends on the
oil temperature and drain time. Use these
specifications for reference only. Always use
the dipstick to determine when the proper
amount of oil is in the engine.
8. Start the engine. Check for leakage around the drain plug and oil filter. Correct as re-
quired.
9. Turn the engine off and wait more than 10 minutes. Check the oil level with the
dipstick. Add engine oil if necessary.
Do-it-yourself6-7
Page 644 of 671
CHANGING ENGINE OIL FILTER
1. Park the vehicle on a level surface and applythe parking brake.
2. Turn the engine off.
3. Remove bolts
�Aand skid plate. 4. Place a large drain pan under the oil filter
�B.
5. Loosen the oil filter with an oil filter wrench by turning it counterclockwise. Then remove
the oil filter by turning it by hand.
CAUTION
Be careful not to burn yourself. The engine
oil may be hot.
6. Wipe the engine oil filter sealing surface with a clean rag.
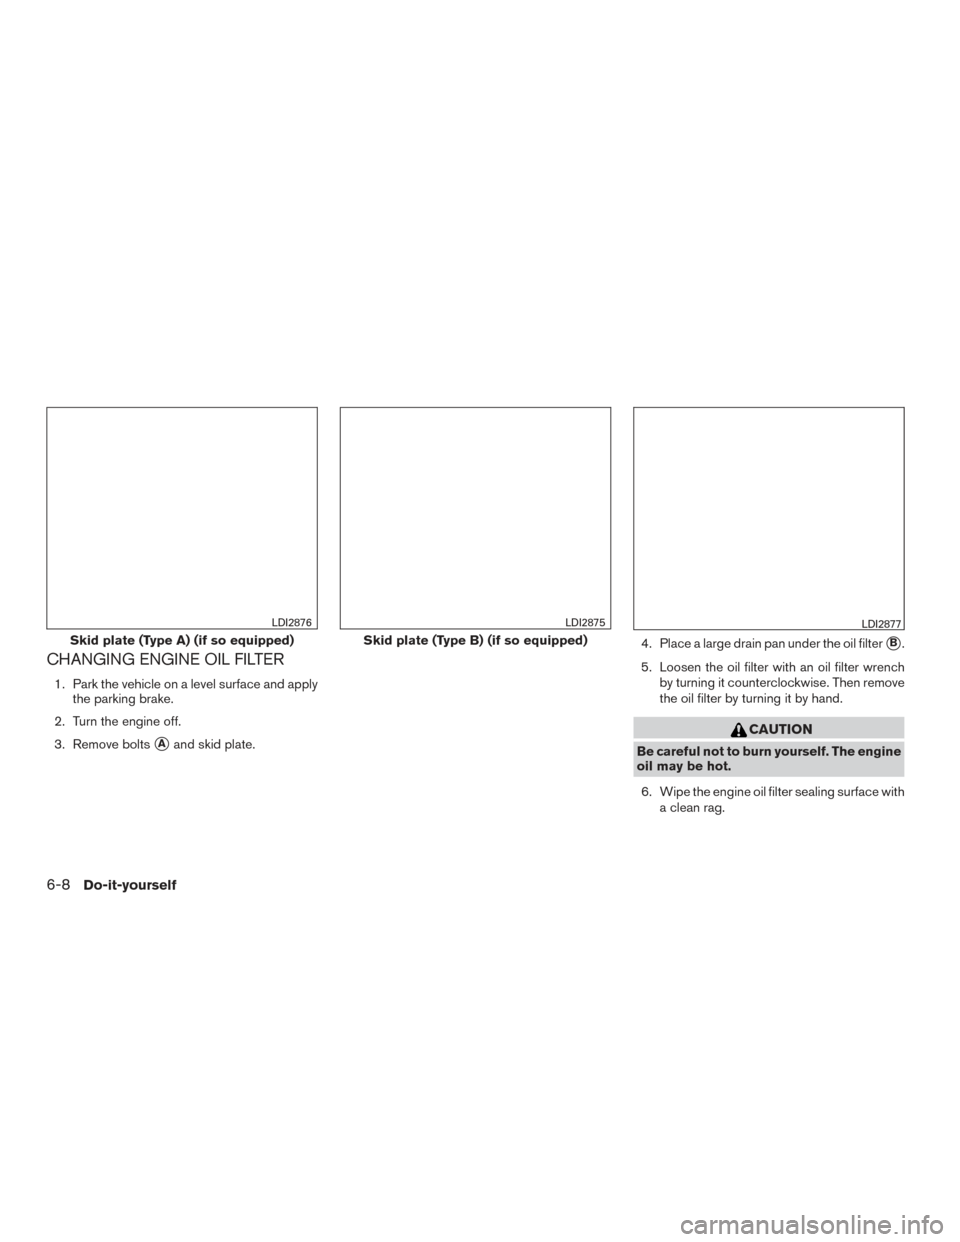
Skid plate (Type A) (if so equipped)
LDI2876
Skid plate (Type B) (if so equipped)
LDI2875LDI2877
6-8Do-it-yourself
Page 652 of 671

DRAINING WATER
WARNING
To avoid the risk of personal injury or fire,
drain diesel fuel into an approved con-
tainer and safely dispose of in accordance
with local environmental regulations.
CAUTION
Continuing vehicle operation without
properly draining could cause serious
damage to the engine.1. Shut the engine off. 2. Place a large drain pan under the drain valve
�A.
3. Turn the drain valve counterclockwise1/4
turn to open.
4. Drain the filter sump until clear fuel is visible. If draining the stage 1 fuel filter housing,
drain until fuel reduces to a trickle.
5. Turn the drain valve clockwise1/4 turn to
close.
FUEL SYSTEM PRIMING
WARNING
The fuel pump, high-pressure fuel lines,
and fuel rail contain very high-pressure
fuel. To reduce the possibility of personal
injury, never loosen any fittings while the
engine is running.
NOTE: ● It is not necessary to vent air from the
high-pressure fuel system before start-
ing the engine.
● Upon ignition on the electric lift pump
will run until the fuel system is primed
or 90 seconds, whichever comes first. Purge the air out of the fuel system after refilling a
completely empty fuel tank by the following pro-
cedure:
1. Turn the key ON for 90 seconds to prime the fuel system. After 90 seconds, crank the
engine for a maximum of 30 seconds or until
the engine starts. If the engine does not
start, repeat this step.
2. When the engine does start, it may operate erratically and with increased noise levels for
a few minutes. This is a normal condition as
air is being removed from the system.
NOTE:
It is possible for a warning or indicator light
to illuminate due to air entering the fuel
system. If this happens, it is recommended
that you visit a NISSAN dealer for service.
LDI2898
6-16Do-it-yourself
Page:
< prev 1-8 9-16 17-24