2017 NISSAN TITAN stop start
[x] Cancel search: stop startPage 151 of 671
Vehicle security system activation
The vehicle security system will give the following
alarm:● The headlights blink and the horn sounds
intermittently.
● The alarm automatically turns off after a pe-
riod of time. However, the alarm reactivates if
the vehicle is tampered with again. The alarm
can be shut off by unlocking the driver’s door
with the key or by pressing the
button
on the key fob.
The alarm is activated by:
● Opening a door without using the key or key
fob (even if the door is unlocked by using the
inside lock knob or the power door lock
switch) .
How to stop an activated alarm
The alarm stops only by unlocking the driver’s
door with the key or by pressing the
button
on the key fob.
NISSAN VEHICLE IMMOBILIZER
SYSTEM
The NISSAN Vehicle Immobilizer System will not
allow the engine to start without the use of a
registered key.
If the engine fails to start using a registered key
(for example, when interference is caused by
another registered key, an automated toll road
device or automatic payment device on the key
ring) , restart the engine using the following pro-
cedures:
1. Leave the ignition switch placed in the ON position for approximately 5 seconds.
2. Place the ignition switch in the OFF or LOCK position and wait approximately
10 seconds.
3. Repeat steps 1 and 2.
4. Restart the engine while holding the device (which may have caused the interference)
separate from the registered key.
If the no start condition re-occurs, NISSAN rec-
ommends placing the registered key on a sepa-
rate key ring to avoid interference from other
devices. FCC Notice:
For USA:
This device complies with part 15 of the
FCC Rules. Operation is subject to the fol-
lowing two conditions: (1) This device may
not cause harmful interference, and (2) this
device must accept any interference re-
ceived, including interference that may
cause undesired operation.
NOTE:
Changes or modifications not expressly ap-
proved by the party responsible for compli-
ance could void the user’s authority to op-
erate the equipment.
For Canada:
This device complies with Industry Canada
licence-exempt RSS standard(s) . Opera-
tion is subject to the following two condi-
tions: (1) this device may not cause inter-
ference, and (2) this device must accept any
interference, including interference that
may cause undesired operation of the de-
vice.
2-48Instruments and controls
Page 167 of 671
Push the VDC OFF switch again or restart the
engine to turn on the system. For additional infor-
mation, refer to “Vehicle Dynamic Control (VDC)
system” in the “Starting and driving” section of
this manual.
WARNING
●Never rely solely on the hill descent
control system to control vehicle speed
when driving on steep downhill grades.
Always drive carefully when using the
hill descent control system and deceler-
ate the vehicle speed by depressing the
brake pedal if necessary. Be especially
careful when driving on frozen, muddy
or extremely steep downhill roads. Fail-
ure to control vehicle speed may result
in a loss of control of the vehicle and
possible serious injury or death. ●
The hill descent control may not control
the vehicle speed on a hill under all load
or road conditions. Always be prepared
to depress the brake pedal to control
vehicle speed. Failure to do so may re-
sult in a collision or serious personal
injury.
CAUTION
When the hill descent control system op-
erates continuously for a long time, the
temperature of the brake pads may in-
crease and the hill descent control system
may be temporarily disabled (the indicator
light will blink) . If the indicator light does
not come on continuously after blinking,
stop using the system.
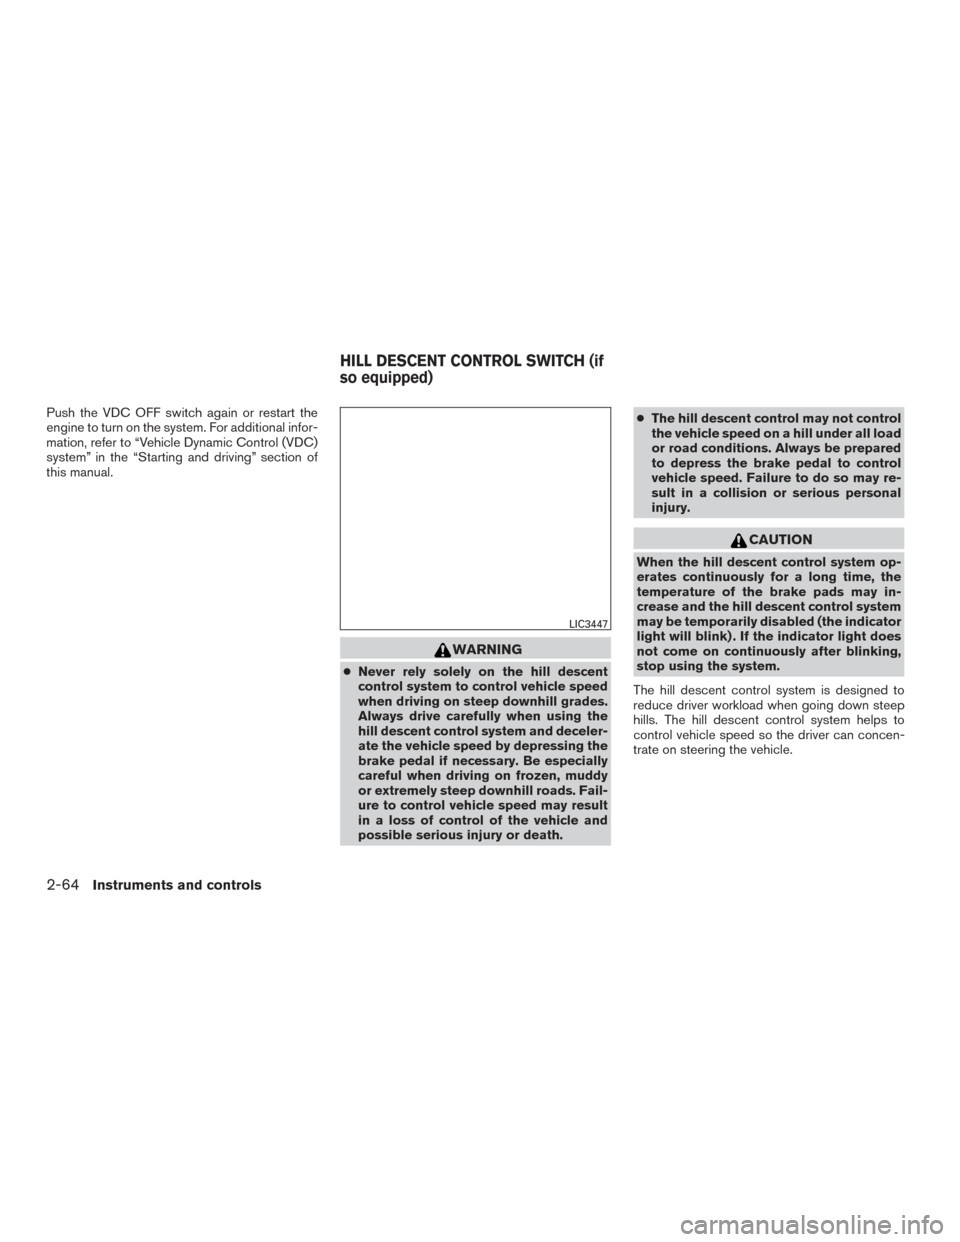
The hill descent control system is designed to
reduce driver workload when going down steep
hills. The hill descent control system helps to
control vehicle speed so the driver can concen-
trate on steering the vehicle.
LIC3447
HILL DESCENT CONTROL SWITCH (if
so equipped)
2-64Instruments and controls
Page 168 of 671
To activate the hill descent control system:● activate the 4H or 4LO switch,
● the transmission shift lever must be in for-
ward or reverse gear,
● the hill descent control system switch must
be ON.
The vehicle speed must be kept below 15 mph
(25 km/h).
The hill descent control indicator light will come
on when the system is activated. Also, the
stop/tail lights illuminate while the hill descent
control system applies the brakes to control ve-
hicle speed.
You may hear a noise from under the hood or feel
a vibration from the actuator when it is operating.
This is normal and indicates the HDC system is
working properly.
If the accelerator or brake pedal is depressed
while the hill descent control system is on, the
system will stop operating temporarily. As soon
as the accelerator or brake pedal is released, the
hill descent control system begins to function
again if the hill descent control operating condi-
tions are fulfilled. The hill descent control indicator light blinks if the
switch is on and all conditions for system activa-
tion are not met or if the system becomes disen-
gaged for any reason.
To turn off the hill descent control system, push
the switch to the OFF position.
For additional information, refer to “Hill descent
control system ON indicator light” in this section
and “Hill descent control system” in the “Starting
and driving” section of this manual.
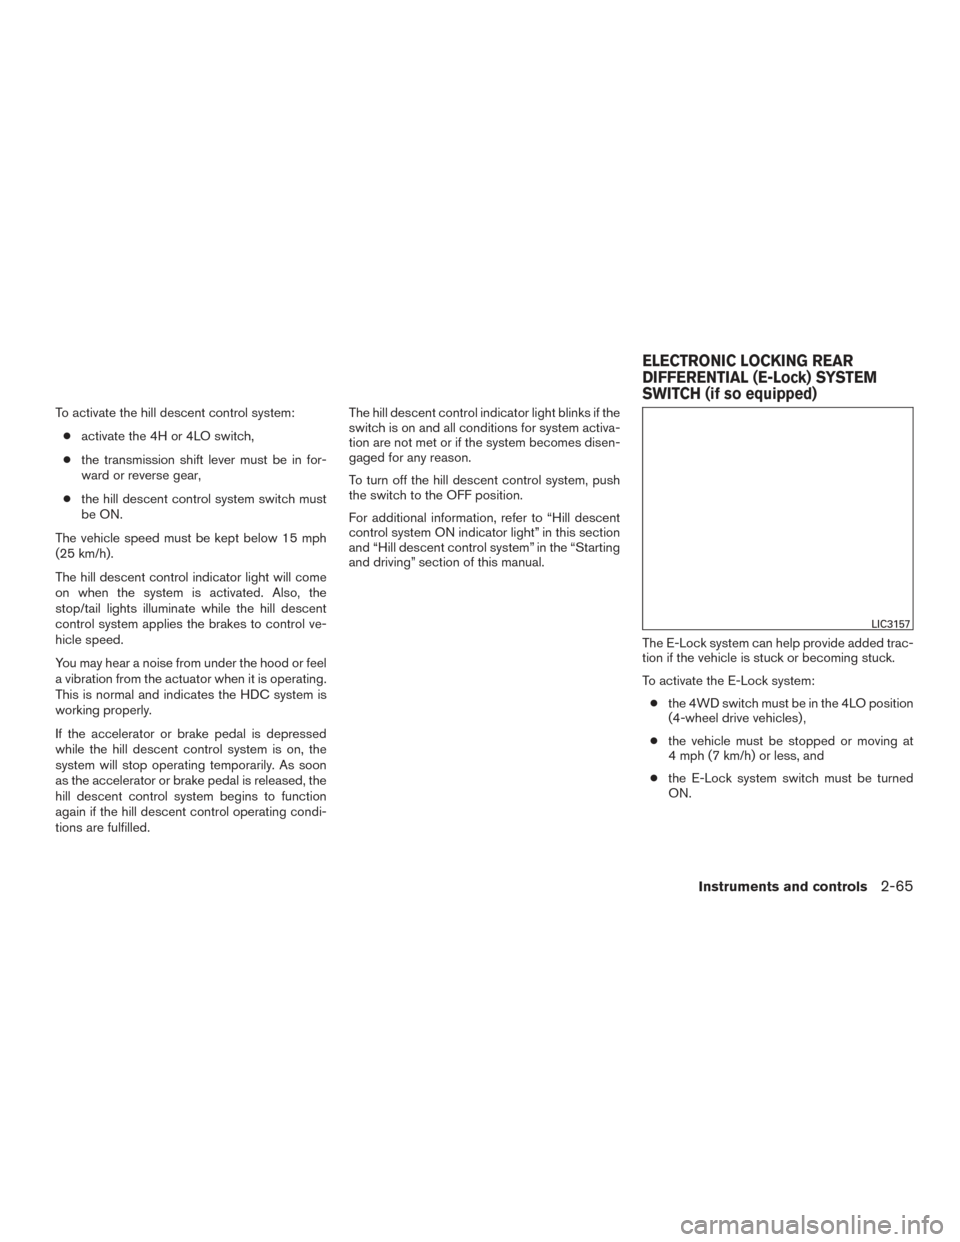
The E-Lock system can help provide added trac-
tion if the vehicle is stuck or becoming stuck.
To activate the E-Lock system:● the 4WD switch must be in the 4LO position
(4-wheel drive vehicles) ,
● the vehicle must be stopped or moving at
4 mph (7 km/h) or less, and
● the E-Lock system switch must be turned
ON.
LIC3157
ELECTRONIC LOCKING REAR
DIFFERENTIAL (E-Lock) SYSTEM
SWITCH (if so equipped)
Instruments and controls2-65
Page 188 of 671
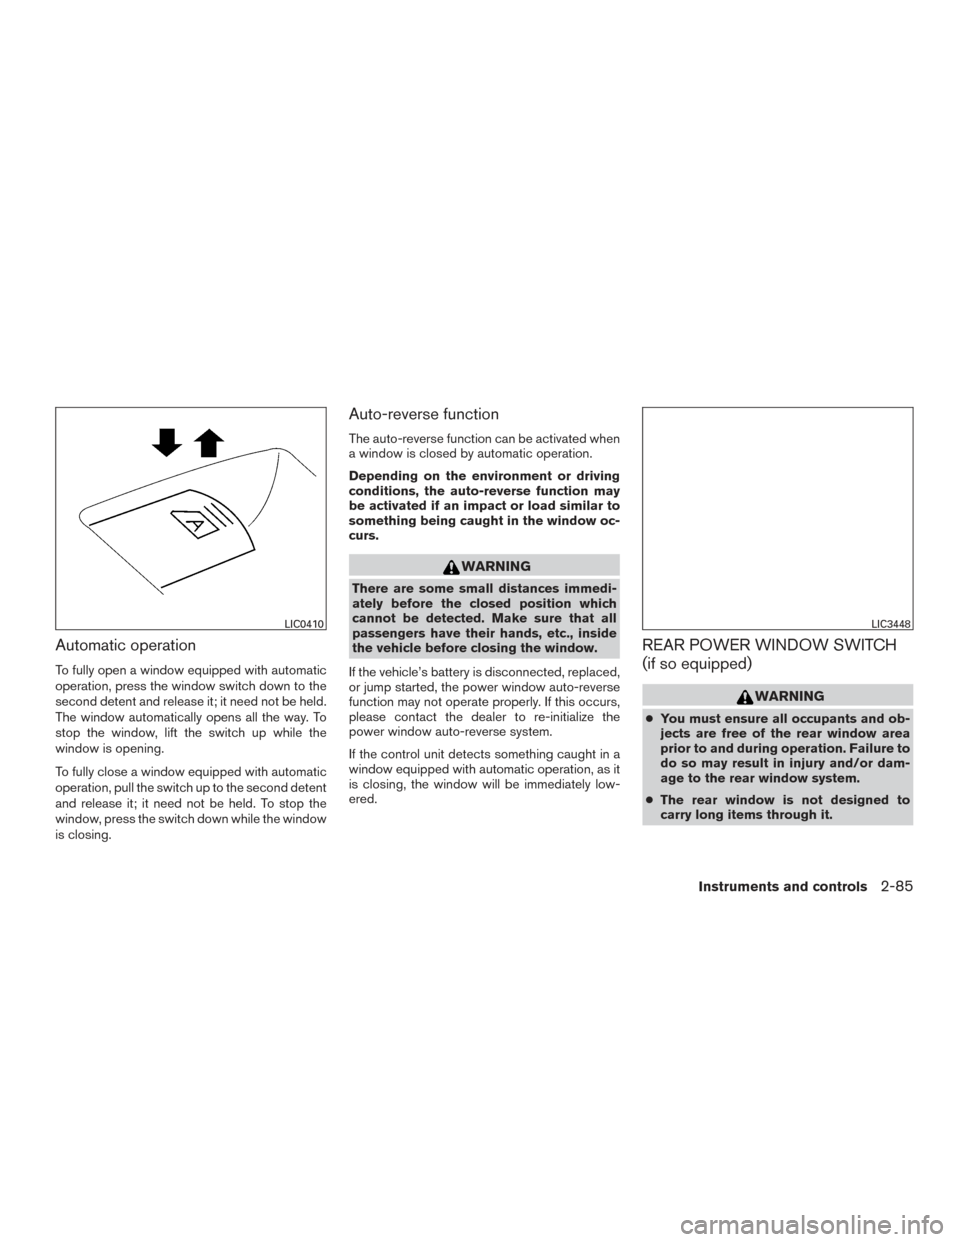
Automatic operation
To fully open a window equipped with automatic
operation, press the window switch down to the
second detent and release it; it need not be held.
The window automatically opens all the way. To
stop the window, lift the switch up while the
window is opening.
To fully close a window equipped with automatic
operation, pull the switch up to the second detent
and release it; it need not be held. To stop the
window, press the switch down while the window
is closing.
Auto-reverse function
The auto-reverse function can be activated when
a window is closed by automatic operation.
Depending on the environment or driving
conditions, the auto-reverse function may
be activated if an impact or load similar to
something being caught in the window oc-
curs.
WARNING
There are some small distances immedi-
ately before the closed position which
cannot be detected. Make sure that all
passengers have their hands, etc., inside
the vehicle before closing the window.
If the vehicle’s battery is disconnected, replaced,
or jump started, the power window auto-reverse
function may not operate properly. If this occurs,
please contact the dealer to re-initialize the
power window auto-reverse system.
If the control unit detects something caught in a
window equipped with automatic operation, as it
is closing, the window will be immediately low-
ered.
REAR POWER WINDOW SWITCH
(if so equipped)
WARNING
● You must ensure all occupants and ob-
jects are free of the rear window area
prior to and during operation. Failure to
do so may result in injury and/or dam-
age to the rear window system.
● The rear window is not designed to
carry long items through it.
LIC0410LIC3448
Instruments and controls2-85
Page 218 of 671
Depress and hold the brake then push the push-
button ignition switch to the ON position before
driving. For additional information, refer to “Driv-
ing the vehicle” in the “Starting and driving” sec-
tion of this manual.
EXTENDING ENGINE RUN TIME
The remote start feature can be extended one
time by performing the steps listed in “Remote
starting the vehicle” in this section. Run time will
be calculated as follows:● The first 10 minute run time will start when
the remote start function is performed.
● The second 10 minutes will start immedi-
ately when the remote start function is per-
formed again. For example, if the engine has
been running for 5 minutes, and 10 minutes
are added, the engine will run for a total of
15 minutes.
● Extending engine run time will count towards
the two remote start limit.
A maximum of two remote starts, or a single start
with an extension, are allowed between ignition
cycles. The ignition switch must be cycled to the
ON position and then back to the OFF position
before the remote start procedure can be used
again.
CANCELING A REMOTE START
To cancel a remote start, perform one of the
following: ● Aim the Intelligent Key at the vehicle and
press
until the parking lights turn off.
● Turn on the hazard warning flashers.
● Cycle the ignition switch ON and then OFF.
● The extended engine run time has expired.
● The first 10 minute timer has expired.
● The engine hood has been opened.
● The shift lever is moved out of park.
● The alarm sounds due to illegal entry into the
vehicle.
● The ignition switch is pushed without an
Intelligent Key in the vehicle.
● The ignition switch is pushed with an Intelli-
gent Key in the vehicle but the brake pedal is
not depressed.
CONDITIONS THE REMOTE START
WILL NOT WORK
The remote start will not operate if any of the
following conditions are present:
● “Remote Engine Start” is turned off in the
“Locking” section of the Vehicle Settings
menu.
● The ignition switch is placed in the ON po-
sition.
● The hood is not securely closed.
● The hazard warning lights are on.
● The engine is still running. The engine must
be completely stopped. Wait at least 6 sec-
onds if the engine goes from running to off.
This is not applicable when extending en-
gine run time.
● The remote start button
is not pressed
and held for at least 2 seconds.
● The remote start button
is not pressed
and held within 5 seconds of pressing the
lock button.
● The brake is pressed.
● The doors are not closed and locked.
● The Intelligent Key warning message ap-
pears in the vehicle information display.
Pre-driving checks and adjustments3-21
Page 220 of 671
DIESEL FUEL ENGINES
For additional information, refer to the separate
Titan Diesel Owner’s Manual.
GASOLINE FUEL ENGINES
WARNING
●Gasoline is extremely flammable and
highly explosive under certain condi-
tions. You could be burned or seriously
injured if it is misused or mishandled.
Always stop the engine and do not
smoke or allow open flames or sparks
near the vehicle when refueling. ●
Do not attempt to top off the fuel tank
after the fuel pump nozzle shuts off
automatically. Continued refueling may
cause fuel overflow, resulting in fuel
spray and possibly a fire.
● Use only an original equipment type
fuel-filler cap as a replacement. It has a
built-in safety valve needed for proper
operation of the fuel system and emis-
sion control system. An incorrect cap
can result in a serious malfunction and
possible injury. It could also cause
the
Malfunction Indicator Light
(MIL) to come on.
● Never pour fuel into the throttle body to
attempt to start your vehicle.
● Do not fill a portable fuel container in
the vehicle or trailer. Static electricity
can cause an explosion of flammable
liquid, vapor or gas in any vehicle or
trailer. To reduce the risk of serious
injury or death when filling portable fuel
containers:
– Always place the container on the ground when filling.
– Do not use electronic devices when filling.
LPD2434
FUEL-FILLER DOOR
Pre-driving checks and adjustments3-23
Page 236 of 671
NOTE:
If a NEW memory position is stored in the
linked memory switch, then the key fob will
link the NEW position and overwrites the
previous position.
ENTRY/EXIT FUNCTION
This system is designed so that the driver’s seat
and automatic operation steering column will au-
tomatically move when the shift lever is in the P
(Park) position. This allows the driver to get into
and out of the driver’s seat more easily.
The driver’s seat will slide backward and the
steering column will move up:● When the driver’s door is opened with the
ignition switch placed in the OFF position.
● When the ignition switch is changed from
ACC to OFF with the driver’s door open.
The driver’s seat and steering wheel will return to
the previous position: ● When the ignition switch is changed from
ACC or ON while the shift lever is in the P
(Park) position.
The entry/exit function can be adjusted or can-
celed through the vehicle settings in the vehicle
information display by performing the following: ● Switch the Exit Seat Slide from ON to OFF. ●
Switch the Exit Steering UP from ON to
OFF.
Restarting the entry/exit function
If the battery cable is disconnected, or if the fuse
opens, the stored memory positions will be lost
and some of the functions will be restricted:
1. Drive the vehicle over 25 mph (40 km/h).
OR 2. Open and close the driver’s door more than two times with the ignition switch in the OFF
position.
The entry/exit function should now work properly.
SYSTEM OPERATION
The automatic drive positioner system will not
work or will stop operating under the following
conditions: ● When the vehicle speed is above 0 mph
(0 km/h) or 4 mph (7km/h) for some limited
functions such as linking a key fob to the
meter when the power source is turned on
from off or during the Exit function.
● When any of the memory switches are
pushed while the automatic drive positioner
is operating. ●
When the adjusting switch for the driver’s
seat and steering column is turned on while
the automatic drive positioner is operating.
● When the seat has already been moved to
the memorized position.
● When no seat position is stored in the
memory switch.
● When the shift lever is moved from P (Park)
to any other position.
Pre-driving checks and adjustments3-39
Page 333 of 671
3D button
Press this button to select between several audio
effects. DVD mode: Concert, Living Room, Hall,
Bathroom, Cave, Arena, Church, and Off.
PBC (Video CD only) button
Press this button to run the playback control on or
off.
ZOOM button
Press this button to zoom in or out when display-
ing images or playing DVDs. The zoom range for
images is from 50% to 200%. The zoom range
for DVDs is from 1/4 size to 4x the original size.
NEXT button
Press this button to select the next chapter, track,
or file.
PREV button
Press this button to select the previous chapter,
track, or file.
FF (Fast foward) button
Press this button to search media forwards.
FR (Fast rewind) button
Press this button to search media backwards.
STOP button
Press this button once to stop playback (press
play to resume playback) . Press this button twice
to perform a full stop (press play to start playback
from the beginning) .
PLAY/PAUSE button
Press this button to begin media playback. Press
this button again to pause media playback.
Number Keys
0—9
SUBTITLE button
Press this button to select and display subtitles
(this function only applies to DVD titles that sup-
port subtitles) .
TITLE button
Press this button to navigate the title menu if
included on the disc.
CH- SEARCH/SKIP button
Non-functioning.
AUTO MEMORY button
Non-functioning.
DOWN button
Press this button to navigate down when display-
ing a menu or file list.
RETURN button
Press this button to return to a previous menu
screen.
LEFT button
Press this button to navigate left when displaying
a menu or file list.
UP button
Press this button to navigate up when displaying
a menu or file list.
MENU button
Press this button to go to the root menu if in-
cluded on the disc.
MUTE button
Press this button to mute the audio when playing
discs or playing files from a USB device. Press
this button again to resume audio.
SOUND AROUND ON/OFF
Turns the FM transmitter ON/OFF.
4-96Monitor, climate, audio, phone and voice recognition systems