2017 NISSAN TITAN heater
[x] Cancel search: heaterPage 280 of 671
●When parking, set the heater and air condi-
tioner controls to turn off air recirculation to
allow fresh air into the passenger compart-
ment. This should help reduce odors inside
the vehicle.
AUTOMATIC OPERATION
Cooling or heating (auto)
This mode may be normally used all year round as
the system automatically works to keep a con-
stant temperature. Air flow distribution and fan
speed are also controlled automatically.
1. Press the AUTO button on.
2. Turn the temperature dial to the left or right to set the desired temperature. Driver and
passenger temperatures can be set inde-
pendently. Press the DUAL button to acti-
vate dual climate control functions. Turn the
passenger’s side temperature control dial to
the left or right to set the desired passen-
ger’s temperature.
● Adjust the temperature dial to about 75°F
(24°C) for normal operation. ●
The temperature of the passenger compart-
ment will be maintained automatically. Air
flow distribution, fan speed and A/C on/off
are also controlled automatically. The A/C
button indicator will remain in the last user
setting. Under this condition, the indicator
light on the A/C button indicator will not turn
on if the user had not selected the A/C
button off. Turning off the air conditioning via
the A/C button is not allowed in this mode. If
the A/C button indicator was on when enter-
ing this mode, and the A/C button is se-
lected in this mode, the A/C button indicator
will turn off, but the A/C compressor will still
be automatically enabled. For additional in-
formation, refer to “Air flow control” in this
section.
To turn off the compressor, turn off auto
mode, then turn the A/C on then off until the
A/C button indicator is not lit.
● A visible mist may be seen coming from the
vents in hot, humid conditions as the air is
cooled rapidly. This does not indicate a mal-
function.
Heating (A/C OFF)
The air conditioner does not activate. When you
need to heat only, use this mode.
1. Press the AUTO button. 2. Turn the temperature control dial to set the
desired temperature.
● The temperature of the passenger compart-
ment will be maintained automatically. Air
flow distribution and fan speed are also con-
trolled automatically.
● Do not set the temperature lower than the
outside air temperature. Otherwise, the sys-
tem may not work properly.
● Not recommended if windows fog up.
Dehumidified defrosting or defogging
1. Press thedefroster control button to
turn the system on. The indicator light in the
button will illuminate.
2. Turn the temperature dial to the left or right to set the desired temperature.
● To quickly remove ice from the outside of the
windows, turn the manual fan control to the
maximum position.
● As soon as possible after the windshield is
clean, press the AUTO button to return to
the auto mode.
Monitor, climate, audio, phone and voice recognition systems4-43
Page 308 of 671
CAUTION
●To avoid damage and loss of function
when using a USB device, note the fol-
lowing precautions.
● Do not force the USB device into the
USB port. Inserting the USB device
tilted or up-side-down into the port may
damage the port. Make sure that the
USB device is connected correctly into
the USB port.
● Do not grab the USB port cover (if so
equipped) when pulling the USB device
out of the port. This could damage the
port and the cover.
● Do not leave the USB cable in a place
where it can be pulled unintentionally.
Pulling the cable may damage the port.
For additional information, refer to your device
manufacturer’s owner information regarding the
proper use and care of the device.
The USB port is located on the center console
beneath the heater and air conditioner controls.
Insert the USB device into the connection port.
When a compatible storage device is plugged
into the connection port, compatible audio files
on the storage device can be played through the
vehicle’s audio system.
Audio file operation
MEDIA button
Place the ignition switch in the ON or ACC
position and press the MEDIA button to switch to
the USB input mode. If a CD is playing or another
audio source is plugged in through the AUX IN
jack located in the center console, the MEDIA
button toggles between the three sources.
Play information
Information about the audio files being played
can be displayed on the display screen of the
vehicle’s audio system. Depending on how the
audio files are encoded, information such as
Folder, Song and Artist will be displayed.
The track number and number of total tracks in
the folder are displayed on the screen as well.
SEEK/CAT and TRACK (Reverse or Fast Forward)
button
Press and hold the
orSEEK/CAT
and TRACK buttons for 1.5 seconds while an
audio file on the USB device is playing to reverse
or fast forward the track being played. The track
plays at an increased speed while reversing or
fast forwarding. When the button is released, the
audio file returns to normal play speed.
SEEK/CAT and TRACK
buttons
Press the SEEK/CAT or TRACK button
while an audio file on the USB device is playing to
return to the beginning of the current track. Press
the SEEK/CAT or TRACK button
several
times to skip backward several tracks.
Press the SEEK/CAT or TRACK button
while an audio file on the USB device is playing to
advance one track. Press the SEEK/CAT or
TRACK button
several times to skip for-
ward several tracks. If the last track in a folder on
the USB device is skipped, the first track of the
next folder is played.
RDM (random) button
When the RDM (random) button is pressed while
an audio file on the USB device is playing, the
play pattern can be changed as follows:
All Random →1 Folder Random →OFF
All Random: all tracks on the USB device will be
played randomly.
1 Folder Random: all tracks in the current folder
will be played randomly.
OFF: No random play pattern is applied. The
indicator on the display will turn off.
Monitor, climate, audio, phone and voice recognition systems4-71
Page 310 of 671
CAUTION
●To avoid damage and loss of function
when using a USB device, note the fol-
lowing precautions.
● Do not force the USB device into the
USB port. Inserting the USB device
tilted or up-side-down into the port may
damage the port. Make sure that the
USB device is connected correctly into
the USB port.
● Do not grab the USB port cover (if so
equipped) when pulling the USB device
out of the port. This could damage the
port and the cover.
● Do not leave the USB cable in a place
where it can be pulled unintentionally.
Pulling the cable may damage the port.
For additional information, refer to your device
manufacturer’s owner information regarding the
proper use and care of the device.
The USB port is located on the center console
beneath the heater and air conditioner controls.
Insert the USB device into the connection port.
When a compatible storage device is plugged
into the connection port, compatible audio files
on the storage device can be played through the
vehicle’s audio system.
Audio file operation
AUX button
Place the ignition switch in the ON or ACC
position and press the AUX button to switch to
the USB input mode. If another audio source is
playing and a USB memory device is inserted,
press the AUX button until the center display
changes to the USB memory mode.
If the system has been turned off while the USB
memory was playing, press the POWER button
to restart the USB memory.
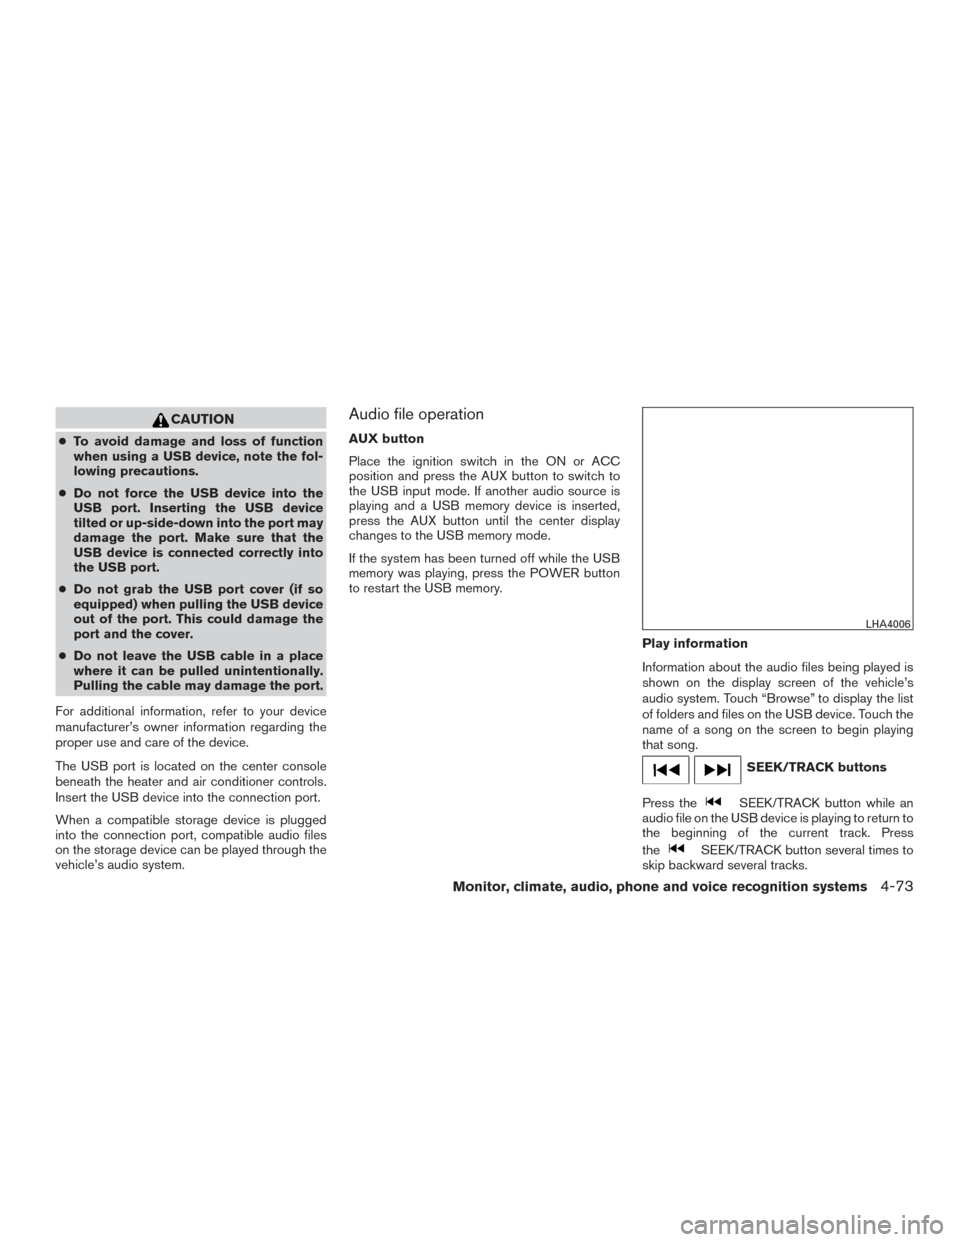
Play information
Information about the audio files being played is
shown on the display screen of the vehicle’s
audio system. Touch “Browse” to display the list
of folders and files on the USB device. Touch the
name of a song on the screen to begin playing
that song.
SEEK/TRACK buttons
Press the
SEEK/TRACK button while an
audio file on the USB device is playing to return to
the beginning of the current track. Press
the
SEEK/TRACK button several times to
skip backward several tracks.
LHA4006
Monitor, climate, audio, phone and voice recognition systems4-73
Page 311 of 671
Press theSEEK/TRACK while an audio
file on the USB device is playing to advance one
track. Press the
SEEK/TRACK several
times to skip forward several tracks. If the last
track in a folder on the USB device is skipped, the
first track of the next folder is played.
Random and repeat play mode
While files on a USB device are playing, the play
pattern can be altered so that songs are repeated
or played randomly.
Random
Touch the “Random” key to apply a random play
pattern to the USB device. When the Random
mode is active, the icon will illuminate. By touch-
ing the “Random” key again, the ”Random
Folder” key appears. By touching the “Random”
key once more, the “Random All” key appears. To
cancel Random mode, touch the “Random” key
until no icons are illuminated.
Repeat
Touch the “Repeat” key to apply a repeat play
pattern to the USB device. When the Repeat
mode is active, the icon will illuminate. By touch-
ing the “Repeat” key again, the ”Repeat Track”
key appears. By touching the “Repeat” key once
more, the “Repeat Folder” key appears. . To can-
cel Repeat mode, touch the “Repeat” key until no
icons are illuminated.
iPod®* PLAYER OPERATION
WITHOUT NAVIGATION SYSTEM (if
so equipped)
Connecting iPod®
WARNING
Do not connect, disconnect, or operate the
USB device while driving. Doing so can be
a distraction. If distracted you could lose
control of your vehicle and cause an acci-
dent or serious injury.
CAUTION
● Do not force the USB device into the
USB port. Inserting the USB device
tilted or up-side-down into the port may
damage the port. Make sure that the
USB device is connected correctly into
the USB port.
● Do not grab the USB port cover (if so
equipped) when pulling the USB device
out of the port. This could damage the
port and the cover.
● Do not leave the USB cable in a place
where it can be pulled unintentionally.
Pulling the cable may damage the port.
For additional information, refer to your device
manufacturer’s owner information regarding the
proper use and care of the device.
To connect an iPod® to the vehicle so that the
iPod® can be controlled with the audio system
controls and display screen, use the USB con-
nection port located on the center console below
the heater and air conditioner controls. Connect
the iPod®-specific end of the cable to the iPod®
and the USB end of the cable to the USB con-
nection port on the vehicle. If your iPod® sup-
ports charging via a USB connection, its battery
LHA3794
4-74Monitor, climate, audio, phone and voice recognition systems
Page 313 of 671
All Repeat: all songs in the current list are re-
peated.
Repeat Off: no repeat play pattern is applied.
RANDOM (RDM)
When the RDM button is pressed while a track is
being played, the play pattern can be changed as
follows:
Shuffle Off→Track Shuffle →Album Shuffle →
Shuffle Off
Track Shuffle: the tracks in the current list will be
played randomly.
Album Shuffle: the albums in the current list will
be played randomly.
Shuffle Off: no random play pattern is applied.
BACK button
When the
BACK button is pressed, it re-
turns to the previous menu.
iPod®* PLAYER OPERATION WITH
NAVIGATION SYSTEM (if so
equipped)
Connecting iPod®
WARNING
Do not connect, disconnect, or operate the
USB device while driving. Doing so can be
a distraction. If distracted you could lose
control of your vehicle and cause an acci-
dent or serious injury.
CAUTION
● Do not force the USB device into the
USB port. Inserting the USB device
tilted or up-side-down into the port may
damage the port. Make sure that the
USB device is connected correctly into
the USB port.
● Do not grab the USB port cover (if so
equipped) when pulling the USB device
out of the port. This could damage the
port and the cover.
● Do not leave the USB cable in a place
where it can be pulled unintentionally.
Pulling the cable may damage the port.
For additional information, refer to your device
manufacturer’s owner information regarding the
proper use and care of the device.
To connect an iPod® to the vehicle so that the
iPod® can be controlled with the audio system
controls and display screen, use the USB con-
nection port located on the center console below
the heater and air conditioner controls. Connect
the iPod®-specific end of the cable to the iPod®
and the USB end of the cable to the USB con-
nection port on the vehicle. If your iPod® sup-
ports charging via a USB connection, its battery
LHA3794
4-76Monitor, climate, audio, phone and voice recognition systems
Page 378 of 671
Electronic locking rear differential (E-Lock) system
(if so equipped).................................. 5-51
Eco Drive Report (if so equipped) . . ................5-52
Parking/parking on hills ............................ 5-53
Power steering . . ................................. 5-54
Brake system .................................... 5-54
Brake precautions ............................. 5-54
Anti-lock Braking System (ABS) .................5-55
Brake assist .................................. 5-56
Vehicle Dynamic Control (VDC) system .............5-56
Brake force distribution ........................ 5-58
Hill Descent Control System (if so equipped) ........5-59
Hill start assist system ............................ 5-60
Front and Rear Sonar System (if so equipped) .......5-60 System operation
.............................. 5-61
How to enable/disable the Sonar system . ........5-63
Sonar limitations ............................... 5-63
System maintenance ........................... 5-64
Cold weather driving .............................. 5-65
Freeing a frozen door lock ......................5-65
Antifreeze ..................................... 5-65
Battery ....................................... 5-65
Draining of coolant water .......................5-65
Tire equipment . . .............................. 5-65
Special winter equipment .......................5-66
Driving on snow or ice ......................... 5-66
Engine block heater (if so equipped) .............5-66
Page 443 of 671
SPECIAL WINTER EQUIPMENT
It is recommended that the following items be
carried in the vehicle during winter:● A scraper and stiff-bristled brush to remove
ice and snow from the windows and wiper
blades.
● A sturdy, flat board to be placed under the
jack to give it firm support.
● A shovel to dig the vehicle out of snowdrifts.
● Extra washer fluid to refill the windshield-
washer fluid reservoir.
DRIVING ON SNOW OR ICE
WARNING
● Wet ice (32°F, 0°C and freezing rain) ,
very cold snow or ice can be slick and
very hard to drive on. The vehicle will
have much less traction or “grip” under
these conditions. Try to avoid driving on
wet ice until the road is salted or
sanded.
● Whatever the condition, drive with cau-
tion. Accelerate and slow down with
care. If accelerating or downshifting too
fast, the drive wheels will lose even
more traction. ●
Allow more stopping distance under
these conditions. Braking should be
started sooner than on dry pavement.
● Allow greater following distances on
slippery roads.
● Watch for slippery spots (glare ice) .
These may appear on an otherwise
clear road in shaded areas. If a patch of
ice is seen ahead, brake before reach-
ing it. Try not to brake while on the ice,
and avoid any sudden steering
maneuvers.
● Do not use the cruise control (if so
equipped) on slippery roads.
● Snow can trap dangerous exhaust
gases under your vehicle. Keep snow
clear of the exhaust pipe and from
around your vehicle.
ENGINE BLOCK HEATER (if so
equipped)
Engine block heaters are used to assist with cold
temperature starting.
● Engine block heater should be used when
the outside temperature is 0For lower. ●
Engine block heaters run continuously while
plugged into correct voltage electrical out-
let.
WARNING
● Do not use your engine block heater
with an ungrounded electrical system or
a 2-pronged adapter. You can be seri-
ously injured by an electrical shock if
you use an ungrounded connection.
● Disconnect and properly store the en-
gine block heater cord before starting
the engine. Damage to the cord could
result in an electrical shock and can
cause serious injury.
● Use a heavy-duty 3-wire, 3-pronged ex-
tension cord rated for at least 10 A. Plug
the extension cord into a Ground Fault
Interrupt (GFI) protected, grounded
110-VAC outlet. Failure to use the
proper extension cord or a grounded
outlet can result in a fire or electrical
shock and cause serious personal
injury.
To use the engine block heater: 1. Turn the engine off.
2. Open the hood and unwrap the engine block heater cord.
5-66Starting and driving
Page 444 of 671
3. Plug the engine block heater cord into agrounded 3-wire, 3-pronged extension
cord.
4. Plug the extension cord into a Ground Fault Interrupt (GFI) protected, grounded 110-
volt AC (VAC) outlet.
5. The engine block heater must be plugged in for at least 2–4 hours, depending on outside
temperatures, to properly warm the engine
coolant. Use an appropriate timer to turn the
engine block heater on.
6. Before starting the engine, unplug and prop- erly store the cord to keep it away from
moving parts.
Starting and driving5-67