Page 124 of 491

TURN SIGNAL SWITCH
Turn signal
�1Move the lever up or down to signal the
turning direction. When the turn is com-
pleted, the turn signal cancels automatically.
Lane change signal
�2Move the lever up or down until the turn
signal begins to flash, but the lever does not
latch, to signal a lane change. Hold the lever
until the lane change is completed. Move the lever up or down until the turn
signal begins to flash, but the lever does not
latch, and release the lever. The turn signal
will automatically flash three times.
Choose the appropriate method to signal a lane
change based on road and traffic conditions.
NOTE:
If the turn signal light bulb malfunctions,
the turn signal indicator will flash at a
higher frequency when the turn signal is
activated.
FOG LIGHT SWITCH (if so equipped)
To turn the fog lights on, turn the headlight switch
to the
position, then turn the fog light
switch to the
position.
To turn the fog lights on with the headlight switch
in the AUTO position, the headlights must be on,
then turn the fog light switch to the
posi-
tion.
To turn the fog lights off, turn the fog light switch
to the OFF position.
The headlights must be on and the low beams
selected for the fog lights to operate. The fog
lights automatically turn off when the high beam
headlights are selected.
LIC3252LIC3256
Instruments and controls2-45
Page 128 of 491

●Only certain power outlets are designed
for use with a cigarette lighter unit. Do
not use any other power outlet for an
accessory lighter. It is recommended
that you visit a NISSAN dealer for addi-
tional information.
● Do not use with accessories that exceed
a 12 volt, 120W (10A) power draw.
● Do not use double adapters or more
than one electrical accessory.
● Use power outlets with the engine run-
ning to avoid discharging the vehicle
battery.
● Avoid using power outlets when the air
conditioner, headlights or rear window
defroster is on.
● Before inserting or disconnecting a
plug, be sure the electrical accessory
being used is turned off.
● Push the plug in as far as it will go. If
good contact is not made, the plug may
overheat or the internal temperature
fuse may open.
● When not in use, be sure to close the
cap. Do not allow water or any other
liquid to contact the outlet.
FRONT-DOOR POCKETS CONSOLE SIDE POCKETS (if so
equipped)
LIC2426LIC2392
STORAGE
Instruments and controls2-49
Page 139 of 491
CONSOLE LIGHT (if so equipped)
The console light will turn on whenever the park-
ing lights or headlights are illuminated.
MAP LIGHTS
To turn the map lights on, push the switches. To
turn them off, push the switches again.
CAUTION
Do not use for extended periods of time
with the engine stopped. This could result
in a discharged battery.
DOME LIGHT
The interior light has a three-position switch and
operates regardless of ignition switch position.
When the switch is in the ON position
�1, the
interior lights illuminate, regardless of door posi-
tion. The lights will go off after a period of time
unless the ignition switch is placed in the ACC or
ON position.
LIC2303LIC2304SIC2063A
2-60Instruments and controls
Page 163 of 491
The interior light illuminates for a period of time
when a door is unlocked and the room light
switch is in the DOOR position.
The light can be turned off without waiting by
performing one of the following operations:● Placing the ignition switch in the ON posi-
tion.
● Locking the doors with the Intelligent Key.
● Switching the room light switch to the OFF
position.
Releasing the trunk lid
Press thebutton for longer than 0.5 sec-
onds to open the trunk lid. The trunk release
button will not operate when the ignition switch is
placed in the ON position.
Using the panic alarm
If you are near your vehicle and feel threatened,
you may activate the panic alarm to call attention
by pressing and holding the
button on the
Intelligent Key for longer than 0.5 seconds.
The panic alarm and headlights will stay on for a
period of time.
WPD0364WPD0361
3-18Pre-driving checks and adjustments
Page 175 of 491
CARD HOLDER (driver’s side only)
To access the card holder, pull the sun visor
down and slide card in the card holder. Do not
view information while operating the vehicle.
MANUAL ANTI-GLARE REARVIEW
MIRROR (if so equipped)
Use the night position�1to reduce glare from
the headlights of vehicles behind you at night.
Use the day position
�2when driving in daylight
hours.
WARNING
Use the night position only when neces-
sary, because it reduces rear view clarity.
AUTOMATIC ANTI-GLARE
REARVIEW MIRROR (if so equipped)
The inside mirror is designed so that it automati-
cally dims according to the intensity of the head-
lights of the vehicle following you. The automatic
anti-glare feature is activated when the ignition
switch is in the ON position.
LPD2120WPD0126
Type A (if so equipped)
LPD2418
MIRRORS
3-30Pre-driving checks and adjustments
Page 400 of 491

8 Do-it-yourself
Maintenance precautions...........................8-2
Engine compartment check locations ................8-3
Engine cooling system .............................8-5
Checking engine coolant level ...................8-6
Changing engine coolant ........................8-6
Engine oil .........................................8-7
Checking engine oil level ........................8-7
Changing engine oil ............................8-8
Changing engine oil filter ........................8-9
Continuously Variable Transmission (CVT) fluid
(if so equipped) .................................. 8-11
Brake and clutch (if so equipped) fluid ..............8-11
Brake fluid .................................... 8-11
Clutch fluid (if so equipped) ....................8-12
Windshield-washer fluid ........................... 8-12
Windshield-washer fluid reservoir ...............8-12
Battery .......................................... 8-13
Jump starting ................................. 8-14
Variable voltage control system .....................8-15
Drive belt ........................................ 8-15
Spark plugs ...................................... 8-16
Replacing spark plugs ......................... 8-16
Air cleaner ....................................... 8-17In-cabin microfilter
............................. 8-17
Windshield wiper blades .......................... 8-18
Cleaning ..................................... 8-18
Replacing .................................... 8-18
Brakes .......................................... 8-20
Fuses ........................................... 8-20
Engine compartment ........................... 8-21
Passenger compartment .......................8-23
Battery replacement .............................. 8-24
Key fob (if so equipped) ........................ 8-25
NISSAN Intelligent Key® (if so equipped) ........8-26
Lights ........................................... 8-28
Headlights .................................... 8-28
Turn signal bulb ............................... 8-29
Fog lights (if so equipped) ......................8-29
Exterior
and interior lights ....................... 8-31
Wheels and tires ................................. 8-33
Tire pressure .................................. 8-33
Tire labeling ................................... 8-37
Types of tires .................................. 8-39
Tire chains .................................... 8-40
Changing wheels and tires .....................8-40
Page 420 of 491

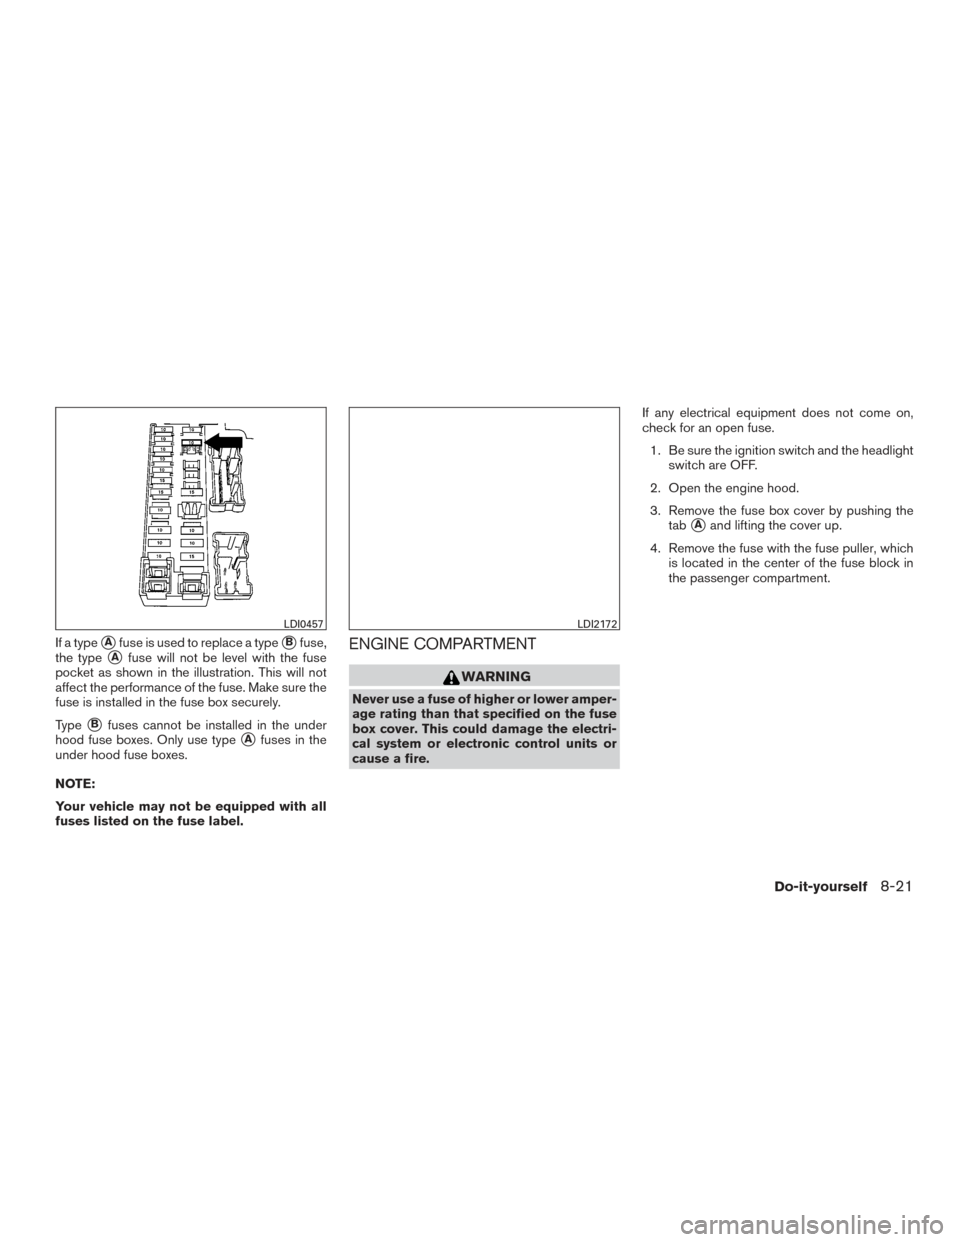
If a type�Afuse is used to replace a type�Bfuse,
the type
�Afuse will not be level with the fuse
pocket as shown in the illustration. This will not
affect the performance of the fuse. Make sure the
fuse is installed in the fuse box securely.
Type
�Bfuses cannot be installed in the under
hood fuse boxes. Only use type
�Afuses in the
under hood fuse boxes.
NOTE:
Your vehicle may not be equipped with all
fuses listed on the fuse label.
ENGINE COMPARTMENT
WARNING
Never use a fuse of higher or lower amper-
age rating than that specified on the fuse
box cover. This could damage the electri-
cal system or electronic control units or
cause a fire. If any electrical equipment does not come on,
check for an open fuse.
1. Be sure the ignition switch and the headlight switch are OFF.
2. Open the engine hood.
3. Remove the fuse box cover by pushing the tab
�Aand lifting the cover up.
4. Remove the fuse with the fuse puller, which is located in the center of the fuse block in
the passenger compartment.
LDI0457LDI2172
Do-it-yourself8-21
Page 422 of 491
PASSENGER COMPARTMENT
WARNING
Never use a fuse of higher or lower amper-
age rating than that specified on the fuse
box cover. This could damage the electri-
cal system or electronic control units or
cause a fire.
If any electrical equipment does not operate,
check for an open fuse. NOTE:
The fuse box is located on the driver’s side
of the instrument panel.
1. Be sure the ignition switch and the headlight switch are OFF.
2. Remove the fuse box cover
�Awith a suit-
able tool. Use a cloth to avoid damaging the
trim.
3. Locate the fuse that needs to be replaced.
4. Remove the fuse with the fuse puller
�B. 5. If the fuse is open
�C, replace it with an
equivalent good fuse
�D.
6. Push the fuse box cover to install.
If a new fuse also opens, have the electrical
system checked and repaired. It is recommended
that you visit a NISSAN dealer for this service.
NOTE:
Your vehicle may not be equipped with all
fuses listed on the fuse label.
LDI2712LDI2713
Do-it-yourself8-23