Page 418 of 491
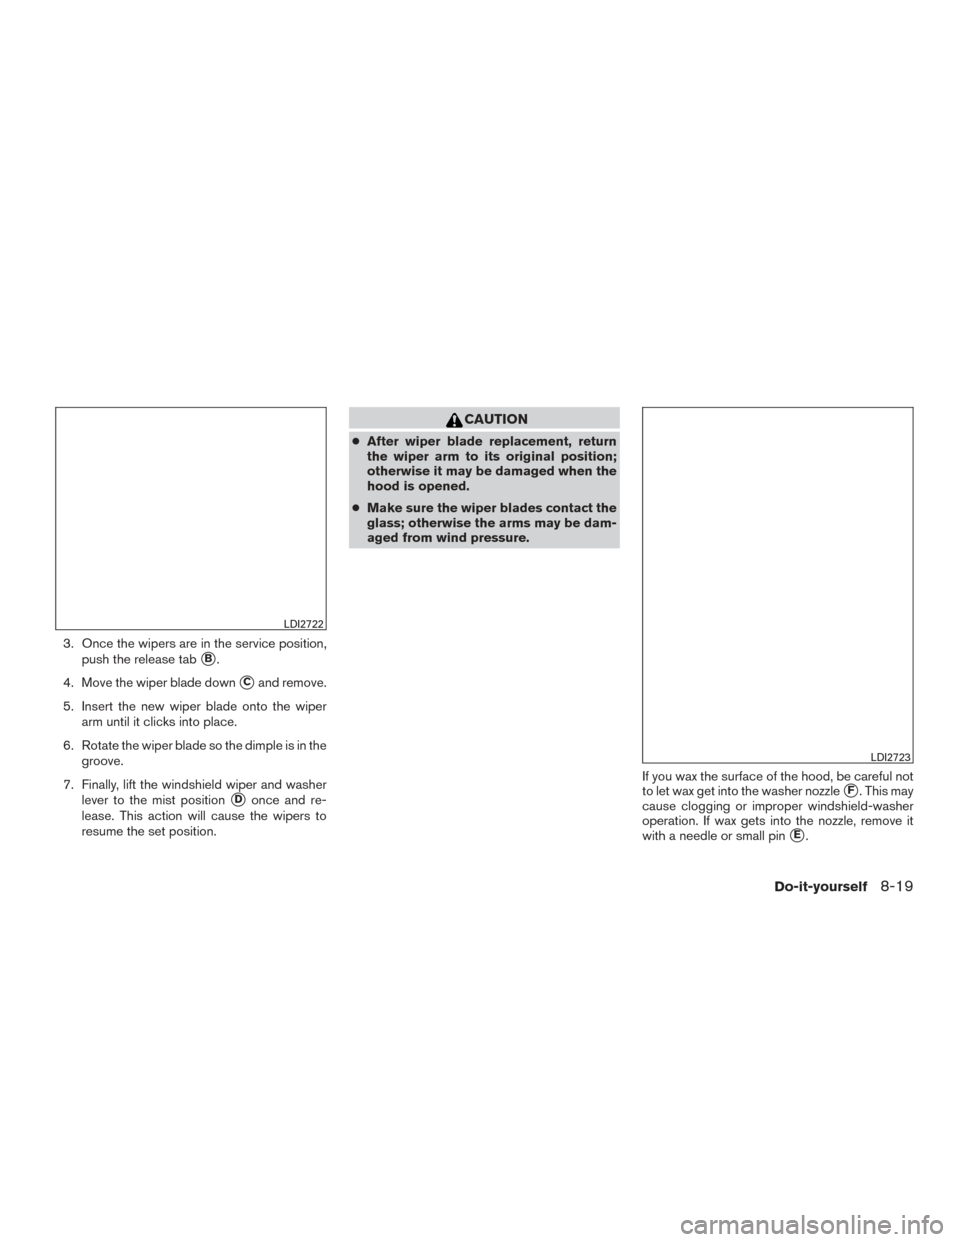
3. Once the wipers are in the service position,push the release tab
�B.
4. Move the wiper blade down
�Cand remove.
5. Insert the new wiper blade onto the wiper arm until it clicks into place.
6. Rotate the wiper blade so the dimple is in the groove.
7. Finally, lift the windshield wiper and washer lever to the mist position
�Donce and re-
lease. This action will cause the wipers to
resume the set position.
CAUTION
● After wiper blade replacement, return
the wiper arm to its original position;
otherwise it may be damaged when the
hood is opened.
● Make sure the wiper blades contact the
glass; otherwise the arms may be dam-
aged from wind pressure.
If you wax the surface of the hood, be careful not
to let wax get into the washer nozzle
�F. This may
cause clogging or improper windshield-washer
operation. If wax gets into the nozzle, remove it
with a needle or small pin
�E.
LDI2722
LDI2723
Do-it-yourself8-19
Page 419 of 491

If the brakes do not operate properly, have the
brakes checked. It is recommended that you visit
a NISSAN dealer for this service.
Self-adjusting brakes
Your vehicle is equipped with self-adjusting
brakes.
The front (and rear-if so equipped) disc-type
brakes self-adjust every time the brake pedal is
applied. The rear drum-type brakes (if so
equipped) self-adjust every time the parking
brake is applied.
WARNING
Have your brake system checked if the
brake pedal height does not return to nor-
mal. It is recommended that you visit a
NISSAN dealer for this service.
Brake pad wear indicators
The disc brake pads on your vehicle have audible
wear indicators. When a brake pad requires re-
placement, a high pitched scraping or screech-
ing sound will be heard when the vehicle is in
motion. The noise will be heard whether or not the
brake pedal is depressed. Have the brakes
checked as soon as possible if the wear indicator
sound is heard.Under some driving or climate conditions, occa-
sional brake squeak, squeal or other noise may
be heard. Occasional brake noise during light to
moderate stops is normal and does not affect the
function or performance of the brake system.
Proper brake inspection intervals should
be followed.
For additional information regard-
ing brake inspections, refer to the appropriate
maintenance schedule information in the
“NISSAN Service and Maintenance Guide”.
Two types of fuses are used. Type
�Ais used in
the fuse boxes in the engine compartment. Type
�Bis used in the passenger compartment fuse
box.
Type
�Afuses can be installed in the engine
compartment and passenger compartment fuse
boxes.
LDI0455
BRAKES FUSES
8-20Do-it-yourself
Page 421 of 491
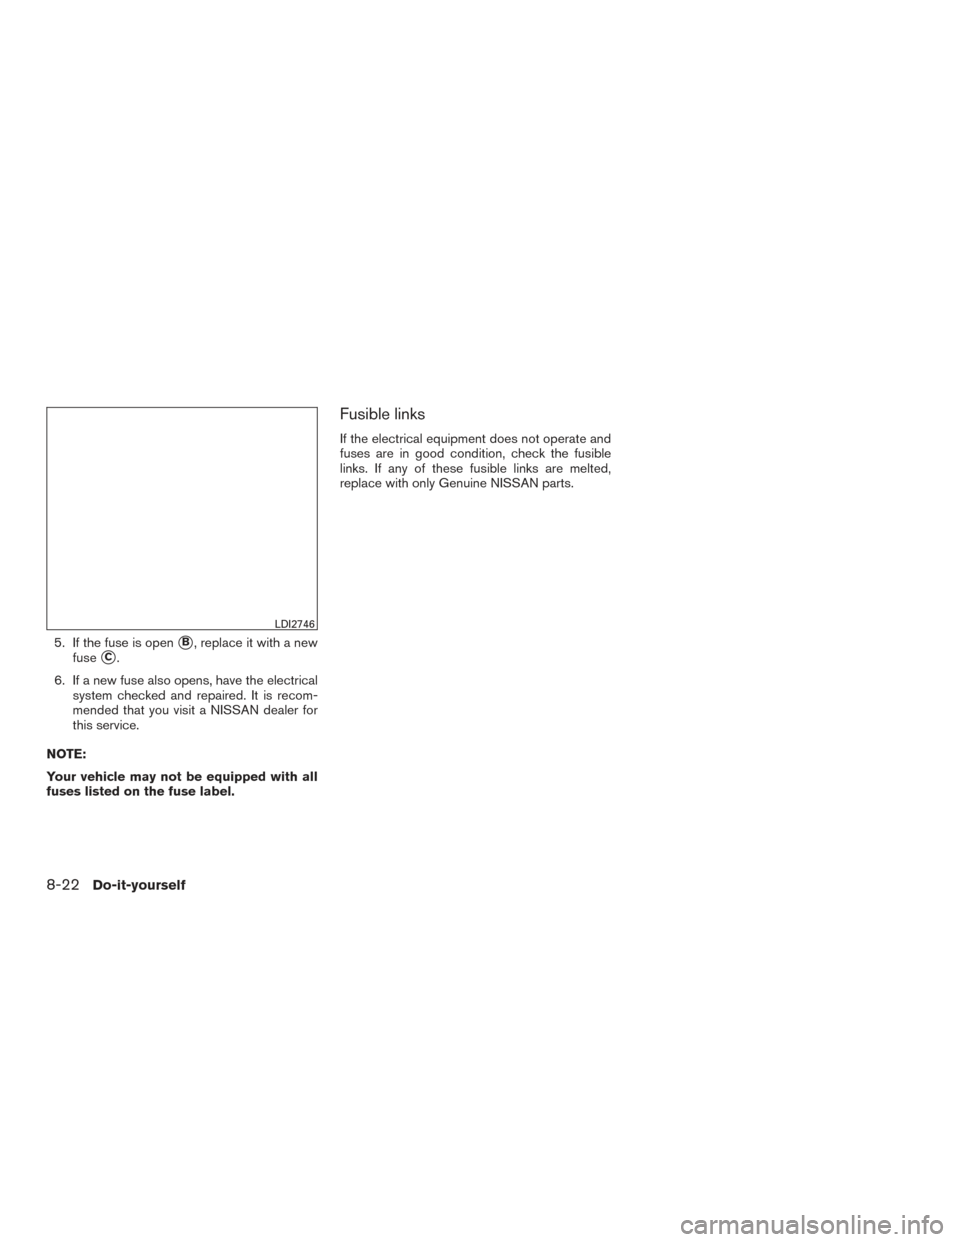
5. If the fuse is open�B, replace it with a new
fuse
�C.
6. If a new fuse also opens, have the electrical system checked and repaired. It is recom-
mended that you visit a NISSAN dealer for
this service.
NOTE:
Your vehicle may not be equipped with all
fuses listed on the fuse label.
Fusible links
If the electrical equipment does not operate and
fuses are in good condition, check the fusible
links. If any of these fusible links are melted,
replace with only Genuine NISSAN parts.
LDI2746
8-22Do-it-yourself
Page 422 of 491
PASSENGER COMPARTMENT
WARNING
Never use a fuse of higher or lower amper-
age rating than that specified on the fuse
box cover. This could damage the electri-
cal system or electronic control units or
cause a fire.
If any electrical equipment does not operate,
check for an open fuse. NOTE:
The fuse box is located on the driver’s side
of the instrument panel.
1. Be sure the ignition switch and the headlight switch are OFF.
2. Remove the fuse box cover
�Awith a suit-
able tool. Use a cloth to avoid damaging the
trim.
3. Locate the fuse that needs to be replaced.
4. Remove the fuse with the fuse puller
�B. 5. If the fuse is open
�C, replace it with an
equivalent good fuse
�D.
6. Push the fuse box cover to install.
If a new fuse also opens, have the electrical
system checked and repaired. It is recommended
that you visit a NISSAN dealer for this service.
NOTE:
Your vehicle may not be equipped with all
fuses listed on the fuse label.
LDI2712LDI2713
Do-it-yourself8-23
Page 424 of 491

Replace the battery in the key fob as follows:1. Remove the screw
�A. 2. Insert a small screwdriver into the slit of the
corner
�Band twist it to separate the upper
part from")
KEY FOB (if so equipped)
Replace the battery in the key fob as follows:1. Remove the screw
�A. 2. Insert a small screwdriver into the slit of the
corner
�Band twist it to separate the upper
part from the lower part. Use a cloth to
protect the casing.
3. Replace the battery with a new one. ●Do not touch the internal circuit and elec-
tric terminals as doing so could cause a
malfunction.
● Make sure that the + side faces the bot-
tom of the case
�C.
Recommended battery: CR1620 or equivalent. 4. Close the lid and install the screw securely.
5. Operate the buttons to check its operation.
If you need assistance with replacement, it is
recommended that you visit a NISSAN dealer for
this service.
If the battery is removed for any reason
other than replacement, perform step 5. ● An improperly disposed battery can
hurt the environment. Always confirm
local regulations for battery disposal.
● The key fob is water-resistant; how-
ever, if it does get wet, immediately
wipe completely dry. ●
The operational range of the key fob
extends to approximately 33 ft (10 m)
from the vehicle. This range may vary
with conditions.
Operation is subject to the following two
conditions: (1) This device may not cause
harmful interference, and (2) this device
must accept any interference received, in-
cluding interference that may cause unde-
sired operation of the device.
FCC Notice:
For USA:
This device complies with Part 15 of the
FCC Rules. Operation is subject to the fol-
lowing two conditions: (1) This device may
not cause harmful interference, and (2) this
device must accept any interference re-
ceived, including interference that may
cause undesired operation.
Note:
Changes or modifications not expressly ap-
proved by the party responsible for compli-
ance could void the user’s authority to op-
erate the equipment.
LDI2219
Do-it-yourself8-25
Page 426 of 491

3. Replace the battery with a new one.Recommended battery: CR2025 or equiva-
lent.
●Do not touch the internal circuit and elec-
tric terminals as doing so could cause a
malfunction.
● Hold the battery by the edges. Holding
the battery across the contact points will
seriously deplete the storage capacity.
● Make sure that the + side faces the bot-
tom of the lower part.
4. Close the lid securely as illustrated with
�C
and�D.
5. Operate the buttons to check the operation.
If you need assistance with replacement, it is
recommended that you visit a NISSAN dealer for
this service.
FCC Notice:
For USA:
This device complies with Part 15 of the
FCC Rules. Operation is subject to the fol-
lowing two conditions: (1) This device may
not cause harmful interference, and (2) this
device must accept any interference re-
ceived, including interference that may
cause undesired operation. Note:
Changes or modifications not expressly ap-
proved by the party responsible for compli-
ance could void the user’s authority to op-
erate the equipment.
For Canada:
This device complies with Industry Canada
licence-exempt RSS standard(s) . Opera-
tion is subject to the following two condi-
tions: (1) this device may not cause inter-
ference, and (2) this device must accept any
interference, including interference that
may cause undesired operation of the de-
vice.
LDI2637
Do-it-yourself8-27
Page 427 of 491

NOTE:
The headlight is")
HEADLIGHTS
For additional information on headlight bulb re-
placement, refer to the instructions outlined in
this section.
Replacing the halogen headlight bulb
(if so equipped)
NOTE:
The headlight is a semi-sealed beam type
which used a replaceable headlight (halo-
gen) bulb. They can be replaced from inside
the engine compartment without removing
the headlight assembly.
CAUTION
●Aiming is not necessary after replacing
the bulb. When aiming adjustment is
necessary, it is recommended that you
visit a NISSAN dealer for this service.
● Do not leave the headlight assembly
open without a bulb installed for a long
period of time. Dust, moisture, smoke,
etc. entering the headlight body may
affect bulb performance. Remove the
bulb from the headlight assembly just
before a replacement bulb is installed.
● Only touch the base when handling the
bulb. Never touch the glass envelope.
Touching the glass could significantly
affect bulb life and/or headlight
performance.
● High pressure halogen gas is sealed
inside the halogen bulb. The bulb may
break if the glass envelope is scratched
or the bulb is dropped.
● Use the same number and wattage as
shown in the chart.
Type A (if so equipped)
LDI2980
LIGHTS
8-28Do-it-yourself
Page 428 of 491
 cover�Acounter-
clockwise to access the (high beam) bulb
socket
�C. Rotate the bulb socket�Ccoun-
terclockwise and remove bulb.
2. Rotate the (low beam) cover
�B(if so
equipp")
1. Rotate the (high beam) cover�Acounter-
clockwise to access the (high beam) bulb
socket
�C. Rotate the bulb socket�Ccoun-
terclockwise and remove bulb.
2. Rotate the (low beam) cover
�B(if so
equipped) counterclockwise to access the
(low beam) bulb socket
�D(if so equipped) .
Rotate the bulb socket
�D(if so equipped)
counterclockwise and remove bulb.
3. Rotate the side marker bulb socket
�Ecoun-
terclockwise and remove bulb.
4. Rotate the turn signal bulb socket
�Fcoun-
terclockwise and remove bulb
�G. Reverse instructions to install bulbs and replace
fender protector.
WARNING
Do not touch bulb by hand while it is lit or
right after being turned off. Burning may
result.
CAUTION
• Do not touch glass surface of the bulb
with bare hands or allow oil or grease to
get on it to prevent damage to bulb.
• Do not leave the bulb out of the lamp
reflector for a long time because dust,
moisture, smoke, etc. may affect the per-
formance of the lamp.
• Fog may temporarily form inside the lens
of the exterior lights in the rain or in a car
wash. A temperature difference between
the inside and the outside of the lens
causes the fog. This is not a malfunction. If
large drops of water collect inside the
lens, it is recommended that you visit a
NISSAN dealer for servicing.
Replacing the LED headlight bulb (if
so equipped)
If LED headlight bulb replacement is required, it is
recommended that you visit a NISSAN dealer for
this service.
TURN SIGNAL BULB
To replace the turn signal bulb follow the instruc-
tions listed in the “Replacing the halogen head-
light bulb” found in this section.
FOG LIGHTS (if so equipped)
For additional information on fog light bulb re-
placement, refer to the instructions outlined in
this section.
Type B (if so equipped)
LDI2981
Do-it-yourself8-29