2017 NISSAN QUEST instrument panel
[x] Cancel search: instrument panelPage 2 of 32
*See your Owner’s Manual for information.
1
3
4
2
20
2122
23
5
8
6
13
24
15
7
16
17
12
25
11
24
14
9
10
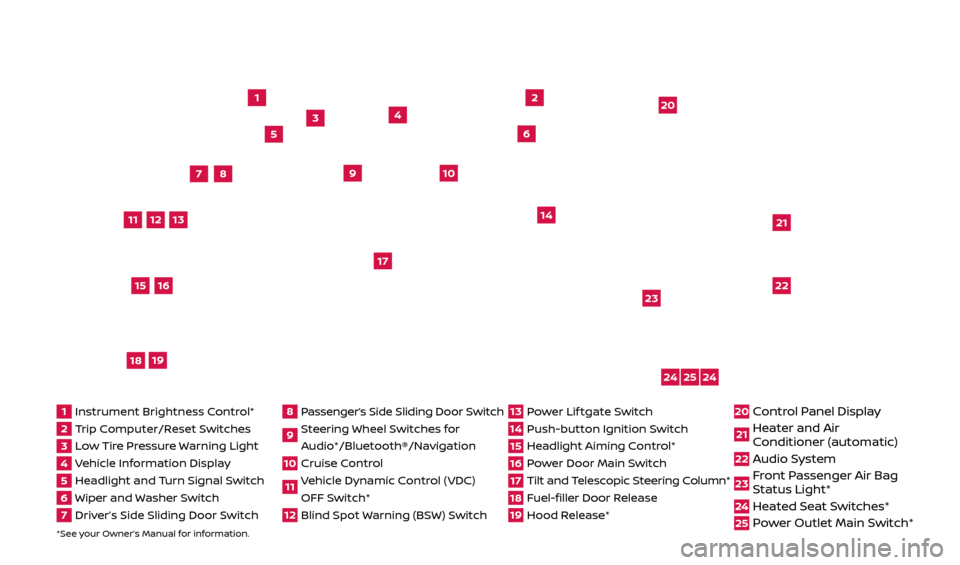
1 Instrument Brightness C ontrol*2 Trip Computer/Reset Switches3 Low Tire Pressure Warning Light4 Vehicle Information Display5 Headlight and Turn Signal Switch6 Wiper and Washer Switch7 Driver’s Side Sliding Door Switch
8 Passenger’s Side Sliding Door Switch9 Steering Wheel Switches for
Audio*/Bluetooth®/Navigation10 Cruise Control11 Vehicle Dynamic Control (VDC) OFF Switch* 12 Blind Spot Warning (BSW) Switch
13 Power Lif tgate Switch14 Push-button Ignition Switch15 Headlight Aiming Control*16 Power Door Main Switch17 Tilt and Telescopic Steering Column*18 Fuel-filler Door Release19 Hood Release*
20 Control Panel Display21 Heater and Air
C onditioner (automatic)22 Audio System
23 Front Passenger Air Bag
Status Light*24 Heated Seat Switches*25 Power Outlet Main Switch*
18
19
2512696_17a_Quest_US_pQRG_092016.indd 49/20/16 4:46 PM
Page 8 of 32
6
LOOSE FUEL CAP
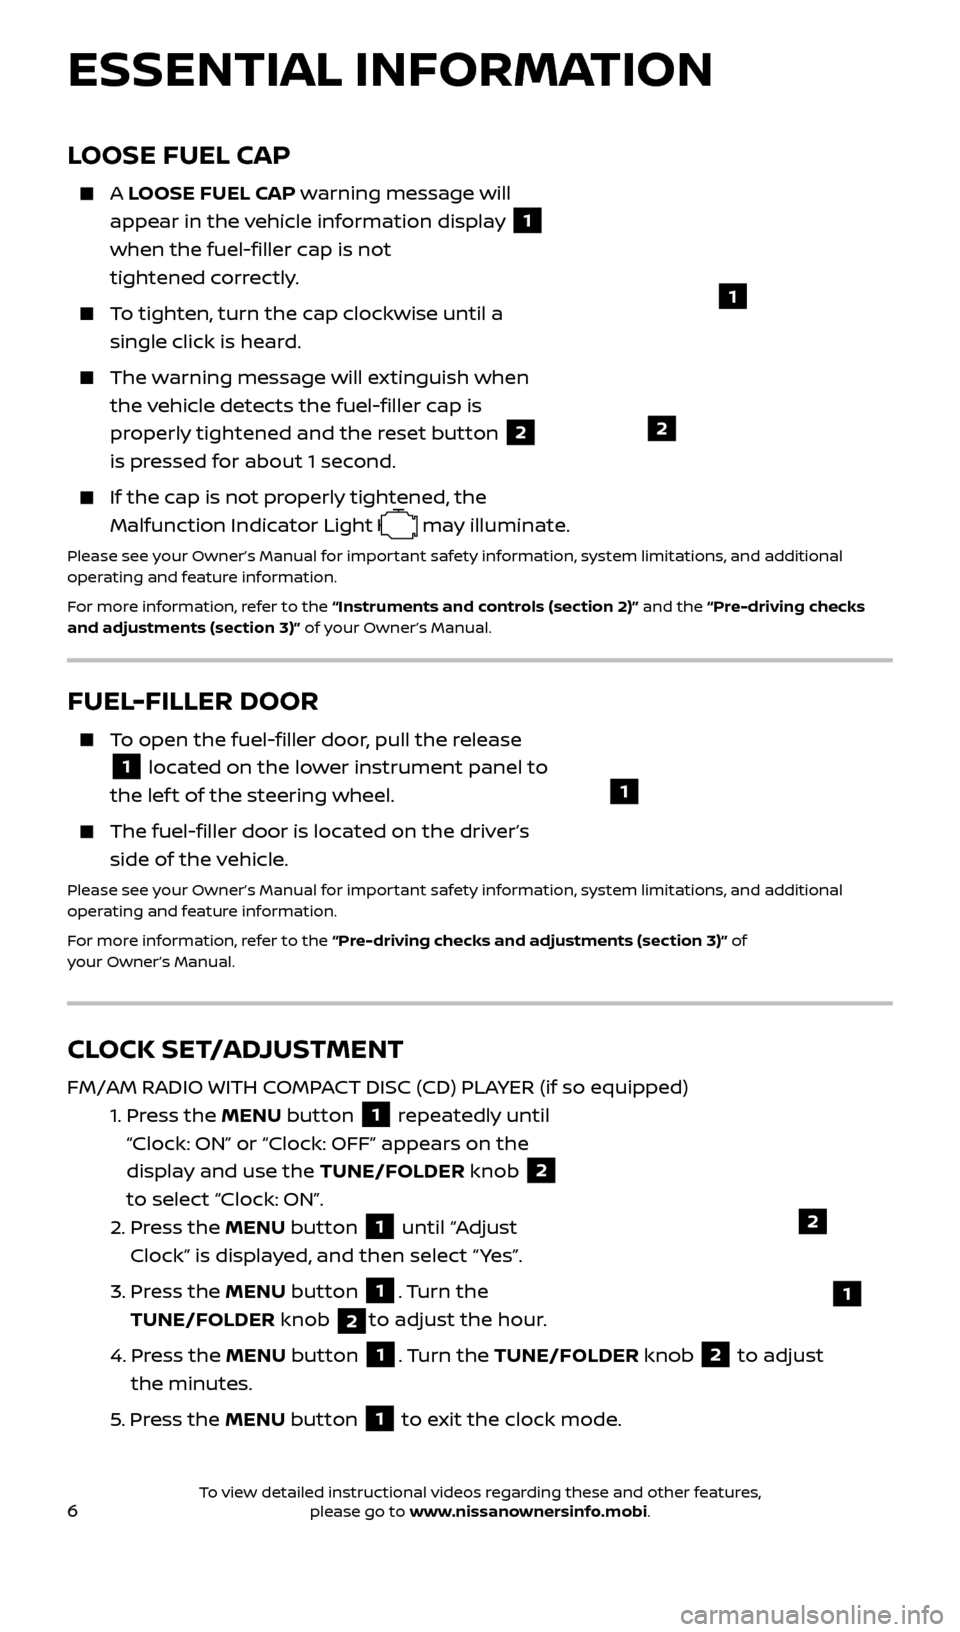
A LOOSE FUEL CAP warning message will
appear in the vehicle information display
1
when the fuel-filler cap is not
tightened correctly.
To tighten, turn the cap clockwise until a single click is heard.
The warning message will extinguish when the vehicle detects the fuel-filler cap is
properly tightened and the reset button
2
is pressed for about 1 second.
If the cap is not properly tightened, the Malfunction Indicator Light
may illuminate.
Please see your Owner’s Manual for important safety information, system limitations, and additional
operating and feature information.
For more information, refer to the “Instruments and controls (section 2)” and the “Pre-driving checks
and adjustments (section 3)” of your Owner’s Manual.
1
2
FUEL-FILLER DOOR
To open the fuel-filler door, pull the release
1 located on the lower instrument panel to
the lef t of the steering wheel.
The fuel-filler door is located on the driver’s side of the vehicle.
Please see your Owner’s Manual for important safety information, system limitations, and additional
operating and feature information.
For more information, refer to the “Pre-driving checks and adjustments (section 3)” of
your Owner’s Manual.
1
CLOCK SET/ADJUSTMENT
FM/AM RADIO WITH COMPACT DISC (CD) PLAYER (if so equipped)
1.
Pr
ess the MENU button
1 repeatedly until
“Clock: ON” or “Clock: OFF” appears on the
display and use the TUNE/FOLDER knob
2
to select “Clock: ON”.
2.
Pr
ess the MENU button
1 until “Adjust
Clock” is displayed, and then select “ Yes”.
3.
Pr
ess the MENU button
1. Turn the
TUNE/FOLDER knob
2to adjust the hour.
4.
Pr
ess the MENU button
1. Turn the TUNE/FOLDER knob 2 to adjust
the minutes.
5
. Press the MENU button
1 to exit the clock mode.
ESSENTIAL INFORMATION
2
1
2512696_17a_Quest_US_pQRG_092016.indd 69/20/16 4:46 PM
To view detailed instructional videos regarding these and other features, please go to www.nissanownersinfo.mobi.
Page 11 of 32
9
POWER SLIDING DOOR RELEASE
(if so equipped)
Use one of the following methods to open the
power sliding doors:
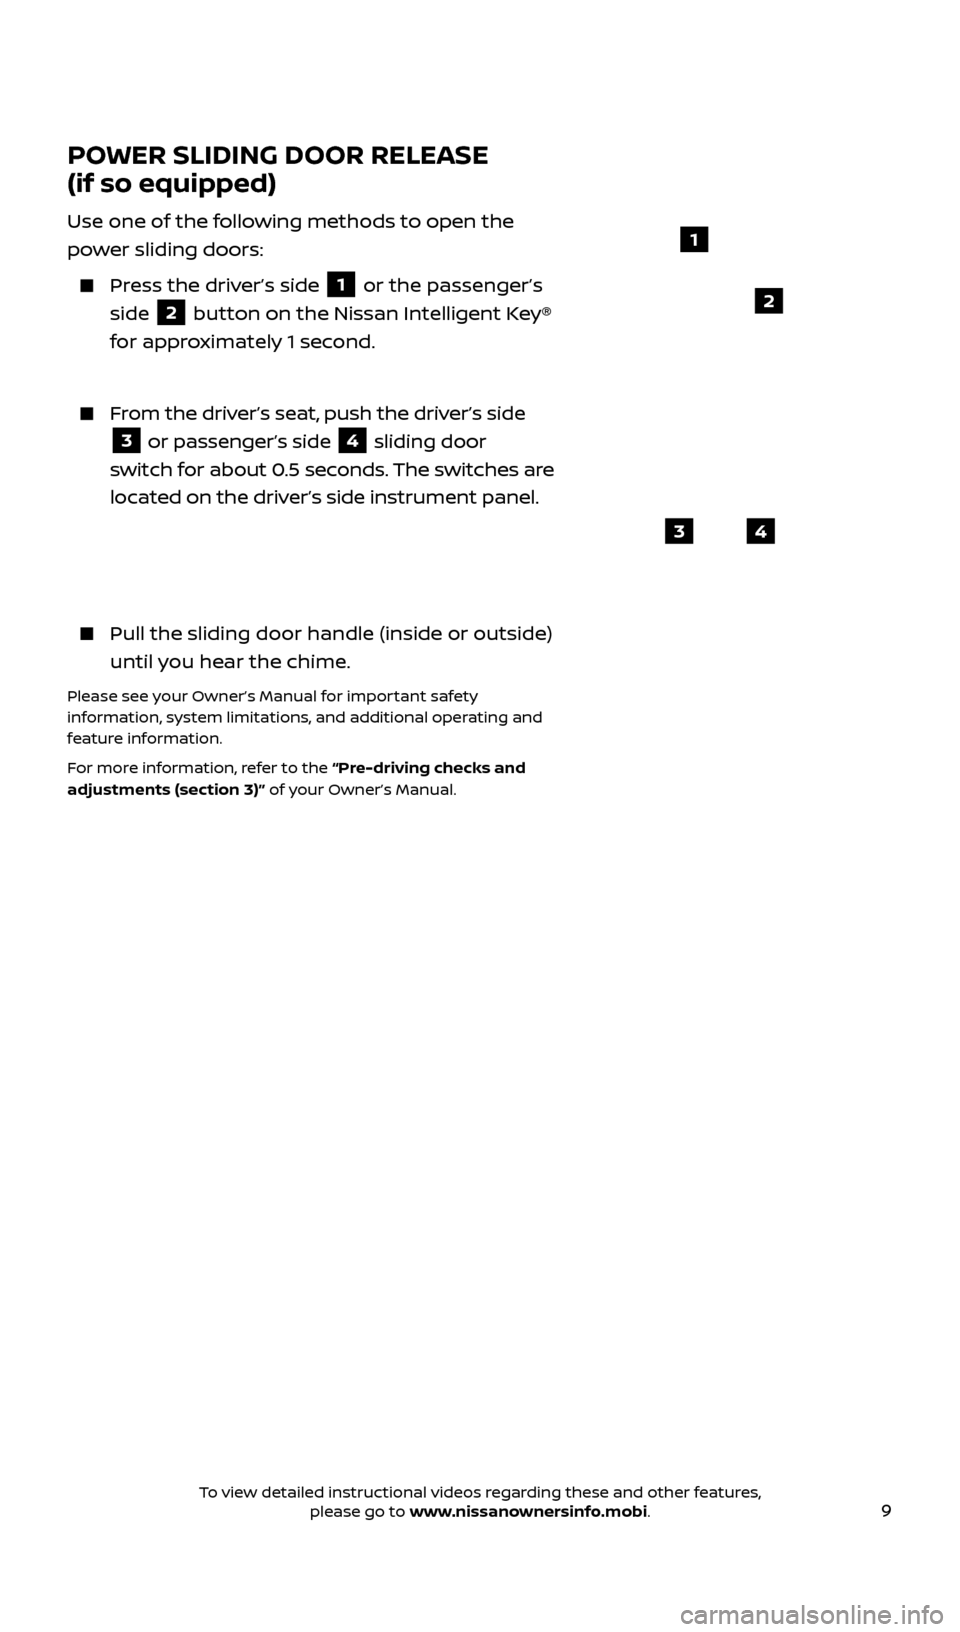
Press the driver’s side 1 or the passenger’s
side
2 button on the Nissan Intelligent Key®
for approximately 1 second.
From the driver’s seat, push the driver’s side
3 or passenger’s side 4 sliding door
switch for about 0.5 seconds. The switches are
located on the driver’s side instrument panel.
Pull the sliding door handle (inside or outside) until you hear the chime.
Please see your Owner’s Manual for important safety
information, system limitations, and additional operating and
feature information.
For more information, refer to the “Pre-driving checks and
adjustments (section 3)” of your Owner’s Manual.
43
1
2
2512696_17a_Quest_US_pQRG_092016.indd 99/20/16 4:47 PM
To view detailed instructional videos regarding these and other features, please go to www.nissanownersinfo.mobi.
Page 12 of 32
10
FRONT POWER SEAT ADJUSTMENTS (if so equipped)
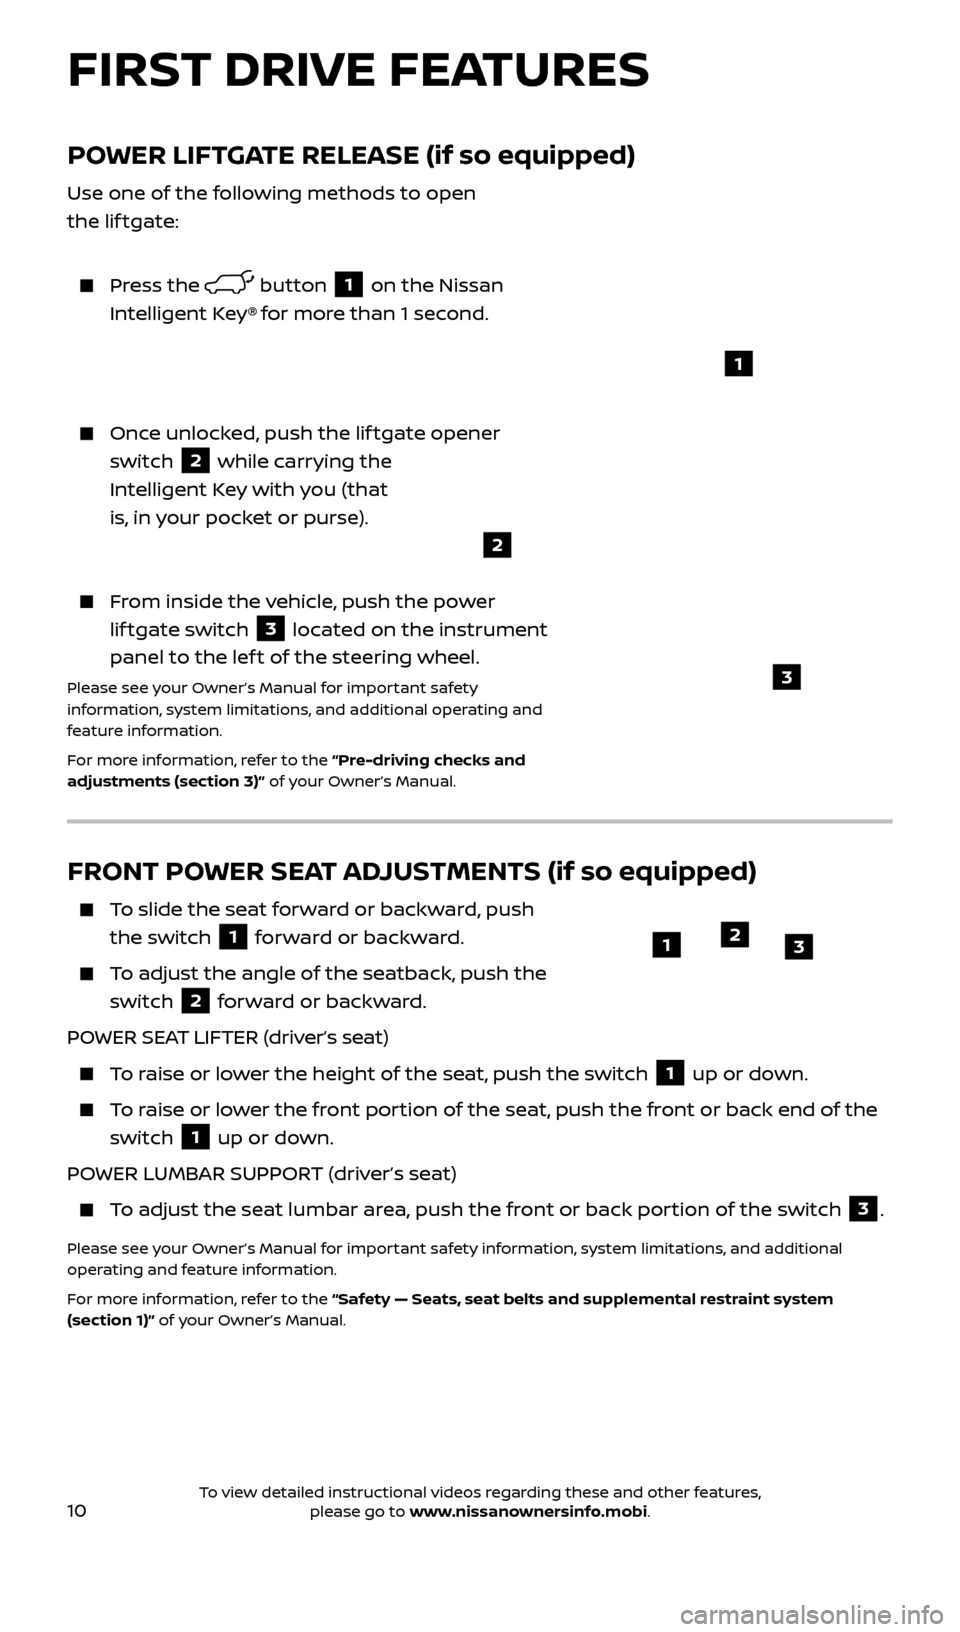
To slide the seat forward or backward, push the switch
1 forward or backward.
To adjust the angle of the seatback, push the switch
2 forward or backward.
POWER SEAT LIFTER (driver’s seat)
To raise or lower the height of the seat, push the switch 1 up or down.
To raise or lower the front portion of the seat, push the front or back end of the switch
1 up or down.
POWER LUMBAR SUPPORT (driver’s seat)
To adjust the seat lumbar area, push the front or back portion of the switch 3.
Please see your Owner’s Manual for important safety information, system limitations, and additional
operating and feature information.
For more information, refer to the “Safety — Seats, seat belts and supplemental restraint system
(section 1)” of your Owner’s Manual.
123
POWER LIFTGATE RELEASE (if so equipped)
Use one of the following methods to open
the lif tgate:
Press the button 1 on the Nissan
Intelligent Key® for more than 1 second.
Once unlocked, push the lif tgate opener switch
2 while carrying the
Intelligent Key with you (that
is, in your pocket or purse).
From inside the vehicle, push the power lif tgate switch
3 located on the instrument
panel to the lef t of the steering wheel.
Please see your Owner’s Manual for important safety
information, system limitations, and additional operating and
feature information.
For more information, refer to the “Pre-driving checks and
adjustments (section 3)” of your Owner’s Manual.
1
3
2
FIRST DRIVE FEATURES
2512696_17a_Quest_US_pQRG_092016.indd 109/20/16 4:47 PM
To view detailed instructional videos regarding these and other features, please go to www.nissanownersinfo.mobi.
Page 16 of 32
14
HEADLIGHT CONTROL SWITCH
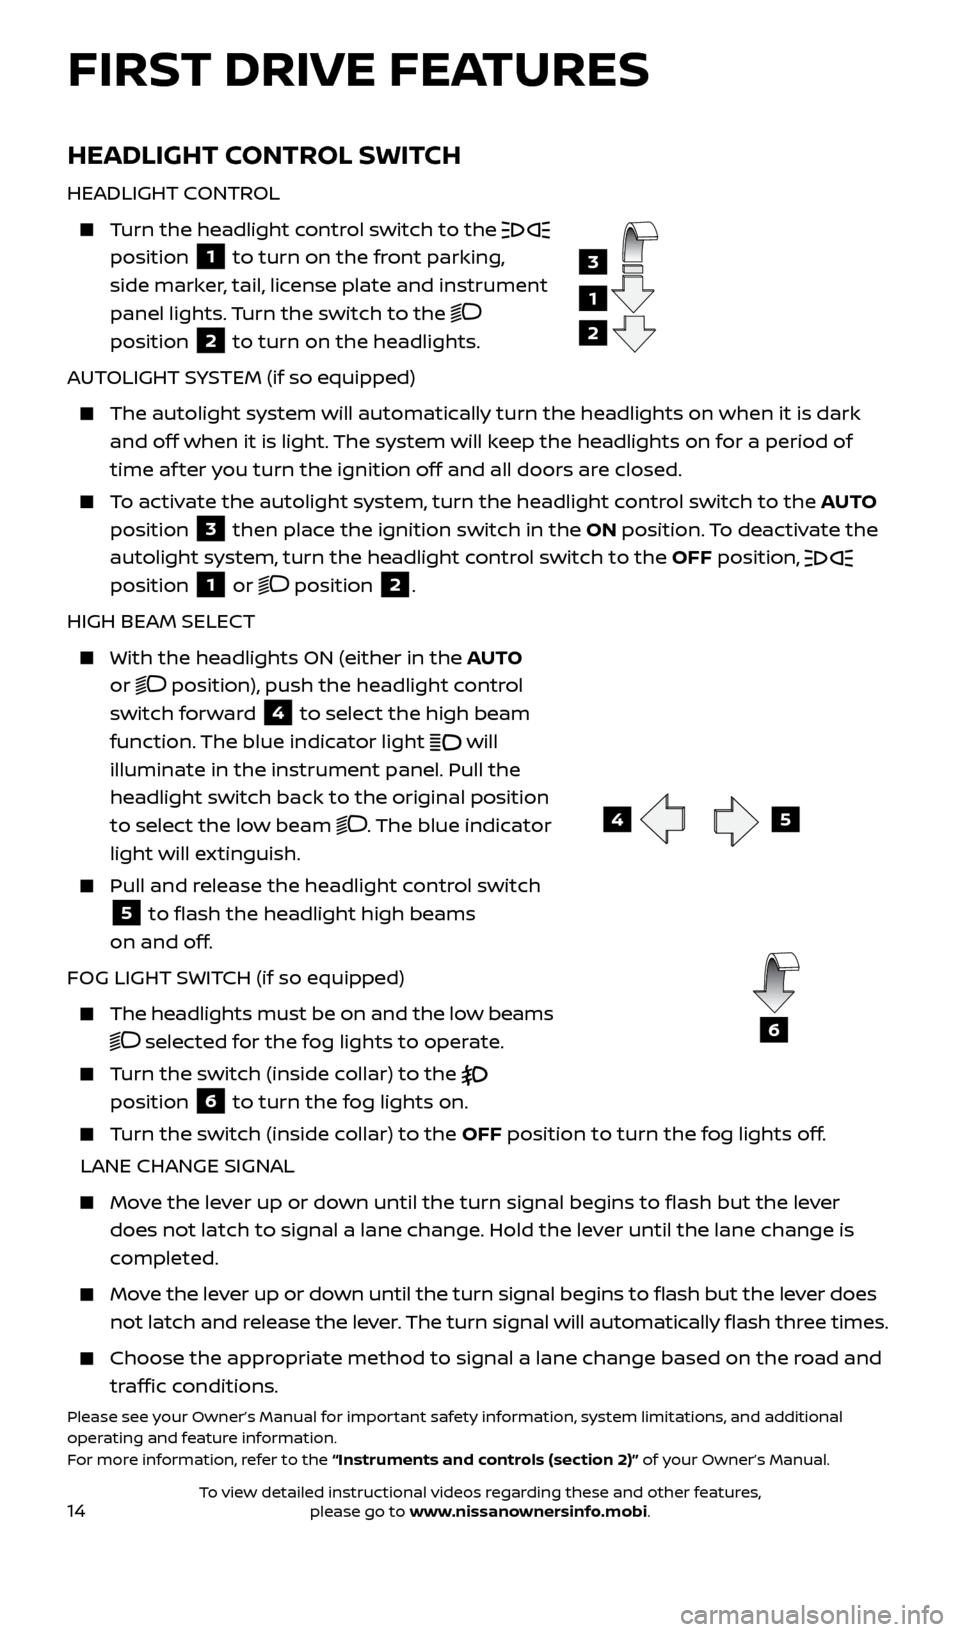
HEADLIGHT CONTROL
Turn the headlight control switch to the
position 1 to turn on the front parking,
side marker, tail, license plate and instrument
panel lights. Turn the switch to the
position
2 to turn on the headlights.
AUTOLIGHT SYSTEM (if so equipped)
The autolight system wil l automatically turn the headlights on when it is dark
and off when it is light. The system will keep the headlights on for a period of
time af ter you turn the ignition off and all doors are closed.
To activate the autolight system, turn the headlight control switch to the AUTO
position
3 then place the ignition switch in the ON position. To deactivate the
autolight system, turn the headlight control switch to the OFF position,
position 1 or position 2.
HIGH BEAM SELECT
With the he adlights ON (either in the AUTO
or
position), push the headlight control
switch forward
4 to select the high beam
function. The blue indicator light will
illuminate in the instrument panel. Pull the
headlight switch back to the original position
to select the low beam
. The blue indicator
light will extinguish.
Pull and release the headlight control switch
5 to flash the headlight high beams
on and off.
FOG LIGHT SWITCH (if so equipped)
The headlights must be on and the low beams
selected for the fog lights to operate.
Turn the switch (inside collar) to the
position
6 to turn the fog lights on.
Turn the switch (inside collar) to the OFF position to turn the fog lights off.
LANE CHANGE SIGNAL
Move the lever up or down until the turn signal begins to flash but the lever does not latch to signal a lane change. Hold the lever until the lane change is
completed.
Move the lever up or down until the turn signal begins to flash but the lever does not latch and release the lever. The turn signal will automatically flash three times.
Choose the appr opriate method to signal a lane change based on the road and
traffic conditions.
Please see your Owner’s Manual for important safety information, system limitations, and additional
operating and feature information.
For more information, refer to the “Instruments and controls (section 2)” of your Owner’s Manual.
1
3
2
45
6
FIRST DRIVE FEATURES
2512696_17a_Quest_US_pQRG_092016.indd 149/20/16 4:47 PM
To view detailed instructional videos regarding these and other features, please go to www.nissanownersinfo.mobi.
Page 19 of 32
17
7 AIR RECIRCULATION BUTTON
Press the air recirculation button to recirculate interior air inside the
vehicle. The indicator light on the button will illuminate. This system is used to
avoid certain outside odors and to help adjust the inside vehicle temperature
more effectively.
The air recirculation mode cannot be activated when the climate control system is in the front defroster mode
FRONT or in the front defroster and
foot vent mode
.8 AUTO-RECIRCULATION BUTTON
Press the auto-recirculation button AUTO to switch to the automatic air
intake control mode. The indicator light on the button will illuminate.
In this mode, the sensor detects certain odors and gases to
automatically switch between the air recirculation mode and the outside air
circulation mode.
The auto-r ecirculation mode cannot be activated when the air flow control
is in the front defroster mode
FRONT or in the front defroster and foot
outlet mode
.9 DEFROSTING/DEFOGGING FRONT AND SIDE WINDOWS
Press the front defroster button FRONT to turn the system on.
The A/C automatically turns on when the front defroster mode is selected.
This feature removes humidity from the air.
Press the temperature control buttons or to set the desired temperature.
To defrost the front and side windows quickly, set the temperature controls
and fan speed controls to their maximum settings.
10 DEFROSTING REAR WINDOW AND OUTSIDE MIRRORS (if so equipped)
Push the r ear window defroster switch REAR to turn the system on or off.
This function automatically turns off af ter approximately 15 minutes.
11 A/C BUTTON
Press the A/C button to turn the air conditioner system on or off. This system
helps cool and dehumidify the air inside the cabin and defog the windows.
12 REAR BUT TON
To control the rear automatic air conditioning system with the front air
conditioner control panel, press the REAR button.
When the r ear automatic air conditioning
system is on, the indicator light on the REAR
button will illuminate and the front display
will switch to the rear air conditioner screen.
To adjust the front air conditioning system, press the REAR button again or wait 10 seconds.
The rear passenger controls are unavailable when REAR is shown on
the front display.
13 ON•OFF BUT TON
Press the ON•OFF button to turn the climate control system on or off.Please see your Owner’s Manual for important safety information, system limitations, and additional
operating and feature information.
For more information, refer to the “Instruments and controls (section 2)” and the“Monitor, heater, air
conditioner, audio, phone and voice recognition systems (section 4)” of your Owner’s Manual.
2512696_17a_Quest_US_pQRG_092016.indd 179/20/16 4:47 PM
To view detailed instructional videos regarding these and other features, please go to www.nissanownersinfo.mobi.
Page 21 of 32
19
CRUISE CONTROL
The cruise control system enables you to set
a constant cruising speed once the vehicle
has reached 25 mph (40 km/h).
The system wil l automatically maintain the
set speed until you tap the brake pedal,
accelerate, cancel or turn the system off.
To activate the cruise control, push the ON/OFF switch
1 on the steering wheel.
The CRUISE indicator light in the instrument
panel will illuminate.
To set a cruising speed, accelerate the vehicle to the desired speed, push the COAST/SET switch
2 on the steering wheel and
release. Take your foot off the accelerator pedal. Your vehicle will maintain the
set speed.
To reset at a faster cruising speed, push and hold the ACCEL/RES switch 3 on
the steering wheel. When the vehicle attains the desired speed, release
the switch.
To reset at a slower cruising speed, push and hold the COAST/SET switch 2 on
the steering wheel. Release the switch when the vehicle slows to the
desired speed.
To cancel the preset speed, tap the brake pedal or push the CANCEL switch 4
on the steering wheel.
To turn off cruise control, push the ON/OFF switch 1 on the steering wheel.
The CRUISE indicator light in the instrument panel will extinguish.
Please see your Owner’s Manual for important safety information, system limitations, and additional
operating and feature information.
For more information, refer to the “Starting and driving (section 5)” of your Owner’s Manual.
USB (Universal Serial Bus) CONNECTION PORT/
iPOD® INTERFACE (if so equipped)
The USB por t 1 is located in the
center console.
When a c ompatible USB memory device
or iPod® is plugged into the USB port,
compatible audio and video files stored
on the device can be played through the
vehicle’s audio system and front display.
Please see your Owner’s Manual for important safety
information, system limitations, and additional operating and feature information.
For more information, refer to the “Monitor, heater, air conditioner, audio, phone and voice recognition
systems (section 4)” of your Owner’s Manual.
1
2
3
4
1
2512696_17a_Quest_US_pQRG_092016.indd 199/20/16 4:47 PM
To view detailed instructional videos regarding these and other features, please go to www.nissanownersinfo.mobi.
Page 22 of 32
20
POWER OUTLETS
To use a power outlet, open the cap.
Use the power outlets with the engine running to avoid discharging the
vehicle’s battery.
12 VOLT OUTLETS
The power outlets are used for powering electrical accessories such as cellular phones.
They are rated at 12V, 120W (10A) maximum.
The 12V outlets are located on the instrument panel
1 and in the cargo area 2.
120 VOLT OUTLET (if so equipped)
The 120V outlet 3 is rated at 120V,
150W (1.25A) maximum and is located on
the front console.
To turn on or off the power supply to the outlet, push the ON or OFF side of the
main switch
4 located on the instrument
panel. When the switch is pushed to the ON
position, the indicator light on the switch
will illuminate.
Af ter using the power outlet, be sure to push the main switch to the OFF position.
Please see your Owner’s Manual for important safety information, system limitations, and additional
operating and feature information.
For more information, refer to the “Starting and driving (section 5)” of your Owner’s Manual.
1
2
3
4
FIRST DRIVE FEATURES
2512696_17a_Quest_US_pQRG_092016.indd 209/20/16 4:47 PM
To view detailed instructional videos regarding these and other features, please go to www.nissanownersinfo.mobi.