2017 NISSAN QUEST ECU
[x] Cancel search: ECUPage 3 of 32

NEW SYSTEM FEATURES
Around View® Monitor with Moving Object Detection (MOD) (if so equipped) ........2
Blind Spot Warning (BSW) (if so equipped)
.............................................4
A
dvanced Climate Control System (if so equipped) ...................................
4
ESSENTIAL INFORMATION
Tire Pressure Monitoring System (TPMS) with Easy-Fill Tire Alert .....................5
L oose Fuel Cap
........................................................................\
.6
Fuel-filler Door
........................................................................\
.6
Clock Set/A
djustment .................................................................
6
FIRST DRIVE FEATURES
Nissan Intelligent Key® System ........................................................8
P ower Sliding Door Release (if so equipped) ..........................................
9
Power Lif tgate Release (if so equipped)
..............................................
10
F
ront Power Seat Adjustments (if so equipped) ......................................
10
2nd Row Seat Adjustments .............................................................11
F
olding the 2nd Row Seats..............................................................11
Entering/Exiting the 3rd Row Seats ....................................................11
3rd Row Seat Adjustments ............................................................12
3rd Row Power Folding Seats (if so equipped).........................................12
A
utomatic Drive Positioner (if so equipped) ..........................................
12
Outside Mirr
or Control Switch ........................................................
13
S
tarting/Stopping the Engine ........................................................
13
He
adlight Control Switch .............................................................
14
Wiper and Washer Switch
............................................................
15
He
ater and Air Conditioner (automatic) (if so equipped) .............................
16
FM/AM/SiriusXM® Satel
lite Radio with CD/DVD Player (if so equipped)
..............18
USB (Universal Serial Bus) Connection Port/iPod® Interface (if so equipped)
........
19
Cruise Control . . . . . . . . . . . . . . . . . . . . . . . . . . . . . . . . . . . .\
. . . . . . . . . . . . . . . . . . . . . . . . . . . . . . . . . . . . 19 Power Outlets
........................................................................\
.20
SYSTEM GUIDE
Trip Computer .......................................................................\
.21
Bluetooth® Hands-fr ee Phone System (if so equipped) ..............................
21
S
ystem Operating Tips
.............................................................21
Bluetooth® S
ystem without Navigation (if so equipped) .............................
22
Bluetooth® S
ystem with Navigation (if so equipped)
.................................23
Bluetooth® Streaming Audio with Navigation (if so equipped) .......................25
Na
vigation System (if so equipped)
...................................................26
Nissan Mobile Enter
tainment System (MES) (if so equipped) ........................
27
HomeLink® Univ
ersal Transceiver (if so equipped)
...................................28
Additional information about your vehicle is also available in your Owner’s Manual,
Navigation System Owner’s Manual and at www.NissanUSA.com.
TABLE OF CONTENTS
Please see your Owner’s Manual for important safety information and system operation limitations.
• A c ellular telephone should not be used for any purpose while driving so full attention may be
given to vehicle operation.
•
A
lways wear your seat belt.
•
Supplemental air bags do not r
eplace proper seat belt usage.
•
Childr
en 12 and under should always ride in the rear seat properly secured in child restraints or
seat belts according to their age and weight.
•
Do not drink and driv
e.
F
or more information, refer to the “Safety — Seats, seat belts and supplemental restraint
system (section 1)”, the “Monitor, heater, air conditioner, audio, phone and voice recognition
systems (section 4)” and the “Starting and driving (section 5)” of your Owner’s Manual.
2512696_17a_Quest_US_pQRG_092016.indd 59/20/16 4:46 PM
Page 13 of 32

11
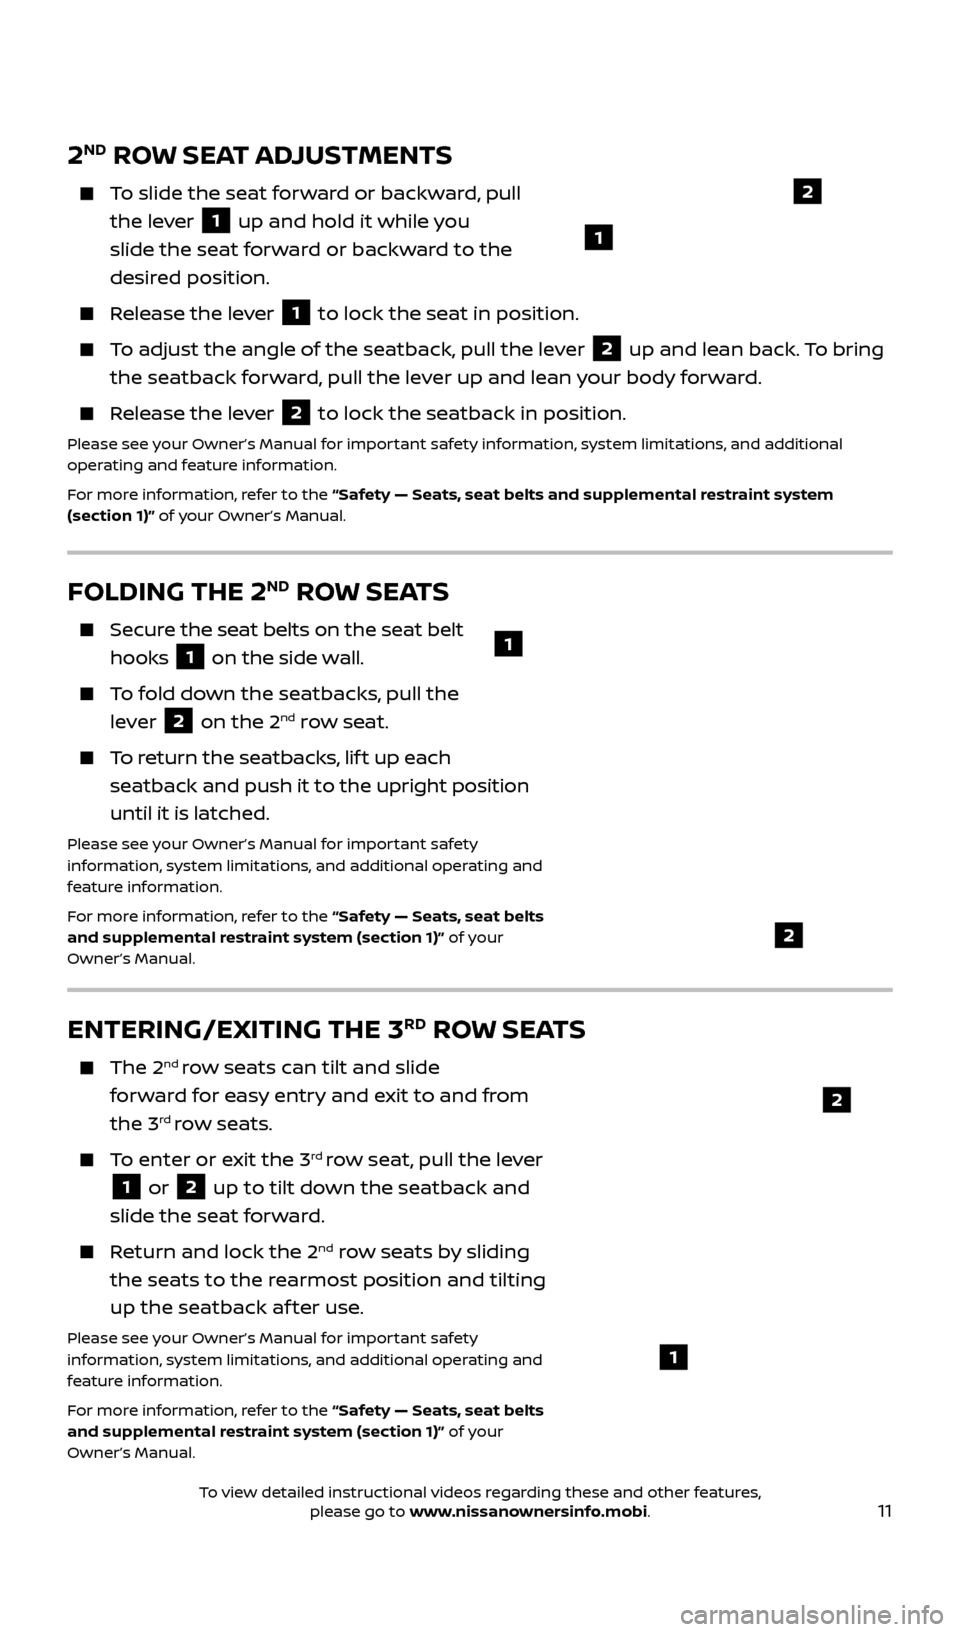
FOLDING THE 2ND ROW SEATS
Secure the seat belts on the seat belt hooks
1 on the side wall.
To fold down the seatbacks, pull the lever
2 on the 2nd row seat.
To return the seatbacks, lif t up each
seatback and push it to the upright position
until it is latched.
Please see your Owner’s Manual for important safety
information, system limitations, and additional operating and
feature information.
For more information, refer to the “Safety — Seats, seat belts
and supplemental restraint system (section 1)” of your
Owner’s Manual.
1
2
2ND ROW SEAT ADJUSTMENTS
To slide the seat forward or backward, pull the lever
1 up and hold it while you
slide the seat forward or backward to the
desired position.
Release the lever 1 to lock the seat in position.
To adjust the angle of the seatback, pull the lever 2 up and lean back. To bring
the seatback forward, pull the lever up and lean your body forward.
Release the lever 2 to lock the seatback in position. Please see your Owner’s Manual for important safety information, system limitations, and additional
operating and feature information.
For more information, refer to the “Safety — Seats, seat belts and supplemental restraint system
(section 1)” of your Owner’s Manual.
ENTERING/EXITING THE 3RD ROW SEATS
The 2nd row seats can tilt and slide
forward for easy entry and exit to and from
the 3
rd row seats.
To enter or exit the 3rd row seat, pull the lever
1 or 2 up to tilt down the seatback and
slide the seat forward.
Return and lock the 2nd row seats by sliding
the seats to the rearmost position and tilting
up the seatback af ter use.
Please see your Owner’s Manual for important safety
information, system limitations, and additional operating and
feature information.
For more information, refer to the “Safety — Seats, seat belts
and supplemental restraint system (section 1)” of your
Owner’s Manual.1
2
2
1
2512696_17a_Quest_US_pQRG_092016.indd 119/20/16 4:47 PM
To view detailed instructional videos regarding these and other features, please go to www.nissanownersinfo.mobi.
Page 24 of 32

22
For vehicles equipped with Navigation:
•
R
efer to the “ Voice recognition (section 9)” of your Navigation System Owner’s
Manual for more information.
The “Help” c ommand can be used to hear a list of available commands
at any time.
Reduce background noise as much as possible by closing windows and pointing HVAC vents away from the ceiling.
Speak naturally without long pauses and without raising your voice.
When spe aking phonebook names, please be aware some cellular phones
require the last name to be spoken before the first name. For example, “Michael
Smith” may be spoken as “Smith Michael”.
To cancel a Voice Recognition session without Navigation, say “Cancel”, “Quit” or press and hold the
button on the steering wheel. For vehicles with
Navigation, say “Exit” or press and hold the
button on the steering wheel.
Voice commands can be used to operate various Bluetooth® system features using the Nissan Voice Recognition system. See your Owner’s Manual for
detailed information.
If the Voice Recognition system does not recognize your voice commands, train the system using the Speaker Adaptation Mode.
For more detailed information and instructions, refer to your cellular phone’s Owner’s Manual and visit www.NissanUSA.com/bluetooth.
*Some jurisdictions prohibit the use of cellular telephones while driving.
Please see your Owner’s Manual for important safety information, system limitations, and additional
operating and feature information.
For more information, refer to the “Monitor, heater, air conditioner, audio, phone and voice recognition
systems (section 4)” of your Owner’s Manual.
BLUETOOTH® SYSTEM WITHOUT NAVIGATION* (if so equipped)
CONNECTING PROCEDURE
1
.
Press the
button on the steering
wheel. The system announces the
available commands.
2.
Sa
y: “Connect Phone”. The system
acknowledges the command and announces
the next set of available commands.
3
.
Sa
y: “Add Phone”. The system acknowledges
the command and asks you to initiate connecting from the cellular phone
handset.
4. Initiate c
onnecting from the cellular phone.
• The c
onnecting procedure varies according to each cellular phone model. For
detailed connecting instructions and a list of compatible cellular phones, please
visit www.NissanUSA.com/bluetooth.
• When pr
ompted for a PIN, enter “1234” from the handset. (The PIN is assigned by
NISSAN and cannot be changed.)
•
F
or cellular phones that support SSP (Simple Secure Pairing), confirm that the
PIN on the vehicle display matches the PIN displayed on the cellular phone.
SYSTEM GUIDE
2512696_17a_Quest_US_pQRG_092016.indd 229/20/16 4:47 PM
To view detailed instructional videos regarding these and other features, please go to www.nissanownersinfo.mobi.
Page 26 of 32

24
• When prompted for a PIN, enter “1234” from
the handset. (The PIN is assigned by NISSAN
and cannot be changed.)
•
F
or cellular phones that support SSP (Simple
Secure Pairing), confirm that the PIN on the
vehicle display matches the PIN displayed on
the cellular phone.
5
.
When the c
onnecting is complete, the screen will return to the “Phone”
menu display.
PHONEBOOK SETUP
Depending on y our cellular phone, the system
may automatically download your cellular
phone’s entire phonebook to the vehicle’s
Bluetooth® system.
If the phonebook does not do wnload
automatically, up to 40 entries can be
manually downloaded.
To manually download entries:
1.
Press the
button on the steering wheel
and select the “Quick Dial” key.
2.
T
ouch the “Add New” key at the top of the
display. There are different methods to
input a phone number. Select one of the
following options:
•
“C
opy from Call History”- to save a number from the Outgoing, Incoming or
Missed Calls lists.
•
“C
opy from the Phonebook”- to save a number that has been downloaded
from your handset to the vehicle.
•
“Enter Number b
y Keypad”- to input the number and name manually.
MAKING A CALL
To make a call, follow this procedure:
1.
Press the
button on the steering wheel.
The “Phone” menu will appear on the control
panel display.
2.
T
ouch the “Quick Dial”, “Call History”,
“Phonebook” or “Dial Number” key.
3. Selec
t the desired entry from the list.
4. Selec
t “Call” to start dialing the number.
RECEIVING/ENDING A CALL
To accept the call, press the button on the
steering wheel or touch the “Answer” key.
SYSTEM GUIDE
2512696_17a_Quest_US_pQRG_092016.indd 249/20/16 4:48 PM
To view detailed instructional videos regarding these and other features, please go to www.nissanownersinfo.mobi.