Page 185 of 558

Power Close:
The power liftgate automatically moves from the
fully open position to the secondary position.
When the liftgate reaches the secondary posi-
tion, the cinching motor engages and pulls the
liftgate to its primary latch position. Power close
takes approximately7–10seconds. The power
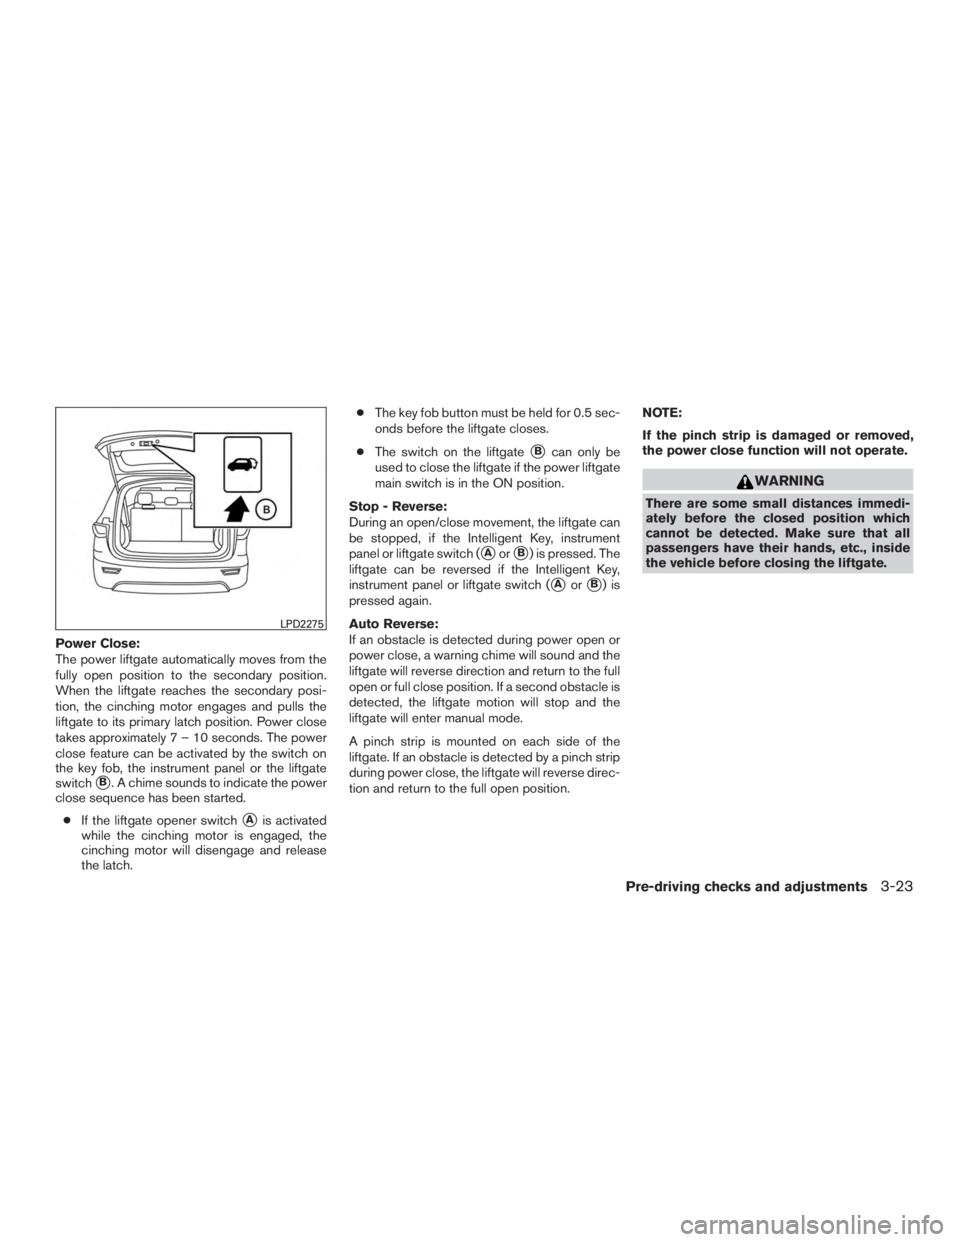
close feature can be activated by the switch on
the key fob, the instrument panel or the liftgate
switch
�B. A chime sounds to indicate the power
close sequence has been started.
● If the liftgate opener switch
�Ais activated
while the cinching motor is engaged, the
cinching motor will disengage and release
the latch. ●
The key fob button must be held for 0.5 sec-
onds before the liftgate closes.
● The switch on the liftgate
�Bcan only be
used to close the liftgate if the power liftgate
main switch is in the ON position.
Stop - Reverse:
During an open/close movement, the liftgate can
be stopped, if the Intelligent Key, instrument
panel or liftgate switch (
�Aor�B) is pressed. The
liftgate can be reversed if the Intelligent Key,
instrument panel or liftgate switch (
�Aor�B)is
pressed again.
Auto Reverse:
If an obstacle is detected during power open or
power close, a warning chime will sound and the
liftgate will reverse direction and return to the full
open or full close position. If a second obstacle is
detected, the liftgate motion will stop and the
liftgate will enter manual mode.
A pinch strip is mounted on each side of the
liftgate. If an obstacle is detected by a pinch strip
during power close, the liftgate will reverse direc-
tion and return to the full open position. NOTE:
If the pinch strip is damaged or removed,
the power close function will not operate.
Page 243 of 558

Sonar function settings
To set up the sonar function to your preferred
settings, press the SETTING button, select the
“Others” key and then select the “Camera” key on
the center display.
Designs and items displayed on the screen
may vary depending on the models.
Sonar Volume:Adjust the volume of the buzzer.
Sonar: When this item is turned ON, the rear
sonar is activated. When this item is turned OFF
(indicator turns off) , the rear sonar is deactivated.
The amber markers are displayed at the corners
of the vehicle icon. The next time the ignition
switch is placed in the “ON” position, “sonar is
OFF” is displayed briefly.
Towing mode: When this item is turned ON,
only the rear sonar is OFF. The amber markers are
displayed at the rear corners of the vehicle icon.
Show Camera when Sonar Activate: When
this item is turned ON, the camera view is auto-
matically shown on the display in the case that
the distance to the objects measured by the
sonar is becoming short.
Sonar Sensitivity: Adjust the sensitivity level of
the sonar higher (right) or lower (left) .
SONAR SYSTEM LIMITATIONS
Page 282 of 558
Changing play mode
Touch the “Play Mode” key on the display to
select the play mode.
Only one of the two connected USB memory
devices can be operated by the voice recognition
system.
iPod® PLAYER
Connecting iPod®
Page 383 of 558
system may be activated. The Malfunction
Indicator Light (MIL) may come on to indi-
cate the fail-safe mode is activated. For
additional information, refer to “Malfunc-
tion Indicator Light (MIL)” in the “Instru-
ments and controls” section of this manual.
This will occur even if all electrical circuits
are functioning properly. In this case, place
the ignition switch in the OFF position and
wait for 10 seconds. Then push the switch
back to the ON position. The vehicle should
return to its normal operating condition. If
it does not return to its normal operating
condition, have the transmission checked
and repaired, if necessary. It is recom-
mended that you visit a NISSAN dealer for
this service.
Page 427 of 558

●If a warning message continues to be
displayed after the above operations,
have your vehicle checked as soon as
possible. It is recommended that you
visit a NISSAN dealer for this service.
4WD shift switch
The 4WD system is used to select the 2WD,
AUTO or LOCK mode depending on the driving
conditions.
Turn the 4WD mode switch, located on the cen-
ter console, to select 2WD, AUTO, or LOCK.
● 2WD – Turn the 4WD mode switch to the
2WD position. The 2WD indicator light in
the vehicle information display illuminates.
● AUTO – Turn the 4WD mode switch to the
neutral (AUTO) position. The 4WD AUTO
indicator light in the vehicle information dis-
play illuminates. ●
LOCK – To engage the LOCK mode, turn
the 4WD mode switch to the LOCK posi-
tion. The switch will return to the AUTO
position automatically and the 4WD LOCK
indicator light in the vehicle information dis-
play illuminates. To disengage the LOCK
mode, turn the switch to the LOCK position
again. The switch will return to the AUTO
position automatically, and the 4WD LOCK
indicator light turns into the AUTO indicator
light. The LOCK mode will automatically be
canceled when the ignition switch is turned
to the OFF position.
Page 453 of 558
Four-wheel drive models
NISSAN recommends that towing dollies be
used when towing your vehicle or place the ve-
hicle on a flatbed truck as illustrated.
Page 454 of 558
Front-Wheel Drive (FWD) models
NISSAN recommends that your vehicle be towed
with the driving wheels (front) off the ground or
place the vehicle on a flatbed truck as illustrated.
Page 462 of 558

When installing Genuine NISSAN floor mats,
follow the installation instructions provided with
the mat and the following:1. Position the floor mat in the floorwell so that the floor mat grommet holes are aligned with
the hook(s) .
2. Secure the grommet holes into the hook(s) and ensure that the floor mat is properly
positioned.
3. Make sure the floor mat does not interfere with pedal operation. With the ignition in the
OFF position, the selector lever in the P
(Park) position (Automatic Transmission
models) or the shift lever in the N (Neutral)
position (Manual Transmission models) fully
apply and release all pedals. The floor mat
must not interfere with pedal operation or
prevent the pedal from returning to its nor-
mal position.
It is recommended that you visit a NISSAN dealer
for details about installing the floor mats in your
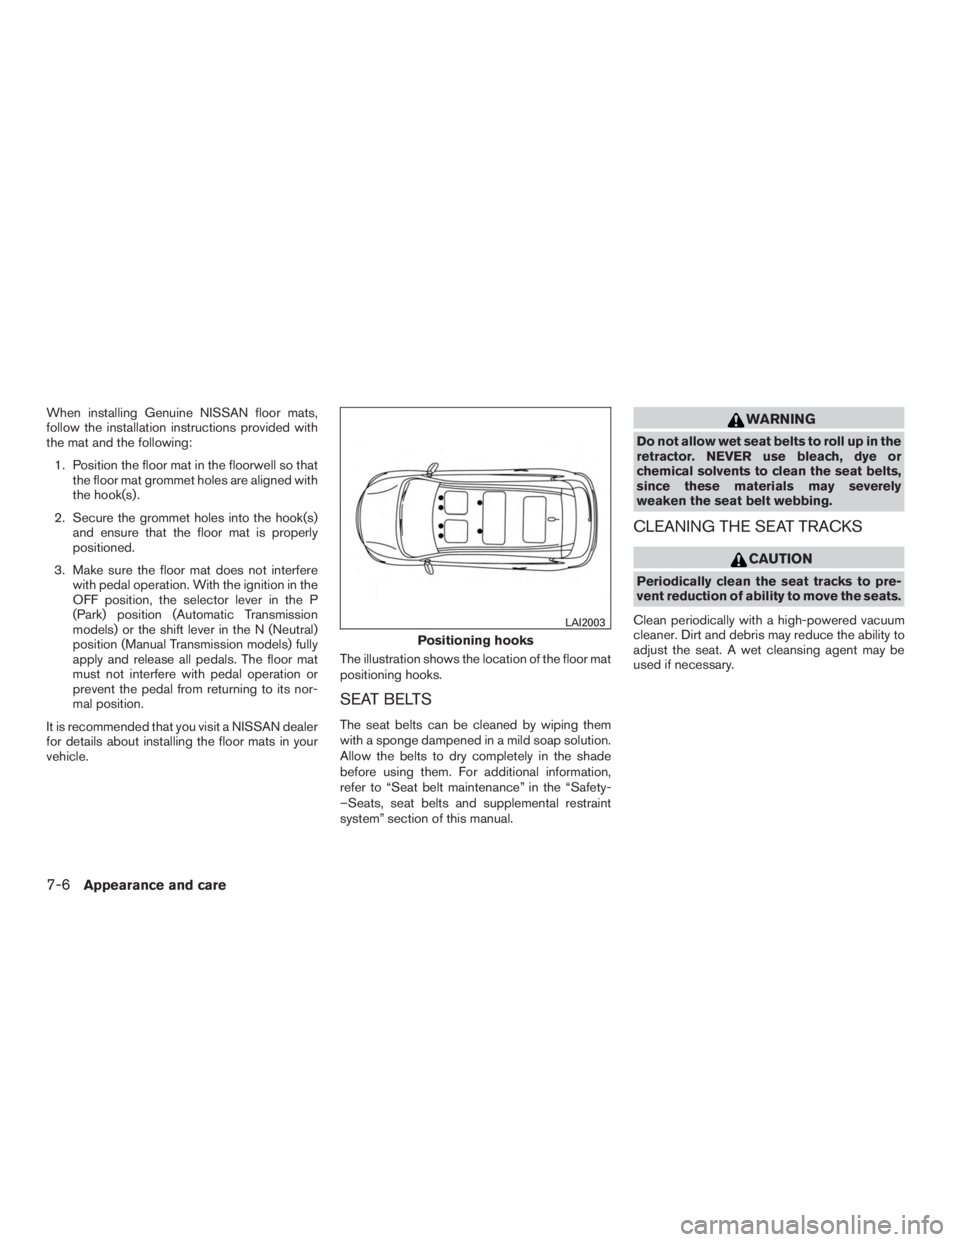
vehicle. The illustration shows the location of the floor mat
positioning hooks.
SEAT BELTS
The seat belts can be cleaned by wiping them
with a sponge dampened in a mild soap solution.
Allow the belts to dry completely in the shade
before using them. For additional information,
refer to “Seat belt maintenance” in the “Safety-
–Seats, seat belts and supplemental restraint
system” section of this manual.