2017 NISSAN MURANO lights
[x] Cancel search: lightsPage 22 of 38

21
20
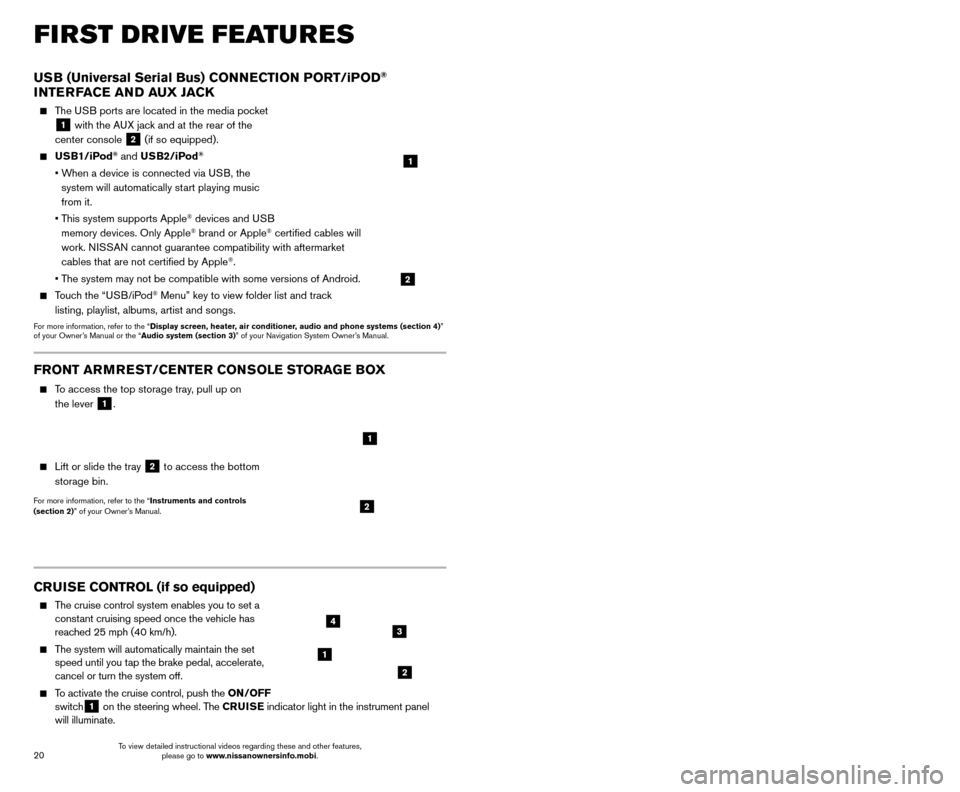
CRUISE CONTROL (if so equipped)
The cruise control system enables you to set a
constant cruising speed once the vehicle has
reached 25 mph (40 km/h).
The system will automatically maintain the set speed until you tap the brake pedal, accelerate,
cancel or turn the system off.
To activate the cruise control, push the ON/OFF
switch1 on the steering wheel. The CRUISE
indicator light in the instrument panel
will illuminate.
USB (Universal Serial Bus) CONNECTION PORT/iPOD®
INTERFACE AND AUX JACK
The USB ports are located in the media pocket
1 with the AUX jack and at the rear of the
center console
2 (if so equipped).
USB1/iPod® and USB2/iPod®
• When a device is connected via USB, the
system will automatically start playing music
from it.
•
T
his system supports Apple
® devices and USB
memory devices. Only Apple® brand or Apple® certified cables will
work. NISSAN cannot guarantee compatibility with aftermarket
cables that are not certified by Apple
®.
• T
he system may not be compatible with some versions of Android.
Touch the “USB/iPod® Menu” key to view folder list and track
listing, playlist, albums, artist and songs.
For more information, refer to the “Display screen, heater, air conditioner, audio and phone systems (section 4)”
of your Owner’s Manual or the “Audio system (section 3)” of your Navigation System Owner’s Manual.
1
2
FIRST DRIVE FEATURES
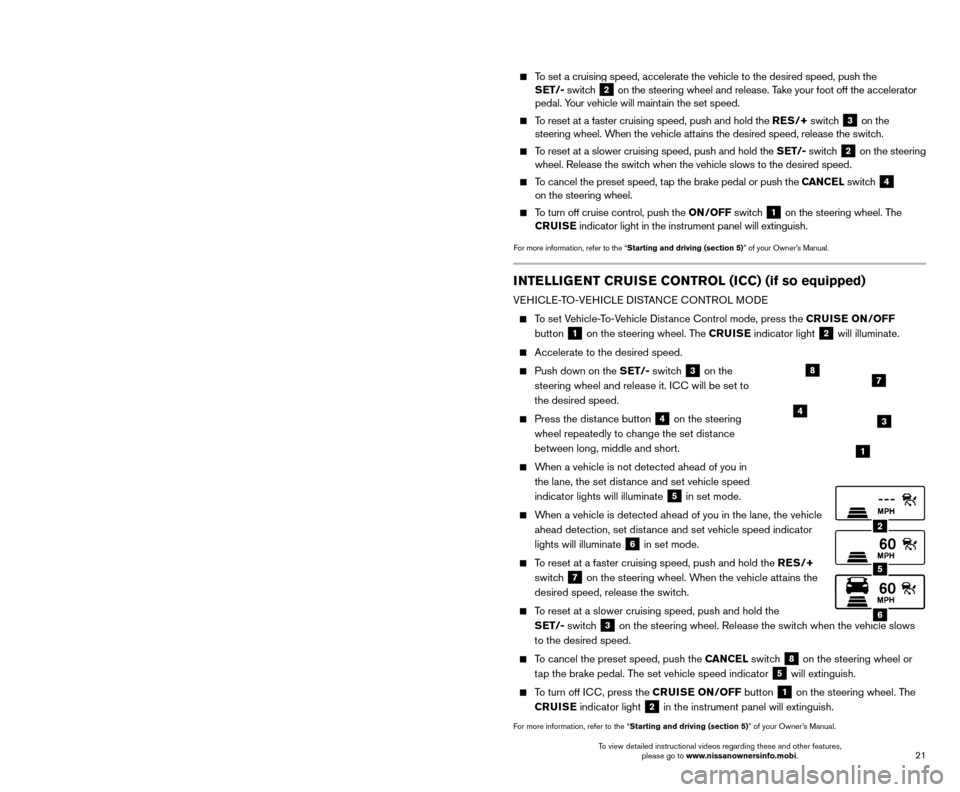
To set a cruising speed, accelerate the vehicle to the desired speed, pus\
h the
SET/- switch 2 on the steering wheel and release. Take your foot off the accelerator
pedal. Your vehicle will maintain the set speed.
To reset at a faster cruising speed, push and hold the RES/+ switch 3 on the
steering wheel. When the vehicle attains the desired speed, release the switch.
To reset at a slower cruising speed, push and hold the SET/- switch 2 on the steering
wheel. Release the switch when the vehicle slows to the desired speed.
To cancel the preset speed, tap the brake pedal or push the CANCEL switch 4
on the steering wheel.
To turn off cruise control, push the ON/OFF switch 1 on the steering wheel. The
CRUISE indicator light in the instrument panel will extinguish.
For more information, refer to the “Starting and driving (section 5)” of your Owner’s Manual.
1
2
34
FRONT ARMREST /CENTER CONSOLE STORAGE BOX
To access the top storage tray, pull up on
the lever
1.
Lift or slide the tray 2 to access the bottom
storage bin.
For more information, refer to the “Instruments and controls
(section 2)” of your Owner’s Manual.2
1
INTELLIGENT CRUISE CONTROL (ICC) (if so equipped)
VEHICLE-TO-VEHICLE DISTANCE CONTROL MODE
To set Vehicle-To-Vehicle Distance Control mode, press the CRUISE ON/OFF button
1 on the steering wheel. The CRUISE
indicator light 2 will illuminate.
Accelerate to the desired speed.
Push down on the SET/- switch 3 on the
steering wheel and release it. ICC will be set to
the desired speed.
Press the dist ance button 4 on the steering
wheel repeatedly to change the set distance
between long, middle and short.
When a vehicle is not detected ahead of you in the lane, the set distance and set vehicle speed
indicator lights will illuminate
5 in set mode.
When a vehicle is detected ahead of you in the lane, the vehicle ahead detection, set distance and set vehicle speed indicator
lights will illuminate
6 in set mode.
To reset at a faster cruising speed, push and hold the RES/+
switch
7 on the steering wheel. When the vehicle attains the
desired speed, release the switch.
To reset at a slower cruising speed, push and hold the SET/- switch
3 on the steering wheel. Release the switch when the vehicle slows
to the desired speed.
To cancel the preset speed, push the CANCEL switch 8 on the steering wheel or
tap the brake pedal. The set vehicle speed indicator
5 will extinguish.
To turn off ICC, press the CRUISE ON/OFF button 1 on the steering wheel. The
CRUISE indicator light 2 in the instrument panel will extinguish.
For more information, refer to the “Starting and driving (section 5)” of your Owner’s Manual.
2
5
6
1
4
87
3
To view detailed instructional videos regarding these and other features, please go to www.nissanownersinfo.mobi. To view detailed instructional videos regarding these and other features,
please go to www.nissanownersinfo.mobi.
Page 23 of 38

21
20
CRUISE CONTROL (if so equipped)
The cruise control system enables you to set a
constant cruising speed once the vehicle has
reached 25 mph (40 km/h).
The system will automatically maintain the set speed until you tap the brake pedal, accelerate,
cancel or turn the system off.
To activate the cruise control, push the ON/OFF
switch1 on the steering wheel. The CRUISE
indicator light in the instrument panel
will illuminate.
USB (Universal Serial Bus) CONNECTION PORT/iPOD®
INTERFACE AND AUX JACK
The USB ports are located in the media pocket
1 with the AUX jack and at the rear of the
center console
2 (if so equipped).
USB1/iPod® and USB2/iPod®
• When a device is connected via USB, the
system will automatically start playing music
from it.
•
T
his system supports Apple
® devices and USB
memory devices. Only Apple® brand or Apple® certified cables will
work. NISSAN cannot guarantee compatibility with aftermarket
cables that are not certified by Apple
®.
• T
he system may not be compatible with some versions of Android.
Touch the “USB/iPod® Menu” key to view folder list and track
listing, playlist, albums, artist and songs.
For more information, refer to the “Display screen, heater, air conditioner, audio and phone systems (section 4)”
of your Owner’s Manual or the “Audio system (section 3)” of your Navigation System Owner’s Manual.
1
2
FIRST DRIVE FEATURES
To set a cruising speed, accelerate the vehicle to the desired speed, pus\
h the
SET/- switch 2 on the steering wheel and release. Take your foot off the accelerator
pedal. Your vehicle will maintain the set speed.
To reset at a faster cruising speed, push and hold the RES/+ switch 3 on the
steering wheel. When the vehicle attains the desired speed, release the switch.
To reset at a slower cruising speed, push and hold the SET/- switch 2 on the steering
wheel. Release the switch when the vehicle slows to the desired speed.
To cancel the preset speed, tap the brake pedal or push the CANCEL switch 4
on the steering wheel.
To turn off cruise control, push the ON/OFF switch 1 on the steering wheel. The
CRUISE indicator light in the instrument panel will extinguish.
For more information, refer to the “Starting and driving (section 5)” of your Owner’s Manual.
1
2
34
FRONT ARMREST /CENTER CONSOLE STORAGE BOX
To access the top storage tray, pull up on
the lever
1.
Lift or slide the tray 2 to access the bottom
storage bin.
For more information, refer to the “Instruments and controls
(section 2)” of your Owner’s Manual.2
1
INTELLIGENT CRUISE CONTROL (ICC) (if so equipped)
VEHICLE-TO-VEHICLE DISTANCE CONTROL MODE
To set Vehicle-To-Vehicle Distance Control mode, press the CRUISE ON/OFF button
1 on the steering wheel. The CRUISE
indicator light 2 will illuminate.
Accelerate to the desired speed.
Push down on the SET/- switch 3 on the
steering wheel and release it. ICC will be set to
the desired speed.
Press the dist ance button 4 on the steering
wheel repeatedly to change the set distance
between long, middle and short.
When a vehicle is not detected ahead of you in the lane, the set distance and set vehicle speed
indicator lights will illuminate
5 in set mode.
When a vehicle is detected ahead of you in the lane, the vehicle ahead detection, set distance and set vehicle speed indicator
lights will illuminate
6 in set mode.
To reset at a faster cruising speed, push and hold the RES/+
switch
7 on the steering wheel. When the vehicle attains the
desired speed, release the switch.
To reset at a slower cruising speed, push and hold the SET/- switch
3 on the steering wheel. Release the switch when the vehicle slows
to the desired speed.
To cancel the preset speed, push the CANCEL switch 8 on the steering wheel or
tap the brake pedal. The set vehicle speed indicator
5 will extinguish.
To turn off ICC, press the CRUISE ON/OFF button 1 on the steering wheel. The
CRUISE indicator light 2 in the instrument panel will extinguish.
For more information, refer to the “Starting and driving (section 5)” of your Owner’s Manual.
2
5
6
1
4
87
3
To view detailed instructional videos regarding these and other features, please go to www.nissanownersinfo.mobi. To view detailed instructional videos regarding these and other features,
please go to www.nissanownersinfo.mobi.
Page 32 of 38

31
30
SYSTEM GUIDE
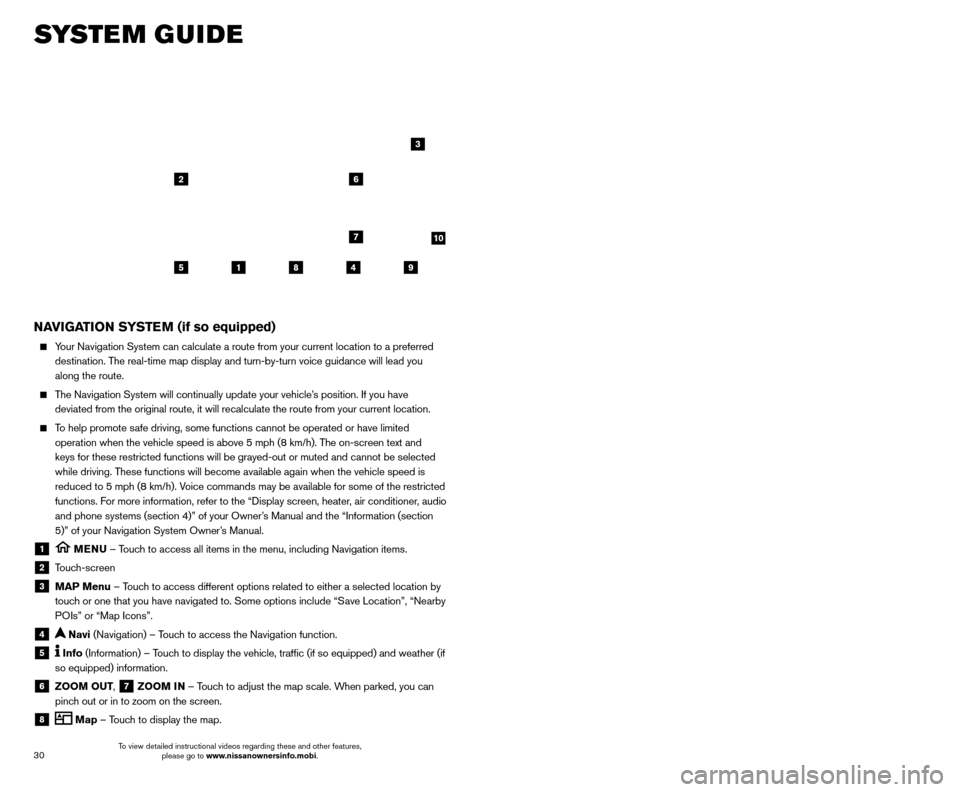
NAVIGATION SYSTEM (if so equipped)
Your Navigation System can calculate a route from your current location t\
o a preferred
destination. The real-time map display and turn-by-turn voice guidance will lead you
along the route.
The Navigation System will continually update your vehicle’s position. If you have deviated from the original route, it will recalculate the route from you\
r current location.
To help promote safe driving, some functions cannot be operated or have limited operation when the vehicle speed is above 5 mph (8 km/h). The on-screen text and
keys for these restricted functions will be grayed-out or muted and cann\
ot be selected
while driving. These functions will become available again when the vehicle speed is
reduced to 5 mph (8 km/h). Voice commands may be available for some of the restricted
functions. For more information, refer to the “Display screen, heater, air conditioner, audio
and phone systems (section 4)” of your Owner’s Manual and the “Information (section
5)” of your Navigation System Owner’s Manual.
1 MENU – Touch to access all items in the menu, including Navigation items.
2 Touch-screen
3 MAP Menu – Touch to access different options related to either a selected location by
touch or one that you have navigated to. Some options include “Save Location”, “Nearby
POIs” or “Map Icons”.
4 Navi (Navigation) – Touch to access the Navigation function.
5 Info (Information) – Touch to display the vehicle, traffic (if so equipped) and weather (if
so equipped) information.
6 ZOOM OUT, 7 ZOOM IN – Touch to adjust the map scale. When parked, you can
pinch out or in to zoom on the screen.
8 Map – Touch to display the map.
5
26
3
7
1849
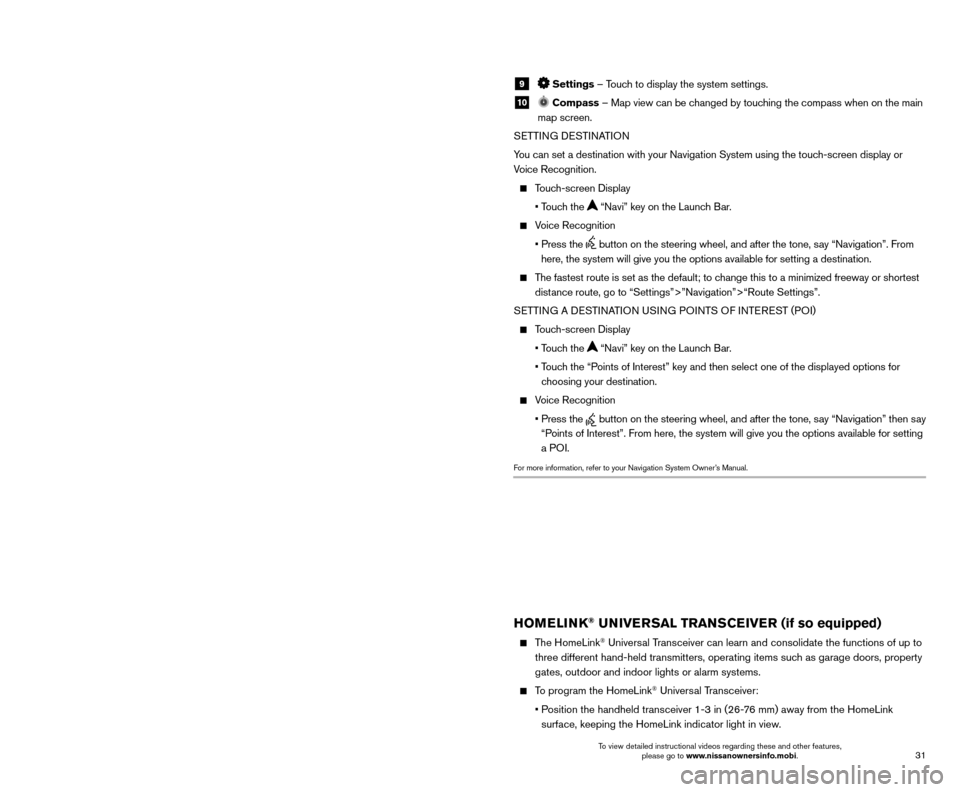
9 Settings – Touch to display the system settings.
10 Compass – Map view can be changed by touching the compass when on the main
map screen.
SETTING DESTINATION
You can set a destination with your Navigation System using the touch-screen display or
Voice Recognition.
Touch-screen Display
• T
ouch the
“Navi” key on the Launch Bar.
Voice Recognition
•
Press the button on the steering wheel, and after the tone, say “Navigation”. From
here, the system will give you the options available for setting a desti\
nation.
The fastest route is set as the default; to change this to a minimized freeway or shortest distance route, go to “Settings”>”Navigation”>“Route Settings\
”.
SETTING A DESTINATION USING POINTS OF INTEREST (POI)
Touch-screen Display
• T
ouch the
“Navi” key on the Launch Bar.
•
T
ouch the “Points of Interest” key and then select one of the displayed options f\
or
choosing your destination.
Voice Recognition
•
Press the button on the steering wheel, and after the tone, say “Navigation” then say
“Points of Interest”. From here, the system will give you the options a\
vailable for setting
a POI.
For more information, refer to your Navigation System Owner’s Manual.
HOMELINK® UNIVERSAL TRANSCEIVER (if so equipped)
The HomeLink® Universal Transceiver can learn and consolidate the functions of up to
three different hand-held transmitters, operating items such as garage doors, property
gates, outdoor and indoor lights or alarm systems.
To program the HomeLink® Universal Transceiver:
•
P
osition the handheld transceiver 1-3 in (26-76 mm) away from the HomeLink
surface, keeping the HomeLink indicator light in view.
HOMELINK
10
To view detailed instructional videos regarding these and other features, please go to www.nissanownersinfo.mobi. To view detailed instructional videos regarding these and other features,
please go to www.nissanownersinfo.mobi.
Page 33 of 38

31
30
SYSTEM GUIDE
NAVIGATION SYSTEM (if so equipped)
Your Navigation System can calculate a route from your current location t\
o a preferred
destination. The real-time map display and turn-by-turn voice guidance will lead you
along the route.
The Navigation System will continually update your vehicle’s position. If you have deviated from the original route, it will recalculate the route from you\
r current location.
To help promote safe driving, some functions cannot be operated or have limited operation when the vehicle speed is above 5 mph (8 km/h). The on-screen text and
keys for these restricted functions will be grayed-out or muted and cann\
ot be selected
while driving. These functions will become available again when the vehicle speed is
reduced to 5 mph (8 km/h). Voice commands may be available for some of the restricted
functions. For more information, refer to the “Display screen, heater, air conditioner, audio
and phone systems (section 4)” of your Owner’s Manual and the “Information (section
5)” of your Navigation System Owner’s Manual.
1 MENU – Touch to access all items in the menu, including Navigation items.
2 Touch-screen
3 MAP Menu – Touch to access different options related to either a selected location by
touch or one that you have navigated to. Some options include “Save Location”, “Nearby
POIs” or “Map Icons”.
4 Navi (Navigation) – Touch to access the Navigation function.
5 Info (Information) – Touch to display the vehicle, traffic (if so equipped) and weather (if
so equipped) information.
6 ZOOM OUT, 7 ZOOM IN – Touch to adjust the map scale. When parked, you can
pinch out or in to zoom on the screen.
8 Map – Touch to display the map.
5
26
3
7
1849
9 Settings – Touch to display the system settings.
10 Compass – Map view can be changed by touching the compass when on the main
map screen.
SETTING DESTINATION
You can set a destination with your Navigation System using the touch-screen display or
Voice Recognition.
Touch-screen Display
• T
ouch the
“Navi” key on the Launch Bar.
Voice Recognition
•
Press the button on the steering wheel, and after the tone, say “Navigation”. From
here, the system will give you the options available for setting a desti\
nation.
The fastest route is set as the default; to change this to a minimized freeway or shortest distance route, go to “Settings”>”Navigation”>“Route Settings\
”.
SETTING A DESTINATION USING POINTS OF INTEREST (POI)
Touch-screen Display
• T
ouch the
“Navi” key on the Launch Bar.
•
T
ouch the “Points of Interest” key and then select one of the displayed options f\
or
choosing your destination.
Voice Recognition
•
Press the button on the steering wheel, and after the tone, say “Navigation” then say
“Points of Interest”. From here, the system will give you the options a\
vailable for setting
a POI.
For more information, refer to your Navigation System Owner’s Manual.
HOMELINK® UNIVERSAL TRANSCEIVER (if so equipped)
The HomeLink® Universal Transceiver can learn and consolidate the functions of up to
three different hand-held transmitters, operating items such as garage doors, property
gates, outdoor and indoor lights or alarm systems.
To program the HomeLink® Universal Transceiver:
•
P
osition the handheld transceiver 1-3 in (26-76 mm) away from the HomeLink
surface, keeping the HomeLink indicator light in view.
HOMELINK
10
To view detailed instructional videos regarding these and other features, please go to www.nissanownersinfo.mobi. To view detailed instructional videos regarding these and other features,
please go to www.nissanownersinfo.mobi.