Page 124 of 466
Move the lever up or down until the turn
signal begins to flash, but the lever does not
latch, and release the lever. The turn signal
will automatically flash three times.
Choose the appropriate method to signal a lane
change based on road and traffic conditions.
The 3 Flash Pass feature may be disabled. For
additional information, refer to “How to use the
vehicle information display” in this section.
FOG LIGHT SWITCH (if so equipped)
To turn the fog lights on, turn the headlight switch
to the
Page 269 of 466

The operating range of the engine start function
is inside of the vehicle
�1.
● The luggage area is not included in the op-
erating range, but the Intelligent Key may
function.
● If the Intelligent Key is placed on the instru-
ment panel, inside the glove box, storage bin
or door pocket, the Intelligent Key may not
function.
● If the Intelligent Key is placed near the door
or window outside the vehicle, the Intelligent
Key may function.
PUSH-BUTTON IGNITION SWITCH
POSITIONS
LOCK (Normal parking position)
The ignition switch can only be locked in this
position.
The ignition switch will be unlocked when it is
pushed to the ACC position while carrying the
Intelligent Key.
The ignition switch will lock when any door is
opened or closed with the ignition switched off.
ACC (Accessories)
This position activates electrical accessories,
such as the radio, when the engine is not running. ACC has a battery saver feature that will turn the
ignition switch to the OFF position after a period
of time under the following conditions:
● All doors are closed.
● Shift lever is in P (Park) .
● Hazard lamps are off.
● Turn signals are off.
The battery saver feature will be canceled if any of
the following occur: ● Any door is opened.
● Shift lever is moved out of P (Park) .
● Ignition switch changes position.
● Hazard lamps are turned on.
ON (Normal operating position)
This position turns on the ignition system and
electrical accessories.
ON has a battery saver feature that will turn the
ignition switch to the OFF position, if the vehicle
is not running, after some time under the follow-
ing conditions: ● All doors are closed.
● Shift lever is in P (Park) .
● Hazard lamps are off. ●
Turn signals are off.
The battery saver feature will be canceled if any of
the following occur: ● Any door is opened.
● Shift lever is moved out of the P (Park)
position.
● Ignition switch changes position.
● Hazard lamps are turned on.
● Turn signals are turned on.
Page 330 of 466

WARNING
Failure to follow the warnings and instruc-
tions for proper use of the Driver Attention
Alert system could result in serious injury
or death.
●The Driver Attention Alert system is only
a warning to inform the driver of a po-
tential lack of driver attention or
drowsiness. It will not steer the vehicle
or prevent loss of control.
● The Driver Attention Alert system does
not detect and provide an alert of the
driver’s lack of attention or fatigue in
every situation.
● It is the driver’s responsibility to:
– Stay alert,
– Drive safely,
– Keep the vehicle in the traveling lane,
– Be in control of the vehicle at all times,
– Avoid driving when tired,
– Avoid distractions (texting, etc) .
The Driver Attention Alert system helps alert the
driver if the system detects a lack of attention or
driving fatigue. The system monitors driving style and steering
behavior over a period of time, and it detects
changes from the normal pattern. If the system
detects that driver attention is decreasing over a
period of time, the system uses audible and visual
warnings to suggest that the driver take a break.
DRIVER ATTENTION ALERT SYSTEM
OPERATION
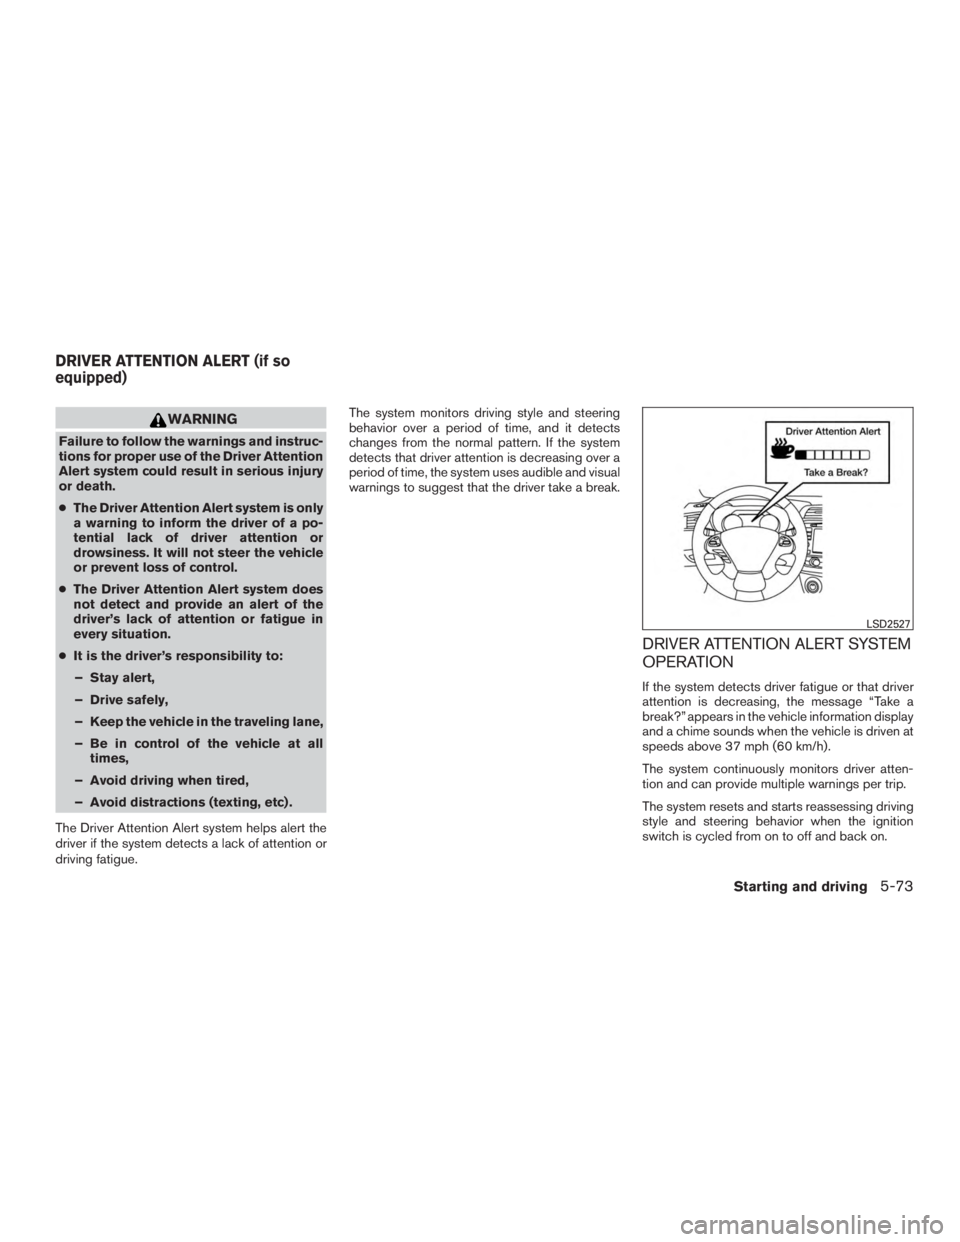
If the system detects driver fatigue or that driver
attention is decreasing, the message “Take a
break?” appears in the vehicle information display
and a chime sounds when the vehicle is driven at
speeds above 37 mph (60 km/h).
The system continuously monitors driver atten-
tion and can provide multiple warnings per trip.
The system resets and starts reassessing driving
style and steering behavior when the ignition
switch is cycled from on to off and back on.
Page 446 of 466

Pre-towing tips
●Be certain your vehicle maintains a level
position when a loaded and/or unloaded
trailer is hitched. Do not drive the vehicle if it
has an abnormal nose-up or nose-down
condition; check for improper tongue load,
overload, worn suspension or other possible
causes of either condition.
● Always secure items in the trailer to prevent
load shift while driving.
●
Keep the cargo load as low as possible in the
trailer to keep the trailer center of gravity low.
● Load the trailer so approximately 60% of the
trailer load is in the front half and 40% is in
the back half. Also make sure the load is
balanced side to side.
● Check your hitch, trailer tire pressure, ve-
hicle tire pressure, trailer light operation, and
trailer wheel lug nuts every time you attach a
trailer to the vehicle.
● Be certain your rearview mirrors conform to
all federal, state or local regulations. If not,
install any mirrors required for towing before
driving the vehicle. ●
Determine the overall height of the vehicle
and trailer so the required clearance is
known.
Trailer towing tips
In order to gain skill and an understanding of the
vehicle’s behavior, you should practice turning,
stopping and backing up in an area which is free
from traffic. Steering stability and braking perfor-
mance will be somewhat different than under
normal driving conditions.
● Always secure items in the trailer to prevent
load shift while driving.
● Lock the trailer hitch coupler with a pin or
lock to prevent the coupler from inadver-
tently becoming unlatched.
● Avoid abrupt starts, acceleration or stops.
● Avoid sharp turns or lane changes.
● Always drive your vehicle at a moderate
speed.
● When backing up, hold the bottom of the
steering wheel with one hand. Move your
hand in the direction in which you want the
trailer to go. Make small corrections and
back up slowly. If possible, have someone
guide you when you are backing up. Always block the wheels on both vehicle and
trailer when parking. Parking on a slope is not
recommended; however, if you must do so:
Page 448 of 466
●Check your hitch, trailer wiring harness con-
nections, and trailer wheel lug nuts after
50 miles (80 km) of travel and at every break.
● When launching a boat, don’t allow the wa-
ter level to go over the exhaust tail pipe or
rear bumper.
● Make sure you disconnect the trailer lights
before backing the trailer into the water or
the trailer lights may burn out.
When towing a trailer, final drive gear oil
should be replaced and transmission
oil/fluid should be changed more fre-
quently. For additional information, refer to
the “Do-it-yourself” section of this manual.
FLAT TOWING FOR ALL–WHEEL
DRIVE VEHICLE (if so equipped)
Towing your vehicle with all four wheels on the
ground is sometimes called flat towing. This
method is sometimes used when towing a vehicle
behind a recreational vehicle, such as a motor
home.