Page 122 of 466
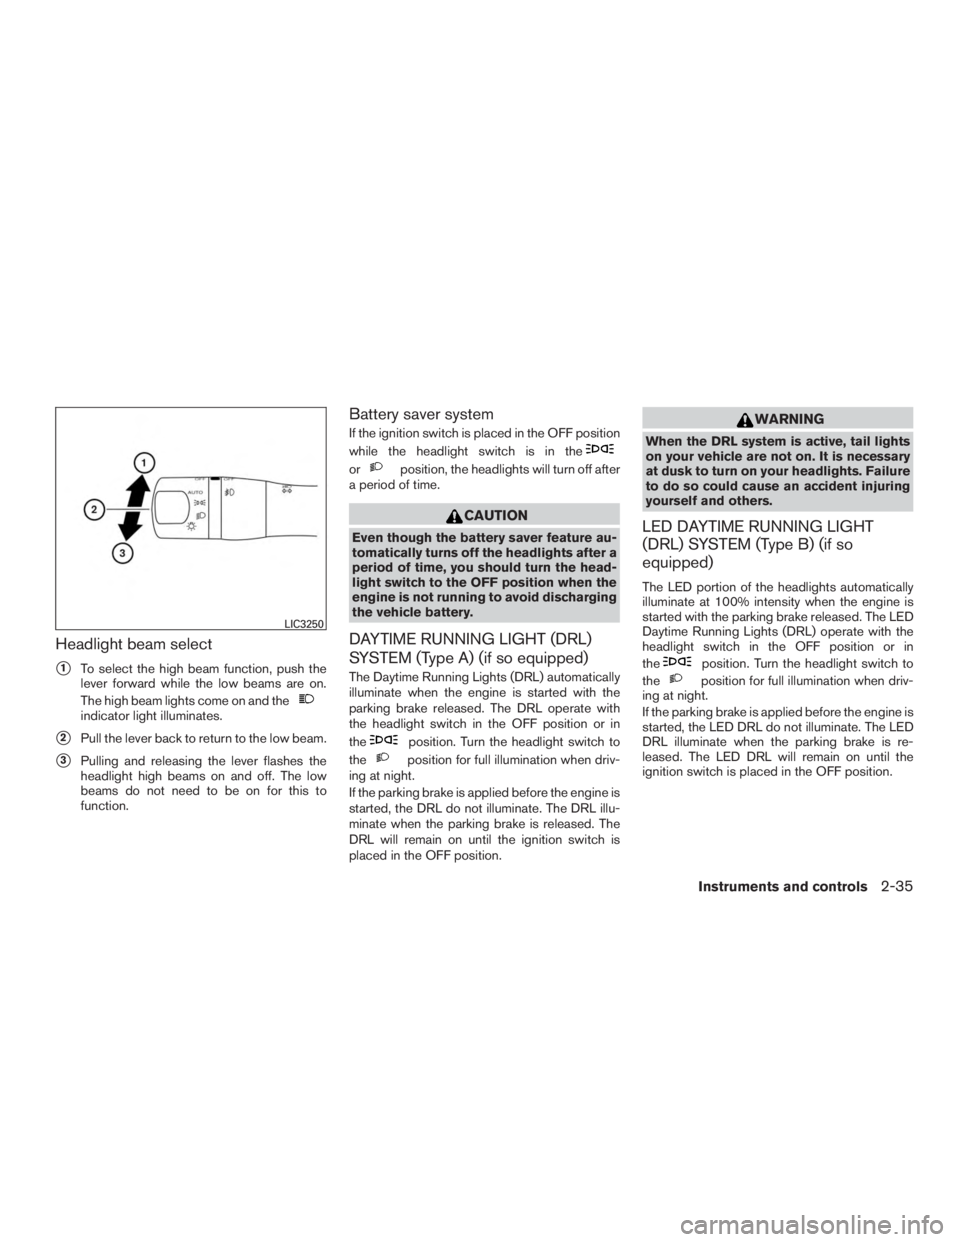
Headlight beam select
�1To select the high beam function, push the
lever forward while the low beams are on.
The high beam lights come on and the
Page 123 of 466
WARNING
When the LED DRL system is active, tail
lights on your vehicle are not on. It is
necessary at dusk to turn on your head-
lights. Failure to do so could cause an
accident injuring yourself and others.
INSTRUMENT BRIGHTNESS
CONTROL
Press the “-” button�Ato decrease the bright-
ness of instrument panel lights.
Press the “+” button
�Bto increase the bright-
ness of instrument panel lights.
TURN SIGNAL SWITCH
Turn signal
�1Move the lever up or down to signal the
turning direction. When the turn is com-
pleted, the turn signal cancels automatically.
Lane change signal
�2Move the lever up or down until the turn
signal begins to flash, but the lever does not
latch, to signal a lane change. Hold the lever
until the lane change is completed.
Page 124 of 466
Move the lever up or down until the turn
signal begins to flash, but the lever does not
latch, and release the lever. The turn signal
will automatically flash three times.
Choose the appropriate method to signal a lane
change based on road and traffic conditions.
The 3 Flash Pass feature may be disabled. For
additional information, refer to “How to use the
vehicle information display” in this section.
FOG LIGHT SWITCH (if so equipped)
To turn the fog lights on, turn the headlight switch
to the
Page 125 of 466
The climate controlled seat warms up or cools
down the front seat by blowing warm or cool air
from under the surface of the seat. The climate
control switch is located on the center console.
The climate controlled seat can be operated as
follows:1. Start the engine.
2. Turn the control knob
�Ato the heat side�1
or the cool side�2. The indicator light�Bon
the control knob will illuminate.
3. Adjust the desired amount of air using the control knob. The climate controlled seat
blower remains on low speed for approxi- mately 60 seconds after turning the switch
on or selecting the desired temperature.
4. When the vehicle’s interior is warmed or cooled, or before you leave the vehicle, be
sure to turn the control knob to the off (cen-
ter) position. The indicator light
�Bon the
control knob goes off with the switch in the
off (center) position.
To check the air filter for the climate controlled
seat, it is recommended that you visit a NISSAN
dealer.
Page 144 of 466
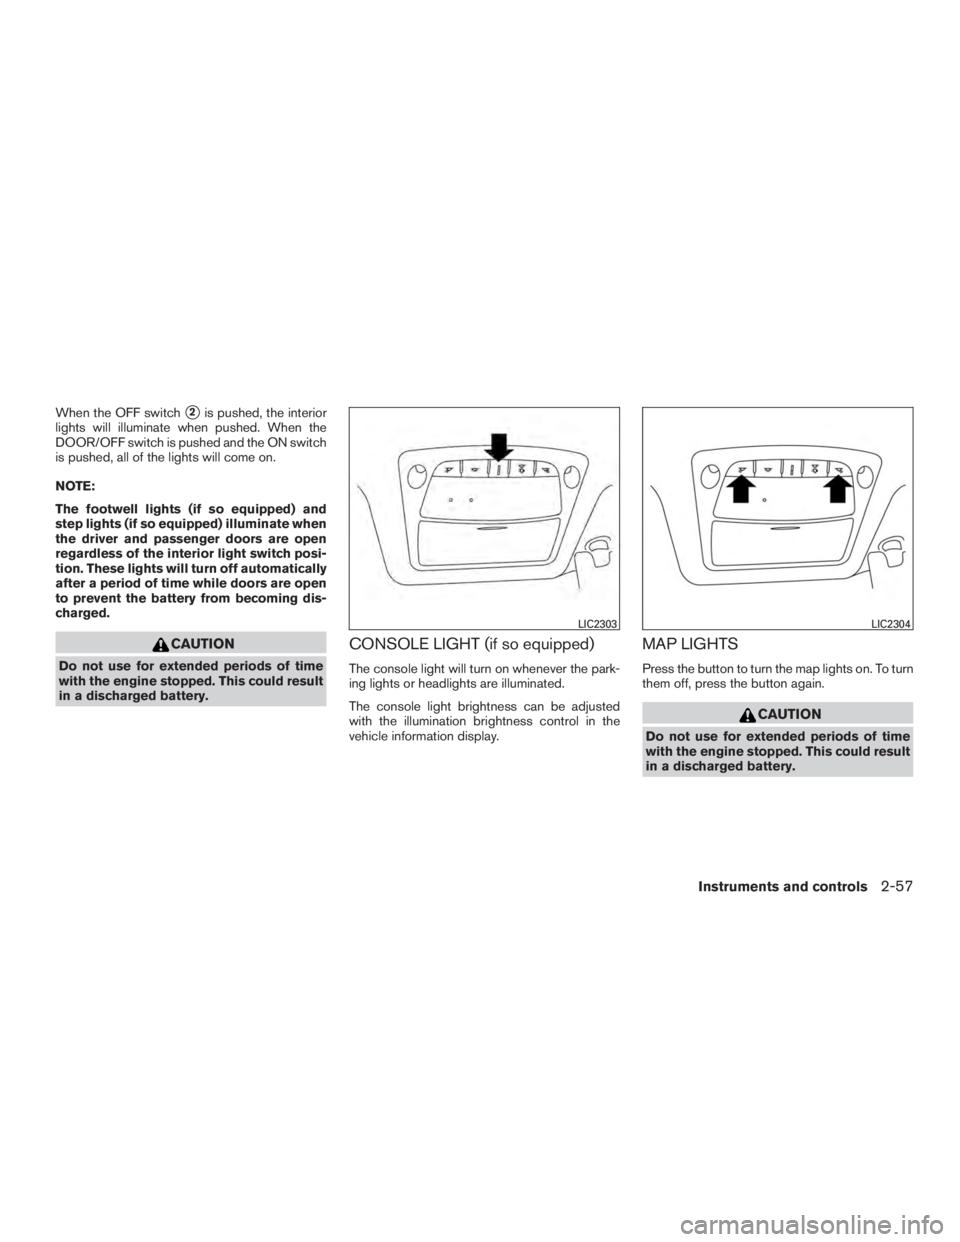
When the OFF switch�2is pushed, the interior
lights will illuminate when pushed. When the
DOOR/OFF switch is pushed and the ON switch
is pushed, all of the lights will come on.
NOTE:
The footwell lights (if so equipped) and
step lights (if so equipped) illuminate when
the driver and passenger doors are open
regardless of the interior light switch posi-
tion. These lights will turn off automatically
after a period of time while doors are open
to prevent the battery from becoming dis-
charged.
Page 146 of 466

WARNING
●Do not use the HomeLink® Universal
Transceiver with any garage door
opener that lacks safety stop and re-
verse features as required by federal
safety standards. (These standards be-
came effective for opener models
manufactured after April 1, 1982) . A ga-
rage door opener which cannot detect
an object in the path of a closing garage
door and then automatically stop and
reverse, does not meet current federal
safety standards. Using a garage door
opener without these features in-
creases the risk of serious injury or
death.
● During the programming procedure
your garage door or security gate will
open and close (if the transmitter is
within range) . Make sure that people or
objects are clear of the garage door,
gate, etc. that you are programming.
● Your vehicle’s engine should be turned
off while programming the HomeLink®
Universal Transceiver.
PROGRAMMING HOMELINK®
If you have any questions or are having difficulty
programming your HomeLink® buttons, refer to
the HomeLink® web site at: www.homelink.com
or call 1-800-355-3515.
NOTE:
Place the ignition switch in the ACC posi-
tion (if so equipped) when programming
HomeLink®. It is also recommended that a
new battery be placed in the hand-held
transmitter of the device being pro-
grammed to HomeLink® for quicker pro-
gramming and accurate transmission of
the radio frequency. 1. Position the end of your hand-held transmit-
ter 1–3 in (2–8 cm) away from the
HomeLink® surface, keeping the
HomeLink® indicator light
�1in view.
Page 172 of 466
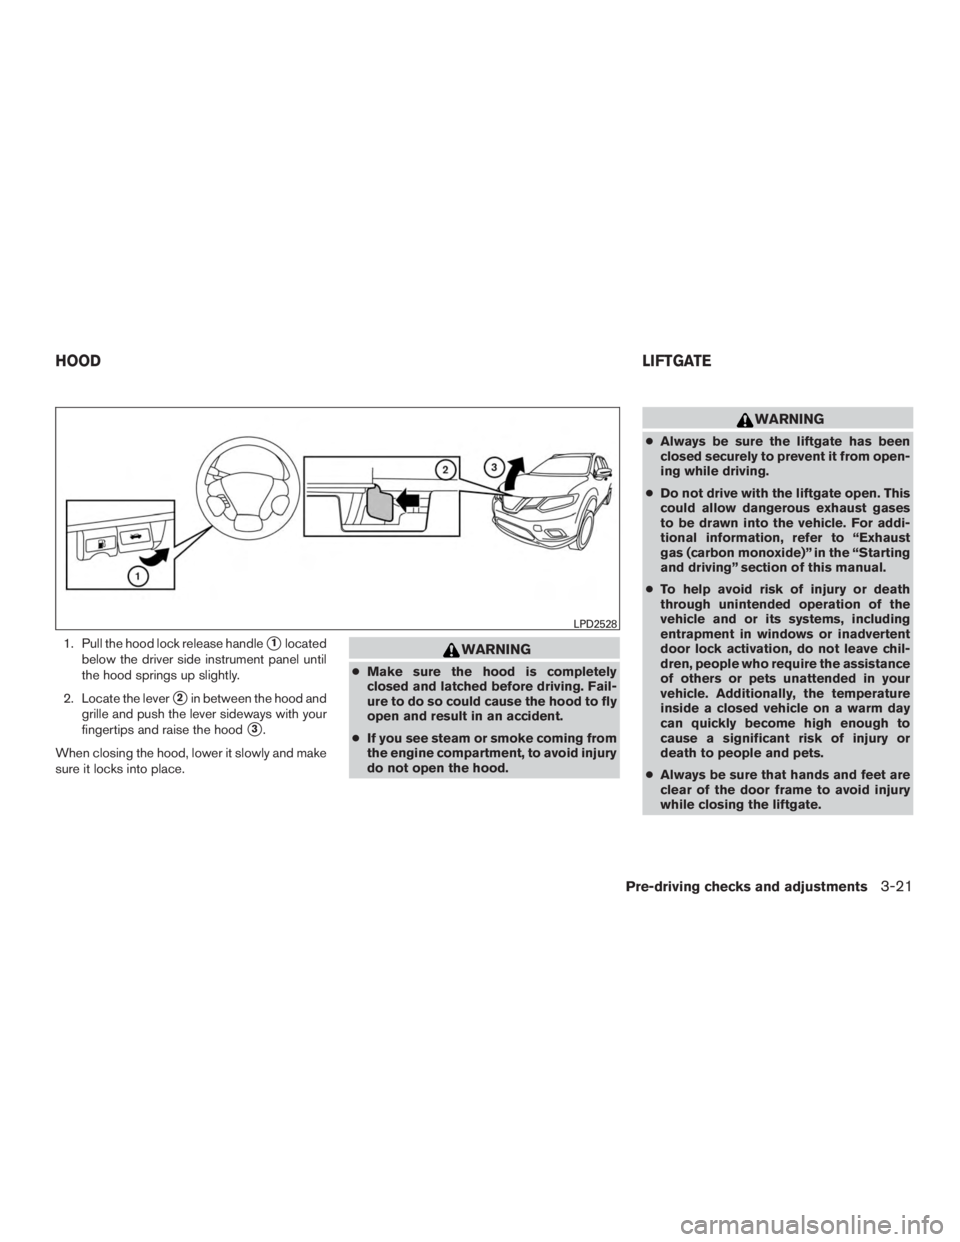
1. Pull the hood lock release handle�1located
below the driver side instrument panel until
the hood springs up slightly.
2. Locate the lever
�2in between the hood and
grille and push the lever sideways with your
fingertips and raise the hood
�3.
When closing the hood, lower it slowly and make
sure it locks into place.
Page 184 of 466
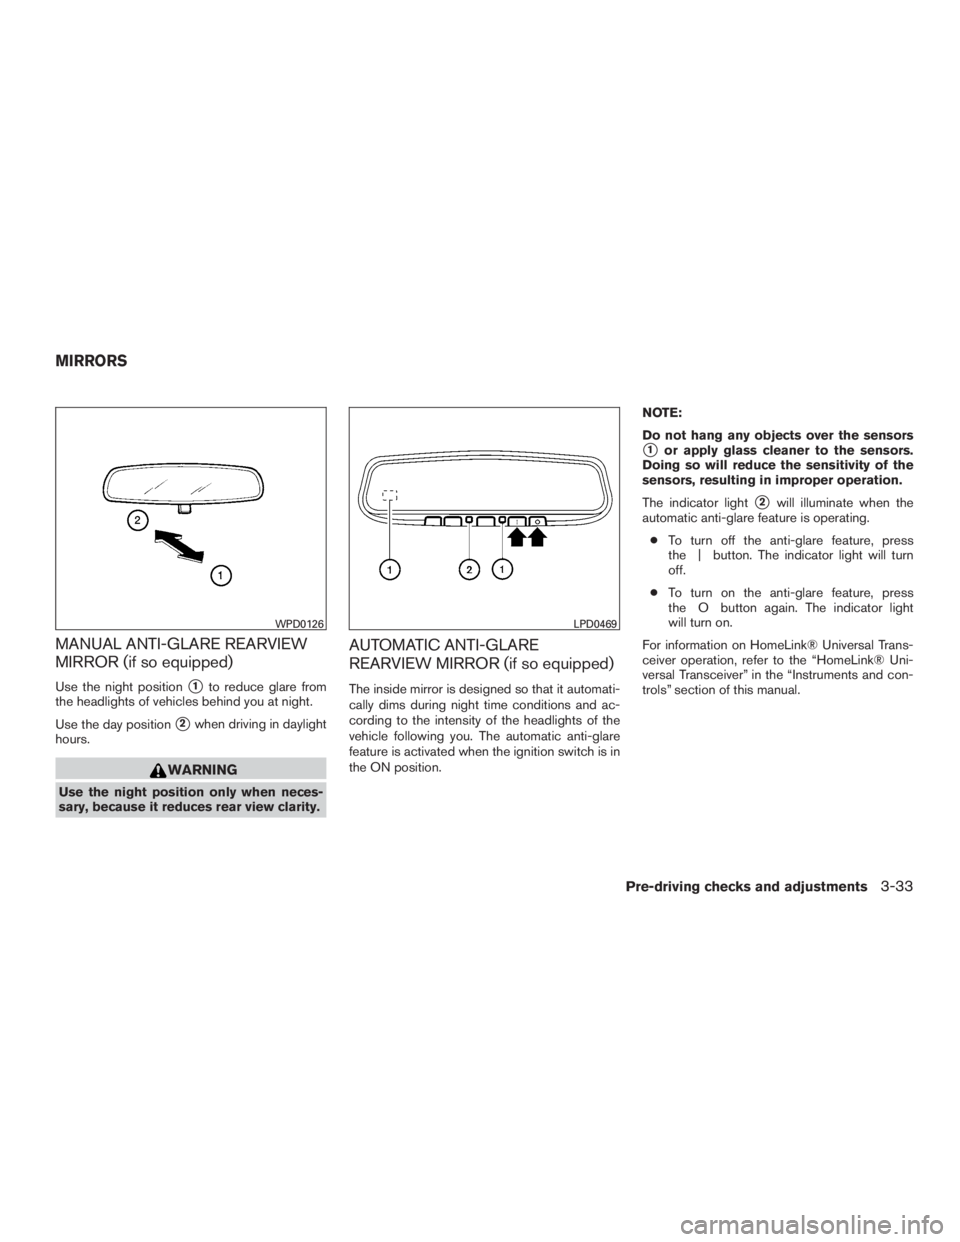
MANUAL ANTI-GLARE REARVIEW
MIRROR (if so equipped)
Use the night position�1to reduce glare from
the headlights of vehicles behind you at night.
Use the day position
�2when driving in daylight
hours.