Page 97 of 466
TPMS malfunction
If the TPMS is not functioning properly, the low
tire pressure warning light will flash for approxi-
mately 1 minute when the ignition switch is
placed in the ON position. The light will remain on
after 1 minute. Have the system checked. It is
recommended that you visit a NISSAN dealer for
this service. The�Tire Pressure Low — Add Air�
warning does not appear if the low tire pressure
warning light illuminates to indicate a TPMS mal-
function.
For additional information, refer to “Tire Pressure
Monitoring System (TPMS)” in the “Starting and
driving” section and “Tire pressure” in the “Do-it-
yourself” section of this manual.
Page 98 of 466
Master warning light
When the ignition switch is in the ON position,
the master warning light illuminates if any of the
following are displayed on the vehicle information
display:● No key warning
● Low fuel warning
● Low washer fluid warning
● Parking brake release warning
● Door open warning
● Loose fuel cap warning (if so equipped)
● Check tire pressure warning
For additional information, refer to “Vehicle infor-
mation display” in this section.
Page 99 of 466
If any of the following conditions occur, the front
air bag, side air bag, curtain air bag, and preten-
sioner seat belt systems need servicing:● The supplemental air bag warning light re-
mains on after approximately 7 seconds.
● The supplemental air bag warning light
flashes intermittently.
● The supplemental air bag warning light does
not come on at all.
It is recommended that you visit a NISSAN dealer
for these services.
Unless checked and repaired, the supplemental
restraint system (air bag system) and/or the pre-
tensioners may not function properly. For addi-
tional information, refer to “Supplemental Re-
straint System (SRS)” in the “Safety—Seats, seat
belts and supplemental restraint system” section
of this manual.
Page 100 of 466
If this indicator light comes on steady for 20 sec-
onds and then blinks for 10 seconds when the
engine is not running, it indicates that the vehicle
is not ready for an emission control system
inspection/maintenance test. For additional infor-
mation, refer to “Readiness for
inspection/maintenance (I/M) test” in the “Tech-
nical and consumer information” section of this
manual.
Operation
The MIL will come on in one of two ways:● MIL on steady — An emission control system
malfunction has been detected. Check the
fuel-filler cap if the Loose Fuel Cap warning
appears in the vehicle information display. If
the fuel-filler cap is loose or missing, tighten
or install the cap and continue to drive the
vehicle. The
Page 123 of 466
WARNING
When the LED DRL system is active, tail
lights on your vehicle are not on. It is
necessary at dusk to turn on your head-
lights. Failure to do so could cause an
accident injuring yourself and others.
INSTRUMENT BRIGHTNESS
CONTROL
Press the “-” button�Ato decrease the bright-
ness of instrument panel lights.
Press the “+” button
�Bto increase the bright-
ness of instrument panel lights.
TURN SIGNAL SWITCH
Turn signal
�1Move the lever up or down to signal the
turning direction. When the turn is com-
pleted, the turn signal cancels automatically.
Lane change signal
�2Move the lever up or down until the turn
signal begins to flash, but the lever does not
latch, to signal a lane change. Hold the lever
until the lane change is completed.
Page 146 of 466

WARNING
●Do not use the HomeLink® Universal
Transceiver with any garage door
opener that lacks safety stop and re-
verse features as required by federal
safety standards. (These standards be-
came effective for opener models
manufactured after April 1, 1982) . A ga-
rage door opener which cannot detect
an object in the path of a closing garage
door and then automatically stop and
reverse, does not meet current federal
safety standards. Using a garage door
opener without these features in-
creases the risk of serious injury or
death.
● During the programming procedure
your garage door or security gate will
open and close (if the transmitter is
within range) . Make sure that people or
objects are clear of the garage door,
gate, etc. that you are programming.
● Your vehicle’s engine should be turned
off while programming the HomeLink®
Universal Transceiver.
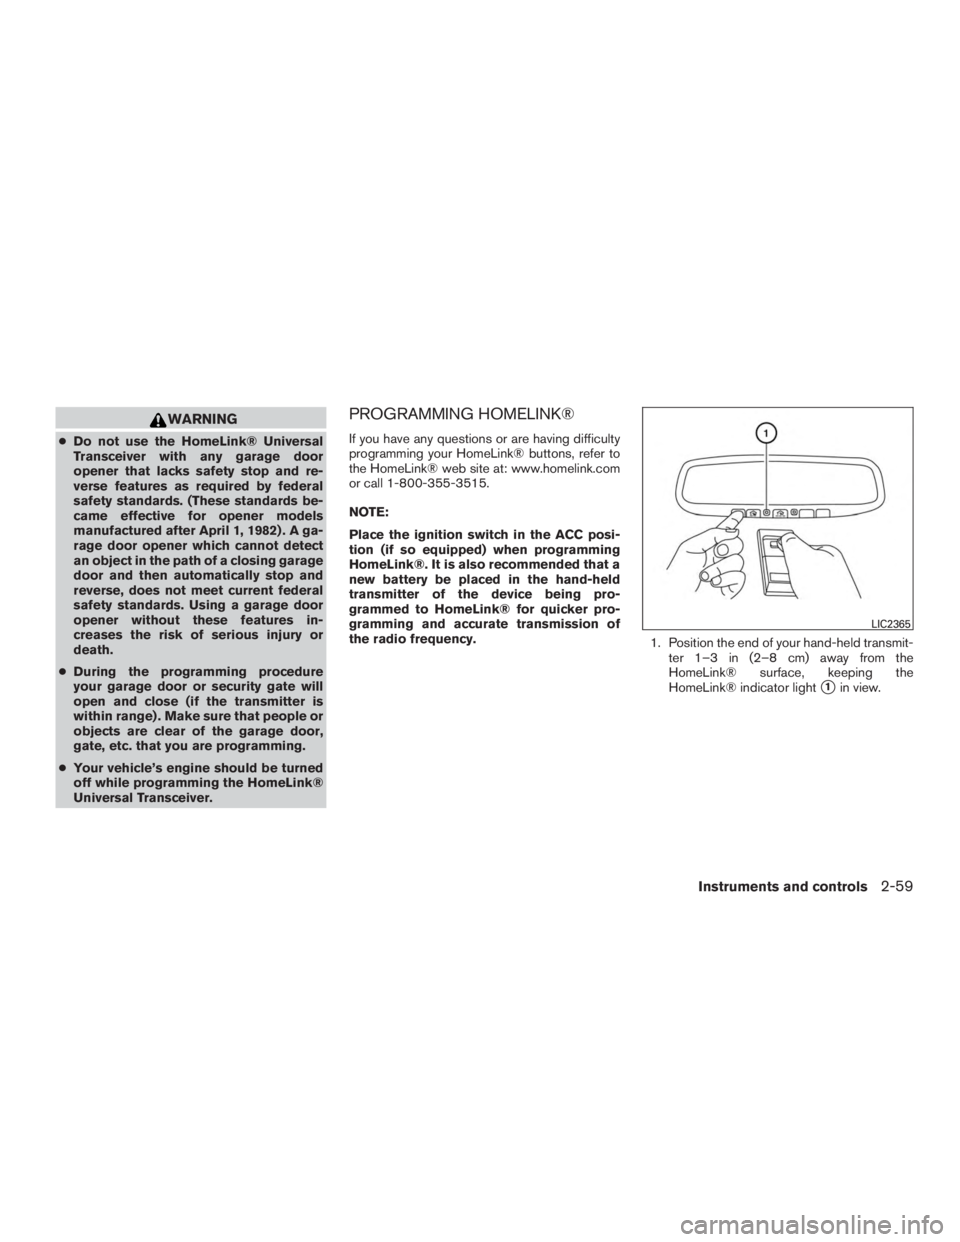
PROGRAMMING HOMELINK®
If you have any questions or are having difficulty
programming your HomeLink® buttons, refer to
the HomeLink® web site at: www.homelink.com
or call 1-800-355-3515.
NOTE:
Place the ignition switch in the ACC posi-
tion (if so equipped) when programming
HomeLink®. It is also recommended that a
new battery be placed in the hand-held
transmitter of the device being pro-
grammed to HomeLink® for quicker pro-
gramming and accurate transmission of
the radio frequency. 1. Position the end of your hand-held transmit-
ter 1–3 in (2–8 cm) away from the
HomeLink® surface, keeping the
HomeLink® indicator light
�1in view.
Page 208 of 466

WARNING
Listed below are the system limitations for
Around View® Monitor. Failure to operate
the vehicle in accordance with these sys-
tem limitations could result in serious in-
jury or death.
●Do not use the Around View® Monitor
with the outside mirrors in the stored
position, and make sure that the liftgate
is securely closed when operating the
vehicle using the Around View®
Monitor.
● The apparent distance between objects
viewed on the Around View® Monitor
differs from the actual distance.
● The cameras are installed on the front
grille, the outside mirrors and above the
rear license plate. Do not put anything
on the vehicle that covers the cameras.
● When washing the vehicle with high
pressure water, be sure not to spray it
around the cameras. Otherwise, water
may enter the camera unit causing wa-
ter condensation on the lens, a mal-
function, fire or an electric shock. ●
Do not strike the cameras. They are
precision instruments. Doing so could
cause a malfunction or cause damage
resulting in a fire or an electric shock.
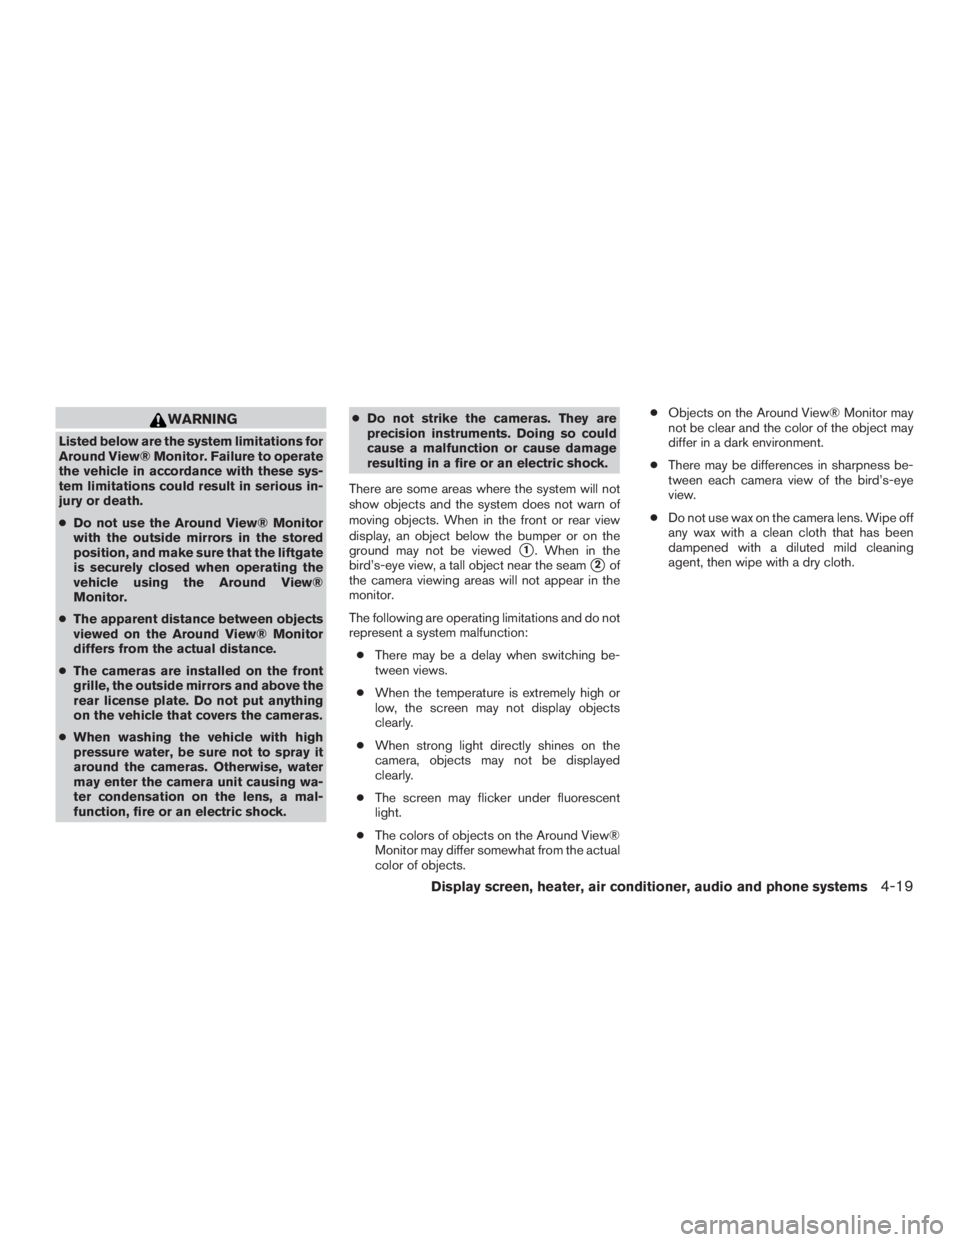
There are some areas where the system will not
show objects and the system does not warn of
moving objects. When in the front or rear view
display, an object below the bumper or on the
ground may not be viewed
�1. When in the
bird’s-eye view, a tall object near the seam
�2of
the camera viewing areas will not appear in the
monitor.
The following are operating limitations and do not
represent a system malfunction:
● There may be a delay when switching be-
tween views.
● When the temperature is extremely high or
low, the screen may not display objects
clearly.
● When strong light directly shines on the
camera, objects may not be displayed
clearly.
● The screen may flicker under fluorescent
light.
● The colors of objects on the Around View®
Monitor may differ somewhat from the actual
color of objects. ●
Objects on the Around View® Monitor may
not be clear and the color of the object may
differ in a dark environment.
● There may be differences in sharpness be-
tween each camera view of the bird’s-eye
view.
● Do not use wax on the camera lens. Wipe off
any wax with a clean cloth that has been
dampened with a diluted mild cleaning
agent, then wipe with a dry cloth.
Display screen, heater, air conditioner, audio and phone systems4-19
Page 261 of 466

Additional information:● Since the spare tire is not equipped with the
TPMS, the TPMS does not monitor the tire
pressure of the spare tire.
● The TPMS will activate only when the vehicle
is driven at speeds above 16 mph (25 km/h).
Also, this system may not detect a sudden
drop in tire pressure (for example, a flat tire
while driving) .
● The low tire pressure warning light does not
automatically turn off when the tire pressure
is adjusted. After the tire is inflated to the
recommended pressure, the vehicle must be
driven at speeds above 16 mph (25 km/h) to
activate the TPMS and turn off the low tire
pressure warning light. Use a tire pressure
gauge to check the tire pressure.
● The “Tire Pressure Low — Add Air” warning
appears in the vehicle information display
when the low tire pressure warning light is
illuminated and low tire pressure is detected.
The “Tire Pressure Low — Add Air” warning
turns off when the low tire pressure warning
light turns off.
●
The “Tire Pressure Low — Add Air” warning
appears each time the ignition switch is placed
in the ON position as long as the low tire
pressure warning light remains illuminated.
● The “Tire Pressure Low — Add Air” warning
does not appear if the low tire pressure
warning light illuminates to indicate a TPMS
malfunction.
● Tire pressure rises and falls depending on
the heat caused by the vehicle’s operation
and the outside temperature. Do not reduce
the tire pressure after driving because the
tire pressure rises after driving. Low outside
temperature can lower the temperature of
the air inside the tire which can cause a
lower tire inflation pressure. This may cause
the low tire pressure warning light to illumi-
nate. If the warning light illuminates, check
the tire pressure for all four tires.
● The Tire and Loading Information label is
located in the driver’s door opening.
● You can also check the pressure of all tires
(except the spare tire) on the vehicle infor-
mation display screen. The order of the tire
pressure figures displayed on the screen
corresponds with the actual order of the tire
position.
For additional information, refer to “Low tire pres-
sure warning light” in the “Instruments and con-
trols” section and “Tire Pressure Monitoring Sys-
tem (TPMS)” in the “In case of emergency”
section of this manual.