2017 NISSAN MAXIMA display
[x] Cancel search: displayPage 13 of 38

11
CLOCK SET/ADJUSTMENT
To adjust the time and the appearance of the clock on the display:
1.
Pr
ess the
MENU button on the
control panel.
2.
T
ouch the “
Settings” key on the
Launch Bar.
3.
Touch the “
Clock” key.
The following settings can be adjusted:
• On-screen Clock: The clock in the upper right corner of the display can be turned
ON or OFF.
• Clock Format (24h): The clock can be set to 12 hours or 24 hours.
• Offset (hour): The time can be adjusted by increasing or decreasing per hour.
• Offset (min): The time can be adjusted by increasing or decreasing
per minute.
• Daylight Savings Time: The application of Daylight Savings Time can be turned
ON or OFF.
• Time Zone: Adjust the time zone. Choose a time zone from the available list.
Touch the key or press the BACK button on the Display Commander to
return to the previous screen.
Please see your Owner’s Manual for important safety information, system limitations, and additional
operating and feature information.
For more information, refer to the “Getting started (section 2)” of your Navigation System
Owner’s Manual.
To view detailed instructional videos regarding these and other features, please go to www.nissanownersinfo.mobi.
Page 14 of 38

12
FIRST DRIVE FEATURES
NISSAN INTELLIGENT KEY® SYSTEM
The Nissan Intelligent Key® system allows you to lock or unlock your vehicle, open
your lif tgate and start the engine. It is important to make sure the Intelligent Key
(I-Key) is with you (that is, in your pocket or purse).
KEY-LINKED SYSTEM (if so equipped)
The vehicle information display has added features, allowing the Key-Linked System to
remember some of the vehicle information
display settings.
The Key-Linked System states which I-Key is being recognized
1, and enabling/disabling
of the system’s function can be easily
accessed through notifications on the vehicle
information display.
The Key-Linked System can be turned on or off through the vehicle information display in
the “Key-Linked Settings” screen
2.
You can set a maximum of two I-Keys to the Key-Linked System.
When the system is enabled , the recognized I-Key is displayed at engine start-up
(Engine ON) as well as within the “Key-Linked Settings” screen
2.
When the system is ac tive, the vehicle information display setting items are
memorized for each key that has been enabled in the Key-Linked System.
If two keys are in the vehicle, the Key-Linked System will recognize the key that was used most recently; this usually means the last key to unlock/lock the door
from the I-Key.
If there is a desire to change to another key that is in the vehicle, turn off the engine and initiate communication from the desired key.
1.
Turn the engine to OFF.
2.
Press the
button from the desired I-Key.
3.
Start the engine.
4.
The desir
ed Key Number recognized should appear on the vehicle
information display.
The vehicle information display displays a pop-up notification at Engine ON for the recognition of the system with a shortcut function to the setup menu.
From the shortcut setup menu, you can select to enable or disable the
Key-Linked System or select “Later” to keep the factory state.
When enabled , the Key-Linked System will remember the state of the items
memorized automatically from the last ignition cycle.
2
1
To view detailed instructional videos regarding these and other features, please go to www.nissanownersinfo.mobi.
Page 15 of 38

13
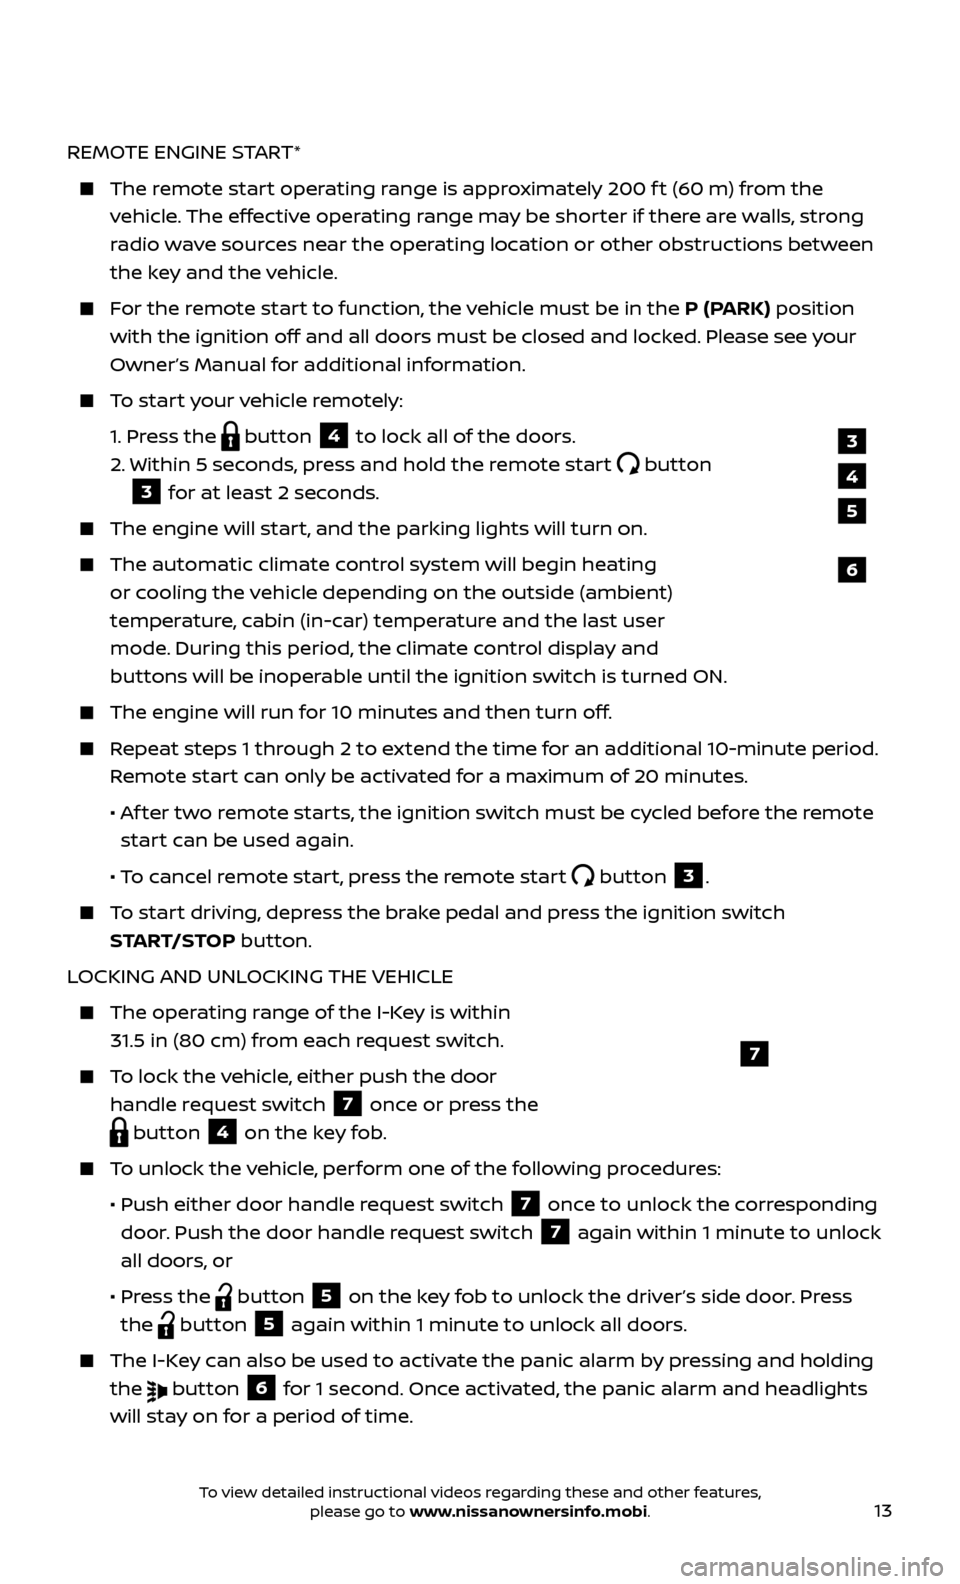
REMOTE ENGINE START*
The remote start operating range is approximately 200 f t (60 m) from the vehicle. The effective operating range may be shorter if there are walls, strong
radio wave sources near the operating location or other obstructions between
the key and the vehicle.
For the remote start to function, the vehicle must be in the P (PARK) position with the ignition off and all doors must be closed and locked. Please see your
Owner’s Manual for additional information.
To start your vehicle remotely:
1.
Press the
button 4 to lock all of the doors.
2.
Within 5 sec
onds, press and hold the remote start
button
3 for at least 2 seconds.
The engine wil l start, and the parking lights will turn on.
The automatic climate c ontrol system will begin heating
or cooling the vehicle depending on the outside (ambient)
temperature, cabin (in-car) temperature and the last user
mode. During this period, the climate control display and
buttons will be inoperable until the ignition switch is turned ON.
The engine wil l run for 10 minutes and then turn off.
Repeat steps 1 through 2 to extend the time for an additional 10-minute period.
Remote start can only be activated for a maximum of 20 minutes.
•
A
f ter two remote starts, the ignition switch must be cycled before the remote
start can be used again.
• T
o cancel remote start, press the remote start
button 3.
To start driving, depress the brake pedal and press the ignition switch START/STOP button.
LOCKING AND UNLOCKING THE VEHICLE
The oper ating range of the I-Key is within
31.5 in (80 cm) from each request switch.
To lock the vehicle, either push the door handle request switch
7 once or press the
button 4 on the key fob.
To unlock the vehicle, perform one of the following procedures:
•
Push either door hand
le request switch
7 once to unlock the corresponding
door. Push the door handle request switch
7 again within 1 minute to unlock
all doors, or
•
Pr
ess the
button 5 on the key fob to unlock the driver’s side door. Press
the
button 5 again within 1 minute to unlock all doors.
The I-Key can also be used to activate the panic alarm by pressing and holding the
button 6 for 1 second. Once activated, the panic alarm and headlights
will stay on for a period of time.
7
3
4
6
5
To view detailed instructional videos regarding these and other features, please go to www.nissanownersinfo.mobi.
Page 16 of 38

14
AUTO UNLOCK
In the Vehicle Settings menu in the vehicle information display, there are three
options to choose from for the auto unlock function:
•
OFF - A
uto Unlock is disabled.
•
IGNITION OFF - A
ll doors unlock when the ignition is turned off.
•
SHIFT
TO PARK - All doors unlock when the shif t lever is moved to the
P (PARK) position.
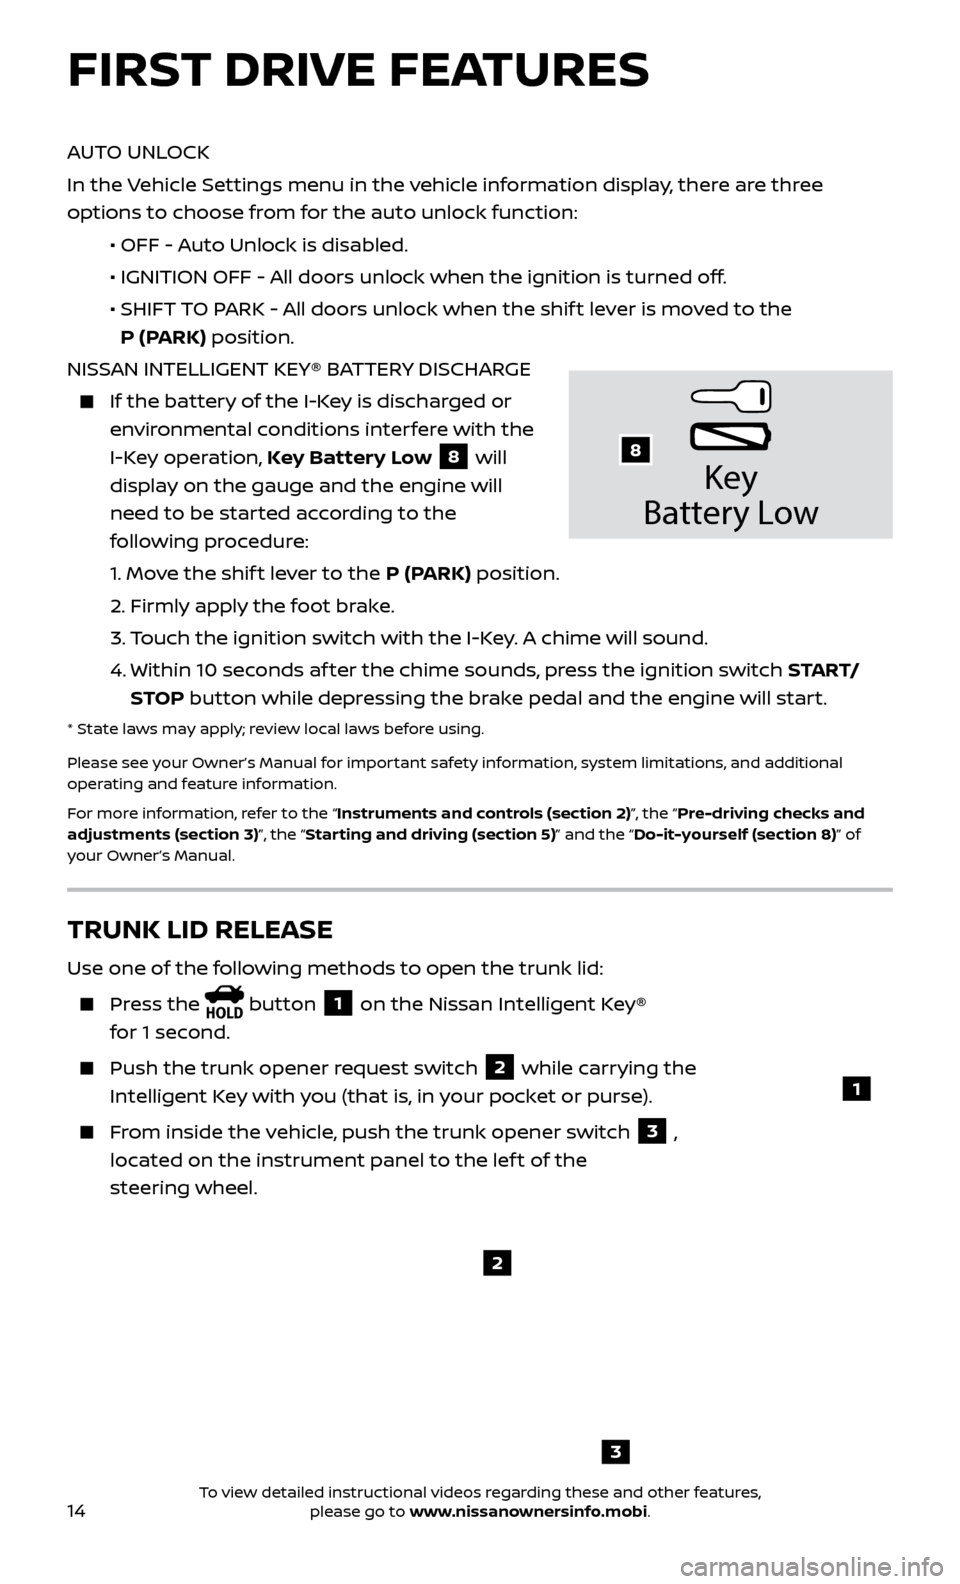
NISSAN INTELLIGENT KEY® BATTERY DISCHARGE
If the bat tery of the I-Key is discharged or
environmental conditions interfere with the
I-Key operation, Key Battery Low
8 will
display on the gauge and the engine will
need to be started according to the
following procedure:
1.
Move the shif t lever to the P (PARK) position.
2.
Firmly apply the foot brake.
3.
T
ouch the ignition switch with the I-Key. A chime will sound.
4.
Within 10 sec
onds af ter the chime sounds, press the ignition switch S TA R T/
STOP button while depressing the brake pedal and the engine will start.
* State laws may apply; review local laws before using.
Please see your Owner’s Manual for important safety information, system limitations, and additional
operating and feature information.
For more information, refer to the “Instruments and controls (section 2)”, the “Pre-driving checks and
adjustments (section 3)”, the “Starting and driving (section 5)” and the “Do-it-yourself (section 8)” of
your Owner’s Manual.
Key
Battery Lo w
8
FIRST DRIVE FEATURES
3
TRUNK LID RELEASE
Use one of the following methods to open the trunk lid:
Press the button 1 on the Nissan Intelligent Key®
for 1 second.
Push the trunk opener r equest switch 2 while carrying the
Intelligent Key with you (that is, in your pocket or purse).
From inside the vehicle, push the trunk opener switch 3 ,
located on the instrument panel to the lef t of the
steering wheel.
1
2
To view detailed instructional videos regarding these and other features, please go to www.nissanownersinfo.mobi.
Page 24 of 38

22
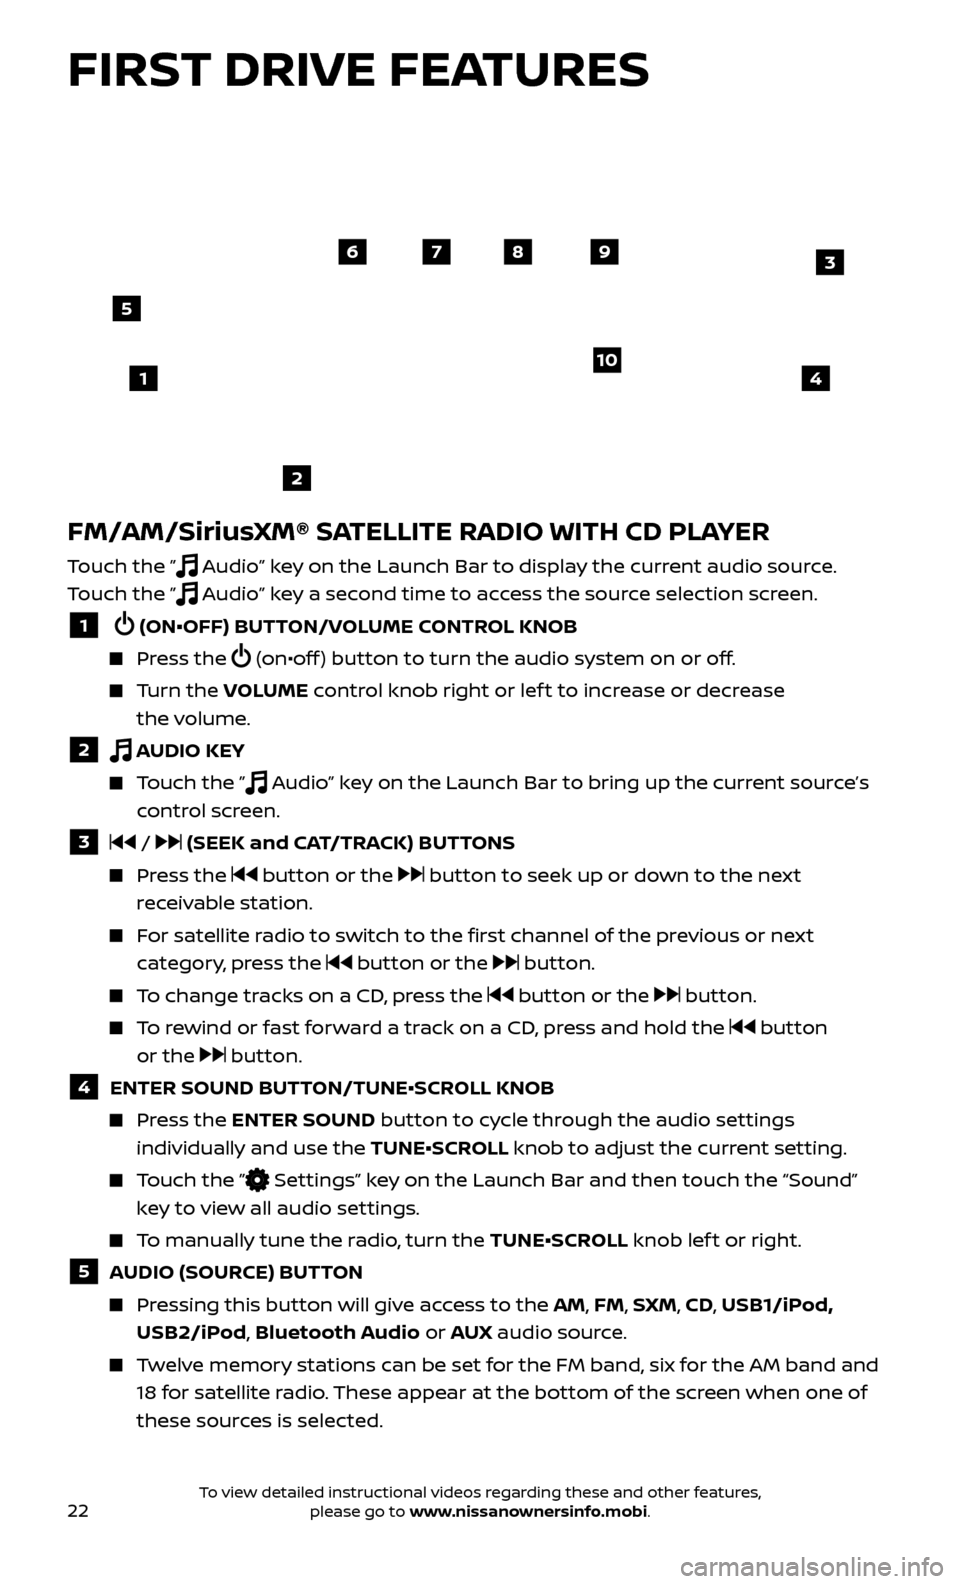
FM/AM/SiriusXM® SATELLITE RADIO WITH CD PLAYER
Touch the ” Audio” key on the Launch Bar to display the current audio source.
Touch the ”
Audio” key a second time to access the source selection screen.
1 (ON•OFF) BUTTON/VOLUME CONTROL KNOB
Press the (on•off ) button to turn the audio system on or off.
Turn the V OLUME control knob right or lef t to increase or decrease
the volume.
2 AUDIO KEY
Touch the ” Audio” key on the Launch Bar to bring up the current source’s
control screen.
3 / (SEEK and CAT/TRACK) BUTTONS
Press the button or the button to seek up or down to the next
receivable station.
For satellite radio to switch to the first channel of the previous or next category, press the
button or the button.
To change tracks on a CD, press the button or the button.
To rewind or fast forward a track on a CD, press and hold the button
or the
button.
4 ENTER SOUND BUT TON/TUNE•SCROLL KNOB
Press the ENTER SOUND button to cycle through the audio settings
individually and use the TUNE•SCROLL knob to adjust the current setting.
Touch the ” Settings” key on the Launch Bar and then touch the “Sound”
key to view all audio settings.
To manually tune the radio, turn the TUNE•SCROLL knob lef t or right.
5 AUDIO (SOURCE) BUTTON
Pressing this button will give access to the AM, FM, SXM, CD, USB1/iPod, USB2/iPod, Bluetooth Audio or AUX audio source.
Twelve memory stations can be set for the FM band, six for the AM band and
18 for satellite radio. These appear at the bottom of the screen when one of
these sources is selected.
4
6789
10
2
3
1
5
FIRST DRIVE FEATURES
To view detailed instructional videos regarding these and other features, please go to www.nissanownersinfo.mobi.
Page 25 of 38

23
To store a station in a preset, you must first select a radio band by touching the ”AM” key
6, “FM” key 7 or “SXM” key 8 then tune to the desired AM,
FM or satellite radio station. Next, press and hold the desired station preset
key until you hear a beep. The channel indicator will then display, and the
sound will resume. Programing is now complete.
To retrieve a previously set station, select the radio band where the preset was stored then press the corresponding station select key.
6 AM KEY / 7 FM KEY
Touch the “AM Menu” or “FM Menu” key to view the station list or turn HD mode on or off.
Tag favorite songs to save to an iPod®.
•
Apple® w
ebsite: If you are listening to a radio station that supports iTunes
Tagging, you can tag a song you hear so you can preview and purchase it
later on the iTunes Store. Songs that can be tagged are marked with a tag
icon next to the song title or on the “Now Playing” screen.
8 SXM KEY
Touch the “SXM Menu” key to bring up the categories, favorites and replay options.
9 CD KEY
Touch the “CD Menu” key to view the track list.
10 AUX KEY
A cable with 1/8 in (3.5 mm) stereo mini plugs is required for audio playback.
Please see your Owner’s Manual for important safety information, system limitations, and additional
operating and feature information.
For more information, refer to the “Audio system (section 3)” of your Navigation System Owner’s Manual.
USB (Universal Serial Bus) CONNECTION PORT/AUX JACK
AND iPOD® INTERFACE (if so equipped)
The USB por ts are located in the media
pocket
1 below the climate control system.
USB1/iPod® and USB2/iPod®
• When a devic e is connected via USB, the
system will automatically start playing
music from it.
• This system suppor
ts Apple® devices and
USB memory devices. Only Apple® brand or Apple® certified cables will work.
NISSAN cannot guarantee compatibility with af termarket cables that are not
certified by Apple®.
• Apple C
arPlay™ can only be used with USB1, which is the port closest to the driver.
• It ma
y not be compatible with some versions of Android.
Touch the “USB/iPod® Menu” key to view the folder list and track listing, playlist,
albums, album art, artist and songs.
Please see your Owner’s Manual for important safety information, system limitations, and additional
operating and feature information.
For more information, refer to the “Audio system (section 3)” of your Navigation System Owner’s Manual.
1
To view detailed instructional videos regarding these and other features, please go to www.nissanownersinfo.mobi.
Page 28 of 38

26
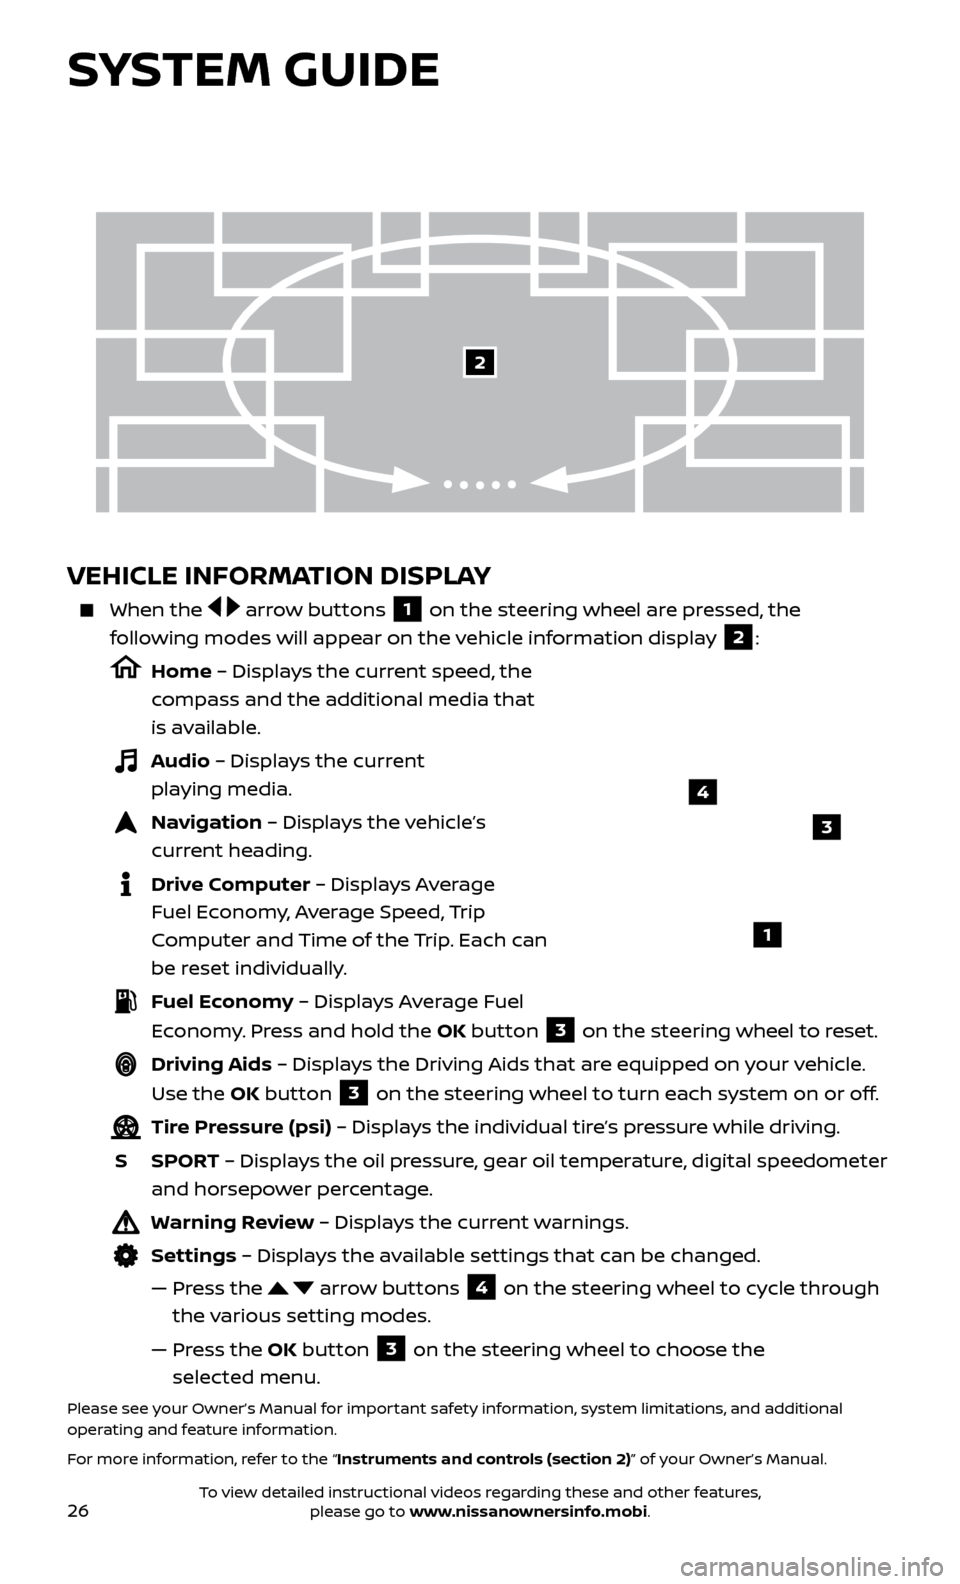
VEHICLE INFORMATION DISPLAY
When the arrow buttons 1 on the steering wheel are pressed, the
following modes will appear on the vehicle information display
2:
Home – Displays the current speed, the
compass and the additional media that
is available.
Audio – Displays the current playing media.
Navigation – Displays the vehicle’s curr ent heading.
Drive Computer – Displays Average Fuel Economy, Average Speed, Trip
Computer and Time of the Trip. Each can
be reset individually.
Fuel Economy – Displays Average Fuel Economy. Press and hold the OK button
3 on the steering wheel to reset.
Driving Aids – Displays the Driving Aids that are equipped on your vehicle.
Use the OK button
3 on the steering wheel to turn each system on or off.
Tire Pressure (psi) – Displays the individual tire’s pressure while driving.
S
SPOR
T – Displays the oil pressure, gear oil temperature, digital speedometer
and horsepower percentage.
Warning Review – Displays the current warnings.
Settings – Displays the available settings that can be changed.
—
Pr
ess the
arrow buttons 4 on the steering wheel to cycle through
the various setting modes.
—
Pr
ess the OK button
3 on the steering wheel to choose the
selected menu.
Please see your Owner’s Manual for important safety information, system limitations, and additional
operating and feature information.
For more information, refer to the “Instruments and controls (section 2)” of your Owner’s Manual.
3
1
2
SYSTEM GUIDE
4
To view detailed instructional videos regarding these and other features, please go to www.nissanownersinfo.mobi.
Page 29 of 38

27
APPLE CARPLAY™ (if so equipped)
The in-vehicle system can be used as a controller for some of the iPhone® functions through Apple CarPlay™.
If your iPhone is compatible, the Apple CarPlay™ can be used.
•
Selec
t the
MENU key 1 on the screen.
•
Selec
t “Apple CarPlay™” 2 from the menu.
Before using Apple CarPlay™, confirm the following settings on your iPhone®:
• T
urn on “CarPlay” on your iPhone.
•
Selec
t “Settings” —> “General” —> “Restrictions” and turn off “Restrictions” or
turn on CarPlay.
• T
urn on “Siri®” on your iPhone. Select “Settings” —> “General” —> “Siri®” and turn
on Siri®.
To connect your CarPlay capable iPhone to the system, you must connect the iPhone cable to USB1.
•
Depending on the set
ting, the “Startup Information” screen will appear.
• T
ouch “ Yes” to use Apple CarPlay™.
• The Apple C
arPlay™ top menu screen
will appear, and the iPhone functions
displayed on the screen can be operated
by the in-vehicle system.
• T
o return to the Apple CarPlay™ top
menu screen af ter operation, touch the
key 4 on the lower lef t corner of the
Apple CarPlay™ screen.
1
2
3
4
To view detailed instructional videos regarding these and other features, please go to www.nissanownersinfo.mobi.