2017 NISSAN MAXIMA air condition
[x] Cancel search: air conditionPage 182 of 406
4 Monitor, climate, audio, phone and voice
recognition systems
RearView Monitor (if so equipped)...................4-2
RearView Monitor system operation ..............4-3
How to read the displayed lines ..................4-3
Difference between predicted and actual
distances ......................................4-4
How to park with predicted course lines ...........4-5
Adjusting the screen ............................4-7
How to turn on and off predicted course
lines ..........................................4-7
RearView Monitor system limitations ..............4-7
System maintenance ............................4-8
Around View® Monitor (if so equipped) ..............4-9
Around View® Monitor system operation .........4-10
Difference between predicted and actual
distances ..................................... 4-13
How to park with predicted course lines ..........4-15
How to switch the display ......................4-16
Adjusting the screen ........................... 4-17
Around View® Monitor system limitations ........4-17 System maintenance
........................... 4-19
Moving Object Detection (MOD) (if so equipped) ....4-20
MOD system operation ......................... 4-21
Turning MOD on and off ........................ 4-22
MOD system limitations ........................ 4-22
System maintenance ........................... 4-23
Vents ........................................... 4-24
Heater and Air Conditioner (automatic) ..............4-25
Automatic operation ........................... 4-26
Manual operation .............................. 4-27
Operating tips ................................. 4-27
Servicing air conditioner ........................... 4-28
Audio System .................................... 4-28
Antenna ...................................... 4-28
NissanConnect
SMServices (if so equipped) .........4-28
Apple CarPlay™ (if so equipped) ...................4-29
Car phone or CB radio ............................ 4-29
Bluetooth® Hands-Free Phone System .............4-30
NISSAN Voice Recognition System .................4-30
Page 206 of 406
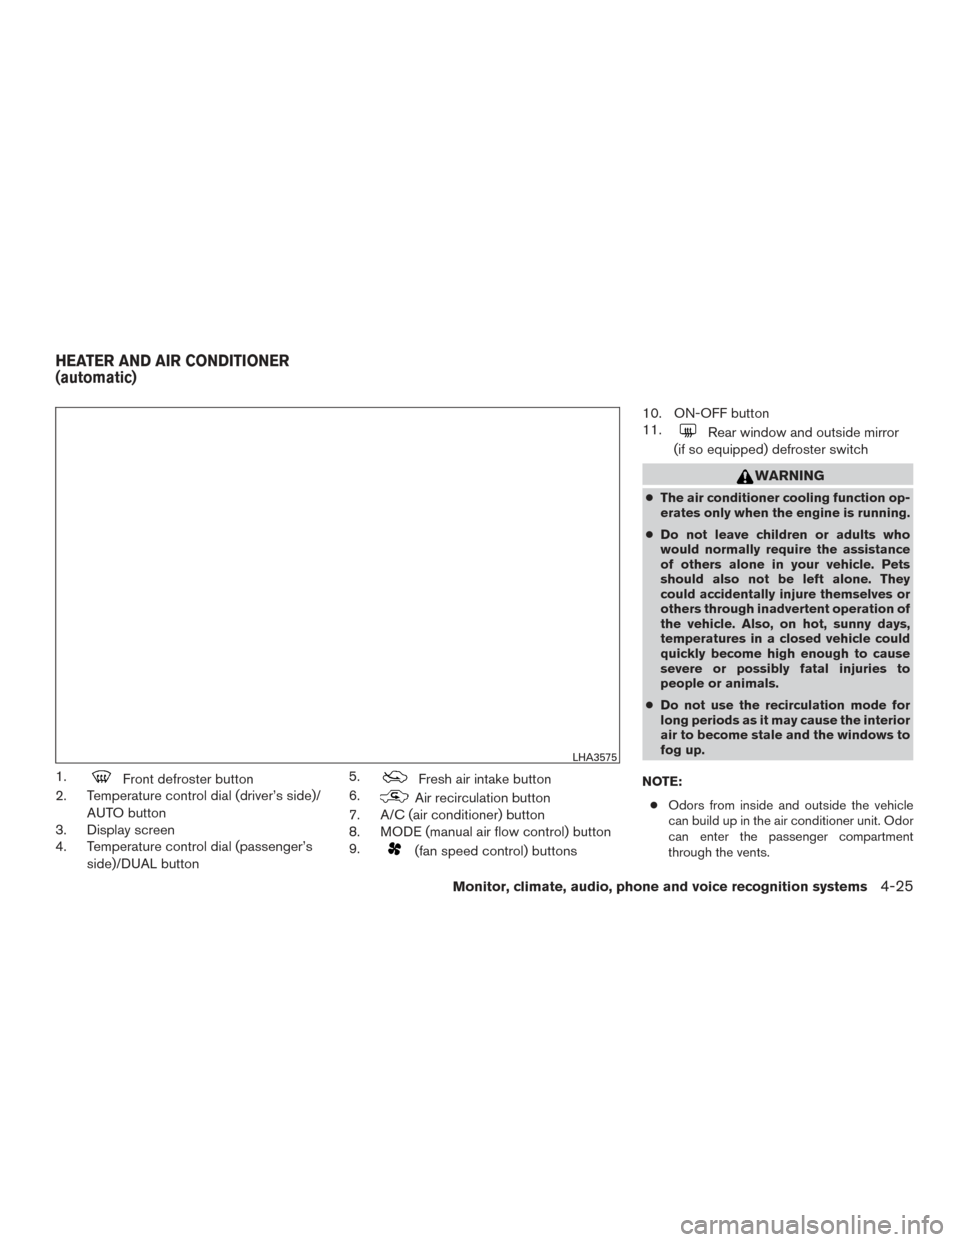
1.Front defroster button
2. Temperature control dial (driver’s side)/
AUTO button
3. Display screen
4. Temperature control dial (passenger’s
side)/DUAL button 5.Fresh air intake button
6.
Air recirculation button
7. A/C (air conditioner) button
8. MODE (manual air flow control) button
9.
(fan speed control) buttons 10. ON-OFF button
11.
Rear window and outside mirror
(if so equipped) defroster switch
WARNING
● The air conditioner cooling function op-
erates only when the engine is running.
● Do not leave children or adults who
would normally require the assistance
of others alone in your vehicle. Pets
should also not be left alone. They
could accidentally injure themselves or
others through inadvertent operation of
the vehicle. Also, on hot, sunny days,
temperatures in a closed vehicle could
quickly become high enough to cause
severe or possibly fatal injuries to
people or animals.
● Do not use the recirculation mode for
long periods as it may cause the interior
air to become stale and the windows to
fog up.
NOTE: ● Odors from inside and outside the vehicle
can build up in the air conditioner unit. Odor
can enter the passenger compartment
through the vents.
LHA3575
HEATER AND AIR CONDITIONER
(automatic)
Monitor, climate, audio, phone and voice recognition systems4-25
Page 207 of 406
●When parking, set the heater and air condi-
tioner controls to turn off air recirculation to
allow fresh air into the passenger compart-
ment. This should help reduce odors inside
the vehicle.
AUTOMATIC OPERATION
Cooling and/or dehumidified heating
(AUTO)
This mode may be used all year round as the
system automatically works to keep a constant
temperature. Air flow distribution and fan speed
are also controlled automatically.
1. Press the AUTO button on.
2. Turn the temperature control dial to the left or right to set the desired temperature.
● The temperature of the passenger compart-
ment will be maintained automatically. Air
flow distribution and fan speed are also con-
trolled automatically.
● A visible mist may be seen coming from the
vents in hot, humid conditions as the air is
cooled rapidly. This does not indicate a mal-
function.
3. You can individually set driver’s and front passenger’s side temperature using each
temperature control dial. When the DUAL
button is pressed or passenger’s side tem- perature dial is turned, the DUAL indicator
will come on. To turn off the passenger’s
side temperature control, press the DUAL
button.
Heating (A/C OFF)
The air conditioner does not activate. When you
need to heat only, use this mode.
1. Press the AUTO button.
2. Turn the temperature control dial to set the desired temperature.
● The temperature of the passenger compart-
ment will be maintained automatically. Air
flow distribution and fan speed are also con-
trolled automatically.
● Do not set the temperature lower than the
outside air temperature. Otherwise, the sys-
tem may not work properly.
● Not recommended if windows fog up.
Dehumidified defrosting or defogging
1. Press thefront defroster button on.
2. Turn the temperature control dial to set the maximum temperature to aid in defrosting or
defogging. ●
To quickly remove ice from the outside of the
windows, use the
fan speed control
buttons to set the fan speed to maximum.
● As soon as possible after the windshield is
clean, press the AUTO button to return to
the automatic mode.
● When the
front defroster button is
pressed, the air conditioner will automati-
cally be turned on at outside temperatures
above 36°F (2°C) . The air recirculate mode
automatically turns off, allowing outside air
to be drawn into the passenger compart-
ment to further improve the defogging per-
formance. When the air recirculate mode
automatically turns off, the air fresh mode will
automatically turn on.
Remote engine start logic (if so
equipped)
Vehicles equipped with automatic climate con-
trols and remote start function may go into auto-
matic heating or cooling mode when remote start
is activated depending on outside and cabin tem-
peratures. During this period, the climate control
display and buttons will be inoperable until the
ignition switch is turned on. In remote start de-
frosting mode, the rear defroster and heated
steering wheel (if so equipped) may be activated
automatically.
4-26Monitor, climate, audio, phone and voice recognition systems
Page 208 of 406
MANUAL OPERATION
Fan speed control
Press thefan speed control buttons to
manually control the fan speed.
Press the AUTO button to return to automatic
control of the fan speed.
Air recirculation
Press theair recirculation button to recir-
culate interior air inside the vehicle. The
indicator light on the button will come on.
The air recirculation cannot be activated when
the air conditioner is in the
front defrosting
mode.
Fresh air intake
Press thefresh air intake button to draw
outside air into the passenger compartment.
Air flow control
Pressing the MODE button manually controls air
flow and selects the air outlet:
— Air flows mainly from center and
side vents.
— Air flows mainly from center andside vents and foot outlets.
— Air flows mainly from foot outletsand partly from defroster.
— Air flows mainly from defrosterand foot outlets.
To turn system off
Press the ON-OFF button.
Rear window and outside mirror (if so
equipped) defroster switch
For additional information, refer to “Rear window
and outside mirror (if so equipped) defroster
switch” in the “Instruments and controls” section
of this manual.
OPERATING TIPS
●When the engine coolant temperature and
outside air temperature are low, the air flow
from the foot outlets may not operate for a
maximum of 150 seconds. However, this is
not a malfunction. After the coolant tempera-
ture warms up, air flow from the foot outlets
will operate normally.
● Keep the moonroof (if so equipped) closed
while the air conditioner is in operation.
● If you feel that the air flow mode you have
selected and the outlets the air is coming out
do not match, select the
mode.
● When you change the air flow mode, you
may feel air flow from the feet vents for just a
moment. This is not a malfunction. The sunload sensor, located on the driver’s side
of the instrument panel, helps the system main-
tain a constant temperature. Do not put anything
on or around this sensor.
LHA3554
Monitor, climate, audio, phone and voice recognition systems4-27
Page 209 of 406
The air conditioner system in your NISSAN ve-
hicle is charged with a refrigerant designed with
the environment in mind.
This refrigerant does not harm the earth’s
ozone layer.
Special charging equipment and lubricant is re-
quired when servicing your NISSAN air condi-
tioner. Using improper refrigerants or lubricants
will cause severe damage to your air conditioner
system. For additional information, refer to “Air
conditioner system refrigerant and oil recommen-
dations” in the “Technical and consumer informa-
tion” section of this manual.
It is recommended that you visit a NISSAN dealer
to service your “environmentally friendly” air con-
ditioning system.
WARNING
The air conditioner system contains refrig-
erant under high pressure. To avoid per-
sonal injury, any air conditioner service
should be done only by an experienced
technician with proper equipment.For additional information, refer to the separate
Navigation Owner’s Manual.
ANTENNA
The antenna pattern is printed inside the rear
window.
CAUTION
●
Do not place metalized film near the
rear window glass or attach any metal
parts to it. This may cause poor recep-
tion or noise.
● When cleaning the inside of the rear
window, be careful not to scratch or
damage the rear window antenna.
Lightly wipe along the antenna with a
dampened soft cloth. NissanConnect
SMServices is a suite of telemat-
ics tools that provide emergency preparedness,
remote access, customizable alerts and conve-
nience services. This feature is an option on
Navigation equipped vehicles. For additional in-
formation, refer to the separate Navigation Sys-
tem Owner’s Manual.
SERVICING AIR CONDITIONER AUDIO SYSTEM NISSANCONNECTSMSERVICES (if so
equipped)
4-28Monitor, climate, audio, phone and voice recognition systems
Page 219 of 406
TPMS with Easy Fill Tire Alert
When adding air to an under-inflated tire, the
TPMS with Easy Fill Tire Alert provides visual and
audible signals outside the vehicle to help you
inflate the tires to the recommended COLD tire
pressure.
Vehicle set-up1. Park the vehicle in a safe and level place.
2. Apply the parking brake and place the shift lever to the P (Park) position.
3. Place the ignition switch to the ON position. Do not start the engine.
Operation 1. Add air to the tire.
2. After a few seconds, the hazard indicators will start flashing.
3. When the designated pressure is reached, the horn beeps once and the hazard indica-
tors stop flashing.
4. Perform the above steps for each tire. ●If the tire is over-inflated more than ap-
proximately 4 psi (30 kPa) , the horn
beeps and the hazard indicators flash
three times. To correct the pressure, push
the core of the valve stem on the tire briefly to release pressure. When the
pressure reaches the designated pres-
sure, the horn beeps once.
● If the hazard indicator does not flash
within approximately 15 seconds after
starting to inflate the tire, it indicates that
the Easy Fill Tire Alert is not operating.
● The TPMS will not activate the Easy Fill
Tire Alert under the following conditions:
– If there is interference from an external device or transmitter.
– The air pressure from the inflation device is not sufficient to inflate the tire.
– There is a malfunction in the TPMS sys- tem.
– There is a malfunction in the horn or haz- ard indicators.
– The identification code of the tires pres- sure sensor is not registered to the sys-
tem.
– The battery of the tire pressure sensor is low.
● If the Easy Fill Tire Alert does not operate
due to TPMS interference, move the ve-
hicle about 3 ft (1 m) backward or forward
and try again. If the Easy Fill Tire Alert is not working, use a tire
pressure gauge.AVOIDING COLLISION AND
ROLLOVER
WARNING
Failure to operate this vehicle in a safe
and prudent manner may result in loss of
control or an accident.
Be alert and drive defensively at all times. Obey
all traffic regulations. Avoid excessive speed,
high speed cornering, or sudden steering ma-
neuvers, because these driving practices could
cause you to lose control of your vehicle.
As with any vehicle, loss of control could
result in a collision with other vehicles or
objects or cause the vehicle to roll over,
particularly if the loss of control causes the
vehicle to slide sideways.
Be attentive at all times, and avoid driving when
tired. Never drive when under the influence of
alcohol or drugs (including prescription or over-
the-counter drugs which may cause drowsi-
ness) . Always wear your seat belt as outlined in
the “Safety – Seats, seat belts and supplemental
restraint system” section of this manual, and also
instruct your passengers to do so.
5-8Starting and driving
Page 220 of 406
Seat belts help reduce the risk of injury in colli-
sions and rollovers.In a rollover crash, an
unbelted or improperly belted person is
significantly more likely to be injured or
killed than a person properly wearing a
seat belt.
OFF-ROAD RECOVERY
While driving, the right side or left side wheels
may unintentionally leave the road surface. If this
occurs, maintain control of the vehicle by follow-
ing the procedure below. Please note that this
procedure is only a general guide. The vehicle
must be driven as appropriate based on the con-
ditions of the vehicle, road and traffic.
1. Remain calm and do not overreact.
2. Do not apply the brakes.
3. Maintain a firm grip on the steering wheel with both hands and try to hold a straight
course.
4. When appropriate, slowly release the accel- erator pedal to gradually slow the vehicle.
5. If there is nothing in the way, steer the ve- hicle to follow the road while vehicle speed
is reduced. Do not attempt to drive the ve-
hicle back onto the road surface until vehicle
speed is reduced. 6. When it is safe to do so, gradually turn the
steering wheel until both tires return to the
road surface. When all tires are on the road
surface, steer the vehicle to stay in the ap-
propriate driving lane.
● If you decide that it is not safe to return the
vehicle to the road surface based on vehicle,
road or traffic conditions, gradually slow the
vehicle to a stop in a safe place off the road.
RAPID AIR PRESSURE LOSS
Rapid air pressure loss or a “blow-out” can occur
if the tire is punctured or is damaged due to
hitting a curb or pothole. Rapid air pressure loss
can also be caused by driving on under-inflated
tires.
Rapid air pressure loss can affect the handling
and stability of the vehicle, especially at highway
speeds.
Help prevent rapid air pressure loss by maintain-
ing the correct air pressure and visually inspect
the tires for wear and damage. For additional
information, refer to “Wheels and tires” in the
“Do-it-yourself” section of this manual. If a tire
rapidly loses air pressure or “blows-out” while
driving, maintain control of the vehicle by follow-
ing the procedure below. Please note that this
procedure is only a general guide. The vehicle must be driven as appropriate based on the con-
ditions of the vehicle, road and traffic.
WARNING
If there is a sudden loss of tire air pres-
sure, the vehicle will generally move or
pull in the direction of the flat tire. In this
situation, losing control of the vehicle may
cause a collision and result in personal
injury.
To help avoid loss of control:
●
Do not rapidly apply the brakes.
● Do not rapidly release the accelerator
pedal.
● Do not rapidly turn the steering wheel.
1. Remain calm and do not overreact.
2. Maintain a firm grip on the steering wheel with both hands and try to hold a straight
course.
3. When appropriate, slowly release the accel- erator pedal to gradually slow the vehicle.
4. Gradually steer the vehicle to a safe location off the road and away from traffic if possible.
5. Lightly apply the brake pedal to gradually stop the vehicle.
Starting and driving5-9
Page 221 of 406
6. Turn on the hazard warning flashers andcontact a roadside emergency service to
change the tire. For additional information,
refer to “Changing a flat tire” in the “In case
of emergency” section of this manual.
DRINKING ALCOHOL/DRUGS AND
DRIVING
WARNING
Never drive under the influence of alcohol
or drugs. Alcohol in the bloodstream re-
duces coordination, delays reaction time
and impairs judgement. Driving after
drinking alcohol increases the likelihood
of being involved in an accident injuring
yourself and others. Additionally, if you
are injured in an accident, alcohol can
increase the severity of the injury.
NISSAN is committed to safe driving. However,
you must choose not to drive under the influence
of alcohol. Every year thousands of people are
injured or killed in alcohol-related collisions. Al-
though the local laws vary on what is considered
to be legally intoxicated, the fact is that alcohol
affects all people differently and most people
underestimate the effects of alcohol. Remember, drinking and driving don’t mix! That is
true for drugs (over-the-counter, prescription)
and illegal drugs, too. Don’t drive if your ability to
operate your vehicle is impaired by alcohol,
drugs, or some other physical condition.
WARNING
Do not operate the push-button ignition
switch while driving the vehicle except in
an emergency. (The engine will stop when
the ignition switch is pushed three con-
secutive times in less than 1.5 seconds or
the ignition switch is pushed and held for
more than 2 seconds.) If the engine stops
while the vehicle is being driven, this
could lead to a crash and serious injury.
PUSH-BUTTON IGNITION SWITCH
5-10Starting and driving