2017 NISSAN LEAF audio
[x] Cancel search: audioPage 2 of 40
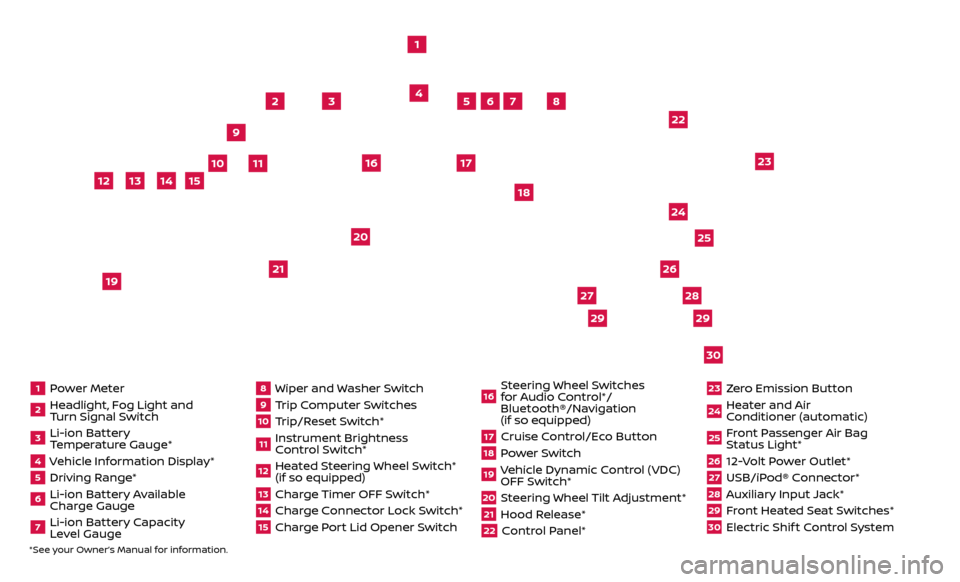
1 Power Meter2 Headlight, Fog Light and Turn Signal Switch3 Li-ion Battery Temperature Gauge*4 Vehicle Information Display*5 Driving Range*6 Li-ion Battery Available
Charge Gauge7 Li-ion Battery Capacity Level Gauge
8 Wiper and Washer Switch9 Trip Computer Switches10 Trip/Reset Switch*11 Instrument Brightness
Control Switch*12 Heated Steering Wheel Switch* (if so equipped)13 Charge Timer OFF Switch*14 Charge Connector Lock Switch*15 Charge Port Lid Opener Switch
16 Steering Wheel Switches for Audio Control*/
Bluetooth®/Navigation
(if so equipped)17 Cruise Control/Eco Button18 Power Switch19 Vehicle Dynamic Control (VDC) OFF Switch*20 Steering Wheel Tilt Adjustment*21 Hood Release*22 Control Panel*
23 Zero Emission Button24 Heater and Air Conditioner (automatic)25 Front Passenger Air Bag Status Light*26 12-Volt Power Outlet*27 USB/iPod® Connector*28 Auxiliary Input Jack*29 Front Heated Seat Switches*30 Electric Shif t Control System
1
3
4
2
5
10
6
7
22
2528
26
2930
23
24
21
9
11
8
20
18
16
17
2729
12
14
19
13
15
*See your Owner’s Manual for information.
Page 3 of 40
NEW SYSTEM FEATURESHow to Use Your LEAF’s Touch-screen Display ........................................2
NissanC onnectSM EV (if so equipped) ..................................................3
Approaching Vehicle Sound for Pedestrians (VSP) System............................3
Around View® Monitor (if so equipped)
................................................
4
Shif
t Control System
...................................................................5
Heated Seats
........................................................................\
...6
SiriusXM
Travel Link and SiriusXM Traffic (if so equipped) .............................
6
ESSENTIAL INFORMATIONCold Weather Range and Parking in Extremely Cold Weather.........................7
Quick Char ge in Cold Weather (if so equipped)........................................7
Li-ion Bat
tery Temperature Gauge and Li-ion Battery Gauges
........................8
P
ower Limitation Indicator Light ......................................................
8
Charge Port Lid/Charge Connector Lock Switch
......................................9
Li-ion Bat
tery Charging
...............................................................10
Tire Pressure Monitoring System (TPMS) with Easy-Fill Tire Alert
....................
12
Clock Set/A
djustment ................................................................
13
FIRST DRIVE FEATURESNissan Intelligent Key® System .......................................................15
Rear Hatch Release ...................................................................15
Seat Adjustments
.....................................................................16
Outside Mirror Control Switch
........................................................
16
Power Meter
.......................................................................\
...
17
Electric Vehicle (EV) System Warning Light
...........................................
17
Starting/Stopping the Electric Vehicle (EV) System
..................................
17
Headlight Control Switch
.............................................................
18
Wiper and Washer Switch
.............................................................19
Heater and Air Conditioner (automatic) (if so equipped)
.............................
20
FM/AM/SiriusXM® Satellite Radio with CD Player (if so equipped)
....................22
Cruise Control
........................................................................\
.23
USB (Universal Serial Bus) Connection Port/aux jack and iPod® Interface
...........24
SYSTEM GUIDETrip Computer .......................................................................\
.25
NissanC onnectSM Mobile Apps (if so equipped).......................................26
Hands-fr
ee Text Messaging Assistant ................................................27
Bluetooth® Hands-fr
ee Phone System ...............................................
28 S
ystem Operating Tips
.............................................................28
Bluetooth® S
ystem without Navigation (if so equipped) .............................
28
Bluetooth® S
ystem with Navigation (if so equipped)
................................30
Bluetooth® S
treaming Audio
..........................................................31
Na
vigation System (if so equipped)
...................................................33
HomeLink® Univ
ersal Transceiver (if so equipped)
....................................35
Please see your Owner’s Manual for important safety information and system operation limitations.
• A c ellular telephone should not be used for any purpose while driving so full attention may
be given to vehicle operation.
•
A
lways wear your seat belt.
•
Supplemental air bags do not r
eplace proper seat belt usage.
•
Childr
en 12 and under should always ride in the rear seat properly secured in child restraints
or seat belts according to their age and weight.
•
Do not drink and driv
e.
For more information, refer to the “Safety — Seats, seat belts and supplemental restraint system
(section 1)”, the “Display screen, heater, air conditioner, audio and phone systems (section 4)” and the
“Starting and driving (section 5)” of your Owner’s Manual and the “Audio system (section 4)” and the
“Hands-Free Phone (section 7)” of your Navigation System Owner’s Manual.
Additional information about your vehicle is also available in your Owner’s Manual,
Navigation System Owner’s Manual and at www.NissanUSA.com.
TABLE OF CONTENTS
Page 7 of 40
5
2
3
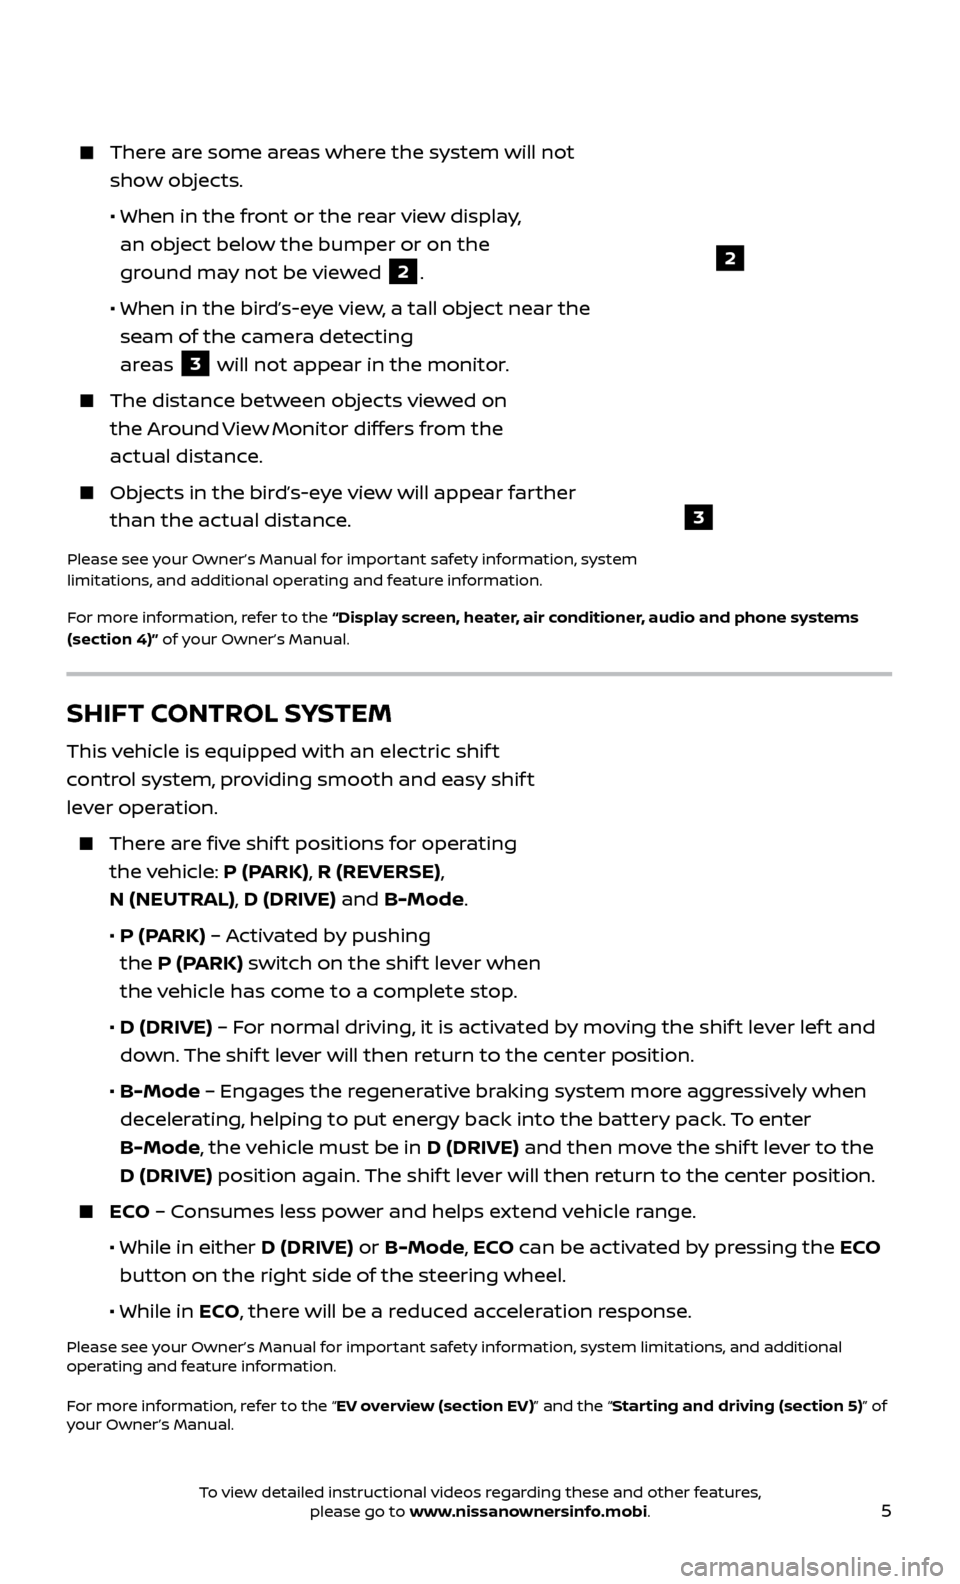
There are some areas where the system will not show objects.
• When in the fr
ont or the rear view display,
an object below the bumper or on the
ground may not be viewed
2.
•
When in the bir
d’s-eye view, a tall object near the
seam of the camera detecting
areas
3 will not appear in the monitor.
The distanc e between objects viewed on
the Around View Monitor differs from the
actual distance.
Objects in the bird’s-eye view will appear farther than the actual distance.
Please see your Owner’s Manual for important safety information, system
limitations, and additional operating and feature information.
For more information, refer to the “Display screen, heater, air conditioner, audio and phone systems
(section 4)” of your Owner’s Manual.
SHIFT CONTROL SYSTEM
This vehicle is equipped with an electric shif t
control system, providing smooth and easy shif t
lever operation.
There are five shif t positions for operating the vehicle: P (PARK), R (REVERSE),
N (NEUTRAL), D (DRIVE) and B-Mode.
•
P (P
ARK) – Activated by pushing
the P (PARK) switch on the shif t lever when
the vehicle has come to a complete stop.
•
D (DRIVE)
– For normal driving, it is activated by moving the shif t lever lef t and
down. The shif t lever will then return to the center position.
•
B-Mode
– Engages the regenerative braking system more aggressively when
decelerating, helping to put energy back into the battery pack. To enter
B-Mode, the vehicle must be in D (DRIVE) and then move the shif t lever to the
D (DRIVE) position again. The shif t lever will then return to the center position.
ECO – Consumes less power and helps extend vehicle range.
• While in either
D (DRIVE) or B-Mode, ECO can be activated by pressing the ECO
button on the right side of the steering wheel.
•
While in ECO, there will be a reduced acceleration response.
Please see your Owner’s Manual for important safety information, system limitations, and additional
operating and feature information.
For more information, refer to the “EV overview (section EV)” and the “Starting and driving (section 5)” of
your Owner’s Manual.
To view detailed instructional videos regarding these and other features, please go to www.nissanownersinfo.mobi.
Page 16 of 40

14
AUDIO DISPLAY
Press the ENTER/SET TING button and turn
the TUNE/SCROLL knob until “Clock”
appears on the display.
Press the ENTER/SET TING button to
select “Clock”.
Turn the TUNE/SCR OLL knob to select
“Set Time”.
Press the ENTER/SET TING button.
Turn the TUNE/SCR OLL knob to adjust the hours.
Press the ENTER/SET TING button.
Turn the TUNE/SCROLL knob to adjust the minutes.
Press the ENTER/SETTING button.
Press the BACK button to finish.
Please see your Owner’s Manual for important safety information, system limitations, and additional
operating and feature information.
For more information, refer to the “Instruments and controls (section 2)” and “Display screen, heater,
air conditioner, audio and phone systems (section 4)” of your Owner’s Manual and the “Getting started
(section 1)” of your Navigation System Owner’s Manual.
ESSENTIAL INFORMATION
To view detailed instructional videos regarding these and other features, please go to www.nissanownersinfo.mobi.
Page 23 of 40

21
7 A/C BUTTON
Press the A/C button to manually turn the A/C on or off.
8 DEFROSTING/DEFOGGING FRONT AND SIDE WINDOWS
Press the front defroster button to turn the system on. The A/C
automatically turns on when the front defroster mode is selected.
To defog or remove moisture from the front window quickly, press both the
HEAT button 6 and the A/C button 7 while in fresh air mode. The
driving range will be reduced when using this setting.
Set the temper ature control buttons 3 and the fan speed control
buttons
4to their maximum settings.
9 AIR RECIR CULATION BUTTON
Press the air recirculation button to recirculate air inside the vehicle.
The indicator light on the button will illuminate. This system is used to avoid
certain outside odors and to help adjust the inside vehicle temperature
more effectively.
Press the air recirculation button again to turn air recirculation off. This
allows outside air to be drawn into the passenger compartment to prevent
fogging in the front defroster, floor vent or front defroster/floor vent mode.
The air recirculation mode cannot be activated when the climate control system is in the front defroster mode
or the front defroster and foot
vent mode
.
10 REAR WINDOW AND OUTSIDE MIRROR (if so equipped) DEFROSTER SWITCH
Push the rear window and outside mirror (if so equipped) defroster
switch to turn the system on or off.
The rear window defroster automatically turns off af ter approximately 15 minutes.
11 CLIMATE CONTROL TIMER INDICATOR
The climate c ontrol timer indicator light will illuminate when the timer has
been set to operate. The climate control timer may be set to a specific
date and time.
Please see your Owner’s Manual for important safety information, system limitations, and additional
operating and feature information.
For more information, refer to the “Display screen, heater, air conditioner, audio and phone systems
(section 4)” of your Owner’s Manual.
To view detailed instructional videos regarding these and other features, please go to www.nissanownersinfo.mobi.
Page 24 of 40
22
FIRST DRIVE FEATURES
FM/AM/SiriusXM® SATELLITE RADIO WITH CD PLAYER
(if so equipped)
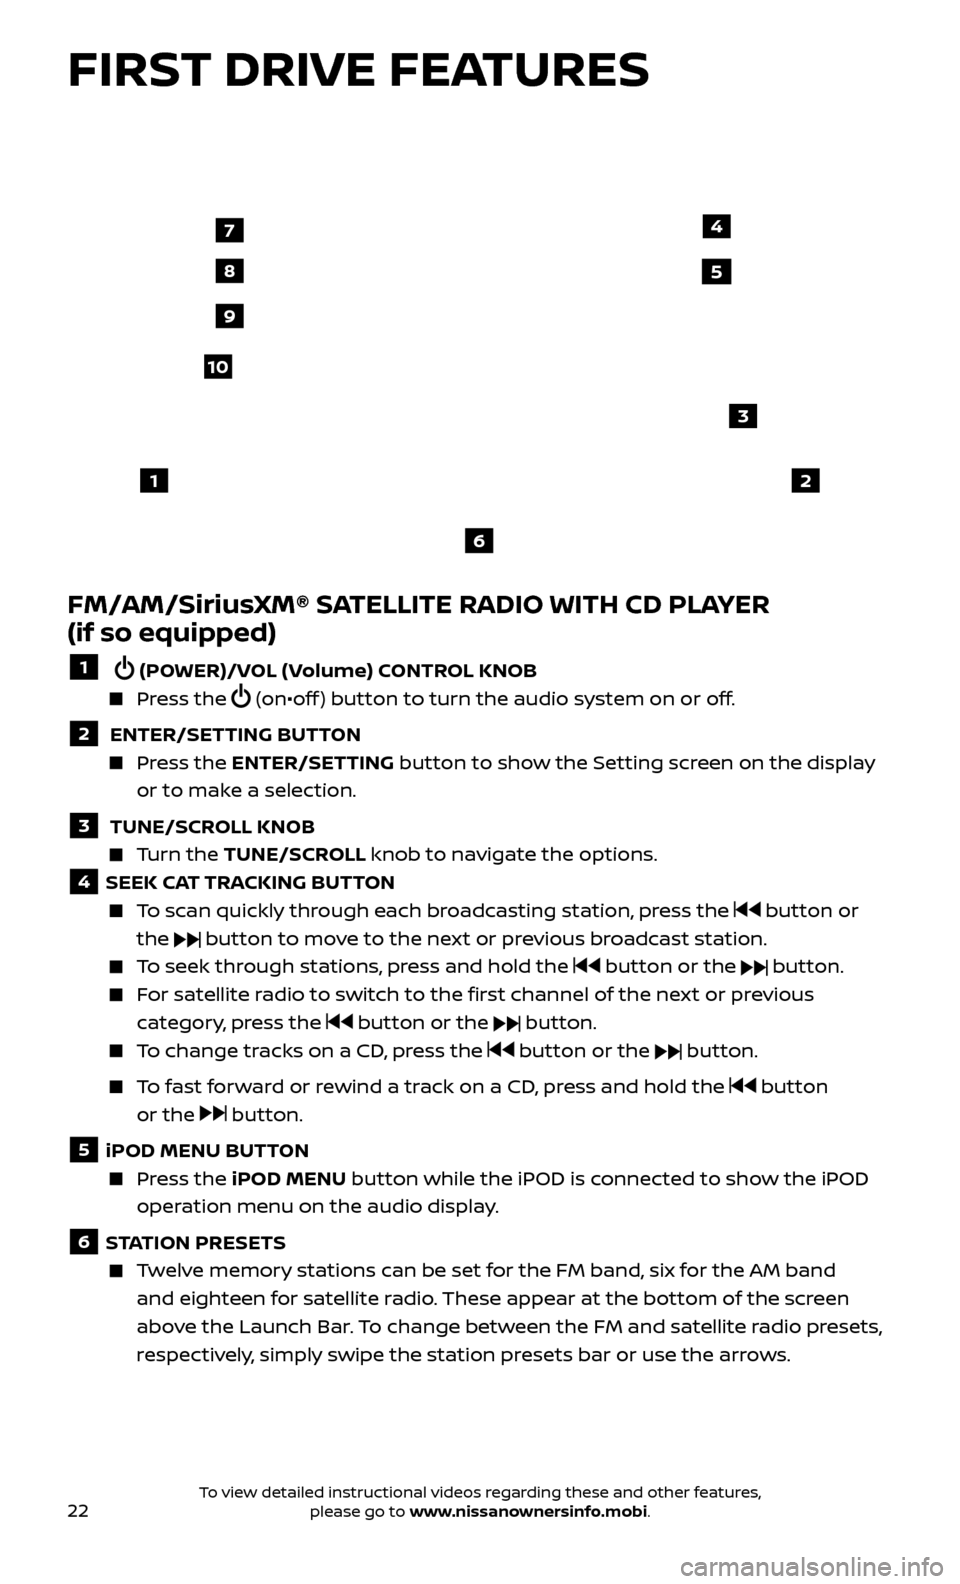
1 (POWER)/VOL (Volume) CONTROL KNOB
Press the (on•off ) button to turn the audio system on or off.
2 ENTER/SETTING BUTTON Press the
ENTER/SET TING
button to show the Setting screen on the display
or to make a selection.
3 TUNE/SCR OLL KNOB Turn the
TUNE/SCR OLL knob to navigate the options.
4 SEEK CAT TRACKING BUTTON
To scan quickly through each broadcasting station, press the button or
the
button to move to the next or previous broadcast station.
To seek through stations, press and hold the button or the button.
For satellite radio to switch to the first channel of the next or previous category, press the
button or the button.
To change tracks on a CD, press the button or the button.
To fast forward or rewind a track on a CD, press and hold the button
or the
button.
5 iPOD MENU BUTTON
Press the
iPOD MENU button while the iPOD is connected to show the iPOD
operation menu on the audio display.
6 STATION PRESETS
Twelve memory stations can be set for the FM band, six for the AM band and eighteen for satellite radio. These appear at the bottom of the screen
above the Launch Bar. To change between the FM and satellite radio presets,
respectively, simply swipe the station presets bar or use the arrows.
12
3
7
8
4
9
10
5
6
To view detailed instructional videos regarding these and other features, please go to www.nissanownersinfo.mobi.
Page 25 of 40
23
To store a station in a preset, you must first select a radio band by pressing the FM•AM button
7 or XM button
8 then tune to the desired AM, FM or
satellite radio station using the TUNE/SCROLL knob
3. Next, touch and hold
the desired station preset key until you hear a beep. The channel indicator will
then display, and the sound will resume. Programing is now complete.
7 FM•
AM BUTTON Press the FM• AM button to switch between FM and AM radio screens.
8 XM BUTTON
Press the XM button to display the satellite radio screen.
9 MEDIA BUTTON Press the
MEDIA but ton to switch display options.
10 DISP BUTTON Press the
DISP but ton to turn the display on or off.
Please see your Owner’s Manual for important safety information, system limitations, and additional
operating and feature information.
For more information, refer to the “Audio system (section 4)” of your Navigation System Owner’s Manual.
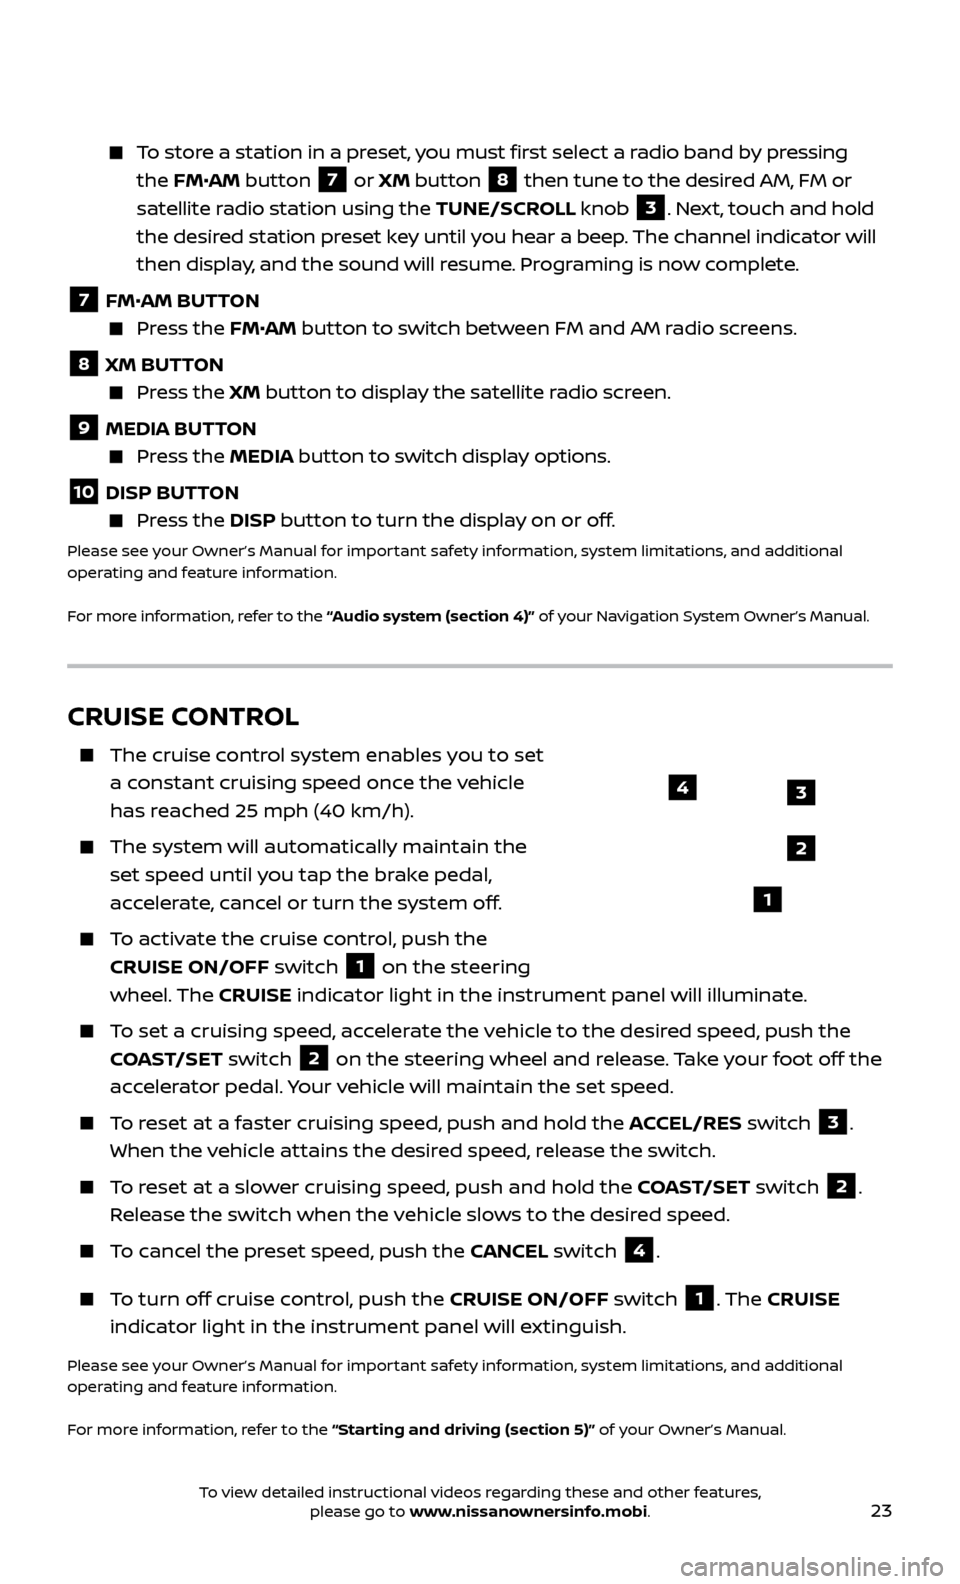
CRUISE CONTROL
The cruise control system enables you to set
a constant cruising speed once the vehicle
has reached 25 mph (40 km/h).
The system wil l automatically maintain the
set speed until you tap the brake pedal,
accelerate, cancel or turn the system off.
To activate the cruise control, push the CRUISE ON/OFF switch
1 on the steering
wheel. The CRUISE indicator light in the instrument panel will illuminate.
To set a cruising speed, accelerate the vehicle to the desired speed, push the
COAST/SET switch
2 on the steering wheel and release. Take your foot off the
accelerator pedal. Your vehicle will maintain the set speed.
To reset at a faster cruising speed, push and hold the ACCEL/RES switch 3.
When the vehicle attains the desired speed, release the switch.
To reset at a slower cruising speed, push and hold the COAST/SET switch 2.
Release the switch when the vehicle slows to the desired speed.
To cancel the preset speed, push the CANCEL switch 4.
To turn off cruise control, push the CRUISE ON/OFF switch 1. The CRUISE
indicator light in the instrument panel will extinguish.
Please see your Owner’s Manual for important safety information, system limitations, and additional
operating and feature information.
For more information, refer to the “Starting and driving (section 5)” of your Owner’s Manual.
3
2
1
4
To view detailed instructional videos regarding these and other features, please go to www.nissanownersinfo.mobi.
Page 26 of 40

24
USB (Universal Serial Bus) CONNECTION PORT/AUX JACK AND
iPOD® INTERFACE
The USB port
1 and the AUX jack 2 are
located on the instrument panel below the
climate controls.
When a c ompatible USB memory device,
iPod® or auxiliary device is plugged into the
USB port or AUX jack, compatible audio files
stored on the device can be played through
the vehicle’s audio system.
Touch the “USB/iPod” key to view the folder list and track listing, playlist, album artwork, album name, artist and songs.
For a full list of compatible devices, refer to the “Audio system (section 4)” of your
Navigation System Owner’s Manual.
Please see your Owner’s Manual for important safety information, system limitations, and additional
operating and feature information.
For more information, refer to the “Display screen, heater, air conditioner, audio and phone systems
(section 4)” of your Owner’s Manual and the “Audio system (section 4)” of your Navigation System
Owner’s Manual.
12
FIRST DRIVE FEATURES
To view detailed instructional videos regarding these and other features, please go to www.nissanownersinfo.mobi.