2017 NISSAN FRONTIER reset
[x] Cancel search: resetPage 9 of 28

7
LOOSE FUEL CAP
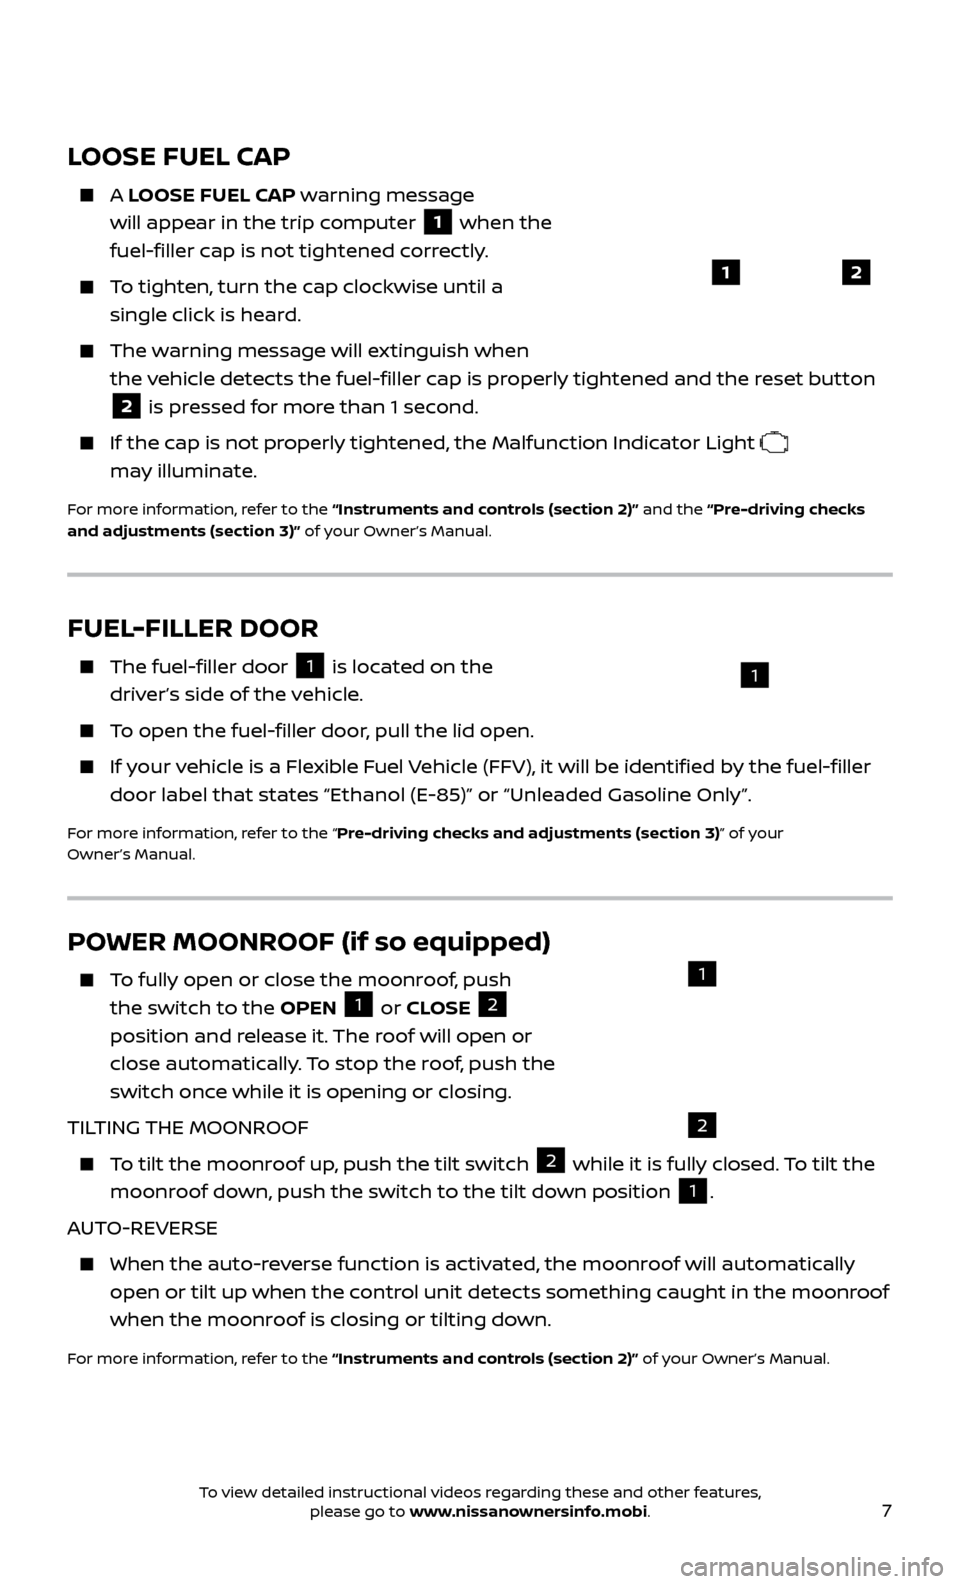
A LOOSE FUEL CAP warning message
will appear in the trip computer
1 when the
fuel-filler cap is not tightened correctly.
To tighten, turn the cap clockwise until a single click is heard.
The warning message will extinguish when the vehicle detects the fuel-filler cap is properly tightened and the reset button
2 is pressed for more than 1 second.
If the cap is not properly tightened, the Malfunction Indicator Light
may illuminate.
For more information, refer to the “Instruments and controls (section 2)” and the “Pre-driving checks
and adjustments (section 3)” of your Owner’s Manual.
12
POWER MOONROOF (if so equipped)
To fully open or close the moonroof, push
the switch to the OPEN 1 or CLOSE 2
position and release it. The roof will open or
close automatically. To stop the roof, push the
switch once while it is opening or closing.
TILTING THE MOONROOF
To tilt the moonroof up, push the tilt switch 2 while it is fully closed. To tilt the
moonroof down, push the switch to the tilt down position
1.
AUTO-REVERSE
When the auto-r everse function is activated, the moonroof will automatically
open or tilt up when the control unit detects something caught in the moonroof
when the moonroof is closing or tilting down.
For more information, refer to the “Instruments and controls (section 2)” of your Owner’s Manual.
2
1
FUEL-FILLER DOOR
The fuel-filler door 1 is located on the
driver’s side of the vehicle.
To open the fuel-filler door, pull the lid open.
If your vehicle is a Flexible Fuel Vehicle (FFV), it will be identified by the fuel-filler door label that states “Ethanol (E-85)” or “Unleaded Gasoline Only”.
For more information, refer to the “Pre-driving checks and adjustments (section 3)” of your
Owner’s Manual.
1
To view detailed instructional videos regarding these and other features, please go to www.nissanownersinfo.mobi.
Page 15 of 28

13
HEATER AND AIR CONDITIONER (automatic) (if so equipped)
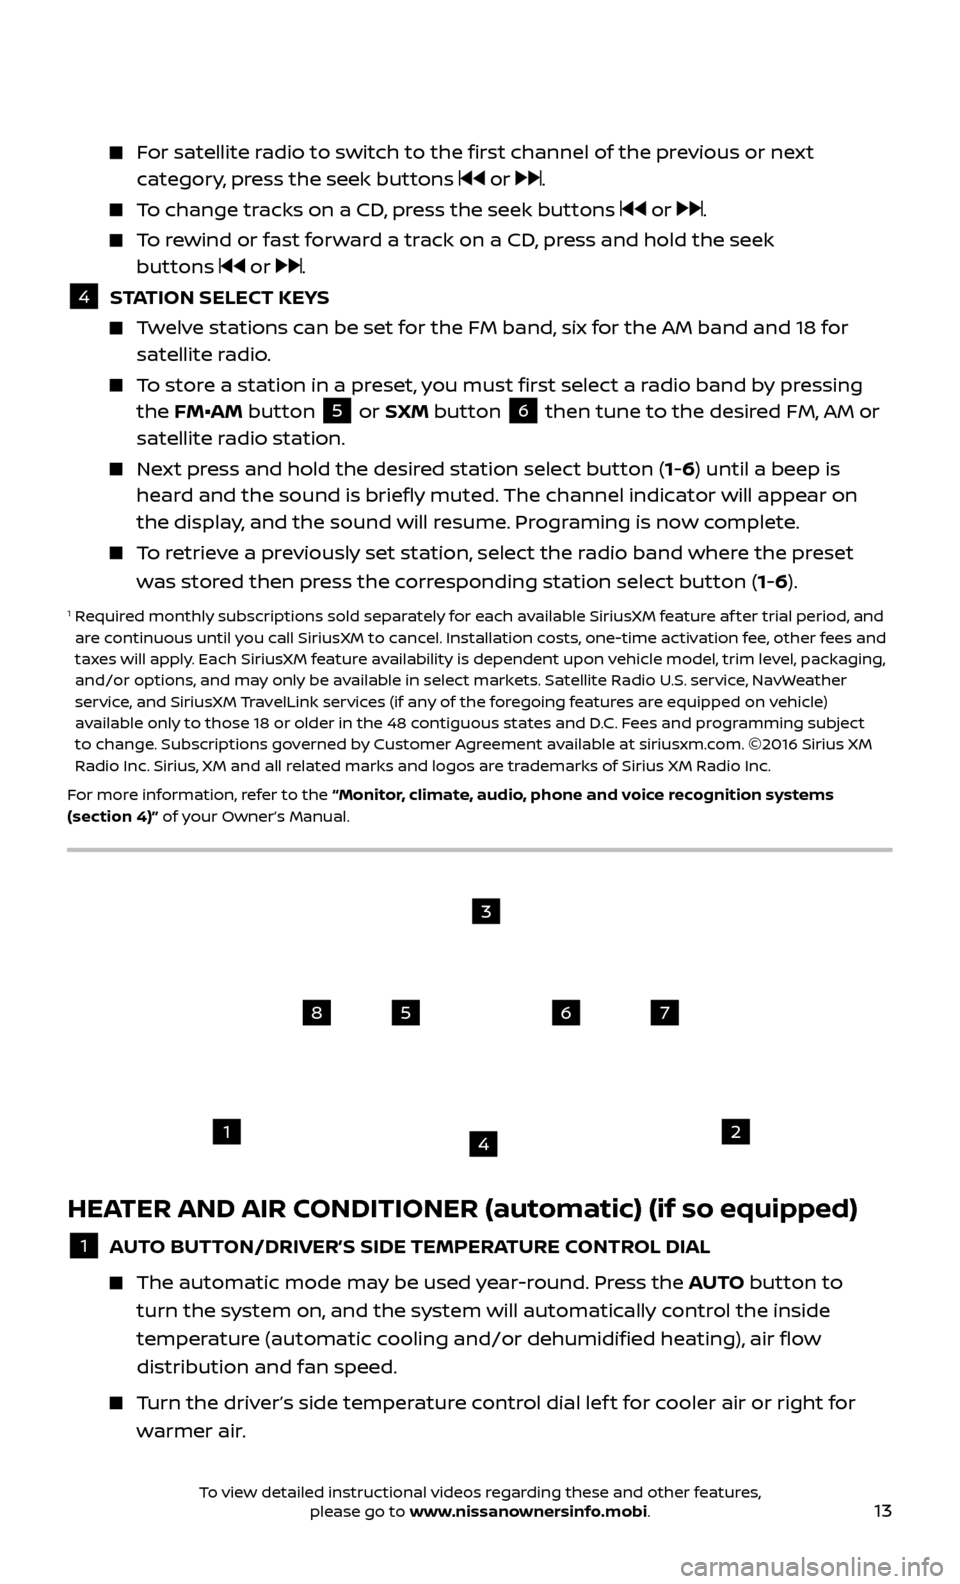
1 AUTO BUTTON/DRIVER’S SIDE TEMPERATURE CONTROL DIAL
The automatic mode ma
y be used year-round. Press the AUTO button to
turn the system on, and the system will automatically control the inside
temperature (automatic cooling and/or dehumidified heating), air flow
distribution and fan speed.
Turn the driver’s side temperature control dial lef t for cooler air or right for warmer air.
For satellite radio to switch to the first channel of the previous or next category, press the seek buttons or .
To change tracks on a CD, press the seek buttons or .
To rewind or fast forward a track on a CD, press and hold the seek buttons or .
4 S TATION SELECT KEYS Twelve stations can be set for the FM band, six for the AM band and 18 for
satellite radio.
To store a station in a preset, you must first select a radio band by pressing the FM•AM button 5 or SXM button 6 then tune to the desired FM, AM or
satellite radio station.
Next press and hold the desired station select button (1-6) until a beep is heard and the sound is briefly muted. The channel indicator will appear on
the display, and the sound will resume. Programing is now complete.
To retrieve a previously set station, select the radio band where the preset was stored then press the corresponding station select button (1-6).
1 Required monthly subscriptions sold separately for each available SiriusXM feature af ter trial period, and are continuous until you call SiriusXM to cancel. Installation costs, one-time activation fee, other fees and
taxes will apply. Each SiriusXM feature availability is dependent upon vehicle model, trim level, packaging,
and/or options, and may only be available in select markets. Satellite Radio U.S. service, NavWeather
service, and SiriusXM TravelLink services (if any of the foregoing features are equipped on vehicle)
available only to those 18 or older in the 48 contiguous states and D.C. Fees and programming subject
to change. Subscriptions governed by Customer Agreement available at siriusxm.com. ©2016 Sirius XM
Radio Inc. Sirius, XM and all related marks and logos are trademarks of Sirius XM Radio Inc.
For more information, refer to the “Monitor, climate, audio, phone and voice recognition systems
(section 4)” of your Owner’s Manual.
1
5
2
6
3
7
4
8
To view detailed instructional videos regarding these and other features, please go to www.nissanownersinfo.mobi.
Page 17 of 28

15
CRUISE CONTROL (if so equipped)
The cruise control system enables you to set
a constant cruising speed once the vehicle
has reached 25 mph (40 km/h).
The system wil l automatically maintain the
set speed until you tap the brake pedal,
accelerate, cancel or turn the system off.
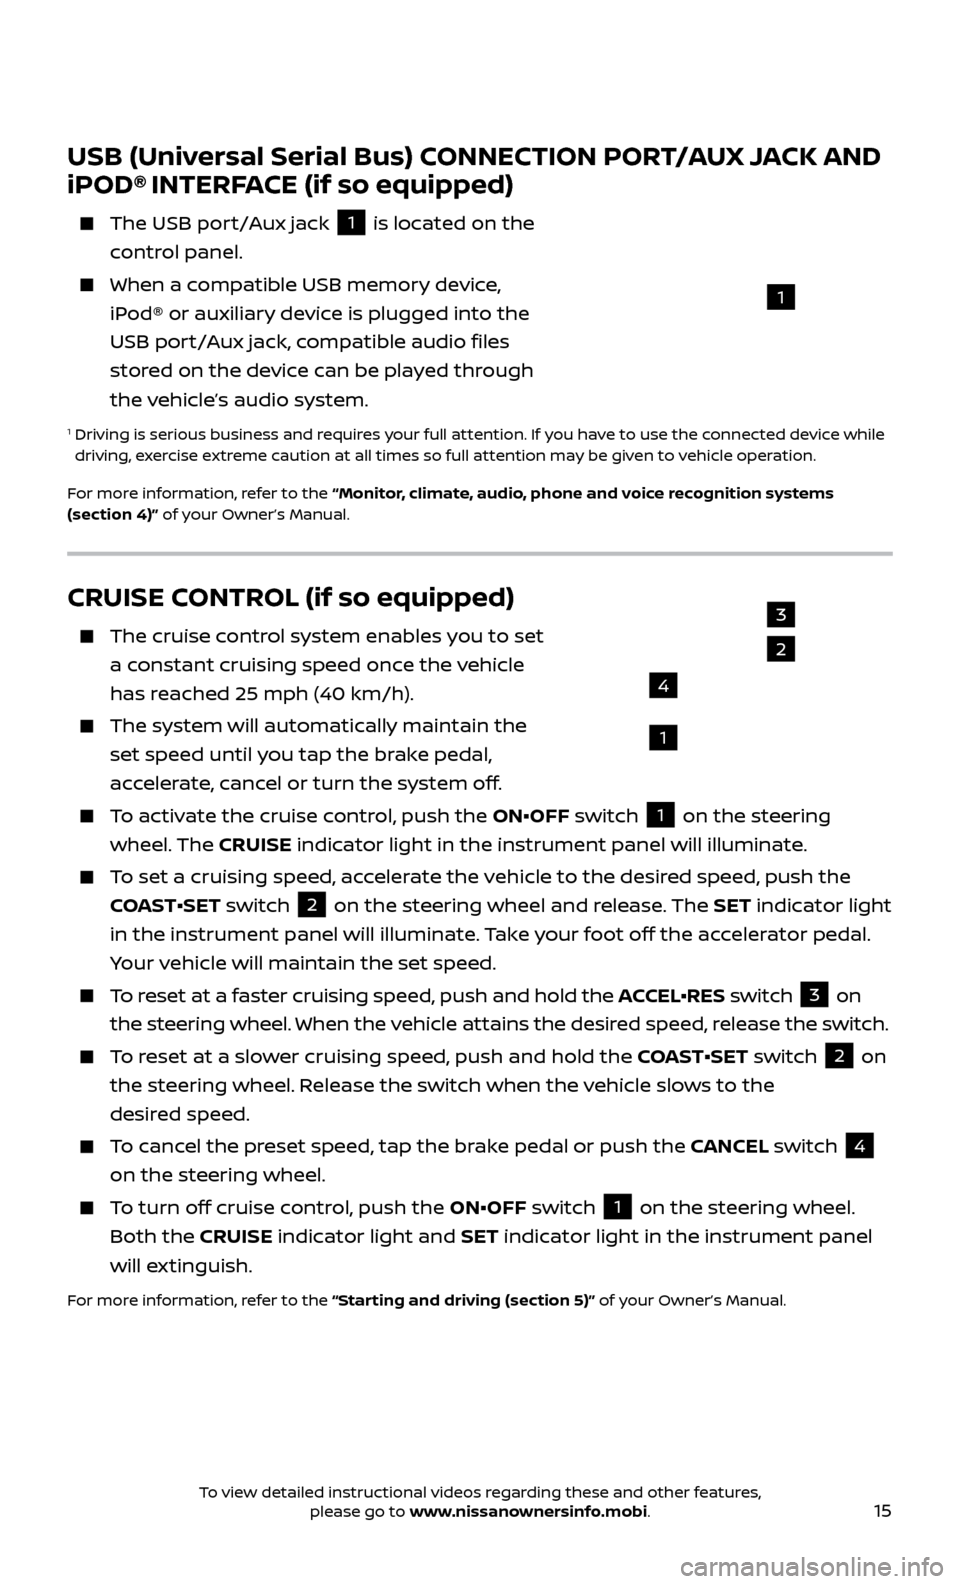
To activate the cruise control, push the ON•OFF switch 1 on the steering
wheel. The CRUISE indicator light in the instrument panel will illuminate.
To set a cruising speed, accelerate the vehicle to the desired speed, push the
COAST•SET switch
2 on the steering wheel and release. The SET indicator light
in the instrument panel will illuminate. Take your foot off the accelerator pedal.
Your vehicle will maintain the set speed.
To reset at a faster cruising speed, push and hold the ACCEL•RES switch 3 on
the steering wheel. When the vehicle attains the desired speed, release the switch.
To reset at a slower cruising speed, push and hold the COAST•SET switch 2 on
the steering wheel. Release the switch when the vehicle slows to the
desired speed.
To cancel the preset speed, tap the brake pedal or push the CANCEL switch 4
on the steering wheel.
To turn off cruise control, push the ON•OFF switch 1 on the steering wheel.
Both the CRUISE indicator light and SET indicator light in the instrument panel
will extinguish.
For more information, refer to the “Starting and driving (section 5)” of your Owner’s Manual.
3
2
1
4
USB (Universal Serial Bus) CONNECTION PORT/AUX JACK AND
iPOD® INTERFACE (if so equipped)
The USB por t/Aux jack
1 is located on the
control panel.
When a c ompatible USB memory device,
iPod® or auxiliary device is plugged into the
USB port/Aux jack, compatible audio files
stored on the device can be played through
the vehicle’s audio system.
1 Driving is serious business and r equires your full attention. If you have to use the connected device while
driving, exercise extreme caution at all times so full attention may be given to vehicle operation.
For more information, refer to the “Monitor, climate, audio, phone and voice recognition systems
(section 4)” of your Owner’s Manual.
1
To view detailed instructional videos regarding these and other features, please go to www.nissanownersinfo.mobi.
Page 18 of 28

16
TRIP COMPUTER
With the ignition switch in the ON position,
modes of the trip computer
1 can be
selected by pressing the trip computer
change button
2 on the instrument panel. The following modes can be selected in the display:
•
Trip A – measures the distance of one specific trip.
•
Trip B – measures the distance of a second specific trip.
•
dt
e (distance to empty) – displays the estimated distance to empty (dte) the
vehicle can be driven before refueling.
•
mph
– displays the average speed since the last reset.
•
mpg
– displays the average fuel consumption since the last reset.
•
Journe
y time – displays the elapsed time since the last reset.
To reset Trip A , Trip B, mph, mpg and journey time, go to the desired mode on
the trip computer and press and hold the trip computer change button
2 for
more than 3 seconds.
For more information, refer to the “Instruments and controls (section 2)” of your Owner’s Manual.
1
SYSTEM GUIDE
2
NISSANCONNECTSM MOBILE APPS1 (if so equipped)
Integrates popular smartphone apps and services into your vehicle.
To enroll in NissanConnectSM Mobile Apps:
1.
Start by creating a Nissan Owner’s Portal account at owners.nissanusa.com.
2.
Ne
xt, download the NissanConnect Mobile Apps companion app from Google
Play or the Apple App Store.
3.
Launch the app and sign-in with the email username and passw
ord you
created when registering on the Nissan Owner’s Portal website.
•
iPhone®
,2: Please connect via USB when using an iPhone® with
NissanConnect Mobile Apps.
•
Android®
,3: Please connect via Bluetooth®,4 when using an Android® device
with NissanConnect Mobile Apps.
For more information on how to pair your cellular phone and set up NissanConnect Mobile Apps, visit: www.NissanUSA.com/connect/support.
1 Only use features when safe to do so. App availability is dependent upon vehicle model, trim level, packaging, and/or options. See www.NissanUSA.com/connect for complete app availability details.
Compatible smartphone required. Cellular network and GPS signals not available in all areas and/or at
all times. NISSAN is not responsible for associated costs, if any, for continued operation due to cellular
network or other third party termination/changes. Cellular or other third party provider may terminate/
restrict respective service without notice. Subscription Agreement required. See www.NissanUSA.com/
connect for details. Text rates and/or data usage may apply.
2 iPhone is registered trademark of Apple, Inc. All rights reserved. iPhone not included.3 Android® is a registered trademark of Google, Inc.4 Availability of specific features is dependent upon the phone’s Bluetooth® support. Please refer to your phone’s owner’s manual for details. Bluetooth® word mark and logos are owned by Bluetooth SIG, Inc.,
and any use of such marks by NISSAN is under license. See www.NissanUSA.com/bluetooth for details.
For more information, refer to the “Monitor, climate, audio, phone and voice recognition systems
(section 4)” of your Owner’s Manual.
To view detailed instructional videos regarding these and other features, please go to www.nissanownersinfo.mobi.