Page 422 of 497

2. Check the fluid level in each cell. If it isnecessary to add fluid, add only distilled
water to bring the level up to the bottom of
the filler opening. Do not overfill.Reinstall
the vent caps. Vehicles operated in high temperatures or under
severe conditions require frequent checks of the
battery fluid level.
JUMP STARTING
If jump starting is necessary, refer to “Jump start-
ing” in the “In case of emergency” section of this
manual. If the engine does not start by jump
starting, the battery may have to be replaced. It is
recommended that you visit a NISSAN dealer for
this service.
CAUTION
●
Do not ground accessories directly to
the battery terminal. Doing so will by-
pass the variable voltage control sys-
tem and the vehicle battery may not
charge completely.
● Use electrical accessories with the en-
gine running to avoid discharging the
vehicle battery.
Your vehicle is equipped with a variable voltage
control system. This system measures the
amount of electrical discharge from the battery
and controls voltage generated by the generator.
LDI0302
LDI2132
VARIABLE VOLTAGE CONTROL
SYSTEM
Do-it-yourself8-15
Page 424 of 497

1. Visually inspect the belt for signs of unusualwear, cuts, fraying or looseness. If the belt is
in poor condition or is loose, have it replaced
or adjusted. It is recommended that you visit
a NISSAN dealer for this service.
2. Have the belt checked regularly for condi- tion and tension in accordance with the
maintenance schedule found in the �Mainte-
nance and Schedules� section of this
manual.
REPLACING SPARK PLUGS
Iridium-tipped spark plugs
It is not necessary to replace iridium-tipped�A
spark plugs as frequently as conventional type
spark plugs because they last much longer. Fol-
low the maintenance log shown in the “Mainte-
nance and schedules” section of this manual. Do
not service iridium-tipped spark plugs by clean-
ing or regapping.
● Always replace spark plugs with rec-
ommended or equivalent ones.
WARNING
Be sure the engine and ignition switch are
off and that the parking brake is engaged
securely.
CAUTION
Be sure to use the correct socket to re-
move the spark plugs. An incorrect socket
can damage the spark plugs.
If replacement is required, it is recommended that
you visit a NISSAN dealer for this service.
SDI1895
SPARK PLUGS
Do-it-yourself8-17
Page 425 of 497

NOTE:
The air cleaner filter should not be cleaned
and reused.
Replace the air cleaner filter according to the
maintenance log shown in the “Warranty Informa-
tion and Maintenance Booklet.”
To remove the air cleaner filter:● Unlatch the clips and move the air cleaner
cover upward.
● Remove the air cleaner filter. ●
Wipe the inside of the air cleaner filter hous-
ing and the cover with a damp cloth.
NOTE:
After installing a new air cleaner, make
sure the air cleaner cover is seated in the
housing and latch the clips.
WARNING
● Operating the engine with the air
cleaner removed can cause you or oth-
ers to be burned. The air cleaner not
only cleans the air, it stops the flame if
the engine backfires. If it isn’t there, and
the engine backfires, you could be
burned. Do not drive with the air cleaner
removed, and be careful when working
on the engine with the air cleaner
removed.
● Never pour fuel into the throttle body or
attempt to start the engine with the air
cleaner removed. Doing so could result
in serious injury.
IN-CABIN MICROFILTER (if so
equipped)
The in-cabin microfilter restricts the entry of air-
borne dust and pollen particles and reduces
some objectionable outside odors. The filter is
located behind the glove box. For additional in-
formation, refer to the �Maintenance and sched-
ules� section of this manual for change intervals.
If replacement is required, it is recommended that
you visit a NISSAN dealer for this service.
QR25DE
LDI2117
VQ35DE
LDI2118
AIR CLEANER
8-18Do-it-yourself
Page 427 of 497

If you wax the surface of the hood, be careful not
to let wax get into the washer nozzle
�D. This may
cause clogging or improper windshield-washer
operation. If wax gets into the nozzle, remove it
with a needle or small pin
�C. If the brakes do not operate properly, have the
brakes checked. It is recommended that you visit
a NISSAN dealer for this service.
Self-adjusting brakes
Your vehicle is equipped with self-adjusting
brakes.
The front and rear disc-type brakes self-adjust
every time the brake pedal is applied.
WARNING
Have your brake system checked if the
brake pedal height does not return to nor-
mal. It is recommended that you visit a
NISSAN dealer for this service.
Brake pad wear indicators
The disc brake pads on your vehicle have audible
wear indicators. When a brake pad requires re-
placement, a high pitched scraping or screech-
ing sound will be heard when the vehicle is in
motion. The noise will be heard whether or not the
brake pedal is depressed. Have the brakes
checked as soon as possible if the wear indicator
sound is heard.
Under some driving or climate conditions, occa-
sional brake squeak, squeal or other noise may
be heard. Occasional brake noise during light to
moderate stops is normal and does not affect the
function or performance of the brake system.
Proper brake inspection intervals should
be followed.
For additional information regard-
ing brake inspections, refer to the appropriate
maintenance schedule information in the �Main-
tenance and Schedules� section of this manual.
LDI2731
BRAKES
8-20Do-it-yourself
Page 429 of 497
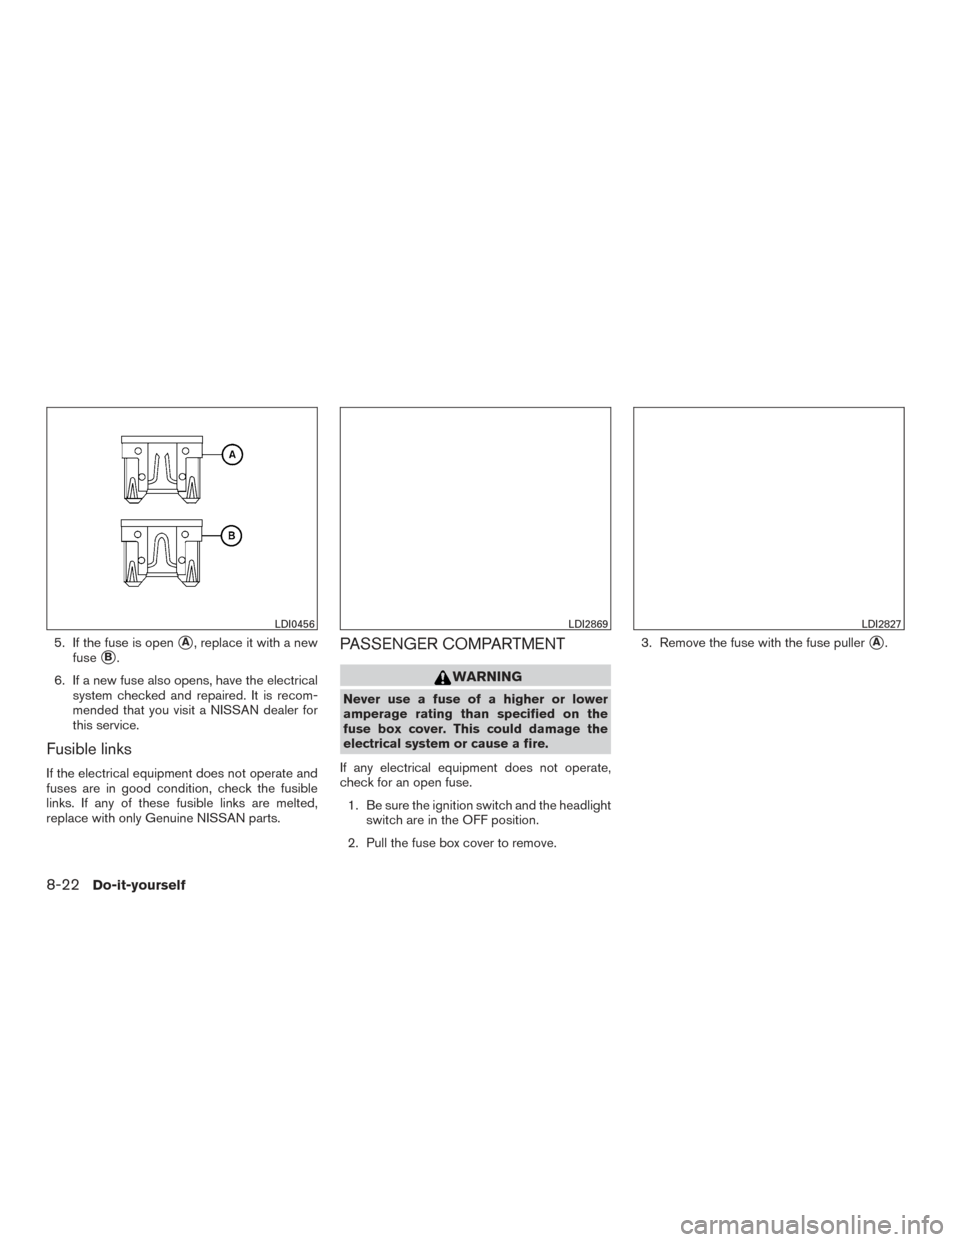
5. If the fuse is open�A, replace it with a new
fuse
�B.
6. If a new fuse also opens, have the electrical system checked and repaired. It is recom-
mended that you visit a NISSAN dealer for
this service.
Fusible links
If the electrical equipment does not operate and
fuses are in good condition, check the fusible
links. If any of these fusible links are melted,
replace with only Genuine NISSAN parts.
PASSENGER COMPARTMENT
WARNING
Never use a fuse of a higher or lower
amperage rating than specified on the
fuse box cover. This could damage the
electrical system or cause a fire.
If any electrical equipment does not operate,
check for an open fuse. 1. Be sure the ignition switch and the headlight switch are in the OFF position.
2. Pull the fuse box cover to remove. 3. Remove the fuse with the fuse puller
�A.
LDI0456LDI2869LDI2827
8-22Do-it-yourself
Page 430 of 497
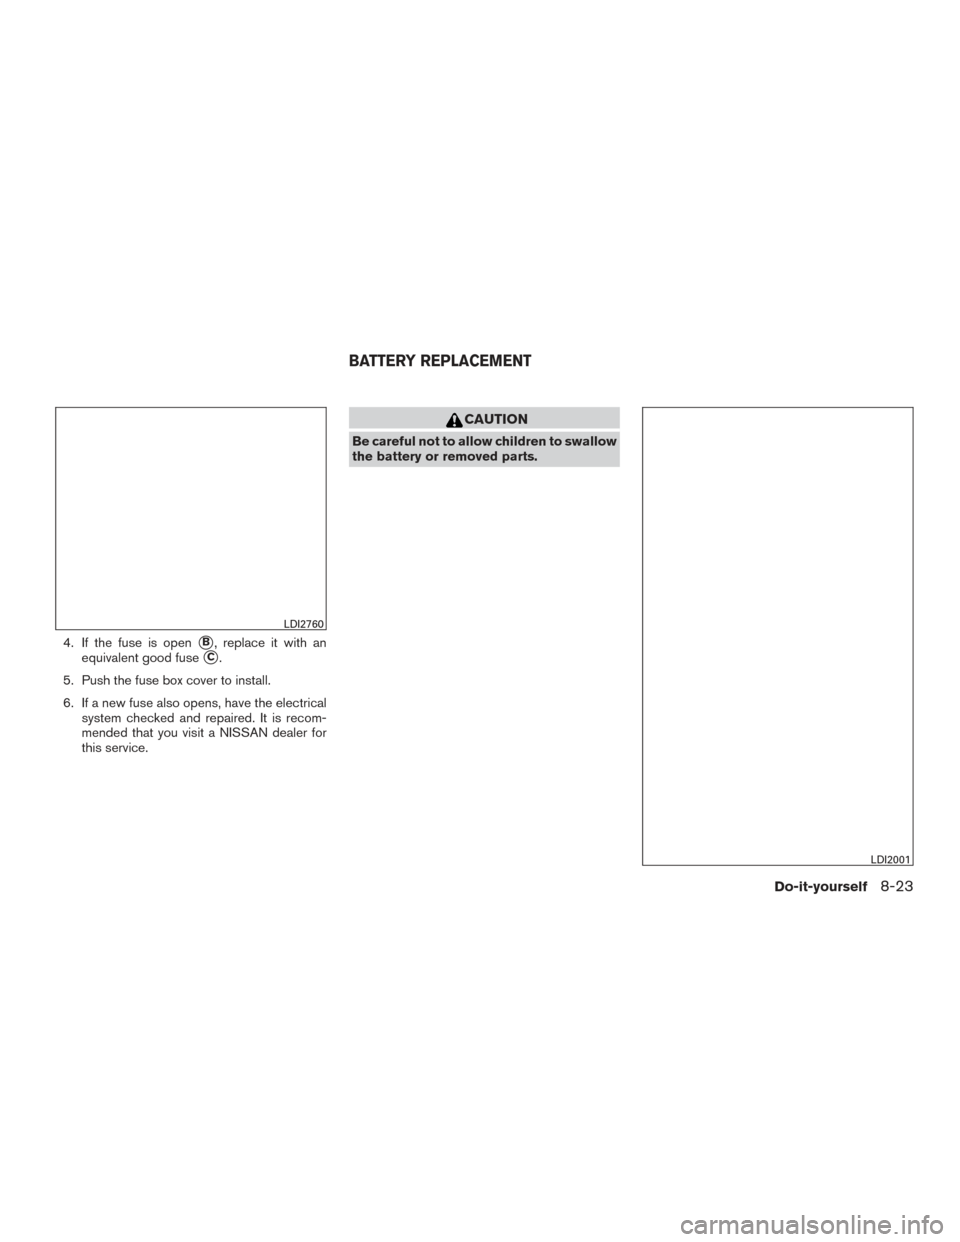
4. If the fuse is open�B, replace it with an
equivalent good fuse
�C.
5. Push the fuse box cover to install.
6. If a new fuse also opens, have the electrical system checked and repaired. It is recom-
mended that you visit a NISSAN dealer for
this service.
CAUTION
Be careful not to allow children to swallow
the battery or removed parts.
LDI2760
LDI2001
BATTERY REPLACEMENT
Do-it-yourself8-23
Page 431 of 497

NISSAN INTELLIGENT KEY®
Replace the battery in the Intelligent Key as fol-
lows:1. Remove the mechanical key from the Intelli- gent Key.
2. Insert a small screwdriver
�Ainto the slit�B
of the corner and twist it to separate the
upper part from the lower part. Use a cloth to
protect the casing.
3. Replace the battery with a new one. Recommended battery: CR2032 or equiva-
lent.
●Do not touch the internal circuit and elec-
tric terminals as doing so could cause a
malfunction.
● Hold the battery by the edges. Holding
the battery across the contact points will
seriously deplete the storage capacity.
● Make sure that the + side faces the bot-
tom of the case. 4. Close the lid securely as illustrated with
�C
and�D.
5. Operate the buttons to check the operation.
It is recommended that you visit a NISSAN dealer
for this service if you need assistance for replace-
ment. FCC Notice:
For USA:
This device complies with Part 15 of the
FCC Rules. Operation is subject to the fol-
lowing two conditions: (1) This device may
not cause harmful interference, and (2) this
device must accept any interference re-
ceived, including interference that may
cause undesired operation.
Note: Changes or modifications not ex-
pressly approved by the party responsible
for compliance could void the user’s au-
thority to operate the equipment.
For Canada:
This device complies with Industry Canada
licence-exempt RSS standard(s) . Opera-
tion is subject to the following two condi-
tions: (1) this device may not cause inter-
ference, and (2) this device must accept any
interference, including interference that
may cause undesired operation of the de-
vice.
WDI0568
8-24Do-it-yourself
Page 432 of 497

The headlight is a semi")
HEADLIGHTS
For additional information on headlight bulb re-
placement, refer to the instructions outlined in
this section.
Replacing the halogen headlight bulb
(if so equipped)
The headlight is a semi-sealed beam type which
uses a replaceable headlight (halogen) bulb.
They can be replaced from inside the engine
compartment without removing the headlight as-
sembly.
If headlight bulb replacement is required, it is
recommended that you visit a NISSAN dealer for
this service.
CAUTION
●Aiming is not necessary after replacing
the bulb. When aiming adjustment is
necessary, it is recommended that you
visit a NISSAN dealer for this service.
● Do not leave the headlight assembly
open without a bulb installed for a long
period of time. Dust, moisture, smoke,
etc. entering the headlight body may
affect bulb performance. Remove the
bulb from the headlight assembly just
before a replacement bulb is installed. ●
Only touch the base when handling the
bulb. Never touch the glass envelope.
Touching the glass could significantly
affect bulb life and/or headlight
performance.
● High pressure halogen gas is sealed
inside the halogen bulb. The bulb may
break if the glass envelope is scratched
or the bulb is dropped.
● Use the same number and wattage as
shown in the chart.
Fog may temporarily form inside the lens of the
exterior lights in the rain or in a car wash. A
temperature difference between the inside and
the outside of the lens causes the fog. This is not
a malfunction. If large drops of water collect
inside the lens, it is recommended that you visit a
NISSAN dealer for this service.
Replacing the LED headlight bulb (if
so equipped)
If LED headlight bulb replacement is required, it is
recommended that you visit a NISSAN dealer for
this service.
FOG LIGHTS (if so equipped)
For additional information on fog light bulb re-
placement, refer to the instructions outlined in
this section.
LIGHTS
Do-it-yourself8-25