2017 NISSAN ALTIMA Low outside temperature
[x] Cancel search: Low outside temperaturePage 198 of 497
The air conditioner cooling function oper-
ates only when the engine is running.
Rear window and outside mirror (if so
equipped) defroster switch
For additional information, refer to “Rear window
and outside mirror (if so equipped) defroster
switch” in the “Instruments and controls” section
of this manual.
HEATER OPERATION
Heating
This mode is used to direct heated air to the foot
outlets. Some air also flows from the defrost
outlets and the side vent outlets.1. Press the
button to the OFF position
for normal heating.
2. Press the
air flow control button.
3. Turn the
fan control dial to the desired
position.
4. Turn the temperature control dial to the de- sired position between the middle and the
hot position.
Ventilation
This mode directs outside air to the side and
center vents.
1. Press the
button to the OFF position.
2. Press the
air flow control button.
3. Turn the
fan control dial to the desired
position.
4. Turn the temperature control dial to the de- sired position.
Defrosting or defogging
This mode directs the air to the defrost outlets to
defrost/defog the windows.
1. Press the
defrost/defog button .
2. Turn the
fan control dial to the desired
position.
3. Turn the temperature control dial to the de- sired position between the middle and the
hot position.
● To quickly remove ice or fog from the win-
dows, turn the
fan control dial to the
highest setting and the temperature control
to the full HOT position. ●
When the
position is selected, the air
conditioner automatically turns on if the out-
side temperature is more than 36°F (2°C) .
This dehumidifies the air which helps defog
the windshield. The
mode automati-
cally turns off, allowing outside air to be
drawn into the passenger compartment to
further improve the defogging performance.
The recirculation mode cannot be activated
in the
position.
Bi-level heating
The bi-level mode directs warmed air to the side
and center vents and to the front and rear floor
outlets.
1. Press the
button to the OFF position.
2. Press the
air flow control button.
3. Turn the
fan control dial to the desired
position.
4. Turn the temperature control dial to the de- sired position.
Heating and defogging
This mode heats the interior and defogs the wind-
shield.
1. Press the
air flow control button.
Monitor, climate, audio, phone and voice recognition systems4-19
Page 199 of 497
2. Turn thefan control dial to the desired
position.
3. Turn the temperature control dial to the de- sired position between the middle and the
hot position.
● When the
position is selected, the air
conditioner automatically turns on if the out-
side temperature is more than 36°F (2°C) .
This dehumidifies the air which helps defog
the windshield. The
mode automati-
cally turns off, allowing outside air to be
drawn into the passenger compartment to
further improve the defogging performance.
Operating tips
Clear snow and ice from the wiper blades
and air inlet in front of the windshield. This
improves heater operation.
AIR CONDITIONER OPERATION
Start the engine, turn thefan control dial to
the desired position, and press the
button
to activate the air conditioner. When the air con-
ditioner is on, cooling and dehumidifying func-
tions are added to the heater operation.
The air conditioner cooling function oper-
ates only when the engine is running.
Cooling
This mode is used to cool and dehumidify the air.
1. Press the
button to the OFF position.
2. Press the
air flow control button.
3. Turn the
fan control dial to the desired
position.
4. Press the A/C button. The indicator light comes on.
5. Turn the temperature control dial to the de- sired position.
● For quick cooling when the outside tem-
perature is high, press the
button to
the ON position. Be sure to return the
to the OFF position for normal cooling. MAX
A/C may be used for quick cooling.
Dehumidified heating
This mode is used to heat and dehumidify the air.
1. Press the
button to the OFF position.
2. Press the
air flow control button.
3. Turn the
fan control dial to the desired
position.
4. Press the A/C button. The indicator light comes on. 5. Turn the temperature control dial to the de-
sired position.
Dehumidified defogging
This mode is used to defog the windows and
dehumidify the air.
1. Press the
air flow control button.
2. Turn the
fan control dial to the desired
position.
● When the
orare selected, the
air conditioner automatically turns on if the
outside temperature is more than 36°F
(2°C) . This dehumidifies the air which helps
defog the windshield. The
mode au-
tomatically turns off, allowing outside air to
be drawn into the passenger compartment
to further improve the defogging perfor-
mance.
● The air conditioner is always on in
mode.
3. Turn the temperature control dial to the de- sired position.
Operating tips
●Keep the windows and moonroof closed
while the air conditioner is in operation.
4-20Monitor, climate, audio, phone and voice recognition systems
Page 203 of 497
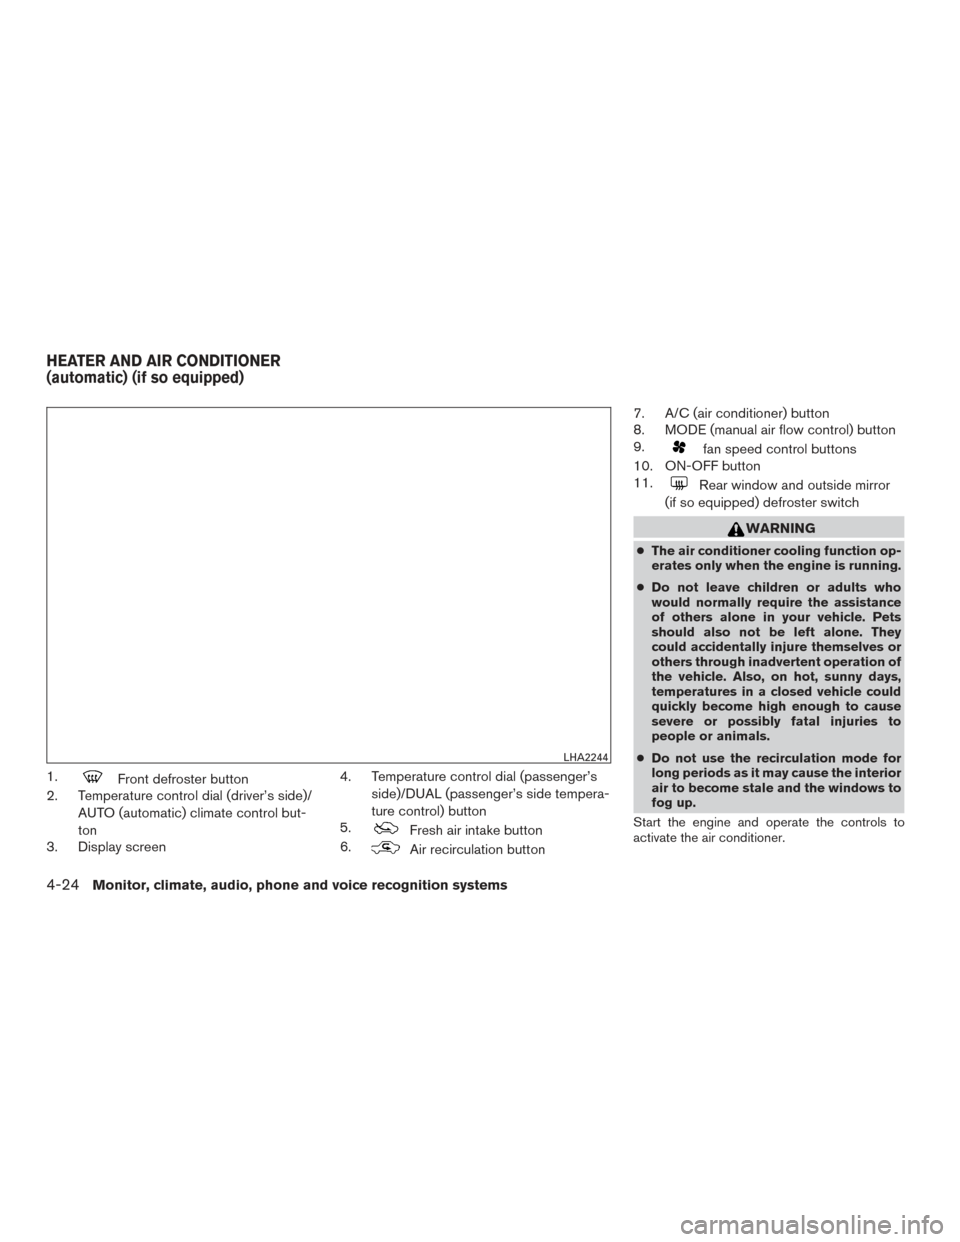
1.Front defroster button
2. Temperature control dial (driver’s side)/
AUTO (automatic) climate control but-
ton
3. Display screen 4. Temperature control dial (passenger’s
side)/DUAL (passenger’s side tempera-
ture control) button
5.
Fresh air intake button
6.
Air recirculation button 7. A/C (air conditioner) button
8. MODE (manual air flow control) button
9.
fan speed control buttons
10. ON-OFF button
11.
Rear window and outside mirror
(if so equipped) defroster switch
WARNING
● The air conditioner cooling function op-
erates only when the engine is running.
● Do not leave children or adults who
would normally require the assistance
of others alone in your vehicle. Pets
should also not be left alone. They
could accidentally injure themselves or
others through inadvertent operation of
the vehicle. Also, on hot, sunny days,
temperatures in a closed vehicle could
quickly become high enough to cause
severe or possibly fatal injuries to
people or animals.
● Do not use the recirculation mode for
long periods as it may cause the interior
air to become stale and the windows to
fog up.
Start the engine and operate the controls to
activate the air conditioner.
LHA2244
HEATER AND AIR CONDITIONER
(automatic) (if so equipped)
4-24Monitor, climate, audio, phone and voice recognition systems
Page 204 of 497
NOTE:● Odors from inside and outside the vehicle
can build up in the air conditioner unit. Odor
can enter the passenger compartment
through the vents.
● When parking, set the heater and air condi-
tioner controls to turn off air recirculation to
allow fresh air into the passenger compart-
ment. This should help reduce odors inside
the vehicle.
AUTOMATIC OPERATION
Cooling and/or dehumidified heating
(AUTO)
This mode may be used all year round as the
system automatically works to keep a constant
temperature. Air flow distribution, air intake control,
and fan speed are also controlled automatically.
1. Press the AUTO button on.
2. Turn the temperature control dial to the left or right to set the desired temperature.
● Adjust the temperature display to about
75°F (24°C) for normal operation.
● The temperature of the passenger compart-
ment will be maintained automatically. Air
flow distribution, air intake control and fan
speed are also controlled automatically. ●
A visible mist may be seen coming from the
vents in hot, humid conditions as the air is
cooled rapidly. This does not indicate a mal-
function.
3. You can individually set driver’s and front passenger’s side temperature using each
temperature control dial. To turn off the pas-
senger’s side temperature control, press the
DUAL button.
Heating (A/C OFF)
The air conditioner does not activate. When you
need to heat only, use this mode.
1. Press the AUTO button.
2. Turn the temperature control dial to set the desired temperature.
● The temperature of the passenger compart-
ment will be maintained automatically. Air
flow distribution and fan speed are also con-
trolled automatically.
● Do not set the temperature lower than the
outside air temperature. Otherwise, the sys-
tem may not work properly.
● Not recommended if windows fog up.
Dehumidified defrosting or defogging
1. Press thefront defroster button on. 2. Turn the temperature control dial to set the
desired temperature.
● To quickly remove ice from the outside of the
windows, use the
fan speed control
buttons to set the fan speed to maximum.
● As soon as possible after the windshield is
clean, press the AUTO button to return to
the automatic mode.
● When the
front defroster button is
pressed, the air conditioner will automati-
cally be turned on at outside temperatures
above 36°F (2°C) . The air recirculate mode
automatically turns off, allowing outside air
to be drawn into the passenger compart-
ment to further improve the defogging per-
formance.
Rear window and outside mirror (if so
equipped) defroster switch
For additional information, refer to “Rear window
and outside mirror (if so equipped) defroster
switch” in the “Instruments and controls” section
of this manual.
Remote engine start logic (if so
equipped)
Vehicles equipped with automatic climate con-
trols and remote start function may go into auto-
matic heating or cooling mode when remote start
Monitor, climate, audio, phone and voice recognition systems4-25
Page 205 of 497
is activated depending on outside and cabin tem-
peratures. During this period, the climate control
display and buttons will be inoperable until the
ignition switch is turned on. In remote start de-
frosting mode, the rear defroster and heated
steering wheel (if so equipped) may be activated
automatically.
MANUAL OPERATION
Fan speed control
Press thefan speed control buttons to
manually control the fan speed.
Press the AUTO button to return to automatic
control of the fan speed.
Air recirculation
Press theair recirculation button to recir-
culate interior air inside the vehicle.
The air recirculation cannot be activated when
the air conditioner is in the
front defogging
mode.
Fresh air intake
Press thefresh air intake button to draw
outside air into the passenger compartment.
A/C (air conditioner) button
Start the engine, press thefan speed con-
trol buttons to the desired position and press the
button to turn on the air conditioner. To
turn off the air conditioner, press the
but-
ton again.
The air conditioner cooling function oper-
ates only when the engine is running.
Air flow control
Pressing the MODE button manually controls air
flow and selects the air outlet:
— Air flows from center and side
vents.
— Air flows from center and sidevents and foot outlets.
— Air flows mainly from foot outlets.
— Air flows from defroster and footoutlets.
To turn system off
Press the ON-OFF button.
OPERATING TIPS
●When the engine coolant temperature and
outside air temperature are low, the air flow
from the foot outlets may not operate for a
maximum of 150 seconds. However, this is
not a malfunction. After the coolant tempera-
ture warms up, air flow from the foot outlets
will operate normally. The sunload sensor, located on the top driver’s
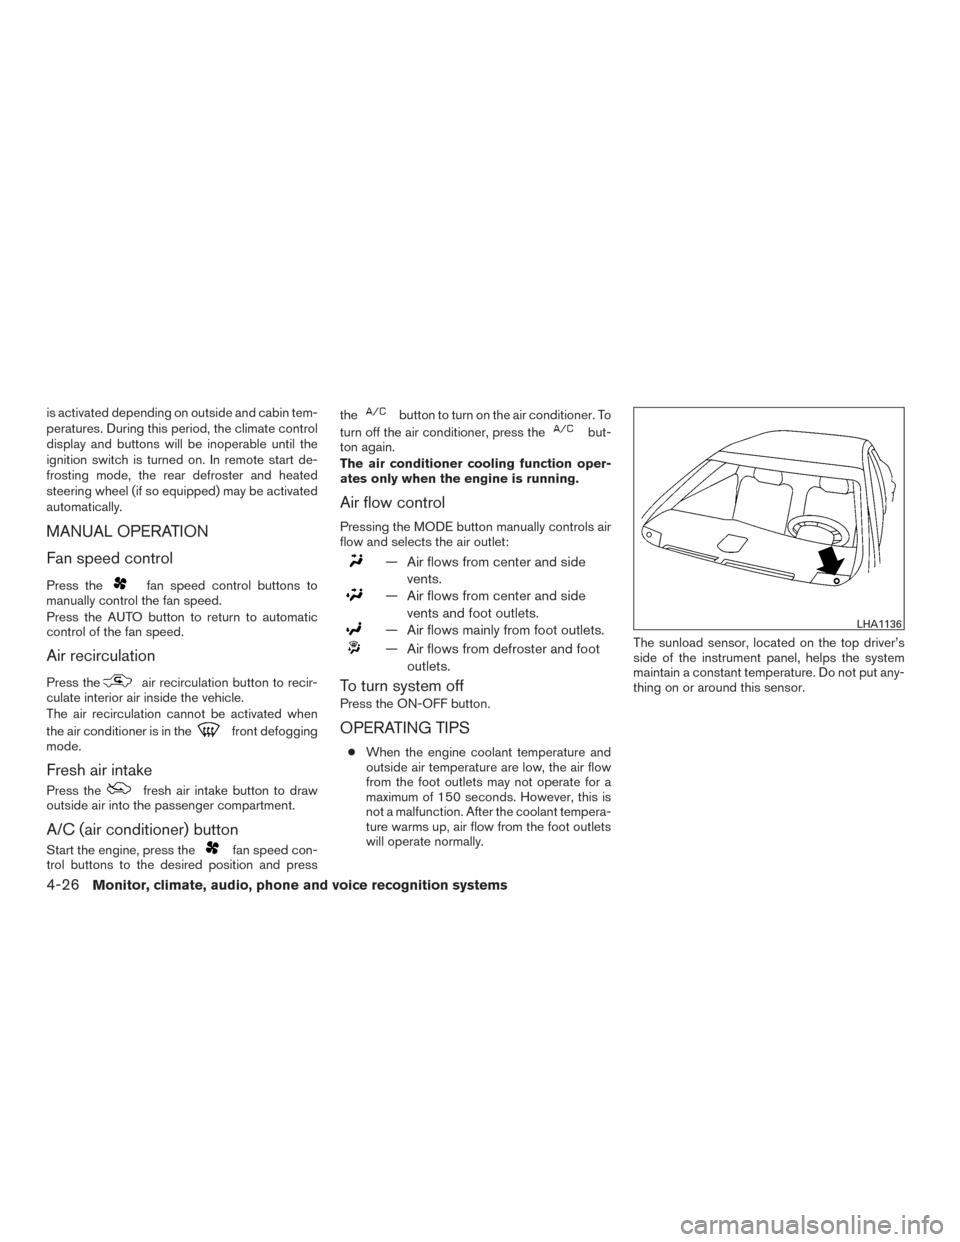
side of the instrument panel, helps the system
maintain a constant temperature. Do not put any-
thing on or around this sensor.
LHA1136
4-26Monitor, climate, audio, phone and voice recognition systems
Page 299 of 497
Additional information:● Since the spare tire is not equipped with the
TPMS, the TPMS does not monitor the tire
pressure of the spare tire.
● The TPMS will activate only when the vehicle
is driven at speeds above 16 mph (25 km/h).
Also, this system may not detect a sudden
drop in tire pressure (for example a flat tire
while driving) .
● The low tire pressure warning light does not
automatically turn off when the tire pressure
is adjusted on all four tires. After all four tires
are inflated to the recommended pressure,
the vehicle must be driven at speeds above
16 mph (25 km/h) to activate the TPMS and
turn off the low tire pressure warning light.
Use a tire pressure gauge to check the tire
pressure.
● The “Tire Pressure Low - Add Air” warning
appears in the vehicle information display
when the low tire pressure warning light is
illuminated and low tire pressure is detected.
The “Tire Pressure Low - Add Air” warning
turns off when the low tire pressure warning
light turns off. ●
The “Tire Pressure Low - Add Air” warning
appears each time the ignition switch is
placed in the ON position as long as the low
tire pressure warning light remains illumi-
nated.
● The “Tire Pressure Low - Add Air” warning
does not appear if the low tire pressure
warning light illuminates to indicate a TPMS
malfunction.
● Tire pressure rises and falls depending on
the heat caused by the vehicle’s operation
and the outside temperature. Do not reduce
the tire pressure after driving because the
tire pressure rises after driving. Low outside
temperature can lower the temperature of
the air inside the tire which can cause a
lower tire inflation pressure. This may cause
the low tire pressure warning light to illumi-
nate. If the warning light illuminates, check
the tire pressure for all four tires.
● The Tire and Loading Information label (also
referred to as the vehicle placard or tire
inflation pressure label) is located in the
driver’s door opening. ●
You can also check the tire pressure of all
tires (except the spare) on the vehicle infor-
mation display screen (if so equipped) . The
order of the tire pressure figures displayed
on the screen corresponds with the actual
order of the tire position.
For additional information, refer to “Low tire pres-
sure warning light” in the “Instruments and con-
trols” section, “Tire Pressure Monitoring System
(TPMS)” in the “In case of emergency” section
and “Tire Pressure” in the “Do-it-yourself” section
of this manual.
WARNING
● Radio waves could adversely affect
electric medical equipment. Those who
use a pacemaker should contact the
electric medical equipment manufac-
turer for the possible influences before
use.
5-4Starting and driving
Page 383 of 497
SPECIAL WINTER EQUIPMENT
It is recommended that the following items be
carried in the vehicle during winter:● A scraper and stiff-bristled brush to remove
ice and snow from the windows and wiper
blades.
● A sturdy, flat board to be placed under the
jack to give it firm support.
● A shovel to dig the vehicle out of snowdrifts.
● Extra washer fluid to refill the windshield-
washer fluid reservoir.
DRIVING ON SNOW OR ICE
WARNING
● Wet ice (32°F, 0°C and freezing rain) ,
very cold snow or ice can be slick and
very hard to drive on. The vehicle will
have much less traction or “grip” under
these conditions. Try to avoid driving on
wet ice until the road is salted or
sanded.
● Whatever the condition, drive with cau-
tion. Accelerate and slow down with
care. If accelerating or downshifting too
fast, the drive wheels will lose even
more traction. ●
Allow more stopping distance under
these conditions. Braking should be
started sooner than on dry pavement.
● Allow greater following distances on
slippery roads.
● Watch for slippery spots (glare ice) .
These may appear on an otherwise
clear road in shaded areas. If a patch of
ice is seen ahead, brake before reach-
ing it. Try not to brake while on the ice,
and avoid any sudden steering
maneuvers.
● Do not use the cruise control on slip-
pery roads.
● Snow can trap dangerous exhaust
gases under your vehicle. Keep snow
clear of the exhaust pipe and from
around your vehicle.
ENGINE BLOCK HEATER (if so
equipped)
Engine block heaters are used to assist with cold
temperature starting.
The engine block heater should be used when
the outside temperature is 20°F (-7°C) or lower.
WARNING
● Do not use your engine block heater
with an ungrounded electrical system or
a 2-pronged adapter. You can be seri-
ously injured by an electrical shock if
you use an ungrounded connection.
● Disconnect and properly store the en-
gine block heater cord before starting
the engine. Damage to the cord could
result in an electrical shock and can
cause serious injury.
● Use a heavy-duty 3-wire, 3-pronged ex-
tension cord rated for at least 10 A. Plug
the extension cord into a Ground Fault
Interrupt (GFI) protected, grounded
110-VAC outlet. Failure to use the
proper extension cord or a grounded
outlet can result in a fire or electrical
shock and cause serious personal
injury.
5-88Starting and driving
Page 456 of 497
To help ensure smooth, safe and economical
driving, NISSAN provides two maintenance
schedules that may be used, depending upon the
conditions in which you usually drive. These
schedules contain both distance and time inter-
vals, up to 120,000 miles
(192,000 km)/144 months. For most people, the
odometer reading will indicate when service is
needed. However, if you drive very little, your
vehicle should be serviced at the regular time
intervals shown in the schedule.
After 120,000 miles
(192,000 km)/144 months, continue main-
tenance at the same mileage/time inter-
vals.ADDITIONAL MAINTENANCE ITEMS
FOR SEVERE OPERATING
CONDITIONS
Additional maintenance items for severe
operating conditionsshould be performed on
vehicles that are driven under especially de-
manding conditions. Additional maintenance
items should be performed if you primarily oper-
ate your vehicle under the following conditions:
● Repeated short trips of less than 5 miles
(8 km) .
● Repeated short trips of less than 10 miles
(16 km) with outside temperatures remain-
ing below freezing.
● Operating in hot weather in stop-an-go
“rush hour” traffic. ●
Extensive idling and/or low speed driving for
long distances, such as police, taxi or door-
to-door delivery use.
● Driving in dusty conditions.
● Driving on rough, muddy or salt spread
roads.
● Using a car-top carrier.
NOTE:
For vehicles operated in Canada, both
standard and severe maintenance items
should be performed at every interval.
MAINTENANCE SCHEDULES
Maintenance and schedules9-7