2017 MERCEDES-BENZ S CLASS engine
[x] Cancel search: enginePage 190 of 382

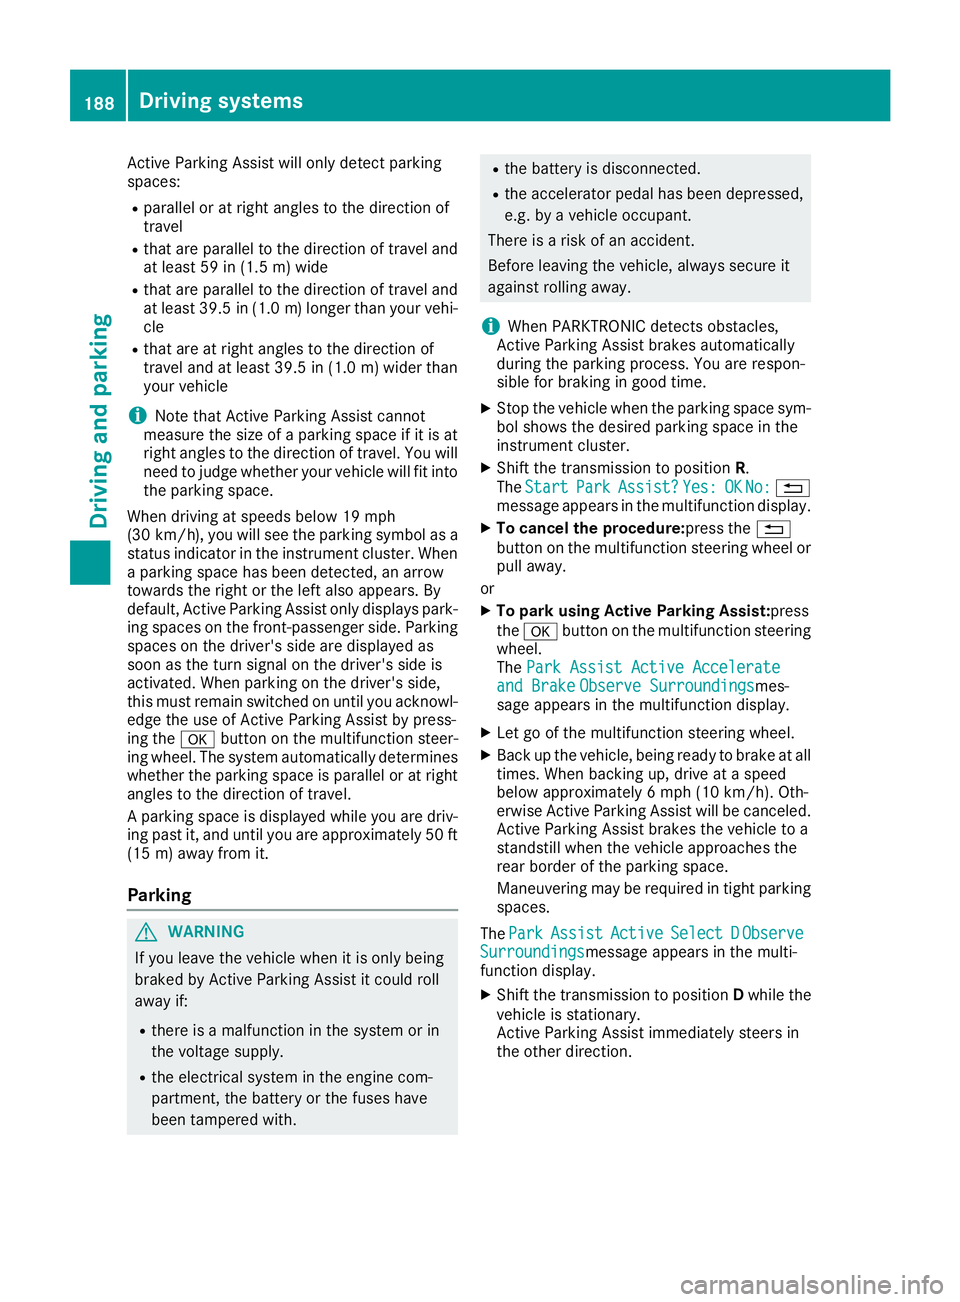
Active Parking Assist will only detect parking
spaces: R
parallel or at right angles to the direction of
travel R
that are parallel to the direction of travel and
at least 59 in (1.5 m) wid eR
that are parallel to the direction of travel and
at least 39.5 in (1.0 m) longer than your vehi-
cle R
that are at right angles to the direction of
travel and at least 39.5 in (1.0 m) wider than
your vehicle
i Note that Active Parking Assist cannot
measure the size of a parking space if it is at
right angles to the direction of travel. You will
need to judge whether your vehicle will fit into
the parking space.
When driving at speeds below 19 mph
(30 km/h), you will see the parking symbol as a
status indicator in the instrument cluster. When
a parking space has been detected, an arrow
towards the right or the left also appears. By
default, Active Parking Assist only displays park-
ing spaces on the front-passenger side. Parking
spaces on the driver's side are displayed as
soon as the turn signal on the driver's side is
activated. When parking on the driver's side,
this must remain switched on until you acknowl-
edge the use of Active Parking Assist by press-
ing the �v button on the multifunction steer-
ing wheel. The system automatically determines
whether the parking space is parallel or at right
angles to the direction of travel.
A parking space is displayed while you are driv-
ing past it, and until you are approximately 50 ft
(15 m) away from it.
Parking
G WARNING
If you leave the vehicle when it is only being
braked by Active Parking Assist it could roll
away if: R
there is a malfunction in the system or in
the voltage supply. R
the electrical system in the engine com-
partment, the battery or the fuses have
been tampered with. R
the battery is disconnected. R
the accelerator pedal has been depressed,
e.g. by a vehicle occupant.
There is a risk of an accident.
Before leaving the vehicle, always secure it
against rolling away.
i When PARKTRONIC detects obstacles,
Active Parking Assist brakes automatically
during the parking process. You are respon-
sible for braking in good time. X
Stop the vehicle when the parking space sym-
bol shows the desired parking space in the
instrument cluster. X
Shift the transmission to position R .
The Start Park Assist? Yes: OK No: �8
message appears in the multifunction display. X
To cancel the procedure: press the �8
button on the multifunction steering wheel or
pull away.
or X
To park using Active Parking Assist: press
the �v button on the multifunction steering
wheel.
The Park Assist Active Accelerate
and Brake Observe Surroundings mes-
sage appears in the multifunction display. X
Let go of the multifunction steering wheel. X
Back up the vehicle, being ready to brake at all
times. When backing up, drive at a speed
below approximately 6 mph (10 km/h). Oth-
erwise Active Parking Assist will be canceled.
Active Parking Assist brakes the vehicle to a
standstill when the vehicle approaches the
rear border of the parking space.
Maneuvering may be required in tight parking
spaces.
The Park Assist Active Select D Observe
Surroundings message appears in the multi-
function display. X
Shift the transmission to position D while the
vehicle is stationary.
Active Parking Assist immediately steers in
the other direction.188
Driving systems
Driving and parking
Page 191 of 382

The Park Assist Active Accelerate
and Brake Observe Surroundings mes-
sage appears in the multifunction display.
i You will achieve the best results by waiting
for the steering procedure to complete before
pulling away. X
Drive forwards and be ready to brake at all
times.
Active Parking Assist brakes the vehicle to a
standstill when the vehicle approaches the
rear border of the parking space.
The Park Assist Active Select R Observe
Surroundings message appears in the multi-
function display.
As soon as the parking procedure is complete,
the Park Assist Switched Off message
appears and a warning tone sounds. The vehicle
is now parked. The vehicle is kept stationary
without the driver having to depress the brake
pedal. The braking effect is canceled when you
depress the accelerator pedal.
Active Parking Assist no longer supports you
with steering interventions and brake applica-
tions. When Active Parking Assist is finished,
you must steer and brake again yourself.
PARKTRONIC is still available.
Parking tips: R
The way your vehicle is positioned in the park-
ing space after parking is dependent on vari-
ous factors. These include the position and
shape of the vehicles parked in front and
behind it and the conditions of the location. It
may be the case that Active Parking Assist
guides you too far into a parking space, or not
far enough into it. In some cases, it may also
lead you across or onto the curb. If necessary,
you should cancel the parking procedure with
Active Parking Assist. R
You can also select preselect transmission
position D . The vehicle redirects and does not
drive as far into the parking space. Should the
transmission change take place too early, the
parking procedure will be canceled. A sensi-
ble parking position can no longer be ach-
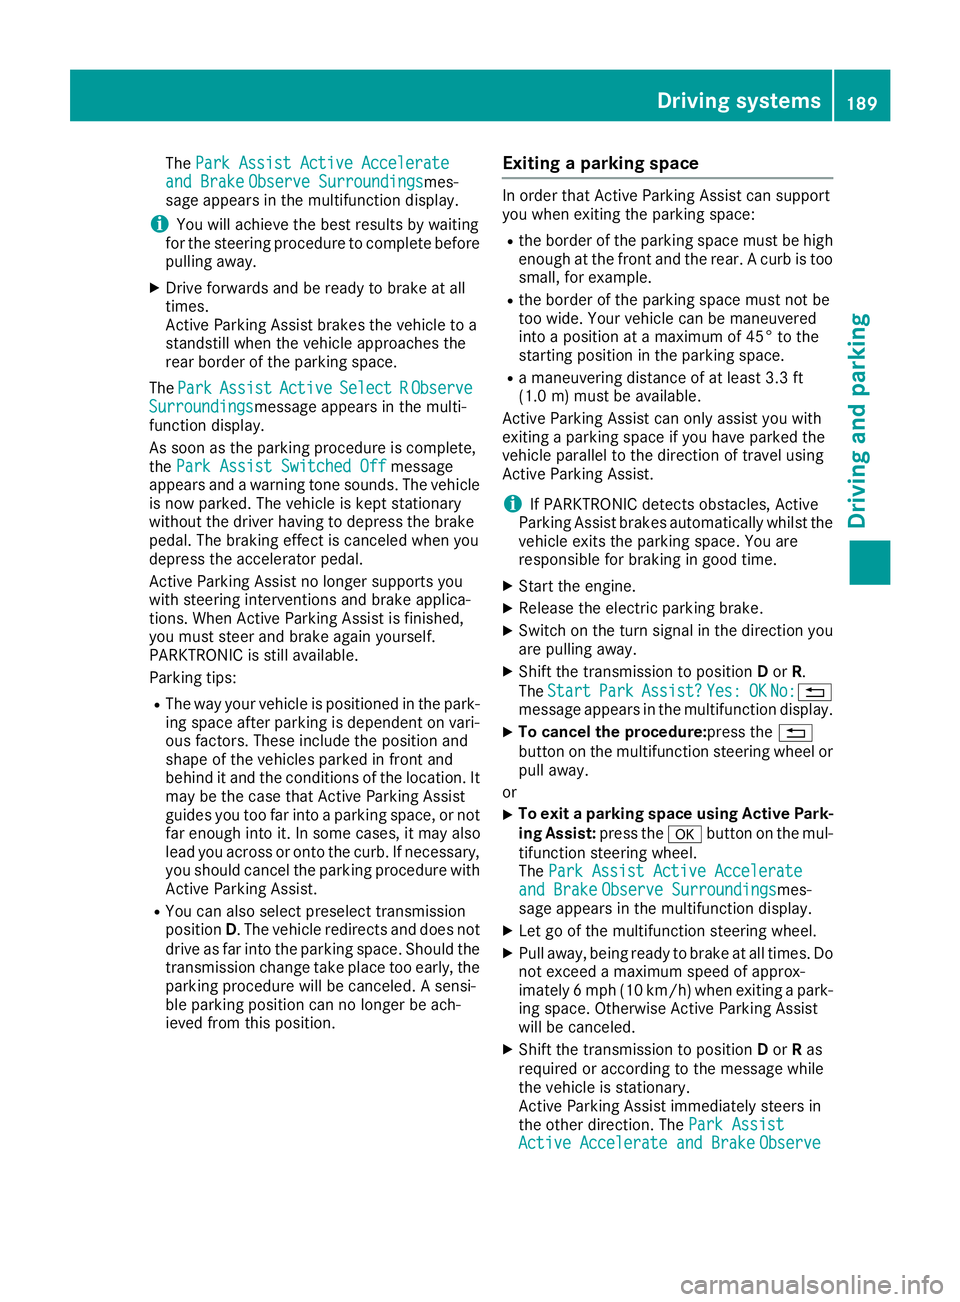
ieved from this position. Exiting a parking space In order that Active Parking Assist can support
you when exiting the parking space: R
the border of the parking space must be high
enough at the front and the rear. A curb is too
small, for example. R
the border of the parking space must not be
too wide. Your vehicle can be maneuvered
into a position at a maximum of 45° to the
starting position in the parking space. R
a maneuvering distance of at least 3.3 ft
(1.0 m) must be available.
Active Parking Assist can only assist you with
exiting a parking space if you have parked the
vehicle parallel to the direction of travel using
Active Parking Assist.
i If PARKTRONIC detects obstacles, Active
Parking Assist brakes automatically whilst the
vehicle exits the parking space. You are
responsible for braking in good time. X
Start the engine. X
Release the electric parking brake. X
Switch on the turn signal in the direction you
are pulling away. X
Shift the transmission to position D or R .
The Start Park Assist? Yes: OK No: �8
message appears in the multifunction display. X
To cancel the procedure: press the �8
button on the multifunction steering wheel or
pull away.
or X
To exit a parking space using Active Park-
ing Assist: press the �v button on the mul-
tifunction steering wheel.
The Park Assist Active Accelerate
and Brake Observe Surroundings mes-
sage appears in the multifunction display. X
Let go of the multifunction steering wheel. X
Pull away, being ready to brake at all times. Do
not exceed a maximum speed of approx-
imately 6 mph (10 km/h) when exiting a park-
ing space. Otherwise Active Parking Assist
will be canceled. X
Shift the transmission to position D or R as
required or according to the message while
the vehicle is stationary.
Active Parking Assist immediately steers in
the other direction. The Park Assist
Active Accelerate and Brake ObserveDriving systems 189
Driving and parking Z
Page 193 of 382

R
if the camera lens fogs up, e.g. when driving
into a heated garage in winter, causing a rapid
change in temperature R
if the camera lens is dirty or obstructed R
if the rear of your vehicle is damaged. In this
event, have the camera position and setting
checked at a qualified specialist workshop
The field of vision and other functions of the rear
view camera may be restricted due to additional
accessories on the rear of the vehicle (e.g.
license plate holder, bicycle rack).
The guide lines on the multimedia system show
the distances to your vehicle. The distances only
apply to road level.
The rear view camera is protected from rain-
drops and dust by means of a flap. When the rear
view camera is activated, this flap opens.
The flap closes again when: R
you have finished the maneuvering process R
you switch off the engine R
you open the trunk
Observe the notes on cleaning ( Y
page 323).
For technical reasons, the flap may remain open
briefly after the rear view camera has been
deactivated.
Activating/deactivating the rear view
camera X
To activate: make sure that the Activa‐
tion by R gear function is selected in the
multimedia system; see Digital Operator's
Manual. X
Engage reverse gear.
The rear view camera flap opens. The multi-
media system shows the area behind the vehi-
cle with guide lines.
The image from the rear view camera is avail-
able throughout the maneuvering process. X
Shift the transmission to position P .
or X
Drive forwards a short distance. Displays in the multimedia system The rear view camera may show a distorted view
of obstacles, show them incorrectly or not at all.
The rear view camera does not show objects in
the following positions: R
very close to the rear bumper R
under the rear bumper R
in the area immediately above the handle in
the trunk lid
! Objects not at ground level may appear to
be further away than they actually are, e.g.: R
the bumper of a parked vehicle R
the drawbar of a trailer R
the ball coupling of a trailer tow hitch R
the rear section of an HGV R
a slanted post
Use the guidelines only for orientation.
Approach objects no further than the bottom-
most guideline.
�C
Yellow guide line at a distance of approx-
imately 13 ft (4.0 m) from the rear of the
vehicle �D
White guide line without turning the steering
wheel, vehicle width including the exterior
mirrors (static) �
Page 204 of 382

objects and pedestrians cannot be gaged accu-
rately by looking at a screen.
Animal recognition Animals can be recognized in the following sit-
uations: R
darkness R
outside built-up areas R
below an ambient temperature of 90 ‡
(32 †).
Night View Assist Plus can recognize larger ani-
mals such as deer, cows or horses using typical
characteristics.
The system does not detect: R
smaller animals, e.g. dogs and cats R
animals whose silhouette is not clearly rec-
ognizable
When detected, animals are marked with small
color frame corners. In contrast to pedestrian
recognition, there is no separate readiness sym-
bol in the multifunction display.
Activating/deactivating Night View
Assist Plus
Activation conditions You can only activate Night View Assist Plus if all
of the following conditions are met: R
the ignition is switched on ( Y
page 145) or the
engine has been started. R
the light switch is in the �X or �X posi-
tion. R
reverse gear has not been engaged.
Activating/deactivating X
Press button �C .
If Night View Assist Plus is activated, the
Night View Assist Plus display is shown in the
multifunction display.
The infrared headlamps only switch on in the
dark from speeds of approximately 6 mph
(10 km/ h) . This means that you do not have the
full visual range while the vehicle is stationary
and cannot check whether Night View Assist
Plus is working. The infrared headlamps are
deactivated at speeds below 3 mph (5 km/h).
The Night View image continues to be displayed
until you deactivate it by pressing button �C .
Automatic activation You can select the Night View Assist Auto‐
matic Activation option via the Night View
Assist menu. The pedestrian and animal search
function remains active even when the Night
View image is not displayed. In the dark, in unlit
surroundings and at speeds of more than
60 km/h, the Night View image is automatically
displayed in the multifunction display as soon as
pedestrians or animals are detected. X
In the assistance menu, select automatic acti-
vation of Night View Assist Plus
( Y
page 222).
Spotlight function
General notes Under certain conditions, the spotlight function
uses the headlamps to flash at detected pedes-
trians.
The spotlight function is only active if: R
pedestrian recognition is active R
the road surface is not lit R
the driving speed is at least 40 mph
(60 km/h) R
the "Adaptive Highbeam Assist PLUS" func-
tion is activated ( Y
page 127).
The spotlight function is not active or is active
only to a limited extent if: R
you are driving in city traffic R
there are pedestrians located in the area of an
oncoming vehicle or a vehicle in front
Activating the spotlight function
The pedestrian detection with spotlight function
is running the background. If the prerequisites
are met, the spotlight function uses the head-202
Driving systems
Driving and parking
Page 212 of 382

Important safety notes
G WARNIN G
If you operate information systems and com-
munication equipmen t integrate d in th e vehi-
cle while driving , you will be distracte d from
traffic conditions. You could also lose control
of th e vehicle. Ther e is a ris k of an accident.
Only operate th e equipmen t when th e traffic
situation permits. If you are no t sur e that this
is possible , park th e vehicl e payin g attention
to traffic condition s and operate th e equip-
men t when th e vehicl e is stationary.
You must observ e th e legal requirements for th e
country in whic h you are currentl y driving when
operating th e on-board computer.
G WARNIN G
If th e instrumen t cluste r has faile d or mal-
functioned, you may no t recognize function
restriction s in systems relevan t to safety. The
operating safet y of your vehicl e may be
impaired . Ther e is a ris k of an accident.
Drive on carefully. Hav e th e vehicl e checke d
at a qualified specialist workshop immedi-
ately.
If th e operating safet y of your vehicl e is
impaired , pull ove r as soo n as it is saf e to do so.
Contac t a qualified specialist workshop.
The on-board computer only shows message s or
warning s from certain systems in th e multifunc-
tion display. You should therefor e mak e sur e
your vehicl e is operating safely at all times .
Fo r an overview, see th e instrumen t panel illus-
tration ( Y
page 35).
Hybrid vehicles: mak e sur e that you read th e
separat e Operator's Manual. Otherwise, you
may no t recognize dangers.
Displays and operation
Instrument cluster lighting
The ligh t sensor in th e instrumen t cluste r auto -
matically control s th e brightness of th e multi-
function display. In daylight, th e displays in th e instrumen t cluste r are illuminated. A dimming
function is no t possible in daylight.
The lighting in th e instrumen t cluster, in th e dis-
plays and th e control s in th e vehicl e interior can
be adjusted usin g th e brightness control knob.
The brightness control is locate d between th e
instrumen t cluste r and th e multimedia system
display ( Y
page 36). X
Turn th e brightness control knob clockwise or
counter-clockwise.
If you tur n th e ligh t switch ( Y
page 124) to th e
�` , �X or �X position , th e brightness
will depend upon th e brightness of th e ambi -
en t light.
Speedometer segments The segments in th e speedometer indicat e
whic h spee d range is available. R
Cruis e control activated ( Y
page 169):
The segments ligh t up from th e store d spee d
to th e en d of th e scale.R
DISTRONI C PLU S activated ( Y
page 171):
On e or two segments in th e set spee d range
ligh t up. R
DISTRONI C PLU S detects a vehicl e in fron t
moving mor e slowly than th e store d speed:
The segments between th e spee d of th e vehi-
cle in fron t and th e store d spee d ligh t up.
Tachometer
! Do no t driv e in th e overrevving range, as this
could damag e th e engine.
The red ban d in th e tachometer indicates th e
engine's overrevving range.
The fuel suppl y is interrupted to protect th e
engin e when th e red ban d is reached.
Outside temperature display
You should pay special attention to road condi-
tion s when temperatures are aroun d freezing
point.
Bea r in min d that th e outside temperature dis-
play indicates th e temperature measured and
does no t record th e road temperature.
The outside temperature display is in th e multi-
function display ( Y
page 212).210
Displays and operation
On-board computer and displays
Page 213 of 382

There is a short delay before a change in outside
temperature is shown in the multifunction dis-
play.
Coolant temperature gauge
G WARNING
Opening the hood when the engine is over-
heated or when there is a fire in the engine
compartment could expose you to hot gases
or other service products. There is a risk of
injury.
Let an overheated engine cool down before
opening the hood. If there is a fire in the
engine compartment, keep the hood closed
and contact the fire department.
! A display message is shown if the coolant
temperature is too high.
If the coolant temperature is above 257 ‡
(125 †) do not drive any further. The engine
will otherwise be damaged.
The coolant temperature gauge is in the lower
section of the tachometer ( Y
page 35).
Under normal operating conditions and with the
specified coolant level, the coolant temperature
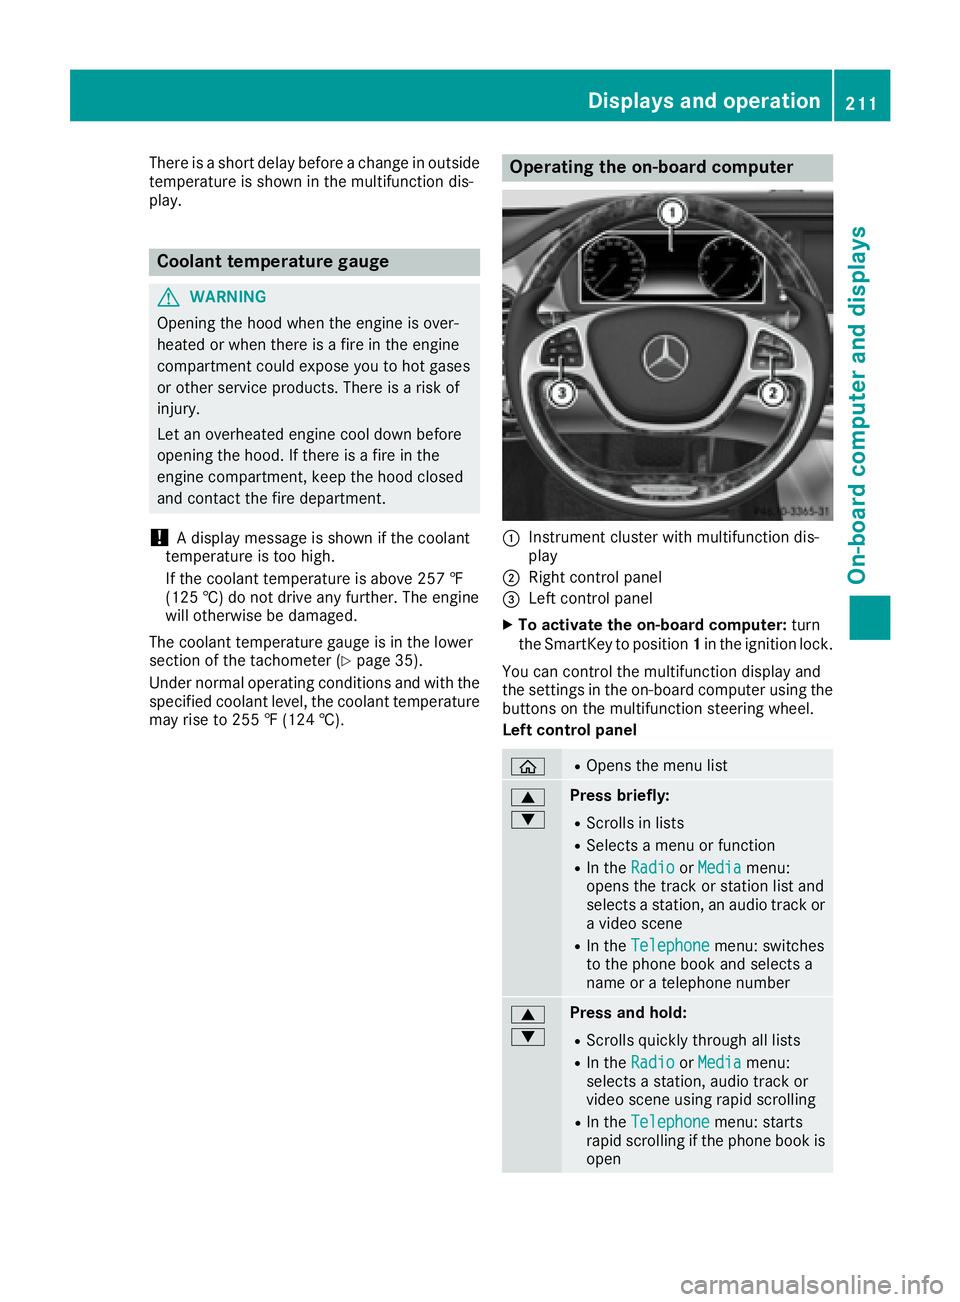
may rise to 255 ‡ (124 †). Operating the on-board computer
�C
Instrument cluster with multifunction dis-
play �D
Right control panel �
Page 234 of 382

Display messages
Possible causes/consequences and �P Solutions
The yellow �$ warning lamp lights up. The red �I (US A only)
or �$ (Canada only) indicator lamp flashes for about te n seconds
after th e electric parking brak e has been applie d or released. It then
goe s out or remain s lit .
The electric parking brak e is malfunctioning .X
Switc h off th e ignition and tur n it bac k on .X
Apply th e electric parking brake.
If it is no t possibl e to engage th e electric parking brake:X
Shift th e transmission to position P .X
Visit a qualified specialist workshop .
If it is no t possibl e to release th e electric parking brake:X
Releas e th e electric parking brak e automatically ( Y
page 164).
If th e electric parking brak e still canno t be released:X
Consult a qualified specialist workshop .
The yellow �$ warning lamp lights up. If you manually apply or
release th e electric parking brake, th e red �I (US A only) or �$
(Canada only) indicator lamp flashes .
The electric parking brak e is malfunctioning . It is no t possibl e to apply
th e electric parking brak e manually.X
Shift th e transmission to position P .X
Visit a qualified specialist workshop .
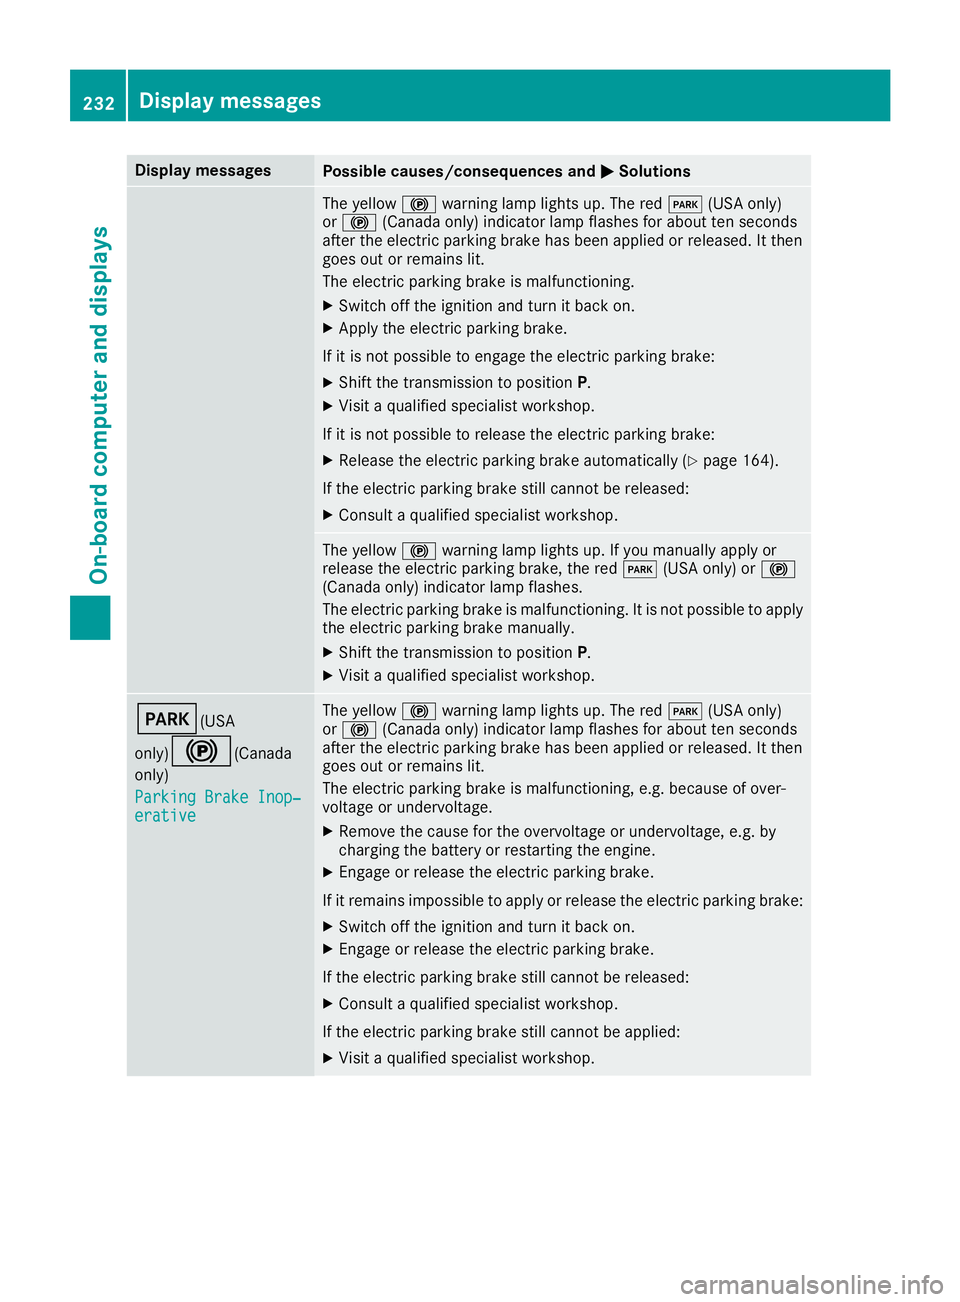
�I (USA
only)
�$ ( Canada
only)
Parkin g Brake Inop‐
erativ e The yellow �$ warning lamp lights up. The red �I (US A only)
or �$ (Canada only) indicator lamp flashes for about te n seconds
after th e electric parking brak e has been applie d or released. It then
goe s out or remain s lit .
The electric parking brak e is malfunctioning , e.g. because of over-
voltag e or undervoltage. X
Remove th e caus e for th e overvoltage or undervoltage, e.g. by
charging th e battery or restarting th e engine.X
Engage or release th e electric parking brake.
If it remain s impossible to apply or release th e electric parking brake:X
Switc h off th e ignition and tur n it bac k on .X
Engage or release th e electric parking brake.
If th e electric parking brak e still canno t be released:X
Consult a qualified specialist workshop .
If th e electric parking brak e still canno t be applied:X
Visit a qualified specialist workshop .232
Display messages
On-board computer and displays
Page 235 of 382

Display messages
Possible causes/consequences and �P Solutions
The yellow �$ warning lamp lights up and th e red �I (US A only)
or �$ (Canada only) indicator lamp flashes .
It is no t possibl e to apply th e electric parking brak e manually.X
Shift th e transmission to position P .X
Visit a qualified specialist workshop .
�' (USA
only)
�M ( Canada
only)
Check Brake Fluid
Level There is no t enough brak e flui d in th e brak e fluid reservoir .
In addition , th e �' (US A only) or �M (Canada only) warning lamp
lights up in th e instrumen t cluste r and a warning tone sounds.
G WARNIN G
The braking effec t may be impaired.
There is a ris k of an accident.X
Pull ove r and stop th e vehicl e safely as soo n as possible, payin g
attention to roa d and traffic conditions. Do no t continu e drivin g
under any circumstances. X
Secur e th e vehicl e against rollin g away ( Y
page 162).X
Consult a qualified specialist workshop .X
Do no t add brak e fluid . This does no t correc t th e malfunction .
�& Check Brake Pad Wea r The brak e pads/linings hav e reached their wear limit.
US A only: th e red �' brak e system warning lamp also lights up while
th e engin e is running. X
Visit a qualified specialist workshop .
�S Inoperative On e or mor e main features of th e mbrace system are malfunctioning .X
Visit a qualified specialist workshop .
Collision Preven ‐
tio n Assist Plu s
Currently Unavaila‐
ble See Operator' s
Manual COLLISION PREVENTION ASSIST PLU S is temporarily no t operational.
Possibl e causes are: R
th e radar sensor system is temporarily inoperative, e.g. due to elec -
tromagneti c radiation emitted by nearby TV or radi o station s or
other source s of electromagneti c radiationR
th e system is outside th e operating temperature rangeR
th e on-boar d voltag e is to o low.
Whe n th e causes state d abov e no longer apply, th e display message
disappears.
COLLISION PREVENTION ASSIST PLU S is operational again .
If th e display message does no t disappear :X
Pull ove r and stop th e vehicl e safely as soo n as possible, payin g
attention to roa d and traffic conditions.X
Secur e th e vehicl e against rollin g away ( Y
page 162).X
Restart th e engine. Display messages 23 3
On-board computer and displays Z