2017 MERCEDES-BENZ GLC SUV center console
[x] Cancel search: center consolePage 42 of 374

Center console, lower section (Mercedes-AMG vehicles)
FunctionPage
:Stowage compartment278
Ashtray292
Cigarette lighter292
Socket293
Cup holder290
;Adjusts the volume269
Switches the sound on or off269
=ÜSwitches the multime-
dia system on/off269
?è ECO start/stop func-
tion136
AÉ Adjusts the vehicle
level (AIR BODY CONTROL)173
BOpens stowage compart-
ment with Media Interface278
FunctionPage
CTouchpad270
Då Activates/deactivates
ESP®71
M Activates/deactivates
SPORT handling mode71
EAMG sports suspension
based on AIR BODY CON-
TROL
174
FManual gearshifting (perma-
nent setting)145
GDYNAMIC SELECT switch139
H% Back button269
IController269
JgFavorites button271
40Center console
At a glance
Page 132 of 374

lets. If necessary, redirect the airflow to
another area of the vehicle interior.
In order to ensure the direct flow of fresh air
through the air vents into the vehicle interior,
please observe the following notes:
Rkeep the air inlet between the windshield and
the hood free of blockages, such as ice, snow
or leaves.
Rnever cover the air vents or air intake grilles in
the vehicle interior.
Setting the air vents
Air vents are located:
Ron the left and right-hand side of the dash-
board
Rin the middle of the dashboard
Rin the rear center console, depending on the
equipment installed
Side air vent (example)
:Side window defroster vent
;Side air vent, left
=Control for left side air vent
XTo open or close: turn control=to the
counter-clockwise or clockwise as far as it will
go.
XTo adjust the air direction: hold side air
vent ;by control =and move it up or down
or to the left or right.
Adjusting the rear air vents (see the Digital
Operator's Manual).
130Air vents
Climate control
Page 176 of 374
comfort mode also when driving fast on straight
roads, e.g. on straight stretches of highway.
XSelect theEor Cdrive program with the
DYNAMIC SELECT switch (Ypage 139).
The vehicle is raised to the normal level.
When driving at speeds above 80 mph
(125 km/h), the vehicle is automatically low-
ered by 0.6 in (15 mm) in the Eand Cdrive pro-
grams. When driving at speeds below 50 mph
(80 km/h), the vehicle is raised again.
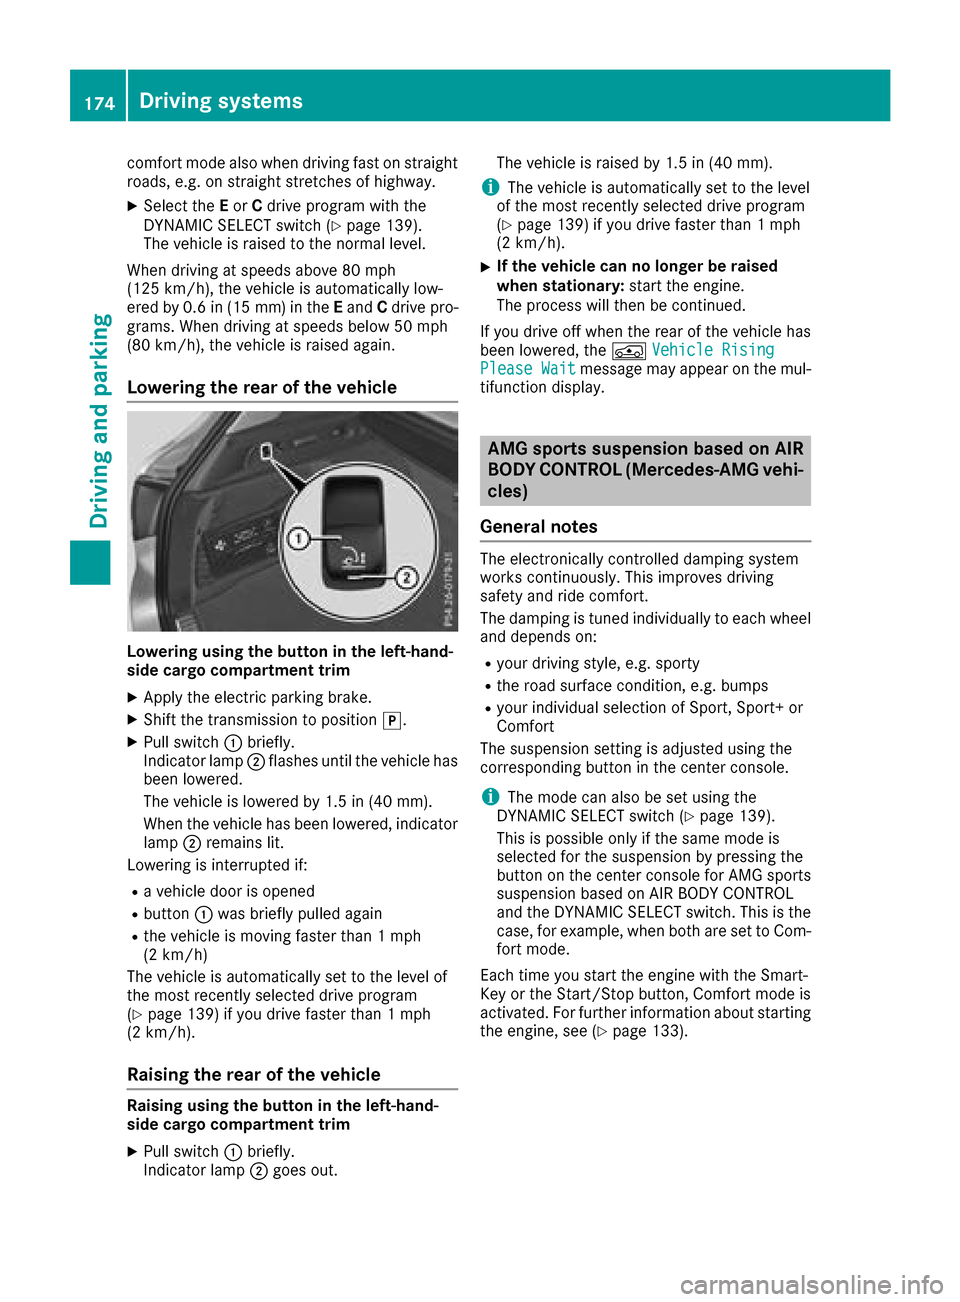
Lowering the rear of the vehicle
Lowering using the button in the left-hand-
side cargo compartment trim
XApply the electric parking brake.
XShift the transmission to position j.
XPull switch:briefly.
Indicator lamp ;flashes until the vehicle has
been lowered.
The vehicle is lowered by 1.5 in (40 mm).
When the vehicle has been lowered, indicator
lamp ;remains lit.
Lowering is interrupted if:
Ra vehicle door is opened
Rbutton :was briefly pulled again
Rthe vehicle is moving faster than 1 mph
(2 km/h)
The vehicle is automatically set to the level of
the most recently selected drive program
(
Ypage 139) if you drive faster than 1 mph
(2 km/h).
Raising the rear of the vehicle
Raising using the button in the left-hand-
side cargo compartment trim
XPull switch :briefly.
Indicator lamp ;goes out. The vehicle is raised by 1.5 in (40 mm).
iThe vehicle is automatically set to the level
of the most recently selected drive program
(
Ypage 139) if you drive faster than 1 mph
(2 km/h).
XIf the vehicle can no longer be raised
when stationary: start the engine.
The process will then be continued.
If you drive off when the rear of the vehicle has
been lowered, the ÁVehicle Rising
Please Waitmessage may appear on the mul-
tifunction display.
AMG sports suspension based on AIR
BODY CONTROL (Mercedes-AMG vehi-
cles)
General notes
The electronically controlled damping system
works continuously. This improves driving
safety and ride comfort.
The damping is tuned individually to each wheel
and depends on:
Ryour driving style, e.g. sporty
Rthe road surface condition, e.g. bumps
Ryour individual selection of Sport, Sport+ or
Comfort
The suspension setting is adjusted using the
corresponding button in the center console.
iThe mode can also be set using the
DYNAMIC SELECT switch (Ypage 139).
This is possible only if the same mode is
selected for the suspension by pressing the
button on the center console for AMG sports
suspension based on AIR BODY CONTROL
and the DYNAMIC SELECT switch. This is the
case, for example, when both are set to Com- fort mode.
Each time you start the engine with the Smart-
Key or the Start/Stop button, Comfort mode is
activated. For further information about starting
the engine, see (
Ypage 133).
174Driving systems
Driving and parking
Page 179 of 374

If there is an obstacle within this range, the rel-
evant warning displays light up and a warning
tone sounds. If the distance falls below the min-
imum, the distance may no longer be shown.
Warning displays
:Segments on the left-hand side of the vehi-
cle
;Segments on the right-hand side of the vehi-
cle
=Segments showing operational readiness
The warning displays show the distance
between the sensors and the obstacle. The
warning display for the front area is in the instru-
ment cluster. The warning display for the rear
area is located on the headliner in the rear com- partment.
The warning display for each side of the vehicle
is divided into five yellow and two red segments.
PARKTRONIC is operational if operational read-
iness indicator =lights up.
The selected transmission position and the
direction in which the vehicle is rolling deter-
mine which warning display is active when the
engine is running.
Transmission posi-
tionWarning display
hFront area activated
k, ior the vehicle
is rolling backRear and front areas
activated
jNo areas activated
One or more segments light up as the vehicle
approaches an obstacle, depending on the vehi-
cle's distance from the obstacle:
RFrom the sixth segment, you will hear an inter-
mittent warning tone for approximately two
seconds.
RFrom the seventh segment, you will hear a
warning tone for approximately two seconds. This indicates that you have now reached the
minimum distance.
Deactivating/activating PARKTRONIC
dSwitch on the dashboard
eSwitch in the center console
:Deactivates/activates PARKTRONIC
;Indicator lamp
If indicator lamp ;lights up, PARKTRONIC is
deactivated. Active Parking Assist is then also
deactivated.
iPARKTRONIC is automatically activated
when you turn the SmartKey to position 2in
the ignition lock.
Driving systems177
Driving and parking
Z
Page 239 of 374
Display messagesPossible causes/consequences andMSolutions
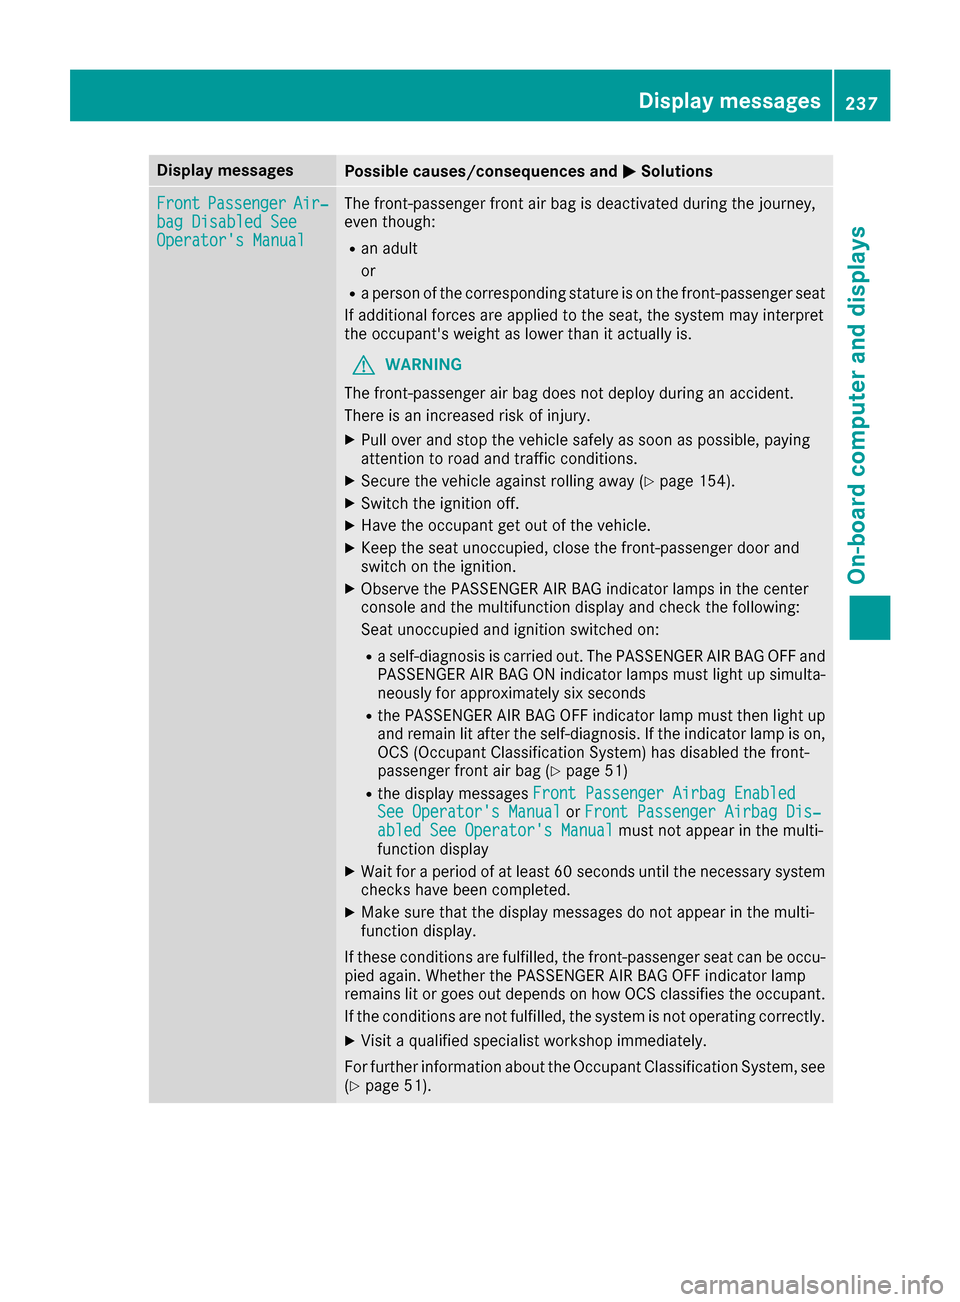
FrontPassengerAir‐bag Disabled SeeOperator' sManual
The front-passenger fron tair bag is deactivated during th ejourney,
eve nthough :
Ran adult
or
Raperson of th ecorrespondin gstatur eis on th efront-passenger seat
If additional force sare applie dto th eseat ,th esystem may interpret
th eoccupant's weigh tas lower than it actually is.
GWARNIN G
The front-passenger air bag does no tdeploy during an accident.
There is an increased ris kof injury.
XPull ove rand stop th evehicl esafely as soo nas possible, payin g
attention to roa dand traffic conditions.
XSecur eth evehicl eagainst rollin gaway (Ypage 154).
XSwitchth eignition off .
XHaveth eoccupant get out of th evehicle.
XKee pth eseat unoccupied ,close th efront-passenger door and
switch on th eignition .
XObserveth ePASSENGER AI RBA Gindicator lamp sin th ecenter
console and th emultifunction display and chec kth efollowing:
Seat unoccupied and ignition switched on :
Raself-diagnosis is carrie dout .The PASSENGER AI RBA GOF Fand
PASSENGER AI RBA GON indicator lamp smus tligh tup simulta-
neousl yfor approximately six seconds
Rth ePASSENGER AI RBA GOF Findicator lamp mus tthen ligh tup
and remain lit after theself-diagnosis .If th eindicator lamp is on ,
OCS (Occupant Classification System) has disabled th efront-
passenger fron tair bag (
Ypage 51 )
Rthedisplay message sFront Passenger Airbag Enable dSee Operator'sManualor Front Passenger Airbag Dis ‐abled See Operator'sManualmus tno tappear in th emulti-
function display
XWait for aperiod of at least 60 seconds until th enecessar ysystem
checks hav ebeen completed.
XMak esur ethat th edisplay message sdo no tappear in th emulti-
function display.
If these condition sare fulfilled ,th efront-passenger seat can be occu-
pied again .Whether th ePASSENGER AI RBA GOF Findicator lamp
remain slit or goe sout depend son how OCS classifies th eoccupant .
If th econdition sare no tfulfilled ,th esystem is no toperating correctly.
XVisit aqualified specialist workshop immediately.
Fo rfurther information about th eOccupant Classification System, see
(
Ypage 51).
Display messages23 7
On-board computer and displays
Z
Page 240 of 374
Display messagesPossible causes/consequences andMSolutions
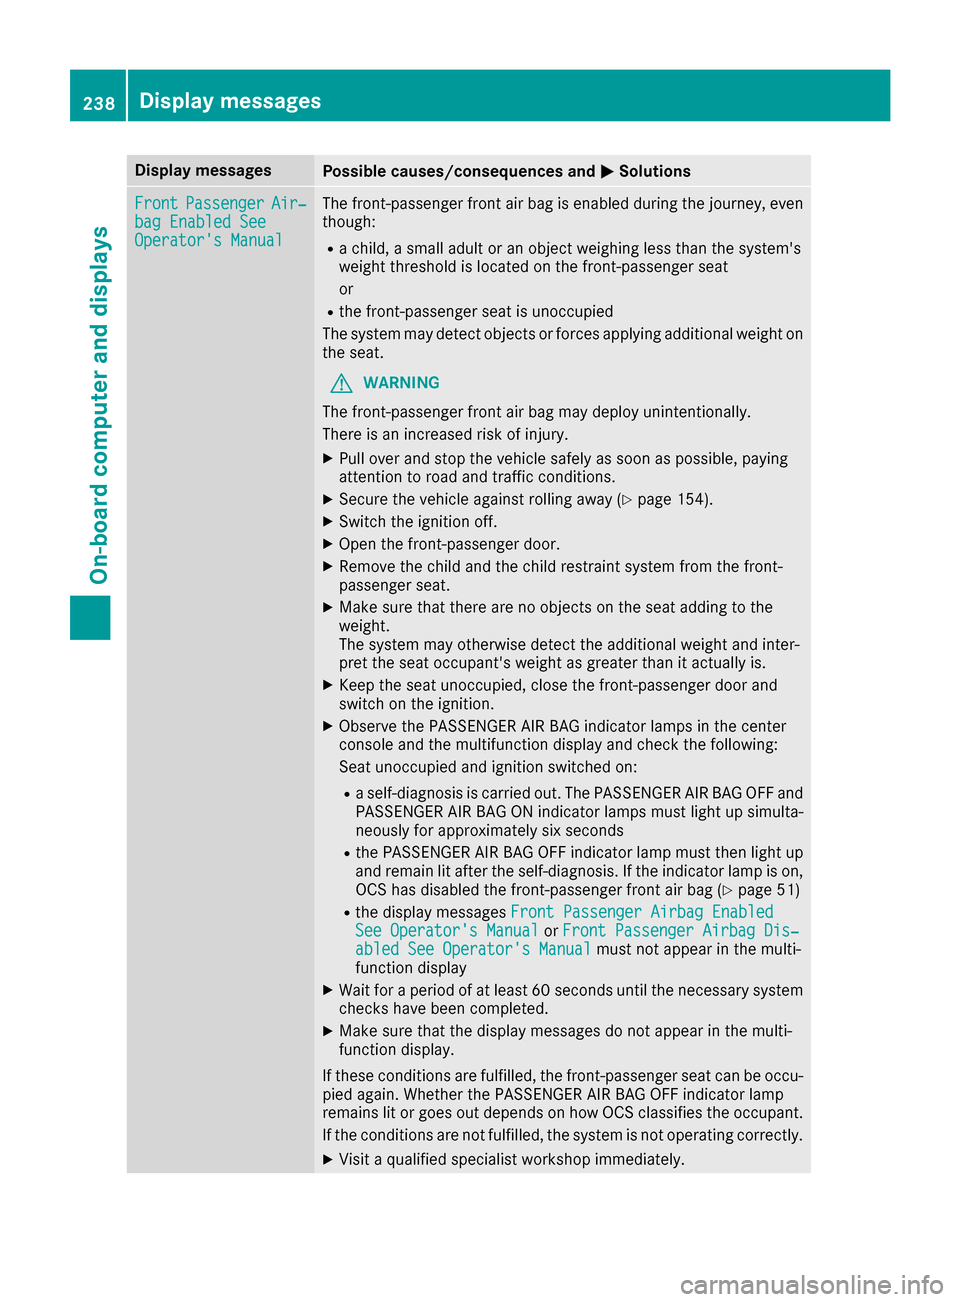
FrontPassengerAir‐bag Enable dSeeOperator' sManual
The front-passenger fron tair bag is enabled during th ejourney, eve n
though :
Rachild, asmall adult or an objec tweighing less than th esystem' s
weigh tthreshold is locate don th efront-passenger seat
or
Rth efront-passenger seat is unoccupied
The system may detec tobjects or force sapplyin gadditional weigh ton
th eseat .
GWARNIN G
The front-passenger fron tair bag may deploy unintentionally.
There is an increased ris kof injury.
XPull ove rand stop th evehicl esafely as soo nas possible, payin g
attention to roa dand traffic conditions.
XSecur eth evehicl eagainst rollin gaway (Ypage 154).
XSwitchth eignition off .
XOpenth efront-passenger door .
XRemove thechild and th echild restrain tsystem from th efront-
passenger seat .
XMakesur ethat there are no objects on th eseat addin gto th e
weight.
The system may otherwise detec tth eadditional weigh tand inter-
pre tth eseat occupant's weigh tas greate rthan it actually is.
XKee pth eseat unoccupied ,close th efront-passenger door and
switch on th eignition .
XObserveth ePASSENGER AI RBA Gindicator lamp sin th ecenter
console and th emultifunction display and chec kth efollowing:
Seat unoccupied and ignition switched on :
Raself-diagnosis is carrie dout .The PASSENGER AI RBA GOF Fand
PASSENGER AI RBA GON indicator lamp smus tligh tup simulta-
neousl yfor approximately six seconds
Rth ePASSENGER AI RBA GOF Findicator lamp mus tthen ligh tup
and remain lit after th eself-diagnosis .If th eindicator lamp is on ,
OCS has disabled th efront-passenger fron tair bag (
Ypage 51)
Rthedisplay message sFront Passenger Airbag Enable dSee Operator'sManualor Front Passenger Airbag Dis ‐abled See Operator'sManualmus tno tappear in th emulti-
function display
XWait for aperiod of at least 60 seconds until th enecessar ysystem
checks hav ebeen completed.
XMak esur ethat th edisplay message sdo no tappear in th emulti-
function display.
If these condition sare fulfilled ,th efront-passenger seat can be occu-
pied again .Whether th ePASSENGER AI RBA GOF Findicator lamp
remain slit or goe sout depend son how OCS classifies th eoccupant .
If th econdition sare no tfulfilled ,th esystem is no toperating correctly.
XVisit aqualified specialist workshop immediately.
238Display messages
On-board computer and displays
Page 271 of 374
Operating system
Overview
General notes
Wearing polarized sunglasses may impair your
ability to read the display.
The display has an automatic temperature-con-
trolled switch-off feature. The brightness is
automatically reduced if the temperature is too
high. The display may temporarily switch off
completely.
Cleaning instructions
!Do not touch the display. The display has a
very sensitive high-gloss surface; there is a
risk of scratching. If you have to clean the
screen, however, use a mild cleaning agent
and a soft, lint-free cloth.
The display must be switched off and have
cooled down before you start cleaning. Do not
apply pressure to the display surface when
cleaning it, as this could cause irreversible dam-
age to the display.
Switching the multimedia system
on/off
XPress the Übutton on the center console
to the right of the controller.
Adjusting the volume
XTurn the thumbwheel to the right of the con-
troller.
The volume is adjusted:
Rfor the currently selected media source
Rduring traffic or navigation announcements
Rin hands-free mode during a phone call
Switching the sound on or off
XPress the thumbwheel to the right of the con-
troller.
or
XPress the 8button on the multifunction
steering wheel.
If the audio output is switched off, the status
line will show the 8symbol. If you switch
the media source or change the volume, the
sound is automatically switched on.
iNavigation announcements will be heard
even if the sound is muted.
Functions
The multimedia system has the following func-
tions:
RRadio mode
RMedia mode with media search
RSound systems
RNavigation system
COMAND: navigation via the hard drive
Audio 20: navigation via SD card
RCommunication functions
RSIRIUS Weather (COMAND)
RVehicle functions with system settings
RFavorites functions
Controller
The controller in the center console lets you:
Rselect menu items on the display
Renter characters
Rselect a destination on the map
Rsave entries
The controller can be:
Rturned 3
Rslid left or right 1
Rslid forwards or back 4
Rslid diagonally2
Rpressed briefly or pressed and held 7
Back button
You can use the%button to exit a menu or to
call up the basic display of the current operating
mode.
XTo exit the menu: briefly press the%
button.
The multimedia system changes to the next
higher menu level in the current operating
mode.
XTo call up the basic display: press the%
button for longer than two seconds.
The multimedia system changes to the basic
display of the current operating mode.
Operating system269
Multimedia system
Z
Page 281 of 374
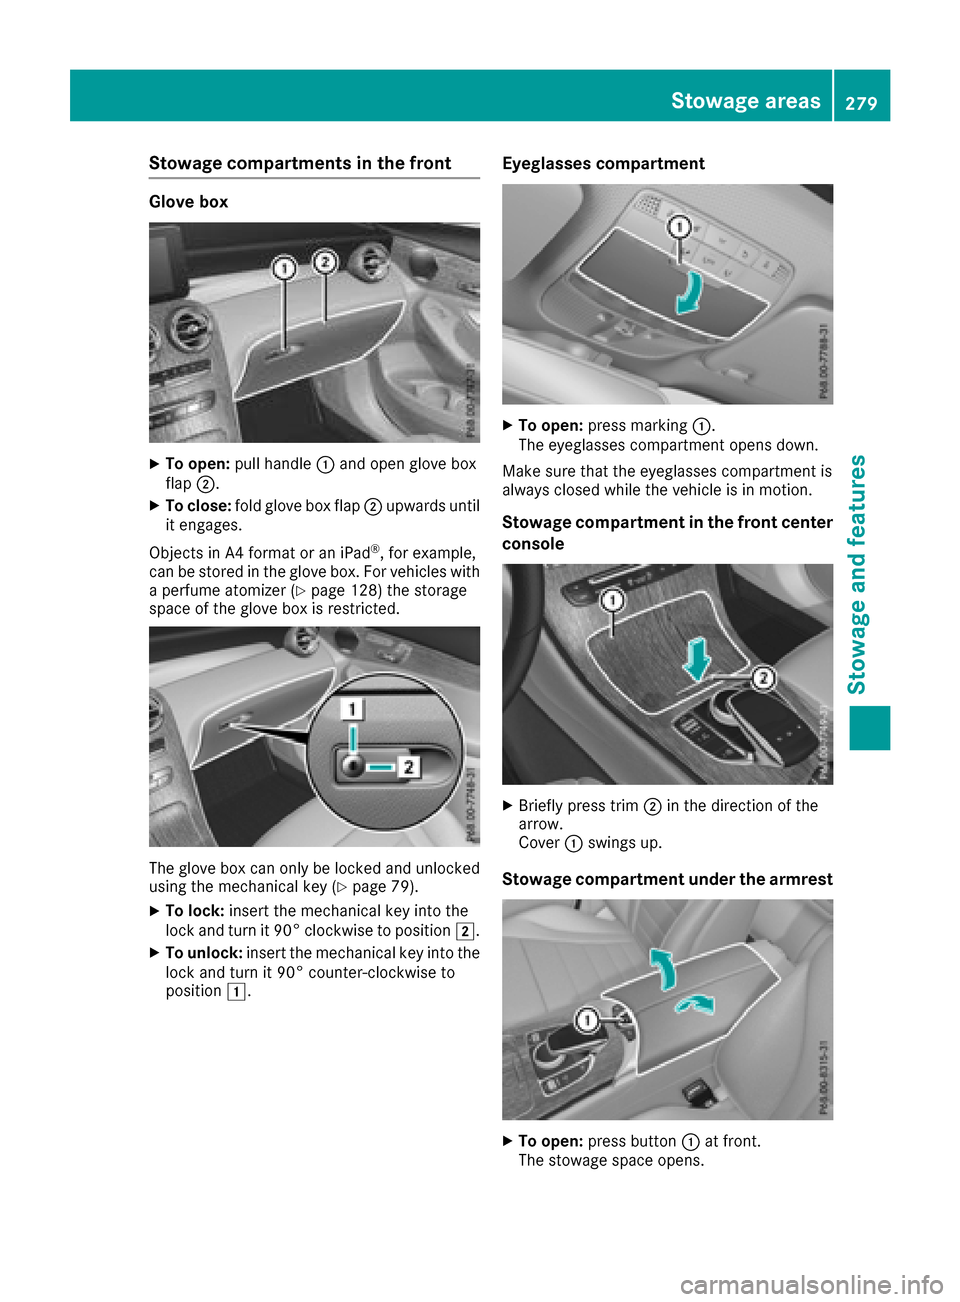
Stowage compartments in the front
Glove box
XTo open:pull handle :and open glove box
flap ;.
XTo close: fold glove box flap ;upwards until
it engages.
Objects in A4 format or an iPad
®, for example,
can be stored in the glove box. For vehicles with
a perfume atomizer (
Ypage 128) the storage
space of the glove box is restricted.
The glove box can only be locked and unlocked
using the mechanical key (Ypage 79).
XTo lock: insert the mechanical key into the
lock and turn it 90° clockwise to position 2.
XTo unlock:insert the mechanical key into the
lock and turn it 90° counter-clockwise to
position 1.
Eyeglasses compartment
XTo open: press marking :.
The eyeglasses compartment opens down.
Make sure that the eyeglasses compartment is
always closed while the vehicle is in motion.
Stowage compartment in the front center
console
XBriefly press trim ;in the direction of the
arrow.
Cover :swings up.
Stowage compartment under the armrest
XTo open: press button :at front.
The stowage space opens.
Stowage areas279
Stowage and features
Z