2017 MERCEDES-BENZ GLC cruise control
[x] Cancel search: cruise controlPage 169 of 374

between your vehicle and the vehicle in front
becomes too small.
When you change lanes, DISTRONIC PLUS mon-
itors the left lane (on left-hand-drive vehicles) or
the right lane (on right-hand-drive vehicles).
Stopping
G WARNING
When leaving the vehicle, even if it is braked
only by DISTRONIC PLUS, it could roll away if: R
there is a malfunction in the system or in
the voltage supply. R
DISTRONIC PLUS has been deactivated
with the cruise control lever, e.g. by a vehi-
cle occupant or from outside the vehicle. R
the electrical system in the engine com-
partment, the battery or the fuses have
been tampered with. R
the battery is disconnected. R
the accelerator pedal has been depressed,
e.g. by a vehicle occupant.
There is a risk of an accident.
If you wish to exit the vehicle, always turn off
DISTRONIC PLUS and secure the vehicle
against rolling away.
For further information on deactivating
DISTRONIC PLUS ( Y
page 169).
If DISTRONIC PLUS detects that the vehicle in
front has stopped, it will cause your vehicle to
brake and come to a halt.
Once your vehicle is stationary, it remains sta-
tionary and you do not need to depress the
brake.
After a time, the electric parking brake secures
the vehicle and relieves the service brake.
Depending on the specified minimum distance,
your vehicle will come to a standstill at a suffi-
cient distance behind the vehicle in front. The
specified minimum distance is set using the
control on the cruise control lever. When DISTRONIC PLUS is activated, the trans-
mission is shifted automatically to position �] ,
if: R
the driver's seat belt is not fastened and the
driver's door is open. R
the engine is switched off, unless it is auto-
matically switched off by the ECO start/stop
function.
The electric parking brake secures the vehicle
automatically if DISTRONIC PLUS is activated
when the vehicle is stationary and: R
a system malfunction occurs. R
the power supply is insufficient.
If a malfunction occurs, the transmission may
also be shifted to position �] automatically.
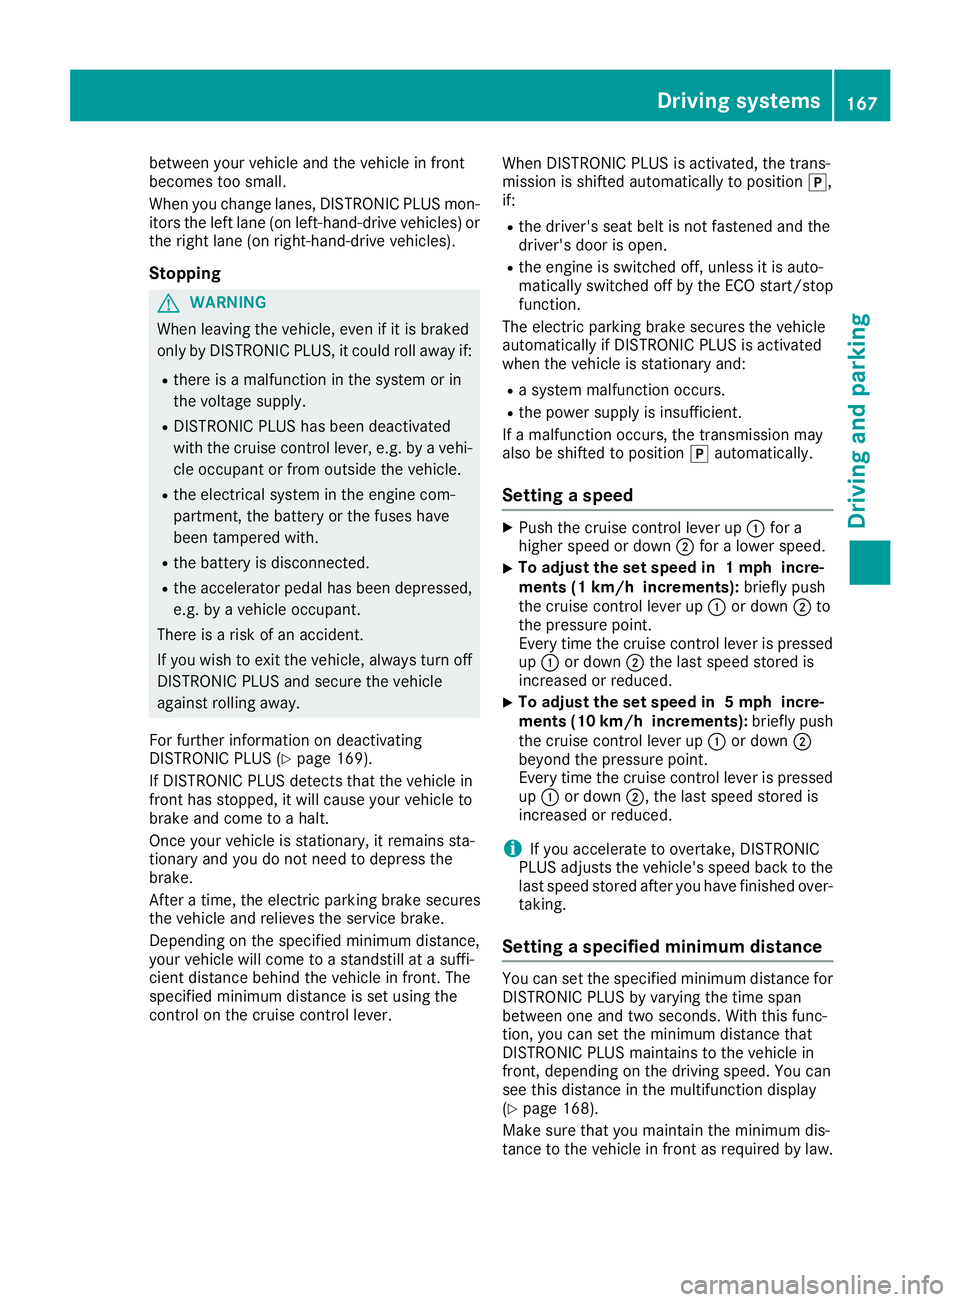
Setting a speed X
Push the cruise control lever up �C for a
higher speed or down �D for a lower speed.X
To adjust the set speed in 1 mph incre-
ments (1 km/h increments): briefly push
the cruise control lever up �C or down �D to
the pressure point.
Every time the cruise control lever is pressed
up �C or down �D the last speed stored is
increased or reduced. X
To adjust the set speed in 5 mph incre-
ments (10 km/h increments): briefly push
the cruise control lever up �C or down �D
beyond the pressure point.
Every time the cruise control lever is pressed
up �C or down �D , the last speed stored is
increased or reduced.
i If you accelerate to overtake, DISTRONIC
PLUS adjusts the vehicle's speed back to the
last speed stored after you have finished over-
taking.
Setting a specified minimum distance You can set the specified minimum distance for
DISTRONIC PLUS by varying the time span
between one and two seconds. With this func-
tion, you can set the minimum distance that
DISTRONIC PLUS maintains to the vehicle in
front, depending on the driving speed. You can
see this distance in the multifunction display
( Y
page 168).
Make sure that you maintain the minimum dis-
tance to the vehicle in front as required by law.Driving systems 167
Driving and parking Z
Page 206 of 374

which the maximum permissible speed for vehi-
cle/trailer combinations is above 60 mph
(100 km/h).
When towing a trailer, your vehicle's handling
characteristics will be different in comparison to
when driving without a trailer and it will con-
sume more fuel.
Shift to a lower gear on long and steep downhill
gradients.
This also applies to: R
activated DISTRONIC PLUS R
activated cruise control
This will use the braking effect of the engine, so
that less braking will be required to maintain the
speed. This relieves the load on the brake sys-
tem and prevents the brakes from overheating
and wearing too quickly. If you need additional
braking, depress the brake pedal repeatedly
rather than continuously.
Driving tips If the trailer swings from side to side: X
Do not accelerate. X
Do not counter-steer. X
Brake if necessary. R
Maintain a greater distance from the vehicle
in front than when driving without a trailer. R
Avoid braking abruptly. If possible, brake gen-
tly at first to allow the trailer to run on. Then,
increase the braking force rapidly. R
The values given for gradient-climbing capa-
bilities from a standstill refer to sea level.
When driving in mountainous areas, note that
the power output of the engine and, conse-
quently, the vehicle's gradient-climbing capa-
bility, decreases with increasing altitude.
Installing the ball coupling
G WARNING
If the ball coupling is not correctly installed
and secured, it could come loose while driving
and endanger other road users. There is a risk
of an accident and injury.
Install and secure the ball coupling as descri-
bed in the ball coupling manufacturer's instal-
lation instructions. Make sure that the ball coupling is correctly installed and secured
before every journey.
G WARNING
If the ball coupling is not installed and secured
correctly the trailer may come loose. There is
a risk of an accident.
Install and secure the ball coupling as descri-
bed in the ball coupling installation instruc-
tions. Make sure that the ball coupling is
installed and secured correctly before every
journey.
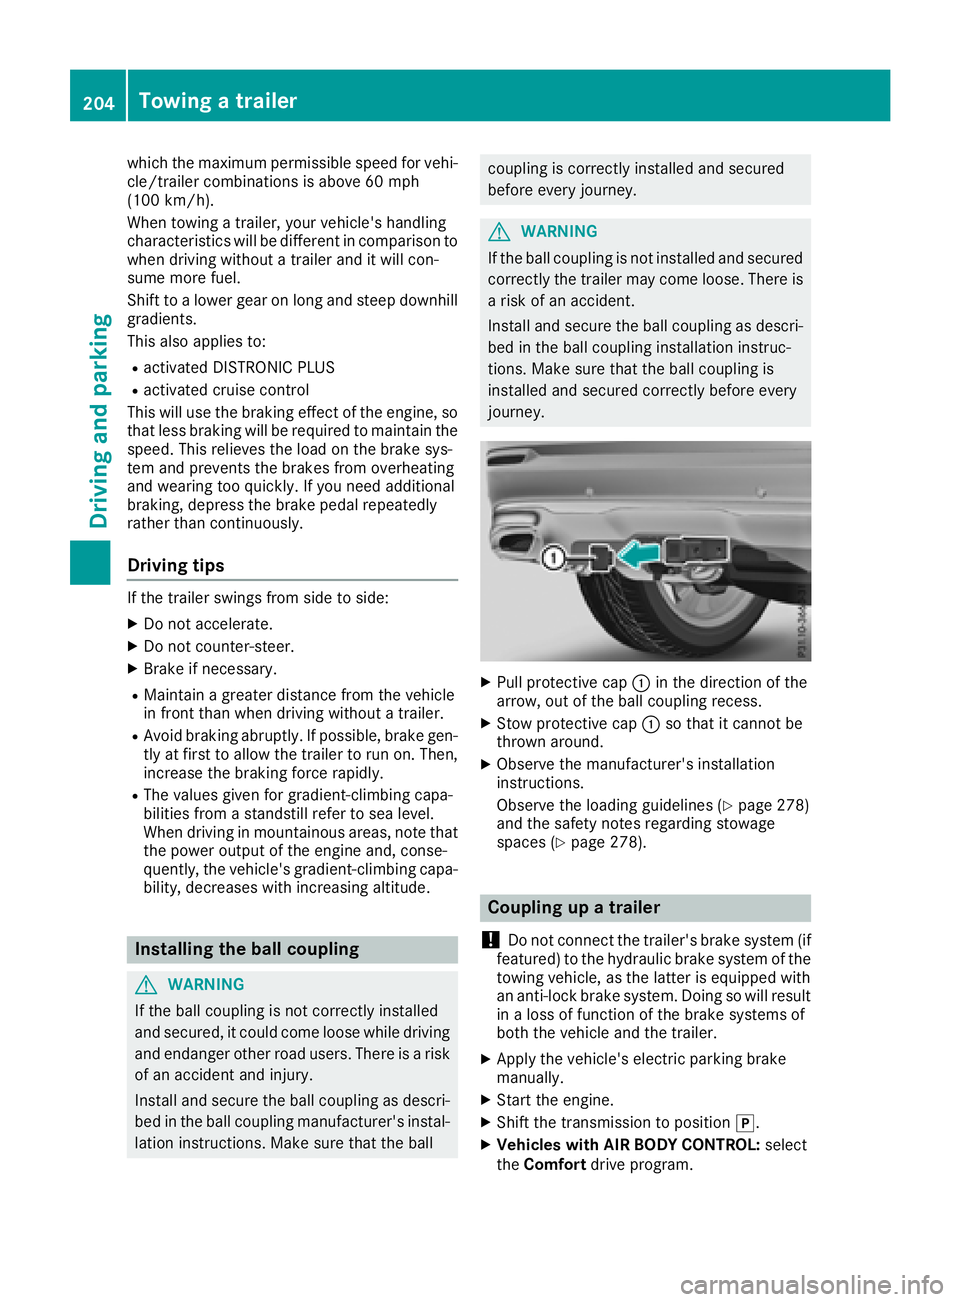
X
Pull protective cap �C in the direction of the
arrow, out of the ball coupling recess. X
Stow protective cap �C so that it cannot be
thrown around. X
Observe the manufacturer's installation
instructions.
Observe the loading guidelines ( Y
page 278)
and the safety notes regarding stowage
spaces ( Y
page 278).
Coupling up a trailer
! Do not connect the trailer's brake system (if
featured) to the hydraulic brake system of the
towing vehicle, as the latter is equipped with
an anti-lock brake system. Doing so will result
in a loss of function of the brake systems of
both the vehicle and the trailer. X
Apply the vehicle's electric parking brake
manually. X
Start the engine. X
Shift the transmission to position �] .X
Vehicles with AIR BODY CONTROL: select
the Comfort drive program.204
Towing a trailer
Driving and parking
Page 250 of 374

Display messages
Possible causes/consequences and �P Solutions
DISTRONIC PLU S Inop‐
erativ e DISTRONI C PLU S is faulty.
The followin g may hav e also failed:R
BA S PLU S wit h Cross-Traffic Assis tR
PRE-SAF E ®
BrakeR
Steering Assis t and Stop&Go Pilo t
A warning tone also sounds. X
Visit a qualified specialist workshop .
DISTRONIC PLU S Sus ‐
pended You hav e depressed th e accelerato r pedal . DISTRONI C PLU S is no
longer controllin g th e speed of th e vehicle.X
Remove your foo t from th e accelerato r pedal .
DISTRONIC PLU S
- - - mph An activation condition for DISTRONI C PLU S is no t fulfilled .X
Chec k th e activation condition s for DISTRONI C PLU S ( Y
page 165).
DTR+: Steering
Assist . Currently
Unavailable See
Operator' s Manual Steering Assis t and Stop&Go Pilo t are temporarily inoperative.
Possibl e causes are: R
The windshield in th e camera' s field of vision is dirty.R
Visibilit y is impaire d due to heav y rain , snow or fog .R
There are no lan e marking s for a longer period.R
The lan e marking s are worn, dark or covered, e.g. by dir t or snow.
Whe n th e causes state d abov e no longer apply, th e display message
disappears.
Steering Assis t and Stop&Go Pilo t are operative again .
If th e display message does no t disappear :X
Pull ove r and stop th e vehicl e safely as soo n as possible, payin g
attention to roa d and traffic conditions.X
Secur e th e vehicl e against rollin g away ( Y
page 154).X
Clean th e windshield.
DTR+: Steering
Assist . Inoperative Steering Assis t and Stop&Go Pilo t are defective.
However, th e DISTRONI C PLU S function s are still available.
A warning tone also sounds. X
Visit a qualified specialist workshop .
Cruise Contro l Inop‐
erativ e Cruis e control is malfunctioning .
A warning tone also sounds. X
Visit a qualified specialist workshop .248
Display messages
On-board computer and displays
Page 251 of 374

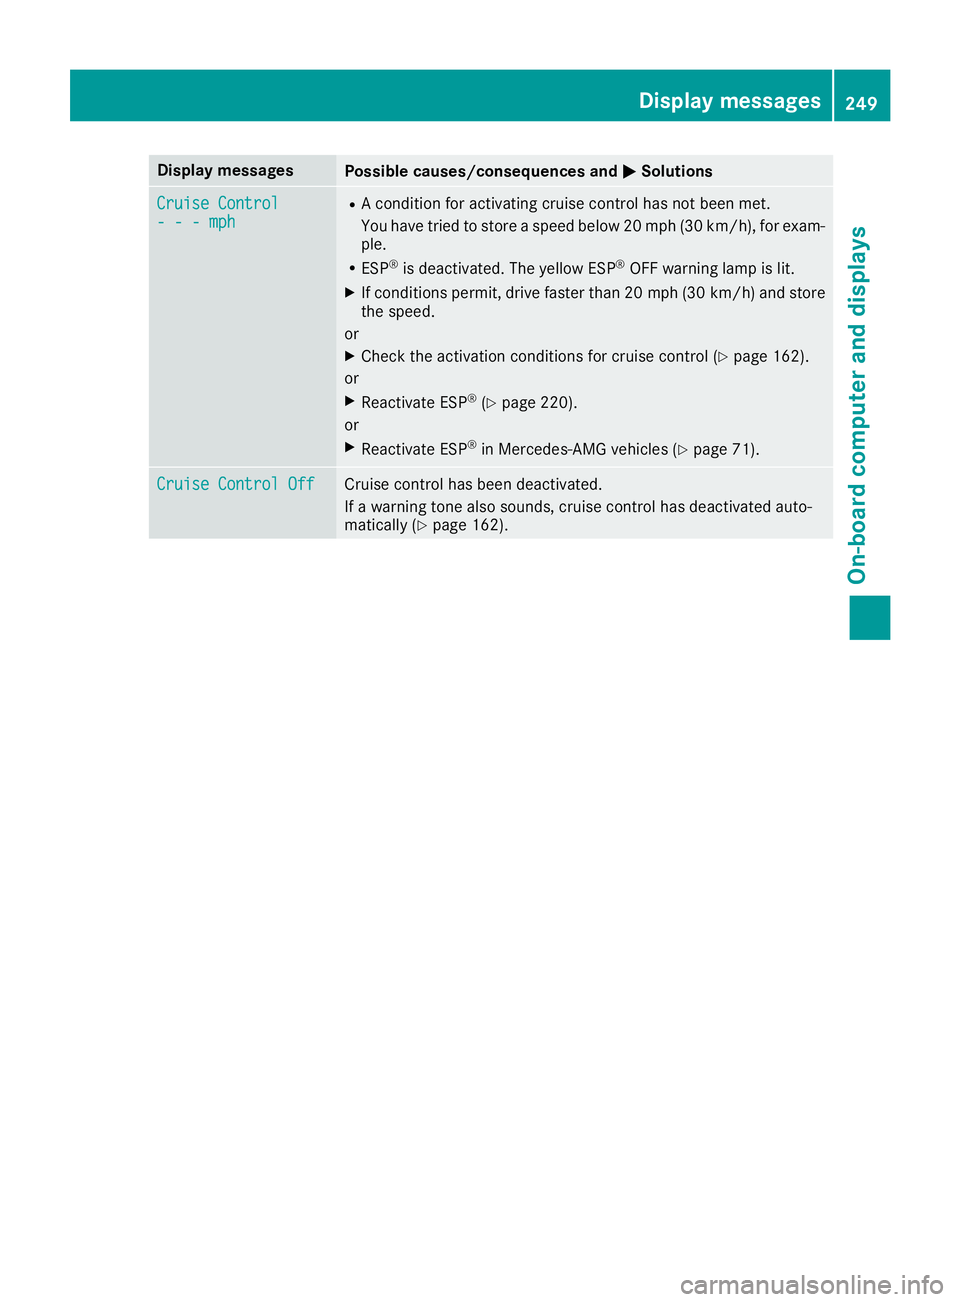
Display messages
Possible causes/consequences and �P Solutions
Cruise Contro l
- - - mph R
A condition for activating cruise control has no t been met .
You hav e tried to store a speed belo w 20 mph (30 km/h), for exam-
ple. R
ES P ®
is deactivated. The yello w ES P ®
OF F warning lamp is lit .X
If condition s permit , drive faste r than 20 mph (30 km/h ) and store
th e speed.
or X
Chec k th e activation condition s for cruise control ( Y
page 162).
or X
Reactivat e ES P ®
( Y
page 220).
or X
Reactivat e ES P ®
in Mercedes-AMG vehicles ( Y
page 71) .
Cruise Contro l Off Cruis e control has been deactivated.
If a warning tone also sounds, cruise control has deactivated auto -
matically ( Y
page 162). Display messages 24 9
On-board computer and displays Z