2017 MERCEDES-BENZ GLC-Class fuel
[x] Cancel search: fuelPage 12 of 178

Personal POIs and routesAlert when approaching (personal
POI) .................................................. 68
General notes ..................................6 7
Importing via Mercedes-Benz
Apps ................................................ 69
Recording the route .........................7 0
Saving .............................................. 68
Selecting and editing ....................... 69
Settings for personal POIs ............... 67
Phone book
Adding a new contact .................... 102
Adding information to a contact .... 103
Calling up ....................................... 101
Deleting a contact ......................... 103
Displaying the details of an entry ... 102
Entering characters ......................... 30
Saving a contact ............................ 103
Searching for a contact ................. 101
Symbol overview ............................ 101
Phone call
Dialing .............................................. 97
Picture viewer
Changing view ............................... 164
Displaying pictures ........................ 164
Exiting the picture viewer .............. 164
General notes ................................ 163
Starting a slide show ..................... 164
PIN protection
Activating/deactivating ................... 42
POI (navigation)
Calling up the menu ......................... 61
Category .......................................... 62
Defining the position for the POI
search .............................................. 62
Entering ........................................... 61
Rotating 3D POI ............................... 63
Selecting .......................................... 63
Previous destinations (navigation) .... 81
Q
Quick access for audio and tele-
phone
Changing the station/music
track ................................................ 28
Sending DTMF tones ........................ 28
R
RadioActivating/deactivating the sta-
tion presets display ....................... 135
Deleting a station .......................... 134
Displaying information ................... 135
Displaying station information ....... 135
Displaying the artist and track ....... 135
Overview ........................................ 132
Setting the waveband .................... 132
Sound settings (balance, bass,
treble) ............................................ 135
Station list ..................................... 134
Storing stations ............................. 134
Switching on .................................. 132
Tagging music tracks (download-
ing/purchasing tracks from the
iTunes Store
®) ............................... 135
Radio station
Storing ........................................... 134
Read-aloud function
Automatic ........................................ 80
Read-aloud function for e-mails ....... 115
Reading out
Traffic reports on the route .............. 79
Real-time traffic reports ..................... 77
Rear view camera
Displaying the image ........................ 47
Object detection .............................. 47
Opening the camera cover for
cleaning (COMAND) ......................... 47
Switching object detection
on/off .............................................. 47
Switching on/off (COMAND) ........... 47
Receiving vCards ............................... 109
Redialing (telephone) .......................... 97
Reducing the volume
Switching announcements on/off
(COMAND) ....................................... 56
Reserve fuel level
Switching announcements on/off(COMAND) ....................................... 56
Resetting (factory settings) ............... 43
Road map
see Map (navigation)
Route (navigation)
Selecting an alternative route .......... 75
10Index
Page 13 of 178

Setting route options (avoiding:
highways, toll roads, tunnels, fer-
ries) ................................................. 55
Setting the route type (short
route, fast route, dynamic route or
economic route) ............................... 55
Starting calculation .......................... 59
Route guidance
Canceling/continuing ...................... 74
Freeway information ........................ 73
General notes .................................. 71
Lane recommendations ................... 72
Off-road ........................................... 76
Traffic reports .................................. 77
S
Safety notesAudio CD/DVD and MP3 mode ..... 142
Using the telephone ......................... 91
Satellite radio
Displaying information ................... 139
Overview ........................................ 137
Presets menu view ......................... 138
Registering .................................... 136
Switching to ................................... 137
SatRadio
Channel list updates ...................... 140
Memory functions .......................... 138
Music and sports alerts ................. 138
Notes ............................................. 136
Selecting a category ...................... 137
Selecting a channel ....................... 137
Tagging music tracks ..................... 139
SD card
Inserting ........................................ 145
Inserting/removing ........................ 144
Removing ....................................... 145
Searching for a gas station
When the fuel level is low ................ 66
Seat-belt adjustment function
Activating/deactivating
(COMAND) ....................................... 45
Selecting stations
Radio ............................................. 133
Sending DTMF tones ........................... 99
Setting access data
Online and Internet ........................ 122 Setting the language
COMAND ......................................... 41
Setting the night design ..................... 35
Setting the text reader speed ............ 38
Setting the volume
Telephone calls ................................ 28
Setting the waveband
Radio ............................................. 132
Settings
Sound settings ............................... 165
Short message
see Text messages (SMS)
SIRIUS weather display
5-day forecast ................................ 168
Daily forecast ................................. 168
Detail information .......................... 169
Information chart ........................... 168
Selecting a location for the
weather forecast ............................ 169
Switching on/off ........................... 168
Weather map ................................. 171
Sound
Switching on/off .............................. 28
Sound settings
Balance/fader ............................... 165
Calling up the sound menu ............ 165
Equalizer ........................................ 165
Sound system
see Burmester
®surround sound system
Speed dial
Deleting ......................................... 112
Setting up ...................................... 112
State
/province
Selecting .......................................... 58
Stop function
Video DVD ..................................... 163
Storing stations
Radio ............................................. 134
Street name announcements
Switching on/off (COMAND) ........... 56
Switching between summer time
and standard time ............................... 36
Switching on media mode
Using the Media button ................. 141
Via the device list .......................... 142
Via the main function bar ............... 141
Index11
Page 51 of 178

XSlide6the controller repeatedly until the
climate control bar is activated.
XTo select from climate control bar ;: turn
and press the controller.
The menu for selecting climate control func-
tions is activated.
XTo select a climate function: turn and press
the controller.
The selected climate control function
appears.
Settings in the climate menu
Adjusting the climate mode settings
By setting the climate mode you determine the
type of airflow. The setting is active when the air
conditioning system is set to Ã, see the vehi-
cle Operator's Manual.
XCall up the climate control menu (Ypage 48).
XTo select Climate Mode: turn and press the
controller.
XTo change the setting: turn the controller.
XTo exit the menu: press the %button.
The current airflow setting is shown in the cli-
mate control bar: DIFFUSE
,MEDIUMor FOCUS(Ypage 48).
Starting/stopping the perfume atom-
izer
The perfume atomizer makes it possible to scent
the air in individual compartments in the vehicle
interior. Further information (see the vehicle
Operator's Manual).
XCall up the climate control menu (Ypage 48).
XTo select AirFreshener: turn and press the
controller.
The setting element is active.
XTo start/stop the perfume atomizer: press
the controller.
XTo set the intensity: turn the controller when
the atomizer is switched on.
XTo exit the menu: press the %button.
Switching ionization on/off
The ionization has a cleansing effect on the air in
the vehicle interior. Further information (see the
vehicle Operator's Manual).
XCall up the climate control menu (Ypage 48).
XTo select Ionization: turn and press the
controller.
The setting element is active.
XTo switch the ionization on or off: turn the
controller.
XTo exit the menu: press the %button.
Settings in the bottom bar of the cli-
mate control menu
Activating/deactivating climate con-
trol
This setting is made in the bottom bar of the
climate control menu.
XCall up the climate control menu (Ypage 48).
XSlide 6the controller repeatedly until the
bottom bar is activated.
XTo select OClimate Ctrl On: turn and
press the controller.
The climate control is switched on Oor off
ª depending on the settings.
If the climate control is switched off:
Rthe climate control setting functions are
deactivated.
Rthe blower is switched off.
Rthe air recirculation flaps are closed.
Switching cooling with air dehumidifi-
cation on/off
This setting is made in the bottom bar of the
climate control menu.
XCall up the climate control menu (Ypage 48).
XSlide 6the controller repeatedly until the
bottom bar is activated.
XTo select OA/C: turn and press the control-
ler.
XSwitch cooling with air dehumidification on
O or off ª.
iThe current status of the cooling function is
displayed in the climate control bar: A/C ON
– activated, A/C OFF – deactivated
(
Ypage 48).
iDeactivating the cooling with air dehumidi-
fication function reduces fuel consumption.
Climate control settings49
Vehicle functions
Z
Page 52 of 178

Synchronizing the climate control set-
tings
UseOSync(synchronization) to select the cli-
mate control setting for all zones together Oor
separately ª.
This setting is made in the bottom bar of the
climate control menu.
XCall up the climate control menu (Ypage 48).
XSlide 6the controller repeatedly until the
bottom bar is activated.
XTo select OSync: turn and press the con-
troller.
XSwitch the synchronization function on Oor
off ª.
For further information on synchronizing climate
control settings (see the vehicle Operator's
Manual).
DYNAMIC SELECT
General notes
You can use DYNAMIC SELECTto configure the
following settings for the Individual drive pro-
gram:
RDrive system
RSuspension
RSteering
RClimate control
RECO start/stop function
iIn a few countries, the ECO start/stop func-
tion is deactivated at the factory due to the
available fuel grade. In this case, the ECO
start/stop function is not available regardless
of the display in the multimedia system dis-
play.
The off-road drive program is only available on
vehicles with the Off-Road Engineering package.
You can set the following programs in the Off‐
road Settingsmenu:
RSlippery
ROff-road
RGradient
RRocking free
RTrailer
ROff In addition, current vehicle and engine data is
visualized via the
Vehicle Data
andEngineDatamenus.
There may be fewer settings depending on your
vehicle's equipment.
For further information on the Individual drive
program; see the vehicle Operator's Manual.
Configuration via the DYNAMIC
SELECT switch
iThere may be fewer settings depending on
your vehicle's equipment.
XUse the DYNAMIC SELECT switch to select
the Individual drive program; see the vehicle
Operator's Manual.
A window appears after a short while.
XTo confirm Adjust: press the controller.
The Individual Configurationmenu
appears.
XTo select Drive,Suspension,Steering,
Climate Control, Eco Start/Stop Func‐tion: turn and press the controller.
The menu symbol, text and image show the
selected setting.
Setting off-road program
XTo switch the off-road program on: press
the Ç button.
A window appears after a short while.
XTo confirm Adjust: press the controller.
The Offroad Settingsmenu appears.
XTo select Slippery,Offroad, Incline,
Trailer, Rocking Assistor Off: turn and
press the controller.
The menu symbol, text and image show the
selected setting.
50DYNAMIC SELECT
Vehicle functions
Page 58 of 178

Navigation includes carpool lanes if the car-
pool lanes option is activated.
Depending on local conditions, the multimedia
system may not always be able to include all
route options. A route may include a ferry, for
instance, even though Avoid Ferries
is ena-
bled. The multimedia system will notify you of
this visually and through a navigation message.
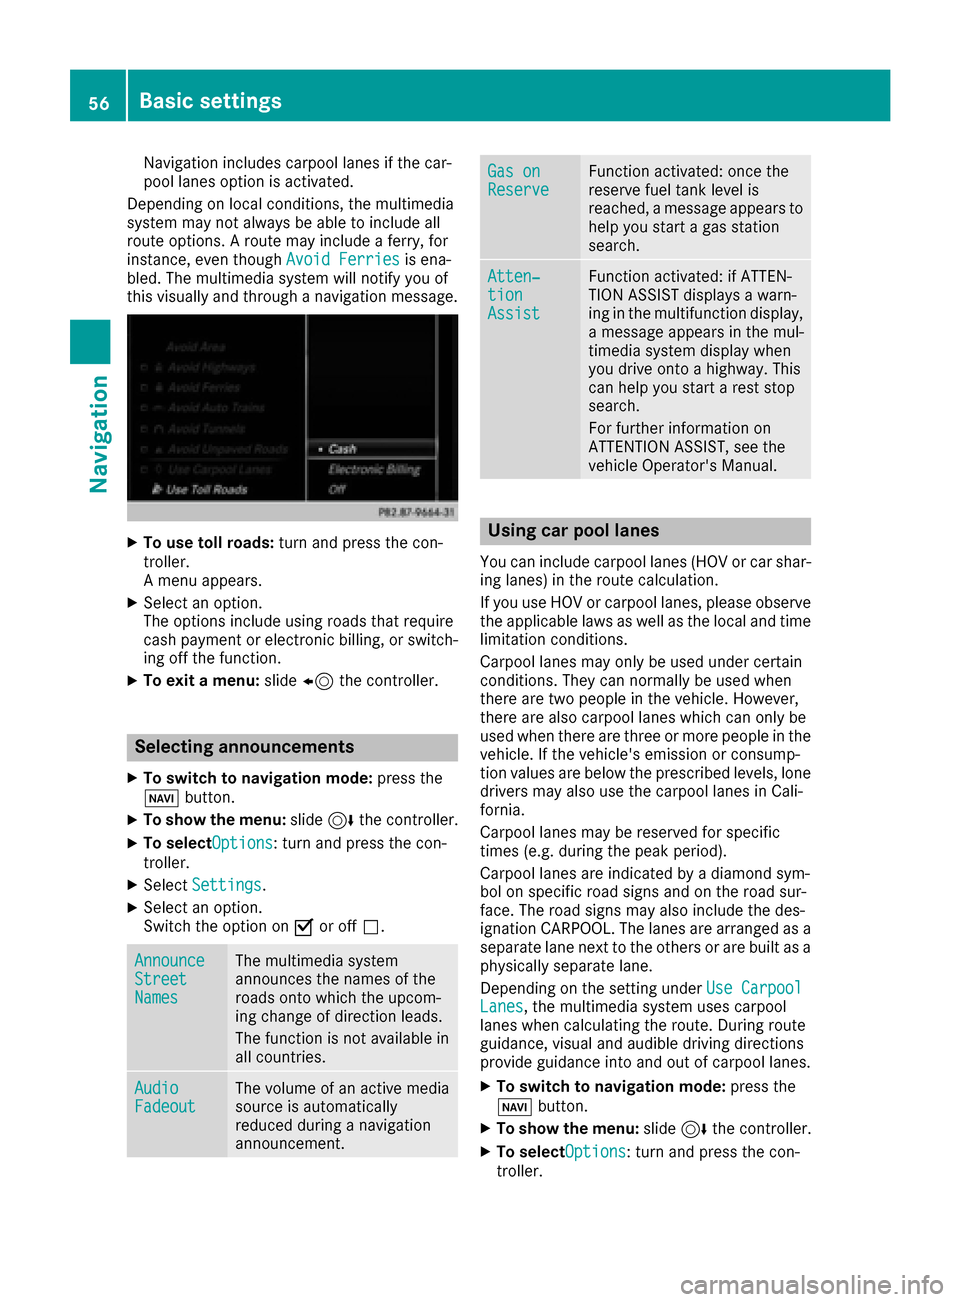
XTo use toll roads: turn and press the con-
troller.
A menu appears.
XSelect an option.
The options include using roads that require
cash payment or electronic billing, or switch-
ing off the function.
XTo exit a menu: slide8 the controller.
Selecting announcements
XTo switch to navigation mode: press the
Ø button.
XTo show the menu: slide6the controller.
XTo selectOptions: turn and press the con-
troller.
XSelect Settings.
XSelect an option.
Switch the option on Oor off ª.
AnnounceStreetNames
The multimedia system
announces the names of the
roads onto which the upcom-
ing change of direction leads.
The function is not available in
all countries.
AudioFadeoutThe volume of an active media
source is automatically
reduced during a navigation
announcement.
Gas onReserveFunction activated: once the
reserve fuel tank level is
reached, a message appears to
help you start a gas station
search.
Atten‐tionAssist
Function activated: if ATTEN-
TION ASSIST displays a warn-
ing in the multifunction display,
a message appears in the mul-
timedia system display when
you drive onto a highway. This
can help you start a rest stop
search.
For further information on
ATTENTION ASSIST, see the
vehicle Operator's Manual.
Using car pool lanes
You can include carpool lanes (HOV or car shar-
ing lanes) in the route calculation.
If you use HOV or carpool lanes, please observe
the applicable laws as well as the local and time
limitation conditions.
Carpool lanes may only be used under certain
conditions. They can normally be used when
there are two people in the vehicle. However,
there are also carpool lanes which can only be
used when there are three or more people in the
vehicle. If the vehicle's emission or consump-
tion values are below the prescribed levels, lone
drivers may also use the carpool lanes in Cali-
fornia.
Carpool lanes may be reserved for specific
times (e.g. during the peak period).
Carpool lanes are indicated by a diamond sym-
bol on specific road signs and on the road sur-
face. The road signs may also include the des-
ignation CARPOOL. The lanes are arranged as a
separate lane next to the others or are built as a
physically separate lane.
Depending on the setting under Use Carpool
Lanes, the multimedia system uses carpool
lanes when calculating the route. During route
guidance, visual and audible driving directions
provide guidance into and out of carpool lanes.
XTo switch to navigation mode: press the
Ø button.
XTo show the menu: slide6the controller.
XTo selectOptions: turn and press the con-
troller.
56Basic settings
Navigation
Page 68 of 178

XTo select an intermediate destination in the
intermediate destinations menu: turn and
press the controller.
A menu appears.
XTo change an intermediate destination:
selectEdit
in the menu.
XChange the address, e.g. the city and street.
XTo select OK: turn and press the controller.
The intermediate destinations menu appears
and displays the changed intermediate desti-
nation.
You can enter the intermediate destinations and
the destination in any order. To change the
order, at least one intermediate destination and
the destination must be entered.
XTo change the order: in the menu, select
Move
.
XTurn the controller and move the intermediate destination or destination to the desired posi-
tion.
XPress the controller.
XTo delete an intermediate destination:
select Delete
in the menu.
Accepting intermediate destinations
for the route
XTo select Start Route Guidancein the
intermediate destinations menu: press the
controller.
The route is calculated with the entered inter-
mediate destinations.
If an intermediate destination was passed
during route guidance, a green tick mark will
be entered in the intermediate destinations
menu. Once the route has been recalculated,
the intermediate destination is deleted from
the intermediate destinations menu.
Saving as a personal route
You can save a route including intermediate
destinations on the SD card.
Requirements: the SD card has the FAT data
system format (e.g. FAT32).
XInsert the SD memory card (Ypage 144).
XTo select Save As Personal Routein the
intermediate destinations menu: press the
controller.
An input field appears.
XEnter a file name in the input field. Press OKto
confirm.
The route is saved to the SD memory card.
Searching for a gas station when the
fuel level is low
Requirement: the setting GasonReservemust
be enabled (Ypage 56).
If the fuel tank reserve level is displayed, you will
see the Reserve Fuel Would you like to
start a search for surrounding gasstations?message.
XTo select YesorNo: turn and press the con-
troller.
If you select Yes
: the gas station search
starts. When the search is complete, a list of
the gas stations available along the route or in
the vicinity is displayed.
If you select No
: the search is canceled.
XSelect the gas station.
The address of the gas station is displayed.
XTo selectStart: press the controller.
The selected gas station is entered into posi-
tion 1 of the intermediate destinations menu.
Route guidance begins.
If the intermediate destinations menu already
contains four intermediate destinations, a
prompt will be displayed, asking you whether you wish to enter the gas station into position
1. If you select Yes
, the gas station is trans-
ferred into the list and intermediate destina-
tion 4 is deleted.
Entering a destination from
Mercedes-Benz Apps
Requirement (USA): mbrace is activated for the
Mercedes-Benz Apps (Ypage 120).
Requirement (Canada): a mobile phone is con-
nected to the multimedia system via Bluetooth
®
(Ypage 92) or USB (Ypage 157).
XTo switch to navigation mode: press the
Ø button.
XTo show the menu: slide6the controller.
66Destination entry
Navigation
Page 129 of 178

In the vehicle and on the multimedia system
XSwitch on the multimedia system.
The destination in the Apple Watch®or
iPhone®is transferred to the multimedia sys-
tem.
XAccept the displayed destination.
Route guidance starts.
iYou also have the option of transferring des-
tinations or coordinates from other applica-
tions to Mercedes-Benz Companion.
Navigating to the vehicle
You can be guided to the vehicle's location:
Rvia the Apple Watch®
Rvia the iPhone®
On the iPhone®
XSelect Send a Destination.
XSelect the vehicle location and the pedestrian
symbol.
XStart navigation.
On the Apple Watch
®
XSelect Locate Car.
XSelect the car symbol.
XStart navigation.
Displaying vehicle information
Mercedes-Benz Companion allows you to dis-
play vehicle data on the Apple Watch®or
iPhone®, for example:
RFuel level and range
RMaintenance interval
RTire pressure
XSelect Mercedes-Benz Companion.
The vehicle information is displayed.
Web browser
Calling up a website
Function restrictions
Internet pages cannot be shown while the vehi-
cle is in motion.
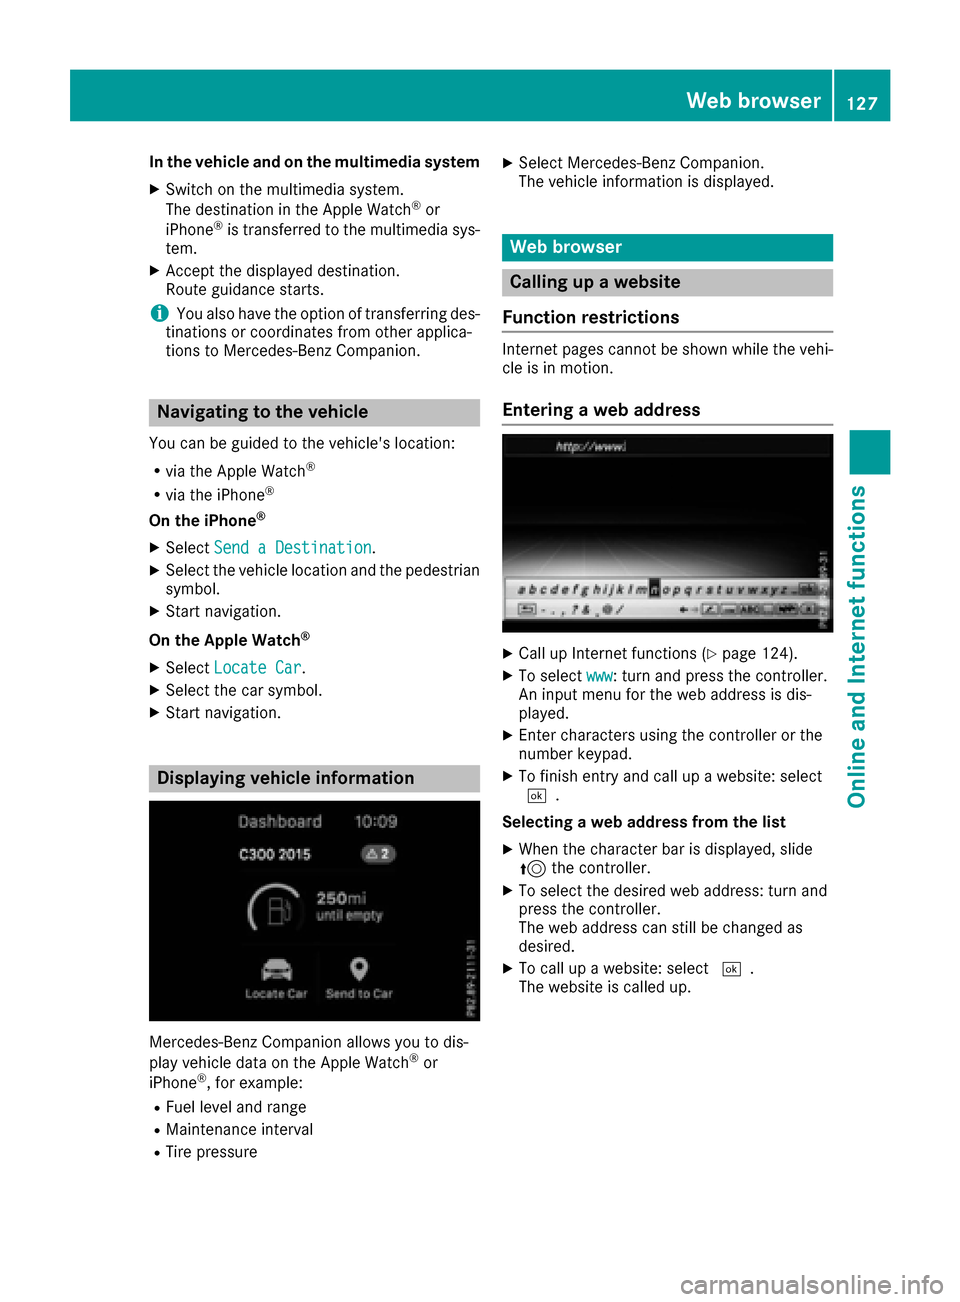
Entering a web address
XCall up Internet functions (Ypage 124).
XTo select www: turn and press the controller.
An input menu for the web address is dis-
played.
XEnter characters using the controller or the
number keypad.
XTo finish entry and call up a website: select
¬.
Selecting a web address from the list
XWhen the character bar is displayed, slide
5 the controller.
XTo select the desired web address: turn and
press the controller.
The web address can still be changed as
desired.
XTo call up a website: select ¬.
The website is called up.
Web browser127
Online and Internet functions
Z
Page 170 of 178

Your multimediasyste mequipment
These operatin ginstruction sdescribe all th e
standar dan doptional equipment of your multi-
media system, as available at th etime of going
to press. Country-specifi cdifference sare pos -
sible. Bear in min dthat your vehicle may no t
feature all function sdescribed here. Thi salso
applies to safety-relevan tsystems an dfunc-
tions.
Read th einformation on qualifie dspecialis t
workshop sin th evehicle Operator's Manual.
Weather forecasts
Introduction
Thi sfunction is currentl yno tavailable fo rCan -
ada.
Fo rth ereception of weather forecast svia sat -
ellite radio, you will need aSIRIU SXM Satellite
Weather subscription .
If th emessag eappears alon gwit hth eSIRIU S
telephon ean dID numbers, you will need to hav e
th eweather servic eactivated first .
XTo selectCal lorCancel:turn an dpress th e
controller .
If amobile phone is connecte dto th emulti-
media syste m (
Ypage 92), when you selec t
Cal lacal lis placed to amember of th eSIR-
IU Sservic estaff .The ID number of th eSIRIU S
devic ewill be transferred to th etelephon e
display.
XThi swill be followed by instruction sfrom th e
servic eemployee.
Weather forecast scan be received via th esat -
ellite radio fo rth eUS A(includin gAlask aan d
Hawaii).
The received weather dat acan be displaye das
an information chart (dail yforecast ,five-day
forecast ,detailed information )or on th e
weather map .
The weather dat areceived from th eweather
station is stored fo ron ehour in th emultimedia
system. It can therefore be displaye dagain
immediately after restartin gth eengin e(fo r
example after refueling). Dependin
gon whic hscale has bee nselected,
th eweather map can display th efollowin g
weather dat awit hsymbols :
Rrain radar
Rstormcharacteristics
Rhig han dlow-pressure areas, weather fronts
Rcours eof tropical cyclones (hurricanes,
typhoons )
Rstormwarnings
Rwin ddirection an dspeeds
iThe rain radar canno tbe displaye dfo r
Alaska, Hawaii an dPuerto Rico.
iHurricane: term used to describe th etropi-
cal cyclones that primarily develo pin th e
At lantic, No
rth Pacifi
can dSout hPacifi c
oceans. Awin dspeeds are abov e74 mph
(11 8km/h). Five categorie sare used to clas-
sif yth estrengt hof ahurricane.
Typhoon :term used to describe atropical
cyclon ethat develops in th enorthwestern
Pacific. The win dspeeds are in th ecategory of
a hurricane.
Switching th eSIRIUS Weather display
on/of f
Activating
XPress th e% button.
XTo display th emain function bar: slide5
th econtroller .
XTo select® :turn an dpress th econtroller .
The onlin eapplication smen uappears .
XTo selec tSIRIUS Weathe r,turn an dpress
th econtroller .
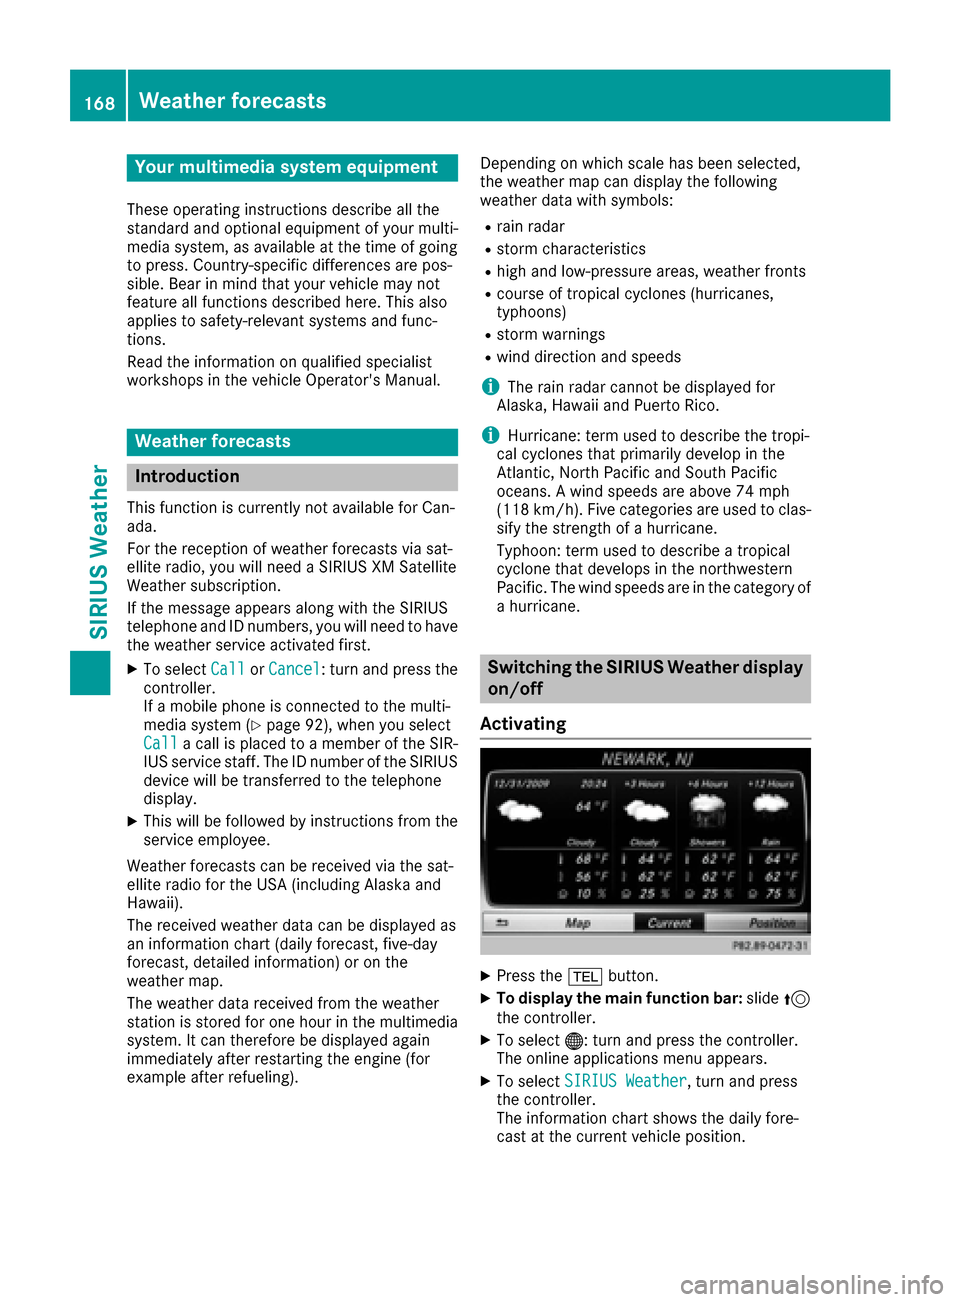
The information chart shows th edaily fore-
cas tat th ecurren tvehicle position .
168Weather forecasts
SIRIUS Weather