2017 MERCEDES-BENZ CLA maintenance reset
[x] Cancel search: maintenance resetPage 22 of 318

Removin g th e towin g eye .............. .2 77
Towing a trailer
ESP ®
(Electronic Stability Pro-
gram) ............................................... 66
Towing away
Important safety guidelines ........... 276
Installing the towing eye ................ 277
Notes for 4MATIC vehicles ............ 279
Removing the towing eye .............. .2 77
Transporting the vehicle ................ 278
With both axles on the ground ....... 278
With front axle raised ..................... 277
Towing eye ......................................... 266
Traffic reports
see also Digital Operator's Man-
ual ................................................. .2 27
Transmission
see Automatic transmission
Transmission position display
(DIRECT SELECT lever) ..................... .1 29
Transporting the vehicle .................. 278
Trim pieces (cleaning instruc-
tions) ................................................. .2 64
Trip computer (on-board com-
puter) ................................................. .1 77
Trip odometer
Calling up ....................................... 177
Resetting (on-board computer) ...... 178
Trunk
Emergency release .......................... 80
Emergency release button .............. .8 0
Important safety notes .................... 77
Opening (automatically from out-
side) ................................................ .7 8
Opening (from outside the vehi-
cle, HANDS-FREE ACCESS) .............. 78
Opening automatically from
inside ............................................... 79
Opening/closing (manually from
outside) ............................................ 77
Trunk emergency release button ...... .8 0
Trunk lid
Display message ............................ 213
Opening dimensions ...................... 314
Trunk load (maximum) ...................... 314
Turn signals
Display message ............................ 199 Replacing bulbs (front) ................... 105
Swi tching o n/off ........................... 100
Tw o-way radio
Frequencies ................................... 307
Installation ..................................... 307
Transmission output (maximum) .... 307
Type identification plate
see Vehicle identification plate
U Unlocking
Emergency unlocking ....................... 76
From inside the vehicle (central
unlocking button) ............................. 75
Upshift indicator (on-board com-
puter, Mercedes-AMG vehicles) ....... 185
USB devices
Connecting to the Media Inter-
face ............................................... 232
V Vanity mirror (in the sun visor) ........ 240
Vehicle
Correct use ...................................... 27
Data acquisition ............................... 28
Display message ............................ 211
Equipment ....................................... 24
Individual settings .......................... 183
Limited Warranty ............................. 28
Loading .......................................... 292
Locking (in an emergency) ............... 76
Locking (SmartKey) .......................... 69
Lowering ........................................ 305
Maintenance .................................... 25
Parking for a long period ................ 142
Pulling away ................................... 124
Raising ........................................... 303
Reporting problems ........................ .2 7
Securing from rolling away ............ 302
Transporting .................................. 278
Unlocking (in an emergency) ........... 76
Unlocking (SmartKey) ...................... 69
Vehicle data ................................... 314
Vehicle data
Roof load (maximum) ..................... 314
Trunk load (maximum) ................... 31420
Index
Page 29 of 318

Diagnostics connection The diagnostic s connection is only intended fo r
th e connection of diagnostic equipmen t at a
qualified specialis t workshop .
G WARNING
If you connec t equipmen t to a diagnostic s
connection in th e vehicle, it may affec t th e
operation of vehicle systems . As a result , th e
operatin g safet y of th e vehicle could be affec -
ted. There is a ris k of an accident.
Only connec t equipmen t to a diagnostic s con-
nection in th e vehicle, whic h is approved fo r
your vehicle by Mercedes-Benz.
G WARNING
Objects in th e driver's footwell can restric t th e
peda l trave l or obstruct a depressed pedal.
The operatin g and road safet y of th e vehicle is
jeopardized. There is a ris k of an accident.
Mak e sur e that all objects in th e vehicle are
stowed correctly, and that they canno t ente r
th e driver's footwell. Install th e floormat s
securely and as specifie d in order to ensur e
sufficien t clearanc e fo r th e pedals. Do no t use
loose floormat s and do no t plac e floormat s on
to p of on e another.
! If th e engin e is switched of f and equipmen t
on th e diagnostic s connection is used , th e
starter battery may discharge.
Connectin g equipmen t to th e diagnostic s con-
nection can lead to emission s monitorin g infor-
mation bein g reset , fo r example. Thi s may lead
to th e vehicle failin g to mee t th e requirements of
th e next emission s test durin g th e main inspec-
tion .
Qualified specialist workshop An authorized Mercedes-Ben z Cente r is a quali-
fie d specialis t workshop . It has th e necessary
specialis t knowledge , tools and qualification s to
correctl y carry out th e wor k require d on your
vehicle. Thi s is especially th e cas e fo r wor k rel -
evant to safety.
Observ e th e note s in th e Maintenance Booklet . Always hav e th e followin g wor k carrie d out at an
authorized Mercedes-Ben z Center:R
wor k relevant to safet yR
servic e and maintenance wor kR
repair wor k R
alterations, installation wor k and modifica-
tion s R
wor k on electronic component s
Correct us eIf you remov e any warnin g stickers , you or oth-
ers could fail to recogniz e certain dangers.
Leave warnin g stickers in position .
Observ e th e followin g information when drivin g
your vehicle: R
th e safet y note s in this manual R
technical dat a fo r th e vehicleR
traffic rule s and regulation sR
laws and safet y standard s pertainin g to moto r
vehicles
Problem s wit h you r vehicleIf you should experience a problem wit h your
vehicle, particularly on e that you believe may
affec t it s saf e operation , we urg e you to contact
an authorized Mercedes-Ben z Cente r immedi-
ately to hav e th e problem diagnosed and recti -
fied. If th e problem is no t resolved to your sat -
isfaction , please discus s th e problem again wit h
an authorized Mercedes-Ben z Cente r or , if nec-
essary, contact us at on e of th e followin g
addresses.
In th e USA
Customer Assistanc e Cente r
Mercedes-Ben z USA, LL C
3 Mercedes Drive
Montvale, NJ 07645-0350
In Canad a
Customer Relation s Departmen t
Mercedes-Ben z Canada, Inc.
98 Vanderhoo f Avenue
Toronto , Ontario M4 G 4C9
Reporting safet y defect s
US A only:Operating safety 27
Introduction Z
Page 260 of 318

ASSYST PLUS
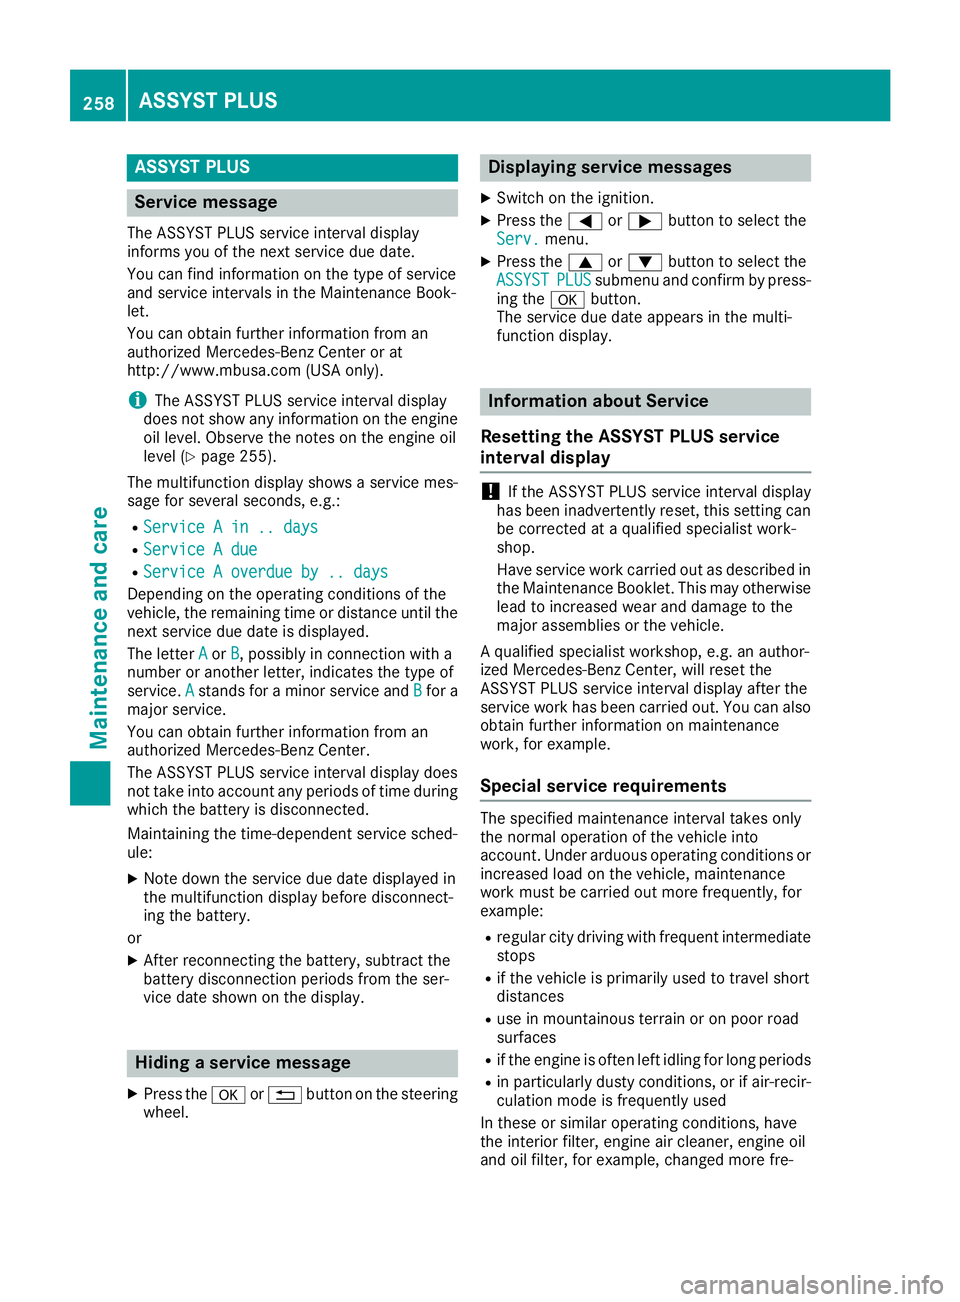
Service message The ASSYS T PLU S servic e interval display
inform s you of th e next servic e due date.
You can fin d information on th e typ e of servic e
and servic e intervals in th e Maintenance Book -
let .
You can obtain further information from an
authorize d Mercedes-Benz Cente r or at
http://www.mbusa.co m (US A only).
i The ASSYS T PLU S servic e interval display
does no t sho w any information on th e engin e
oil level. Observ e th e note s on th e engin e oil
level ( Y
page 255).
The multifunction display shows a servic e mes -
sage for several seconds, e.g. :R
Servic e A in .. day sR
Servic e A dueR
Servic e A overdu e by .. day s
Dependin g on th e operating condition s of th e
vehicle, th e remaining time or distanc e until th e
next servic e due dat e is displayed.
The lette r A or B , possibl y in connection wit h a
number or another letter, indicates th e typ e of
service. A stand s for a minor servic e and B for a
major service.
You can obtain further information from an
authorize d Mercedes-Benz Center.
The ASSYS T PLU S servic e interval display does
no t tak e int o accoun t any periods of time during
whic h th e battery is disconnected.
Maintainin g th e time-dependen t servic e sched-
ule: X
Not e down th e servic e due dat e displayed in
th e multifunction display before disconnect -
ing th e battery.
or X
Afte r reconnecting th e battery, subtrac t th e
battery disconnection periods from th e ser -
vic e dat e shown on th e display.
Hiding a service message X
Press th e �v or �8 butto n on th e steering
wheel. Displaying service messages X
Switc h on th e ignition .X
Press th e �Y or �e butto n to select th e
Serv. menu. X
Press th e �c or �d butto n to select th e
ASSYST PLU S submen u and confirm by press-
ing th e �v button.
The servic e due dat e appear s in th e multi-
function display.
Infor ma ti on about Service
Resetting the ASSYST PLUS service
interval display
! If th e ASSYS T PLU S servic e interval display
has been inadvertentl y reset , this setting can
be correcte d at a qualified specialist work-
shop.
Hav e servic e wor k carrie d out as described in
th e Maintenance Booklet . This may otherwise
lead to increased wear and damag e to th e
major assemblies or th e vehicle.
A qualified specialist workshop , e.g. an author-
ized Mercedes-Benz Center, will reset th e
ASSYS T PLU S servic e interval display after th e
servic e wor k has been carrie d out . You can also
obtain further information on maintenance
work, for example.
Special service requirements The specifie d maintenance interval takes only
th e normal operation of th e vehicl e int o
account. Under arduous operating condition s or
increased load on th e vehicle, maintenance
wor k mus t be carrie d out mor e frequently, for
example: R
regular cit y drivin g wit h frequen t intermediat e
stops R
if th e vehicl e is primarily used to travel short
distances R
use in mountainous terrain or on poor road
surfaces R
if th e engin e is often lef t idlin g for lon g periodsR
in particularly dust y conditions, or if air-recir-
culation mod e is frequentl y used
In these or similar operating conditions, hav e
th e interior filter, engin e air cleaner, engin e oil
and oil filter, for example, changed mor e fre-258
ASSYST PLUS
Maintenance and care