2017 MERCEDES-BENZ C-Class light
[x] Cancel search: lightPage 124 of 178

Explanation of the access data
Input fieldMeaning
Phone Num‐ber:Access number for estab-
lishing the connection
The access number
depends on the mobile
phone used. For GSM/
UMTS mobile phones,
*99***1#
is used as a
standard.
AccessPoint:APN network access point
(Access PointName)
You can obtain this infor-
mation from your mobile
phone network provider.
Entry is not necessary for
all mobile phone network
providers and mobile
phones.
PDP Type:Internet protocol used.
You can obtain this infor-
mation from your mobile
phone network provider.
User ID:The user identification can
be obtained from your
mobile phone network pro-
vider.
Entry is not necessary for
all mobile phone network
providers.
Password:The password can be
obtained from your mobile
phone network provider.
Entry is not necessary for
all mobile phone network
providers.
Auto DNS:Automatic allocation of
DNS servers is activated. If
the function is deactivated,
the DNS server addresses
must be entered manually.
DNS (Domain Name
Service).
DNS1:
DNS2:
Fields for entering the DNS
server addresses manually.
The address can be
obtained from your mobile
phone network provider.
Managing existing access data
Calling up the device list
XCall up Internet functions (Ypage 123).
XTo switch to the menu bar: slide 6the con-
troller.
XTo select Settings: turn and press the con-
troller.
XTo select Configure Internet Settings:
turn and press the controller.
The device list is displayed.
Editing the access data
The mobile phone must be connected with the
system for the access data to be changed.
When the Internet connection is active, you can-
not edit or delete the access data of the cur-
rently set mobile phone network provider.
XCall up the device list (Ypage 122).
XTo highlight the desired mobile phone in the
device list: turn the controller.
XTo select G: slide 9the controller.
XTo select Change Configuration: turn and
press the controller.
XSelect Predefined SettingsorManualSettings.
The provider settings are displayed.
In order to edit the access data of the mobile
phone network provider you have two options:
ROption 1: select the predefined access data of
the mobile phone network provider
(
Ypage 121).
ROption 2: manually set the access data of the
mobile phone network provider (Ypage 121).
122Setting up an Internet connection (Canada)
Online and Internet functions
Page 125 of 178

Canceling Internet access permissions
for a mobile phone
XCall up the device list (Ypage 122).
XTo highlight the desired mobile phone in the
device list: turn the controller.
XTo selectG: slide 9the controller.
XTo select Delete Configuration: turn and
press the controller.
A prompt appears asking whether you wish to
delete the Internet configuration.
XTo select Yes: turn and press the controller.
The Internet access permission for the mobile
phone is now canceled. The mobile phone can
now no longer be used by the system for
Internet functions.
Setting automatic disconnection of
the Internet connection
If a preset time has elapsed during which the
Internet functions have not been used, the Inter-
net automatically disconnects.
XCall up the device list (Ypage 122).
XTo highlight the desired mobile phone in the
device list: turn the controller.
XTo select G: slide 9the controller.
XTo select Disconnect AutomaticallyWhen Inactive: turn and press the control-
ler.
XTo select 5 Minutes,10 Minutesor 20Minutes: turn and press the controller.
Managing all Internet devices
If multiple mobile phones have been enabled for
Internet usage, these can be given priorities.
The system then selects the mobile phone with the highest priority to establish an Internet con-
nection.
XCall up the device list (Ypage 122).
XTo highlight the mobile phone: turn the con-
troller.
XTo select
G: slide 9the controller.
XTo select Manage All Internet Devices:
turn and press the controller.
A menu appears.
XTo highlight a mobile telephone: turn the con-
troller.
XTo select G: slide 9the controller.
XTo select Change Device Priority: turn
and press the controller.
XTo move the desired mobile phone up or
down: turn and press the controller.
The mobile phone's priority is changed.
The priority of the mobile phones is deter-
mined by the hierarchy. The mobile phone at
the top of the list has the highest priority.
Establishing/ending the connection
Establishing the connection
Read the conditions for establishing a connec-
tion (Ypage 119).
A connection can be established, for example
by:
Rentering a web address (Ypage 125)
Rcalling up a Mercedes-Benz App
(Ypage 124)
Rcalling up a favorite
Restablishing an Internet connection via a wire-
less networking device. The "Allow shared
WiFi usage" option must be activated in the
multimedia system for this (
Ypage 37)
Ending the connection
XPress Cancelin the connections window.
Calling up Internet functions
XTo show the main function bar: slide 5the
controller.
XTo select ®: turn and press the controller.
The menu with the Internet functions is dis-
played.
Establishing/ending the connection123
Online and Internet functions
Z
Page 127 of 178

Entering a web address
XCall up Internet functions (Ypage 123).
XTo selectwww: turn and press the controller.
An input menu for the web address is dis-
played.
XEnter characters using the controller or the
number keypad.
XTo finish entry and call up a website: select
¬.
Selecting a web address from the list
XWhen the character bar is displayed, slide
5 the controller.
XTo select the desired web address: turn and
press the controller.
The web address can still be changed as
desired.
XTo call up a website: select ¬.
The website is called up.
Navigating the website
StepResult
XTurn the controller.Navigates from one
selectable item (e.g.
link, text field or
menu) to the next and
highlights the respec-
tive element on the
website.
Sliding the controller:
XLeft or right 1
XUp or down4
XDiagonally2
Moves the pointer on
the page.
StepResult
XPress the control-
ler.Opens the selected
item.
XPress%.Calls up the menu.
Menu functions
:Closes the browser
;Goes back/forward
=Updates/cancels
?URL entry
AFavorites
BCloses the window
COptions
XTo show the menu: press the%button.
XTo call up the Options menu: select3by
turning and pressing the controller.
XTo close the website: select&.
XTo call up the previous website: select
t.
XTo call up the next website: selectu.
XTo refresh the website: selectÎ.
The website is refreshed. This procedure may
take some time.
iWhile the website is loading, a cross
appears in the menu. This can be used to can-
cel the loading procedure.
XTo enter a URL: selectg.
XEnter a web address (URL) (Ypage 125).
XFavorites: selectf.
XTo close the active window: selecth.
Web browser125
Online and Internet functions
Z
Page 133 of 178

HD MW radio mode:
XTo select theHDAM Frequencyoption: turn
and press the controller.
XEnter the frequency of the desired station in
the entry field.
Satellite radio mode:
XTo select the SatRadioChanneloption: turn
and press the controller.
XEnter the number of the desired channel in
the entry field.
Station presets:
XTo select the Radio Station Presetsoption: turn and press the controller.
XEnter the station preset of the desired station.
Using the search function
XIn radio mode: slide 6the controller.
The radio menu bar appears.
XSelect èand enter the first letters of the
required station using the controller.
XPress OKto confirm.
The multimedia system displays a list of avail-
able stations.
XTo select stations from the list: turn the con-
troller and press to confirm.
Using the preset position
XIn radio mode: slide 6the controller.
XTo select Preset: turn and press the control-
ler.
XTo select Enter Preset: turn and press the
controller.
XEnter the station preset of the desired station.
Station list
XIn radio mode, press the controller.
The station list appears with the stations cur-
rently available.
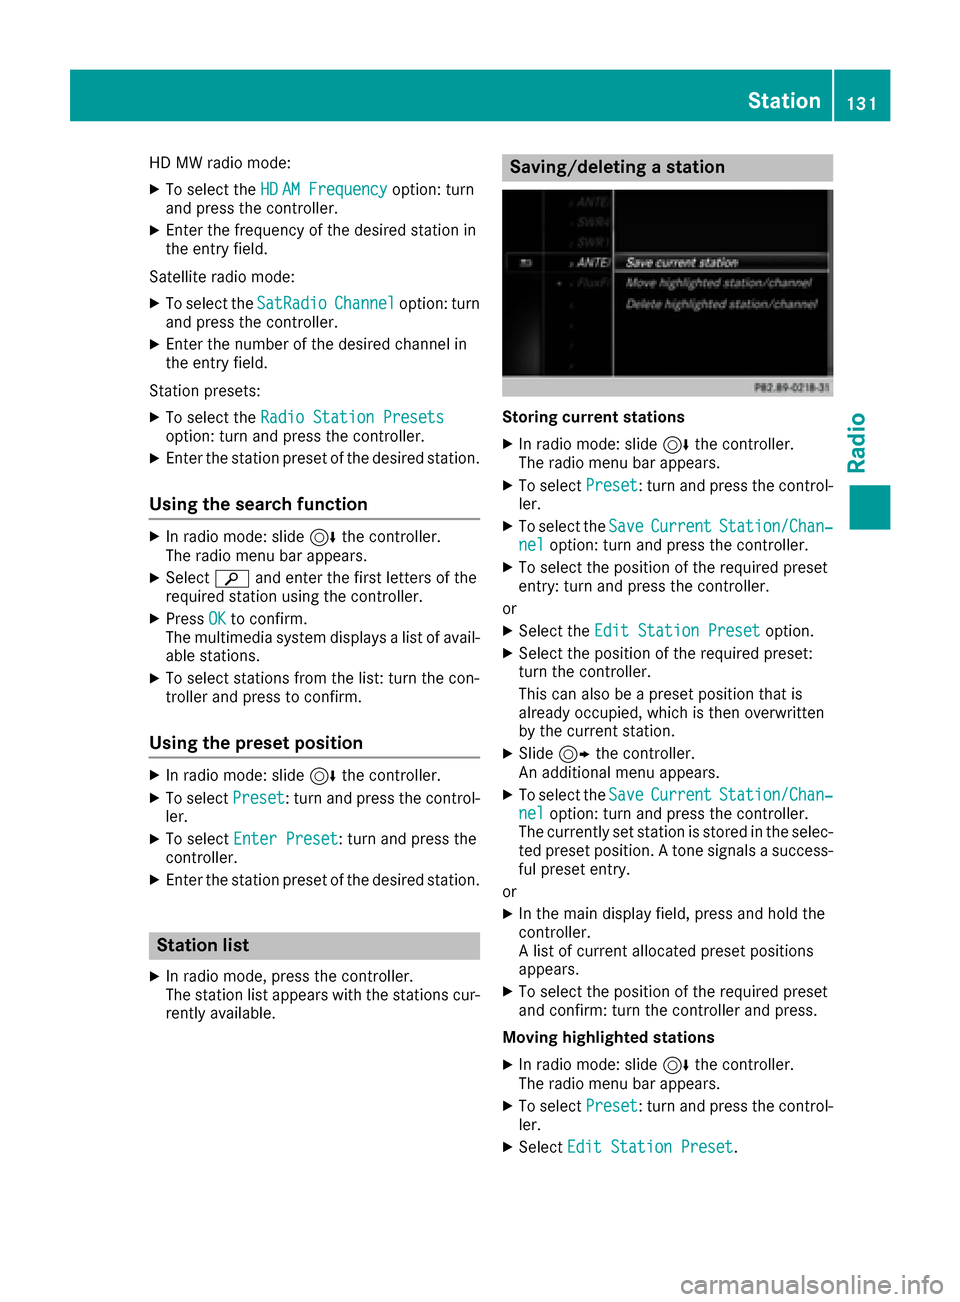
Saving/deleting a station
Storing current stations
XIn radio mode: slide 6the controller.
The radio menu bar appears.
XTo select Preset: turn and press the control-
ler.
XTo select the SaveCurrentStation/Chan‐neloption: turn and press the controller.
XTo select the position of the required preset
entry: turn and press the controller.
or
XSelect the Edit Station Presetoption.
XSelect the position of the required preset:
turn the controller.
This can also be a preset position that is
already occupied, which is then overwritten
by the current station.
XSlide9the controller.
An additional menu appears.
XTo select the SaveCurrentStation/Chan‐neloption: turn and press the controller.
The currently set station is stored in the selec-
ted preset position. A tone signals a success-
ful preset entry.
or
XIn the main display field, press and hold the
controller.
A list of current allocated preset positions
appears.
XTo select the position of the required preset
and confirm: turn the controller and press.
Moving highlighted stations
XIn radio mode: slide 6the controller.
The radio menu bar appears.
XTo select Preset: turn and press the control-
ler.
XSelect Edit Station Preset.
Station131
Radio
Page 134 of 178

XTo select the required preset entry: turn the
controller.
XSlide9the controller.
An additional menu appears.
XTo select the Move Highlighted Station/Channeloption: turn and press the control-
ler.
The list of stored stations appears again.
XTo move the highlighted station to the new
position: turn the controller and press to con-
firm.
Deleting highlighted stations
XIn radio mode: slide 6the controller.
The radio menu bar appears.
XTo select Preset: turn and press the control-
ler.
XSelect Edit Station Preset.
XTo select the required preset entry: turn the
controller.
XSlide9the controller.
XTo select the Delete Highlighted Sta‐tion/Channeloption in the additional menu:
turn and press the controller.
XTo select Yes: turn and press the controller.
The highlighted station is deleted.
or
XTo select No: turn and press the controller.
The process is canceled.
iFrequencies have already been stored in the
multimedia system. There are 100 preset
positions available.
Activating/deactivating the station
presets display
You can use this function to change to the sta-
tion presets display.
Activating
XIn radio mode: slide 6the controller.
XTo select Preset: turn and press the control-
ler.
XTo select Station Preset View: On: turn
and press the controller.
The station preset display appears.
XTo switch between the stored stations: turn
the controller. Deactivating
XIn radio mode: slide
6the controller.
XTo select Preset: turn and press the control-
ler.
XTo select StationPresetView:Off: turn
and press the controller.
A view of the last waveband you listened to
appears.
Tagging music tracks
If an Apple®device is connected, the music
tracks and artist displayed in the radio text can be stored. You have the option of purchasing
this track using iTunes Store
®. Not all radio sta-
tions support this function.
XIn radio mode: slide 6the controller.
The radio menu bar appears.
XTo select: turn and press the control-
ler.
XSelect Tag This Track.
A message appears about storing the track
information.
Displaying station information
XIn radio mode: slide 6the controller.
The radio menu bar appears.
XTo select: turn and press the control-
ler.
XYou can determine whether or not the artist,
track or station name are shown in the main
display area with Oorª before Show
Sta‐tion Information.
Calling up sound settings
XIn radio mode: slide 6the controller.
The radio menu bar appears.
XTo select à: turn and press the controller.
The sound menu appears (Ypage 163).
132Calling up sound settings
Radio
Page 149 of 178

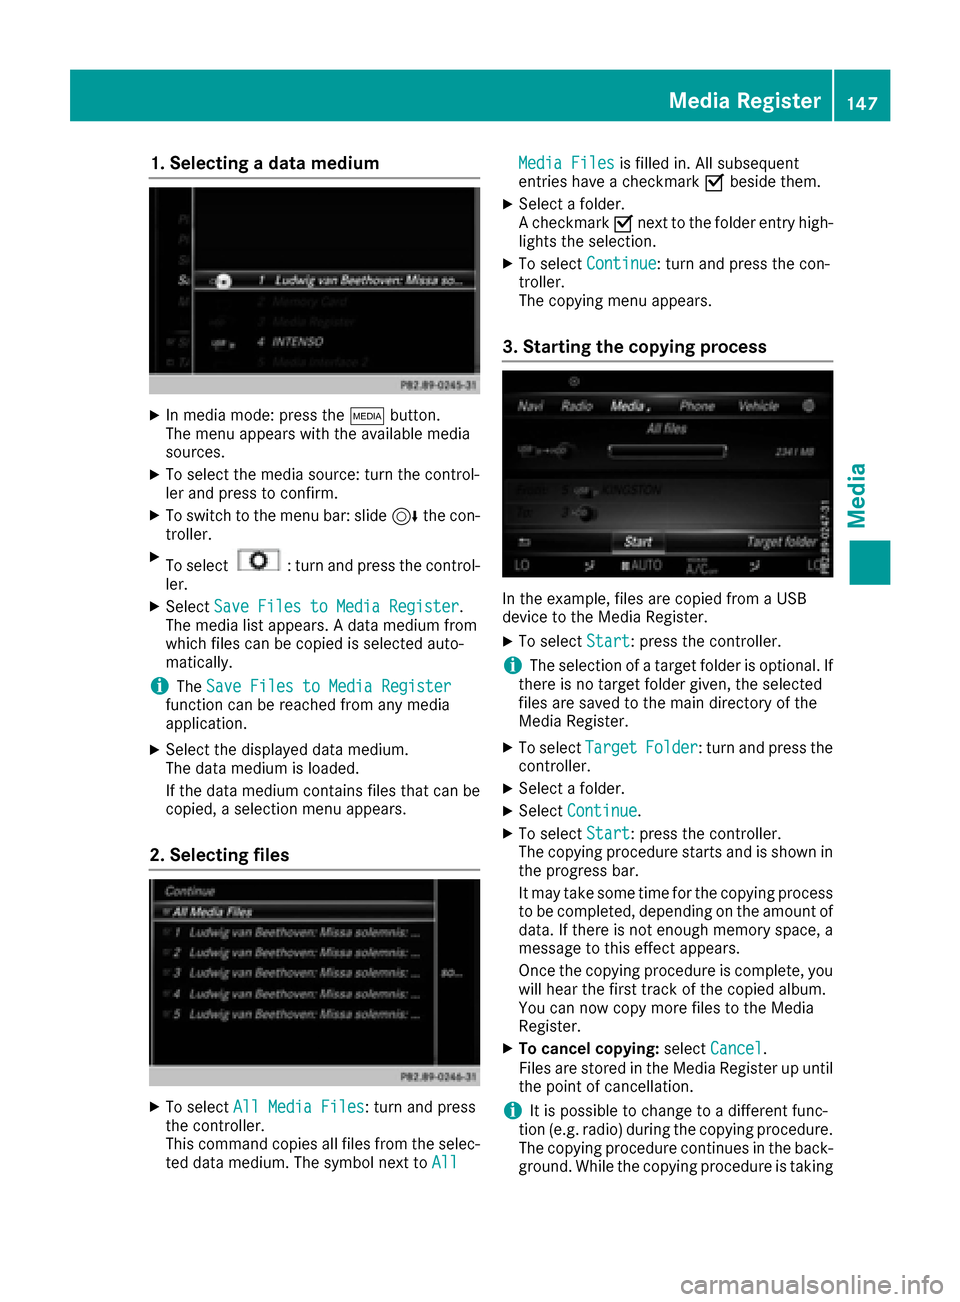
1. Selecting a data medium
XIn media mode: press theÕbutton.
The menu appears with the available media
sources.
XTo select the media source: turn the control-
ler and press to confirm.
XTo switch to the menu bar: slide 6the con-
troller.
XTo select: turn and press the control-
ler.
XSelect Save Files to Media Register.
The media list appears. A data medium from
which files can be copied is selected auto-
matically.
iThe Save Files to Media Registerfunction can be reached from any media
application.
XSelect the displayed data medium.
The data medium is loaded.
If the data medium contains files that can be
copied, a selection menu appears.
2. Selecting files
XTo select All Media Files: turn and press
the controller.
This command copies all files from the selec-
ted data medium. The symbol next to All
Media Filesis filled in. All subsequent
entries have a checkmark Obeside them.
XSelect a folder.
A checkmark Onext to the folder entry high-
lights the selection.
XTo select Continue: turn and press the con-
troller.
The copying menu appears.
3. Starting the copying process
In the example, files are copied from a USB
device to the Media Register.
XTo select Start: press the controller.
iThe selection of a target folder is optional. If
there is no target folder given, the selected
files are saved to the main directory of the
Media Register.
XTo select TargetFolder: turn and press the
controller.
XSelect a folder.
XSelect Continue.
XTo select Start: press the controller.
The copying procedure starts and is shown in
the progress bar.
It may take some time for the copying process
to be completed, depending on the amount of
data. If there is not enough memory space, a
message to this effect appears.
Once the copying procedure is complete, you
will hear the first track of the copied album.
You can now copy more files to the Media
Register.
XTo cancel copying: selectCancel.
Files are stored in the Media Register up until
the point of cancellation.
iIt is possible to change to a different func-
tion (e.g. radio) during the copying procedure.
The copying procedure continues in the back-
ground. While the copying procedure is taking
Media Register147
Media
Z
Page 150 of 178

place, this is shown by a symbol in the status
bar.
Renaming/deleting files
XIn media mode: press theÕbutton.
The menu appears with the available media
sources.
XTo select the media source: turn the control-
ler and press to confirm.
XTo switch to the menu bar: slide 6the con-
troller.
XTo select: turn and press the control-
ler.
XSelect Manage Media Register.
XSelectRename / Delete Files.
The file list is displayed.
XTo highlight the file: turn and press the con-
troller.
XSlide 9the controller.
You can select between EditandDelete.
iOnly folders can be renamed.
Renaming a file
XTo select Edit: turn and press the controller.
An input field appears.
XRename folder.
XTo save changes with ¬: turn and press
the controller.
Renaming a folder only changes the file name.
Depending on whether or not the Show
Track Informationoption has been selec-
ted, this change may not be visible in the main
display field.
Deleting a file
XTo select Delete: turn and press the control-
ler.
Deleting all files
!
In order to prevent malfunctions, do not use
COMAND during this time.
This function deletes all files from the Media
Register.
XIn media mode: press the Õbutton.
The menu appears with the available media
sources.
XTo select the media source: turn the control-
ler and press to confirm.
XTo switch to the menu bar: slide 6the con-
troller.
XTo select: turn and press the control-
ler.
XSelect Manage Media Register.
XSelectDelete All Media Files.
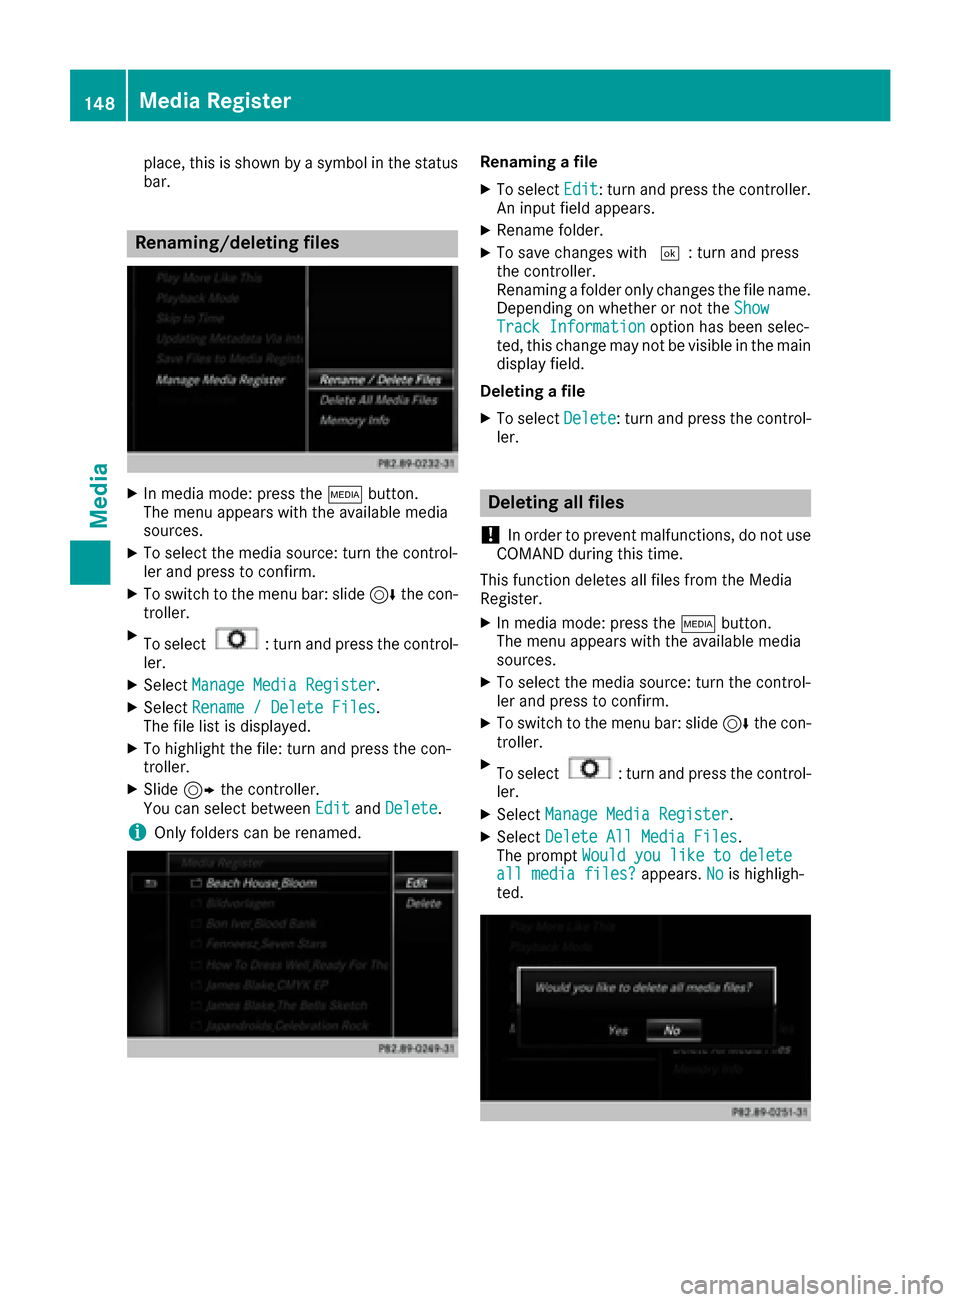
The prompt Would you like to delete
all media files?appears.Nois highligh-
ted.
148Media Register
Media
Page 161 of 178

In order to manually adjust the brightness, con-
trast and color, the dynamic image enhance-
ment function and the automatic daylight
adjustment feature must be switched off.
XTo selectBrightness,Contrastor
Color: turn and press the controller.
A sliding menu appears.
XTo select the required value: turn the control-
ler.
XTo exit the sliding menu: slide 8the con-
troller.
Setting the picture format
The following options are available for the
screen format for the DVD being played:
RAuto
R16:9
R4:3
RZoom
XTo set the picture format: turn and press the
controller.
The dot before the menu entry shows the
selected format.
DVD's control menu
Most DVDs have their own control menuwhich
can be operated using the controller.
Showing the DVD's control menu
XTo show DVD functions: in full-screen video
mode, press the controller.
The DVD functions menu is shown.
XTo select Menufrom the DVD functions menu:
turn and press the controller.
The DVD functions menu is hidden and the
DVD's menu entries (e.g. scenes, language,
trailers) are displayed.
XTo select a menu entry: turn and press the
controller.
Video menu
:Type of data medium
;Current title
=Shows the menu bars for the DVD basic dis- play
?Current scene
ATrack time
Operating the video menu
XTo show the video menu: in full-screen video
mode, slide 6the controller.
XTo hide the video menu: slide 5the con-
troller.
XTo select the next or previous scene: turn the controller clockwise/counter-clockwise.
XTo fast forward or rewind: slide 9or8
and hold the controller until the desired posi- tion has been reached.
XTo show the menu bars for the DVD basic dis-
play: in the video menu, press the controller.
The video menu is hidden and the DVD basic
menu appears.
DVD functions
Showing/hiding the DVD functions
XTo show DVD functions: in full-screen video
mode, press the controller.
The DVD functions menu is shown.
XTo hide DVD functions: select %from the
DVD functions.
XTo show the DVD basic display: selectò
from the DVD functions.
Video DVD mode159
Media
Z