2017 MERCEDES-BENZ C-Class reset function
[x] Cancel search: reset functionPage 105 of 178
Closing the phone book
XTo select&from the character bar: turn the
controller and press to confirm.
or
XPress the %button.
Address book
Introduction
Always pay attention to traffic conditions.
Familiarize yourself with the address book func-
tions before beginning your journey.
You can use the multimedia system when the
road and traffic conditions permit. You could
otherwise become involved in an accident in
which you or others could be injured.
The address book displays all the contacts from
the various sources (mobile phone, memory
card, USB device, the phone book of the multi-
media system, navigation).
You can use the contacts to make telephone
calls, navigate and to write messages.
If a mobile phone is connected to the multimedia
system and automatic calling up is activated
(
Ypage 107), the mobile phone's contacts are
displayed in the address book. If you disconnect
the mobile phone from the multimedia system,
these contacts are no longer displayed in the
address book.
When you import, save, edit or add contacts,
they will be saved in the multimedia system.
These contacts will remain available even when
you connect the multimedia system to a differ-
ent mobile phone. You can view these contacts
even without a mobile phone.
iThe address book can store a total of 5000
contacts.
R2000 entries are reserved for permanently
saved contacts.
R3000 entries are reserved for contacts that
you can load from the mobile phone.
iBefore selling your vehicle, delete the con-
tacts saved in the multimedia system using
the reset function (
Ypage 42).
Calling up the address book
XTo call up the telephone menu: press the
% button.
XTo display the main function bar: slide 5the
controller.
XTo select Phone: turn and press the controller.
XTo select Address Book: turn and press the
controller.
XTo browse in the address book: turn the con- troller.
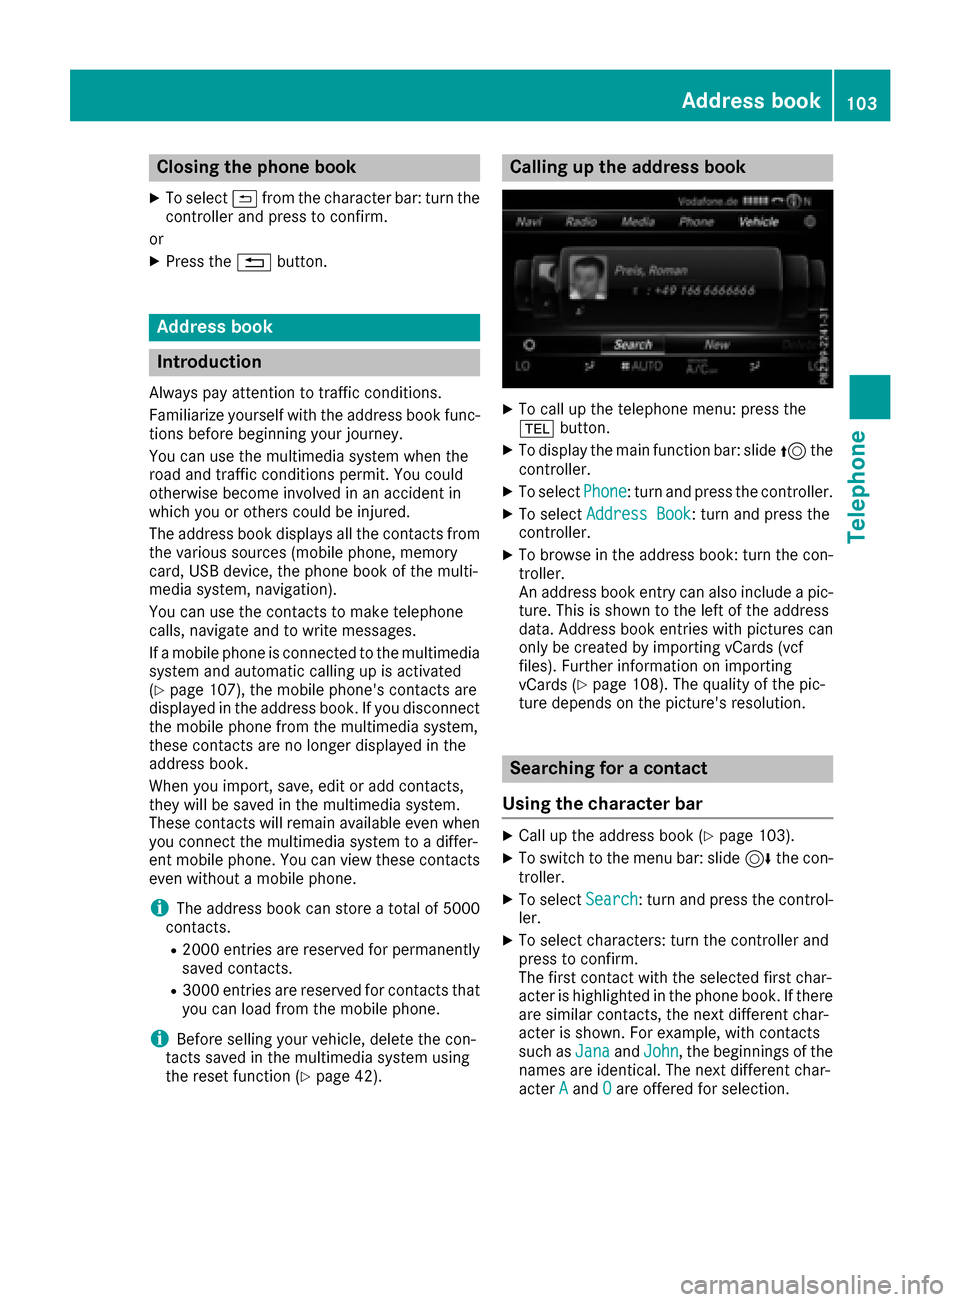
An address book entry can also include a pic-
ture. This is shown to the left of the address
data. Address book entries with pictures can
only be created by importing vCards (vcf
files). Further information on importing
vCards (
Ypage 108). The quality of the pic-
ture depends on the picture's resolution.
Searching for a contact
Using the character bar
XCall up the address book (Ypage 103).
XTo switch to the menu bar: slide 6the con-
troller.
XTo select Search: turn and press the control-
ler.
XTo select characters: turn the controller and
press to confirm.
The first contact with the selected first char-
acter is highlighted in the phone book. If there
are similar contacts, the next different char-
acter is shown. For example, with contacts
such as Jana
andJohn, the beginnings of the
names are identical. The next different char-
acter A
andOare offered for selection.
Address book103
Telephone
Z
Page 125 of 178

Canceling Internet access permissions
for a mobile phone
XCall up the device list (Ypage 122).
XTo highlight the desired mobile phone in the
device list: turn the controller.
XTo selectG: slide 9the controller.
XTo select Delete Configuration: turn and
press the controller.
A prompt appears asking whether you wish to
delete the Internet configuration.
XTo select Yes: turn and press the controller.
The Internet access permission for the mobile
phone is now canceled. The mobile phone can
now no longer be used by the system for
Internet functions.
Setting automatic disconnection of
the Internet connection
If a preset time has elapsed during which the
Internet functions have not been used, the Inter-
net automatically disconnects.
XCall up the device list (Ypage 122).
XTo highlight the desired mobile phone in the
device list: turn the controller.
XTo select G: slide 9the controller.
XTo select Disconnect AutomaticallyWhen Inactive: turn and press the control-
ler.
XTo select 5 Minutes,10 Minutesor 20Minutes: turn and press the controller.
Managing all Internet devices
If multiple mobile phones have been enabled for
Internet usage, these can be given priorities.
The system then selects the mobile phone with the highest priority to establish an Internet con-
nection.
XCall up the device list (Ypage 122).
XTo highlight the mobile phone: turn the con-
troller.
XTo select
G: slide 9the controller.
XTo select Manage All Internet Devices:
turn and press the controller.
A menu appears.
XTo highlight a mobile telephone: turn the con-
troller.
XTo select G: slide 9the controller.
XTo select Change Device Priority: turn
and press the controller.
XTo move the desired mobile phone up or
down: turn and press the controller.
The mobile phone's priority is changed.
The priority of the mobile phones is deter-
mined by the hierarchy. The mobile phone at
the top of the list has the highest priority.
Establishing/ending the connection
Establishing the connection
Read the conditions for establishing a connec-
tion (Ypage 119).
A connection can be established, for example
by:
Rentering a web address (Ypage 125)
Rcalling up a Mercedes-Benz App
(Ypage 124)
Rcalling up a favorite
Restablishing an Internet connection via a wire-
less networking device. The "Allow shared
WiFi usage" option must be activated in the
multimedia system for this (
Ypage 37)
Ending the connection
XPress Cancelin the connections window.
Calling up Internet functions
XTo show the main function bar: slide 5the
controller.
XTo select ®: turn and press the controller.
The menu with the Internet functions is dis-
played.
Establishing/ending the connection123
Online and Internet functions
Z
Page 129 of 178
You can activate or deactivate the following set-
tings:
RDownload Images Automatically
It may take some time to download the con-
tents of websites that contain a large amount
of images. Therefore, it may be useful to deac-
tivate this option.
RBlock Pop-Ups
Popups are windows (usually with advertise-
ments) which are displayed automatically
when you call up a website. You can block
these displays.
RActivate Javascript
Javascript makes it possible to display and
interact with dynamic content on the website.
RAllow Cookies
Some websites save information in small text
files (cookies) on your system. You can deter-
mine whether cookies may be stored.
REnable Internet Audio
You can switch the browser's audio playback
on or off here.
RHide Scroll Bars
You can show or hide the scroll bar here.
RShow Link Target
You can display the link's URL here.
RCharacter Size
You can select the font size which is used
when displaying the website.
RCharacter Code
You can select a different character set here,
e.g. if the characters of a website appear dis-
torted.
Changing settings
XTo select the desired setting: turn and press
the controller.
Switch the setting onOor off ª.
Changing the character size or character
code
XSelect CharacterSizeorCharacterCode.
XTo select the setting you require: turn and
press the controller.
iIf you change the settings, the websites may
not be displayed correctly.
Deleting private data
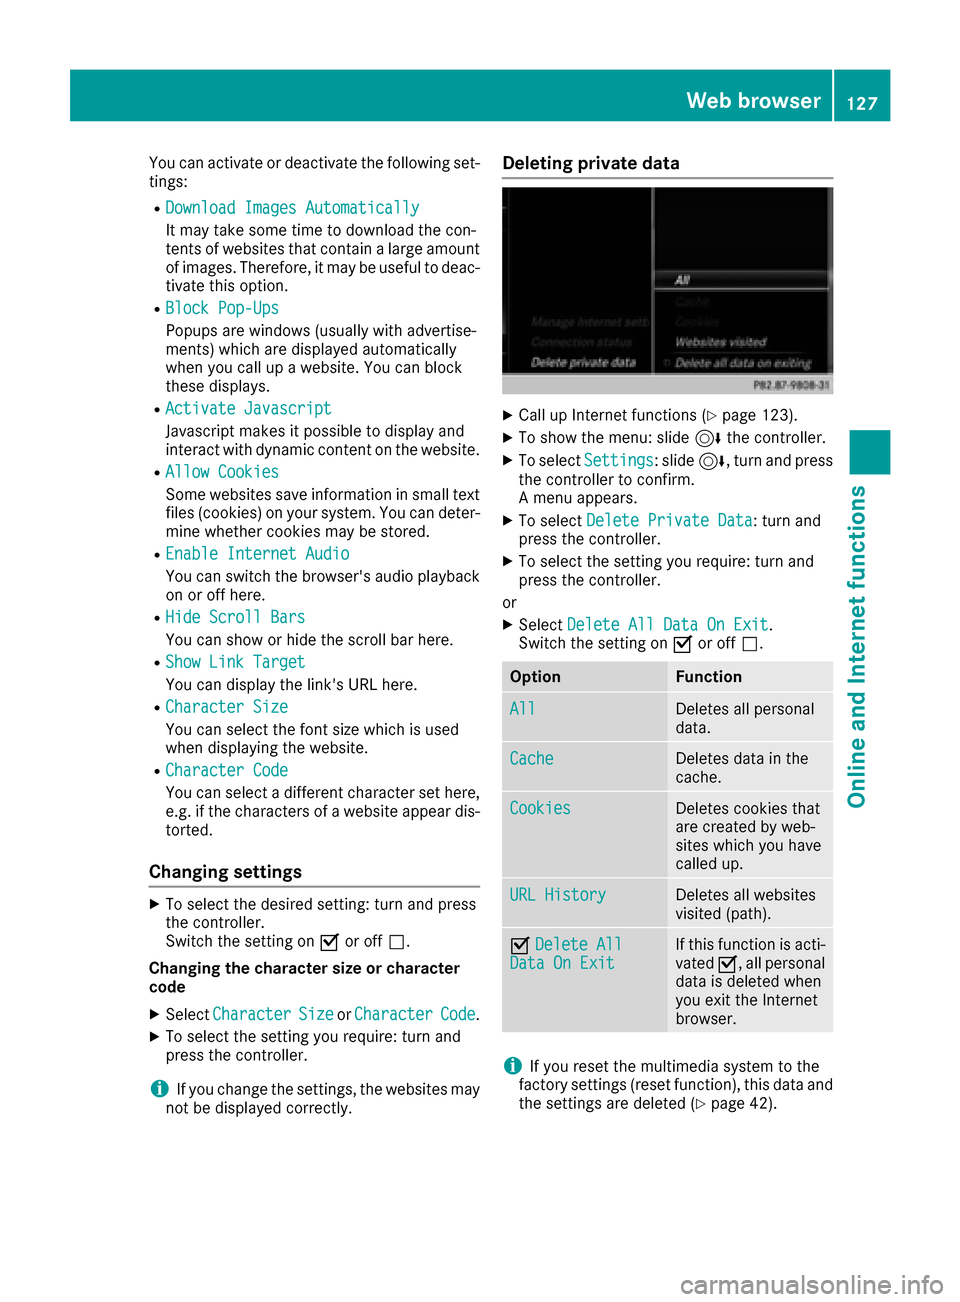
XCall up Internet functions (Ypage 123).
XTo show the menu: slide 6the controller.
XTo select Settings: slide6, turn and press
the controller to confirm.
A menu appears.
XTo select Delete Private Data: turn and
press the controller.
XTo select the setting you require: turn and
press the controller.
or
XSelect Delete All Data On Exit.
Switch the setting on Oor off ª.
OptionFunction
AllDeletes all personal
data.
CacheDeletes data in the
cache.
CookiesDeletes cookies that
are created by web-
sites which you have
called up.
URL HistoryDeletes all websites
visited (path).
ODelete AllData On ExitIf this function is acti-
vated O, all personal
data is deleted when
you exit the Internet
browser.
iIf you reset the multimedia system to the
factory settings (reset function), this data and
the settings are deleted (
Ypage 42).
Web browser127
Online and Internet functions
Z
Page 131 of 178
Your multimediasyste mequipment
These operatin ginstruction sdescribe all th e
standar dan doptional equipment of your multi-
media system, as available at th etime of going
to press. Country-specifi cdifference sare pos -
sible. Bear in min dthat your vehicle may no t
feature all function sdescribed here. Thi salso
applies to safety-relevan tsystems an dfunc-
tions.
Read th einformation on qualifie dspecialis t
workshop sin th evehicle Operator's Manual.
Switchin gon th eradi o
XPress th e$ button.
The radio display appears .You will hear th e
last station playe don th elast waveban d
selected.
Switching HD Radi oon/of f
XIn radio mode: slid e6 thecontroller .
XSelectOption s.
XBy selecting Oorª in fron tof HD Radi o,
you determin ewhether HD radio is switched
on or off.
If HD Radio is switched off, th esyste mdoe sno t
switch to digita lradio an dit is no tpossible to
selec tan ysub-channels.
iHD Radio ™an dth eHD ,HD Radio ,an d“Arc ”
logos are proprietary trademark sof iBiquit y
Digital Corp.
Overview
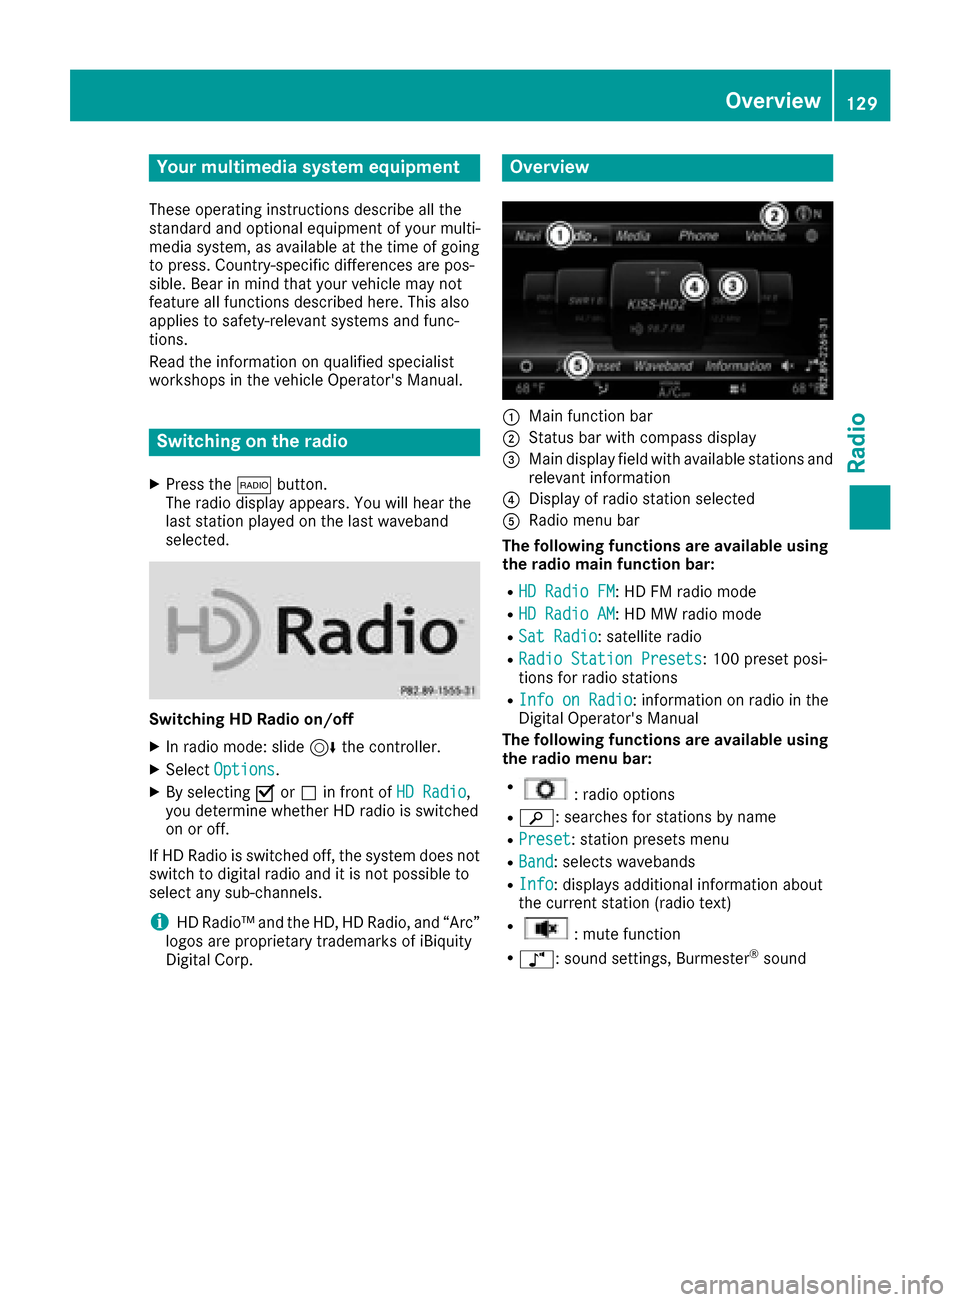
:Main function bar
;Status bar wit hcompass display
=Main display field wit havailable station san d
relevant information
?Display of radio station selecte d
ARadio menubar
Th efollowin gfunctions ar eavailable using
th eradi omain function bar:
RHD Radi oFM:HD FM radio mode
RHD Radi oAM:HD MW radio mode
RSa tRadi o:satellite radio
RRadi oStatio nPreset s:10 0preset posi-
tion sfo rradio station s
RInfo on Radi o:information on radio in th e
Digital Operator's Manual
Th efollowin gfunctions ar eavailable using
th eradi omenu bar:
R:radio option s
Rè:searches fo rstation sby name
RPreset:station preset smen u
RBand:selects wavebands
RInfo:displays additional information about
th ecurren tstation (radio text )
R:mut efunction
Rà :sound settings, Burmeste r®sound
Overview129
Radio
Page 132 of 178
Setting the waveband
Button activation
XPress the$button.
A menu appears with a selection of HD
Radio FM,HD Radio AM, Sat Radio,Infoon Radioand Radio Station Presets.
XTo select the required waveband: turn and
press the controller.
Using the main function bar
XIn radio mode: slide 5the controller.
The radio main function bar and menu bar
appear. Radio
is active.
XPress the controller.
A menu appears with a selection of HD
RadioFM,HDRadioAM,SatRadio,RadioStation Presetsand Info on Radio.
XTo select the required waveband: turn and
press the controller.
Using the menu bar
XIn radio mode: slide 6the controller.
The radio menu bar appears.
XTo select Band: turn and press the controller.
A menu appears with a selection of HD
Radio FM,HD Radio AMand Sat Radio.
XTo select the required waveband: turn and
press the controller.
Station
Selecting a station
From the main display field
All currently available stations are displayed.
XIn radio mode, turn the controller until the
desired station is in the center.
Using the current station list
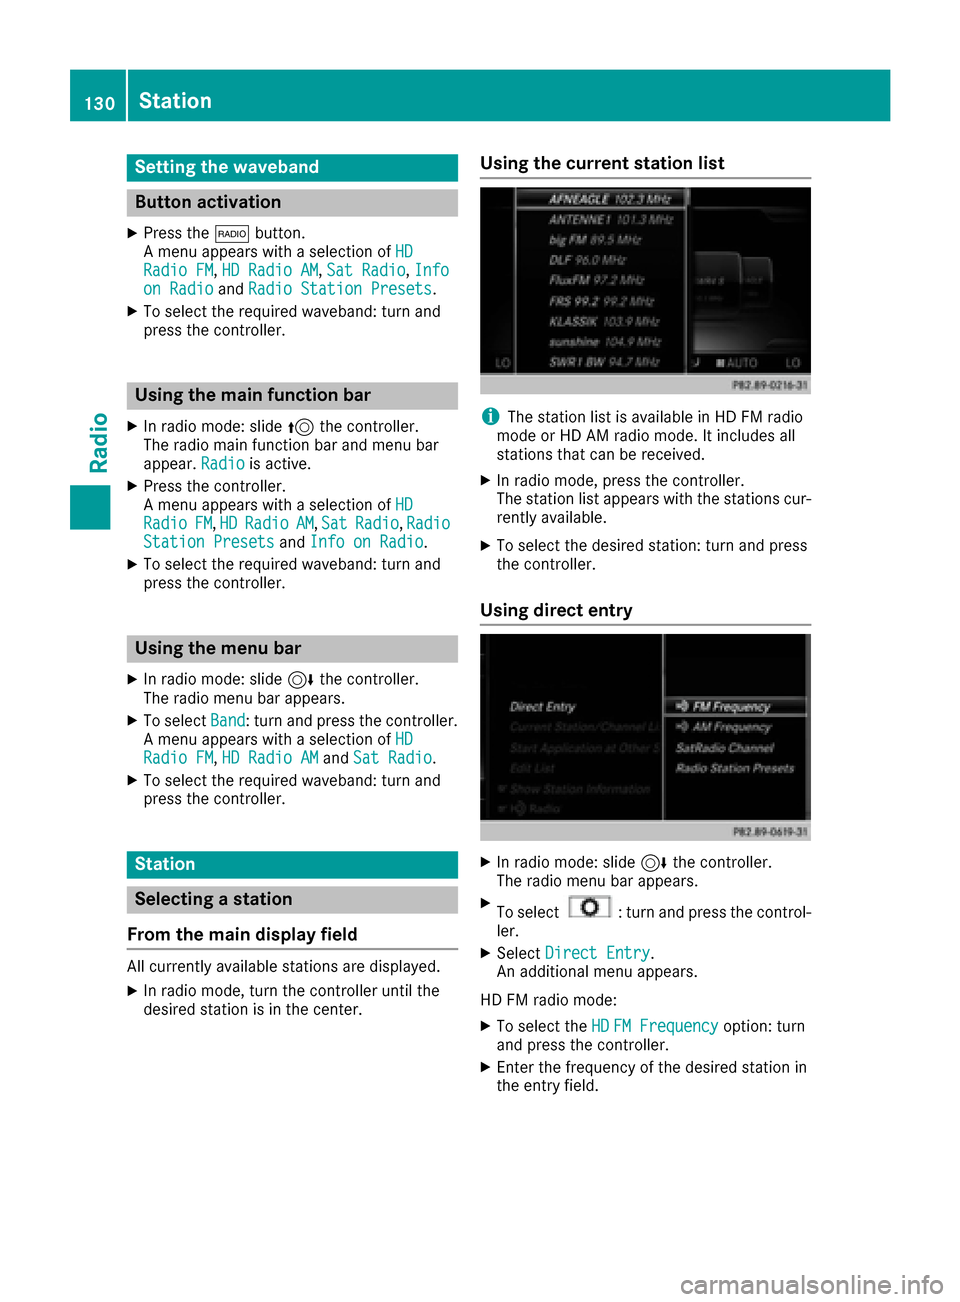
iThe station list is available in HD FM radio
mode or HD AM radio mode. It includes all
stations that can be received.
XIn radio mode, press the controller.
The station list appears with the stations cur- rently available.
XTo select the desired station: turn and press
the controller.
Using direct entry
XIn radio mode: slide 6the controller.
The radio menu bar appears.
XTo select: turn and press the control-
ler.
XSelect Direct Entry.
An additional menu appears.
HD FM radio mode:
XTo select the HDFM Frequencyoption: turn
and press the controller.
XEnter the frequency of the desired station in
the entry field.
130Station
Radio
Page 133 of 178
HD MW radio mode:
XTo select theHDAM Frequencyoption: turn
and press the controller.
XEnter the frequency of the desired station in
the entry field.
Satellite radio mode:
XTo select the SatRadioChanneloption: turn
and press the controller.
XEnter the number of the desired channel in
the entry field.
Station presets:
XTo select the Radio Station Presetsoption: turn and press the controller.
XEnter the station preset of the desired station.
Using the search function
XIn radio mode: slide 6the controller.
The radio menu bar appears.
XSelect èand enter the first letters of the
required station using the controller.
XPress OKto confirm.
The multimedia system displays a list of avail-
able stations.
XTo select stations from the list: turn the con-
troller and press to confirm.
Using the preset position
XIn radio mode: slide 6the controller.
XTo select Preset: turn and press the control-
ler.
XTo select Enter Preset: turn and press the
controller.
XEnter the station preset of the desired station.
Station list
XIn radio mode, press the controller.
The station list appears with the stations cur-
rently available.
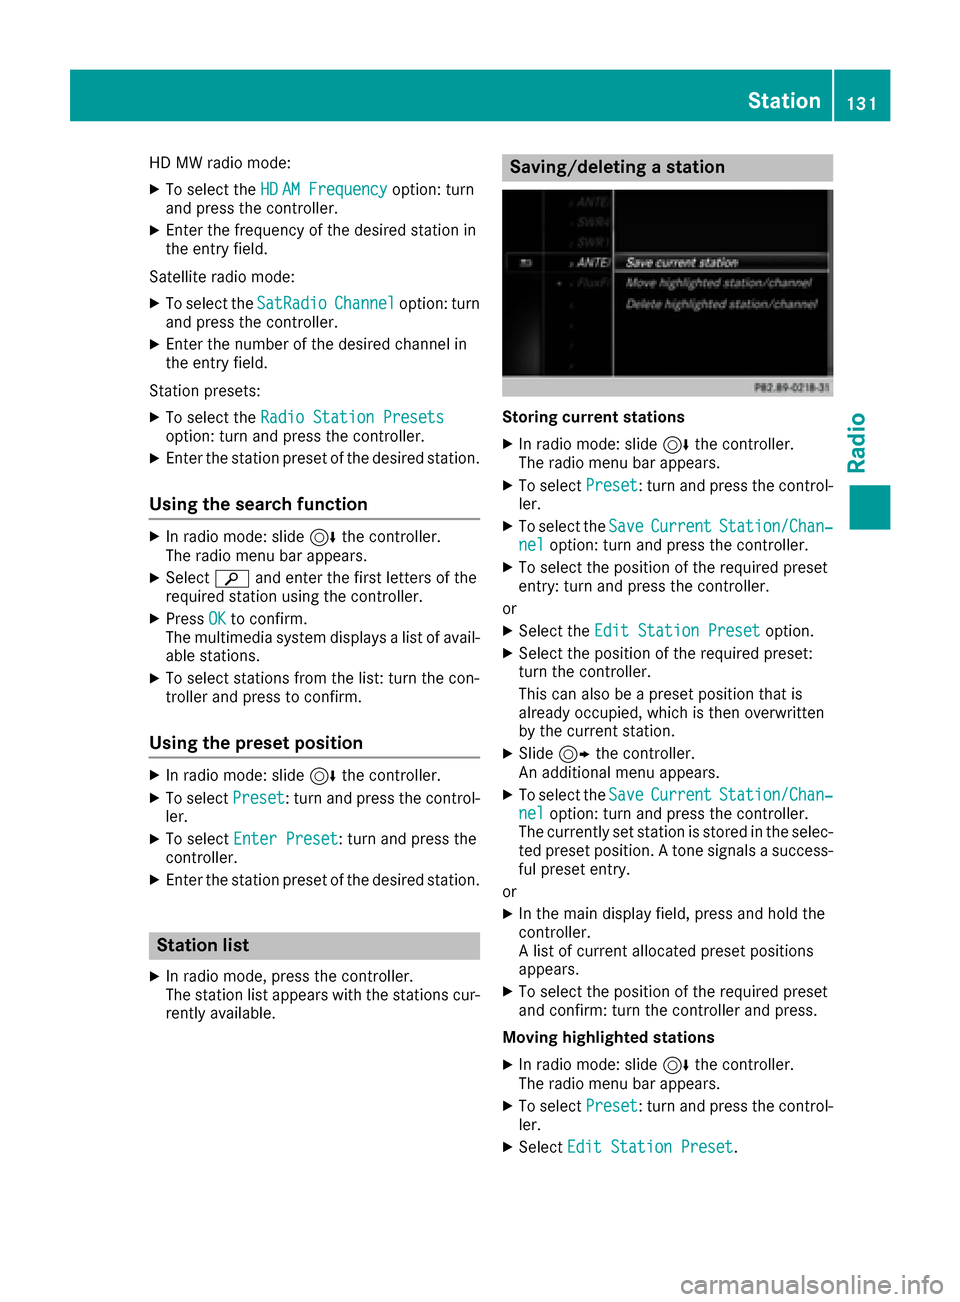
Saving/deleting a station
Storing current stations
XIn radio mode: slide 6the controller.
The radio menu bar appears.
XTo select Preset: turn and press the control-
ler.
XTo select the SaveCurrentStation/Chan‐neloption: turn and press the controller.
XTo select the position of the required preset
entry: turn and press the controller.
or
XSelect the Edit Station Presetoption.
XSelect the position of the required preset:
turn the controller.
This can also be a preset position that is
already occupied, which is then overwritten
by the current station.
XSlide9the controller.
An additional menu appears.
XTo select the SaveCurrentStation/Chan‐neloption: turn and press the controller.
The currently set station is stored in the selec-
ted preset position. A tone signals a success-
ful preset entry.
or
XIn the main display field, press and hold the
controller.
A list of current allocated preset positions
appears.
XTo select the position of the required preset
and confirm: turn the controller and press.
Moving highlighted stations
XIn radio mode: slide 6the controller.
The radio menu bar appears.
XTo select Preset: turn and press the control-
ler.
XSelect Edit Station Preset.
Station131
Radio
Page 134 of 178
XTo select the required preset entry: turn the
controller.
XSlide9the controller.
An additional menu appears.
XTo select the Move Highlighted Station/Channeloption: turn and press the control-
ler.
The list of stored stations appears again.
XTo move the highlighted station to the new
position: turn the controller and press to con-
firm.
Deleting highlighted stations
XIn radio mode: slide 6the controller.
The radio menu bar appears.
XTo select Preset: turn and press the control-
ler.
XSelect Edit Station Preset.
XTo select the required preset entry: turn the
controller.
XSlide9the controller.
XTo select the Delete Highlighted Sta‐tion/Channeloption in the additional menu:
turn and press the controller.
XTo select Yes: turn and press the controller.
The highlighted station is deleted.
or
XTo select No: turn and press the controller.
The process is canceled.
iFrequencies have already been stored in the
multimedia system. There are 100 preset
positions available.
Activating/deactivating the station
presets display
You can use this function to change to the sta-
tion presets display.
Activating
XIn radio mode: slide 6the controller.
XTo select Preset: turn and press the control-
ler.
XTo select Station Preset View: On: turn
and press the controller.
The station preset display appears.
XTo switch between the stored stations: turn
the controller. Deactivating
XIn radio mode: slide
6the controller.
XTo select Preset: turn and press the control-
ler.
XTo select StationPresetView:Off: turn
and press the controller.
A view of the last waveband you listened to
appears.
Tagging music tracks
If an Apple®device is connected, the music
tracks and artist displayed in the radio text can be stored. You have the option of purchasing
this track using iTunes Store
®. Not all radio sta-
tions support this function.
XIn radio mode: slide 6the controller.
The radio menu bar appears.
XTo select: turn and press the control-
ler.
XSelect Tag This Track.
A message appears about storing the track
information.
Displaying station information
XIn radio mode: slide 6the controller.
The radio menu bar appears.
XTo select: turn and press the control-
ler.
XYou can determine whether or not the artist,
track or station name are shown in the main
display area with Oorª before Show
Sta‐tion Information.
Calling up sound settings
XIn radio mode: slide 6the controller.
The radio menu bar appears.
XTo select à: turn and press the controller.
The sound menu appears (Ypage 163).
132Calling up sound settings
Radio
Page 136 of 178
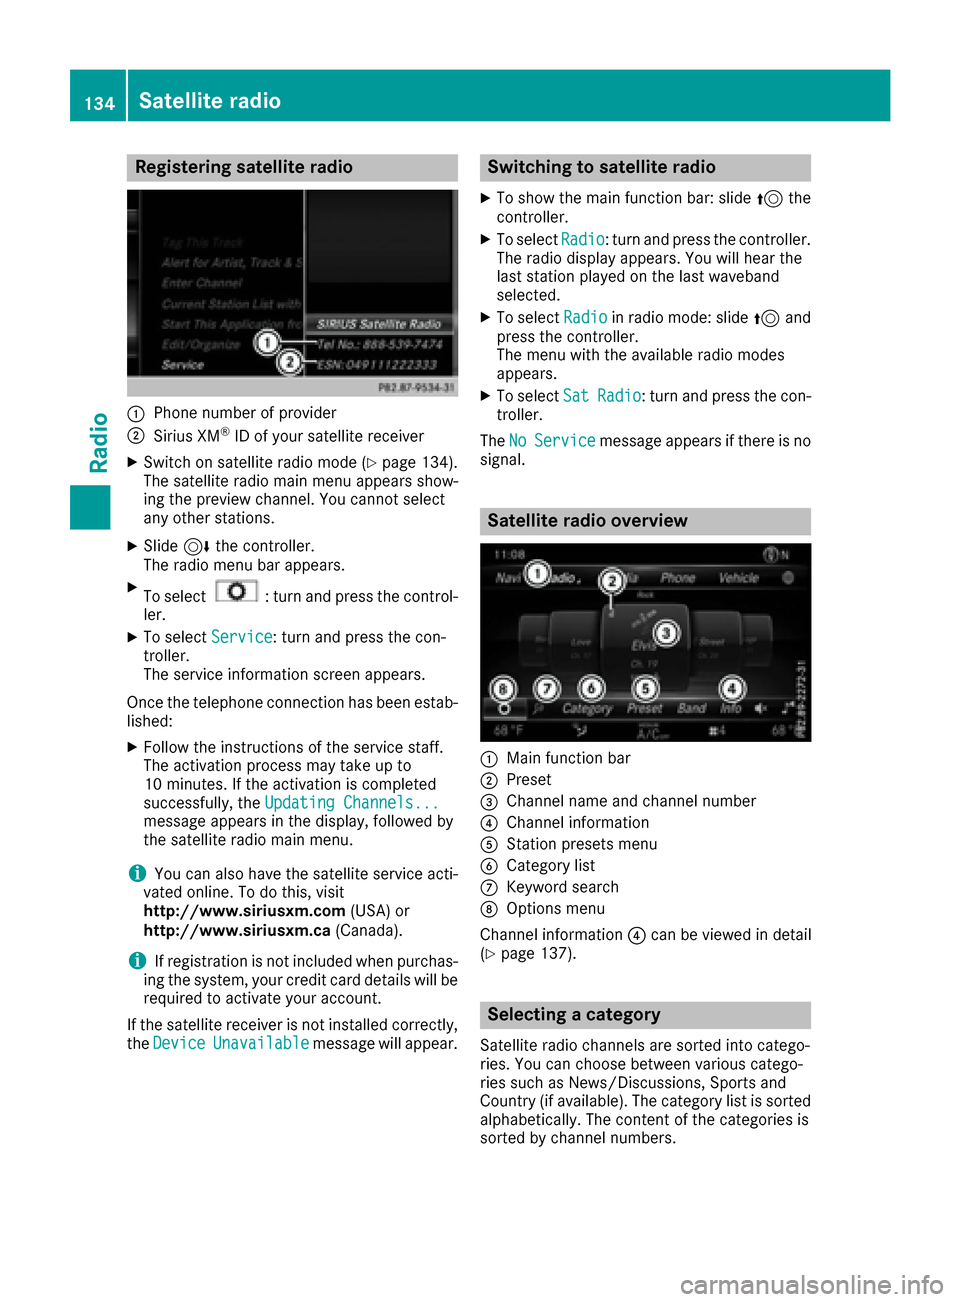
Registering satellite radio
:Phone number of provider
;Sirius XM®ID of your satellite receiver
XSwitch on satellite radio mode (Ypage 134).
The satellite radio main menu appears show-
ing the preview channel. You cannot select
any other stations.
XSlide 6the controller.
The radio menu bar appears.
XTo select: turn and press the control-
ler.
XTo select Service: turn and press the con-
troller.
The service information screen appears.
Once the telephone connection has been estab-
lished:
XFollow the instructions of the service staff.
The activation process may take up to
10 minutes. If the activation is completed
successfully, the Updating Channels...
message appears in the display, followed by
the satellite radio main menu.
iYou can also have the satellite service acti-
vated online. To do this, visit
http://www.siriusxm.com (USA) or
http://www.siriusxm.ca (Canada).
iIf registration is not included when purchas-
ing the system, your credit card details will be
required to activate your account.
If the satellite receiver is not installed correctly,
the Device
Unavailablemessage will appear.
Switching to satellite radio
XTo show the main function bar: slide 5the
controller.
XTo select Radio: turn and press the controller.
The radio display appears. You will hear the
last station played on the last waveband
selected.
XTo select Radioin radio mode: slide 5and
press the controller.
The menu with the available radio modes
appears.
XTo select SatRadio: turn and press the con-
troller.
The No
Servicemessage appears if there is no
signal.
Satellite radio overview
:Main function bar
;Preset
=Channel name and channel number
?Channel information
AStation presets menu
BCategory list
CKeyword search
DOptions menu
Channel information ?can be viewed in detail
(
Ypage 137).
Selecting a category
Satellite radio channels are sorted into catego-
ries. You can choose between various catego-
ries such as News/Discussions, Sports and
Country (if available). The category list is sorted alphabetically. The content of the categories is
sorted by channel numbers.
134Satellite radio
Radio