2017 LINCOLN CONTINENTAL maintenance
[x] Cancel search: maintenancePage 329 of 584

Changing the Windshield Wiper Blades
Note:
Do not hold the wiper blade when
lifting the wiper arm.
Note: Make sure that the wiper arm does
not spring back against the glass when the
wiper blade is not attached. 1. Lift the wiper arm and then press the
wiper blade locking buttons together.
2. Slightly rotate the wiper blade.
3. Remove the wiper blade.
4. Install in the reverse order.
Note: Make sure that the wiper blade locks
into place. ADJUSTING THE HEADLAMPS
Vertical Aim Adjustment
The headlamps on your vehicle are properly
aimed at the assembly plant. If your vehicle
has been in an accident, have the alignment
of your headlamps checked by your
authorized dealer.
Headlamp Aiming Target
8 feet (2.4 meters)
A
Center height of lamp to ground
B 25 feet (7.6 meters)
C
Horizontal reference line
D
Vertical Aim Adjustment
1. Park the vehicle directly in front of a wall
or screen on a level surface,
approximately 25 feet (7.6 meters) away.
2. Measure the height from the center of your headlamp (indicated by a 3.0
millimeter circle on the lens) to the
ground and mark an 8 foot (2.4 meter)
horizontal reference line on the vertical
wall or screen at this height (a piece of
masking tape works well).
Note: To see a clearer light pattern for
adjusting, you may want to block the light
from one headlamp while adjusting the
other.
3. Turn on the low beam headlamps to illuminate the wall or screen and open
the hood. Cover one of the headlamps
so no light hits the wall.
326
Continental (CPL) Canada/United States of America, enUSA, First Printing MaintenanceE129990
1
1 2 E142592
Page 330 of 584

4. There is a distinct cut-off (change from
light to dark) in the left portion of the
beam pattern. Position the top edge of
this cut-off 2 inches (5 centimeters) below
the horizontal reference line. 5. Locate the vertical adjuster on each
headlamp. Use a Phillips #2 screwdriver
to turn the adjuster either clockwise or
counterclockwise to adjust the vertical
aim of the headlamp. The horizontal edge
of the brighter light should touch the
horizontal reference line.
6. Repeat Steps 3 through 7 to adjust the other headlamp.
7. Close the hood and turn off the lamps.
Horizontal Aim Adjustment
Horizontal aim is not required for this vehicle
and is not adjustable. CHANGING A BULB WARNINGS
Bulbs can become hot. Let the bulb
cool down before removing it. Failure
to do so could result in personal injury. Switch the lamps and the ignition off.
Failure to follow this warning could
result in serious personal injury. Use the correct specification bulb. See Bulb
Specification Chart (page 328).
Install in the reverse order unless otherwise
stated.
High-Intensity Discharge Headlamps
These lamps operate at a high voltage. See
an authorized dealer if they fail.
327
Continental (CPL) Canada/United States of America, enUSA, First Printing MaintenanceE142465 E167359
Page 331 of 584

Front Direction Indicator
1. Switch all of the lamps and the ignition
off.
2. Disconnect the electrical connector. 3. Turn the bulb holder counterclockwise
and remove it.
4. Remove the bulb by pulling it straight out.
LED Lamps
LED lamps are not serviceable items. See an
authorized dealer if they fail.
The following lamps are LED:
• Front parking lamps.
• Front side marker lamps.
• Side direction indicators.
• Rear side marker lamps.
• Brake and rear lamps.
• Central high mounted brake lamp. •
Rear direction indicators.
• Reversing lamps.
• License plate lamps.
BULB SPECIFICATION CHART
The specified replacement bulbs are in the
chart below. Headlamp bulbs must be
marked with an authorized D.O.T.
(Department of Transportation) for North
America to affirm lamp performance, light
brightness and pattern and safe visibility. The
correct bulbs will not damage the lamp
assembly or void the lamp assembly warranty
and will provide quality bulb burn time. Trade number
Function
D3S
* Headlamp (high intensity discharge) Low and High
LED
* Sidemarker - front
LED
* Park lamp - front
7444NA
* Turn lamp - front
LED
Signal indicator mirror lamp
328
Continental (CPL) Canada/United States of America, enUSA, First Printing MaintenanceE163826
Page 332 of 584

Trade number
Function
LED
Approach lamp
LED
* Tail and brake lamp
LED
* Turn lamp - rear
LED
* Backup lamp
W5W
License plate lamp
LED
* High-mount brake lamp
LED
Interior lamps
* To replace these lamps, see an authorized dealer.
To replace instrument panel lights, see an authorized dealer.
329
Continental (CPL) Canada/United States of America, enUSA, First Printing Maintenance
Page 333 of 584

CHANGING THE ENGINE AIR
FILTER - 3.7L
WARNING
To reduce the risk of vehicle damage
and/or personal burn injuries do not
start your engine with the air cleaner
removed and do not remove it while the
engine is running. When changing the air filter element, use
only the air filter element listed. See
Capacities and Specifications (page 368).
For EcoBoost equipped vehicles: When
servicing the air cleaner, it is important that
no foreign material enter the air induction
system. The engine and turbocharger are
susceptible to damage from even small
particles.
Change the air filter element at the proper
interval. See Scheduled Maintenance (page
508
). Note:
Failure to use the correct air filter
element may result in severe engine
damage. The customer warranty may be
void for any damage to the engine if the
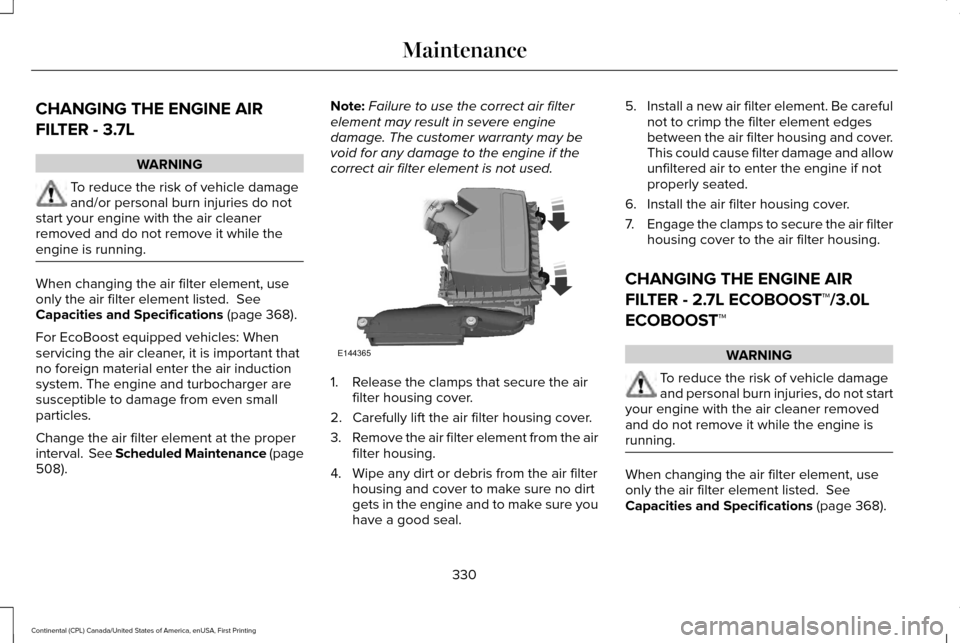
correct air filter element is not used. 1. Release the clamps that secure the air
filter housing cover.
2. Carefully lift the air filter housing cover.
3. Remove the air filter element from the air
filter housing.
4. Wipe any dirt or debris from the air filter housing and cover to make sure no dirt
gets in the engine and to make sure you
have a good seal. 5.
Install a new air filter element. Be careful
not to crimp the filter element edges
between the air filter housing and cover.
This could cause filter damage and allow
unfiltered air to enter the engine if not
properly seated.
6. Install the air filter housing cover.
7. Engage the clamps to secure the air filter
housing cover to the air filter housing.
CHANGING THE ENGINE AIR
FILTER - 2.7L ECOBOOST™/3.0L
ECOBOOST™ WARNING
To reduce the risk of vehicle damage
and personal burn injuries, do not start
your engine with the air cleaner removed
and do not remove it while the engine is
running. When changing the air filter element, use
only the air filter element listed.
See
Capacities and Specifications (page 368).
330
Continental (CPL) Canada/United States of America, enUSA, First Printing MaintenanceE144365
Page 334 of 584

For EcoBoost equipped vehicles: When
servicing the air cleaner, it is important that
no foreign material enter the air induction
system. The engine and turbocharger are
susceptible to damage from even small
particles.
Change the air filter element at the proper
interval. See Scheduled Maintenance (page
508).
Note: Failure to use the correct air filter
element may result in severe engine
damage. The customer warranty may be
void for any damage to the engine if the
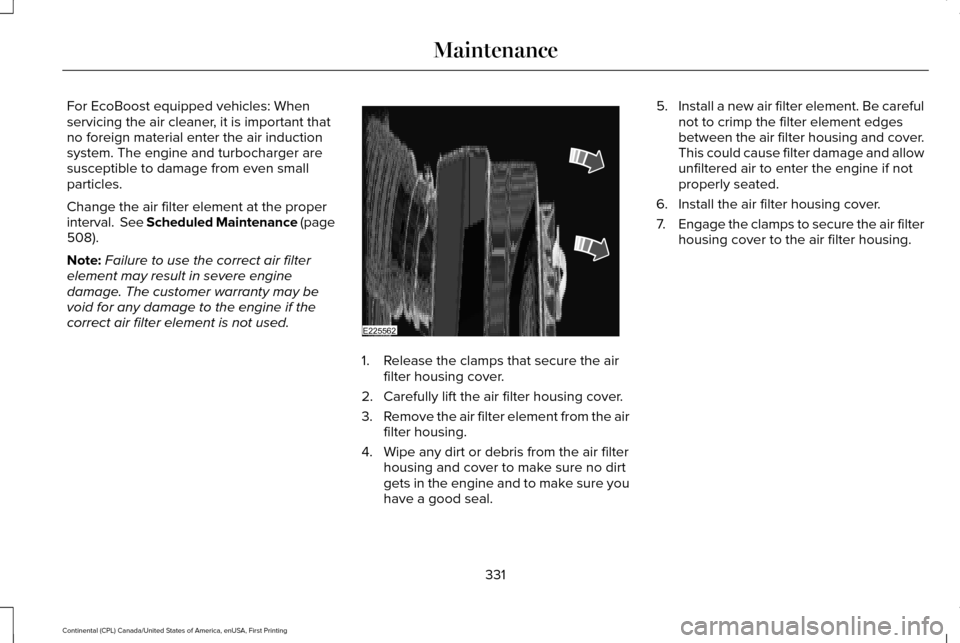
correct air filter element is not used. 1. Release the clamps that secure the air
filter housing cover.
2. Carefully lift the air filter housing cover.
3. Remove the air filter element from the air
filter housing.
4. Wipe any dirt or debris from the air filter housing and cover to make sure no dirt
gets in the engine and to make sure you
have a good seal. 5.
Install a new air filter element. Be careful
not to crimp the filter element edges
between the air filter housing and cover.
This could cause filter damage and allow
unfiltered air to enter the engine if not
properly seated.
6. Install the air filter housing cover.
7. Engage the clamps to secure the air filter
housing cover to the air filter housing.
331
Continental (CPL) Canada/United States of America, enUSA, First Printing MaintenanceE225562
Page 342 of 584

•
Rinse thoroughly with a strong stream of
water when you have completed the
cleaning process.
• To remove tar and grease, use Motorcraft
Bug and Tar Remover.
VEHICLE STORAGE
If you plan on storing your vehicle for 30
days or more, read the following
maintenance recommendations to make sure
your vehicle stays in good operating
condition.
We engineer and test all motor vehicles and
their components for reliable, regular driving.
Under various conditions, long-term storage
may lead to degraded engine performance
or failure unless you use specific precautions
to preserve engine components. General
•
Store all vehicles in a dry, ventilated
place.
• Protect from sunlight, if possible.
• If vehicles are stored outside, they
require regular maintenance to protect
against rust and damage.
Body
• Wash your vehicle thoroughly to remove
dirt, grease, oil, tar or mud from exterior
surfaces, rear-wheel housing and the
underside of front fenders.
• Periodically wash your vehicle if it is
stored in exposed locations.
• Touch-up exposed or primed metal to
prevent rust.
• Cover chrome and stainless steel parts
with a thick coat of auto wax to prevent
discoloration. Re-wax as necessary when
you wash your vehicle.
• Lubricate all hood, door and luggage
compartment hinges and latches with a
light grade oil. •
Cover interior trim to prevent fading.
• Keep all rubber parts free from oil and
solvents.
Engine
• Change the engine oil and filter prior to
storage because used engine oil contains
contaminates which may cause engine
damage.
• Start the engine every 15 days for a
minimum of 15 minutes. Run at fast idle
with the climate controls set to defrost
until the engine reaches normal
operating temperature.
• With your foot on the brake, shift through
all the gears while the engine is running.
• We recommend that you change the
engine oil before you use your vehicle
again.
Fuel system
• Fill the fuel tank with high-quality fuel
until the first automatic shutoff of the fuel
pump nozzle.
339
Continental (CPL) Canada/United States of America, enUSA, First Printing Vehicle Care
Page 353 of 584

Note:
If you overfill the tire, release air
by pressing on the metal stem in the
center of the valve. Then recheck the
pressure with your tire gauge.
4. Replace the valve cap.
5. Repeat this procedure for each tire,
including the spare.
Note: Some spare tires operate at a
higher inflation pressure than the other
tires. For T type mini-spare tires, see the
Dissimilar spare wheel and tire
assembly information for a description.
Store and maintain at 60 psi (4.15 bar).
For full-size and dissimilar spare tires,
see the Dissimilar spare wheel and tire
assembly information for a description.
Store and maintain at the higher of the
front and rear inflation pressure as
shown on the Tire Label.
6. Visually inspect the tires to make
sure there are no nails or other
objects embedded that could poke
a hole in the tire and cause an air
leak. 7. Check the sidewalls to make sure
there are no gouges, cuts or bulges.
Inspecting Your Tires and Wheel Valve
Stems
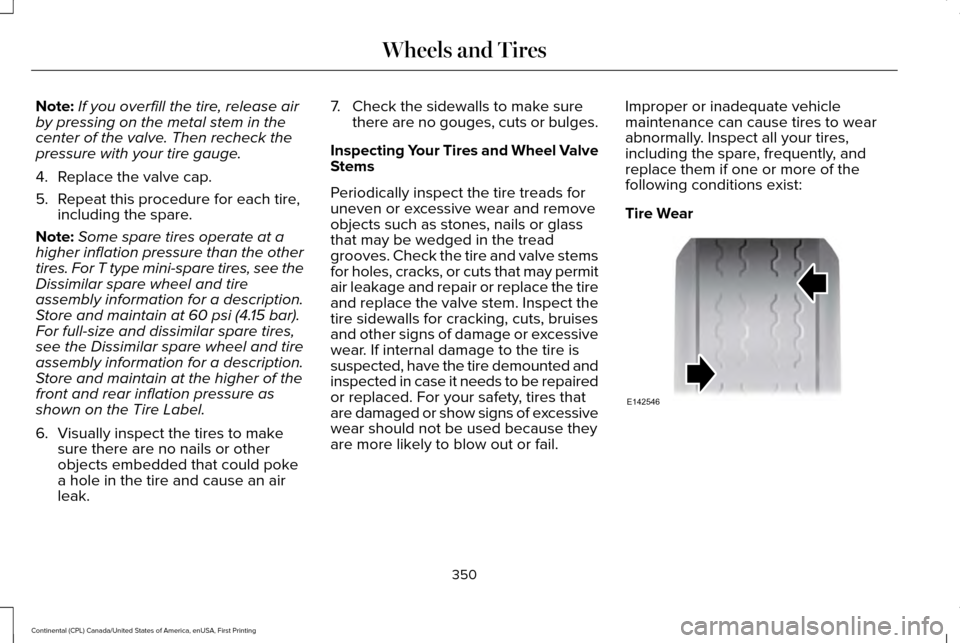
Periodically inspect the tire treads for
uneven or excessive wear and remove
objects such as stones, nails or glass
that may be wedged in the tread
grooves. Check the tire and valve stems
for holes, cracks, or cuts that may permit
air leakage and repair or replace the tire
and replace the valve stem. Inspect the
tire sidewalls for cracking, cuts, bruises
and other signs of damage or excessive
wear. If internal damage to the tire is
suspected, have the tire demounted and
inspected in case it needs to be repaired
or replaced. For your safety, tires that
are damaged or show signs of excessive
wear should not be used because they
are more likely to blow out or fail. Improper or inadequate vehicle
maintenance can cause tires to wear
abnormally. Inspect all your tires,
including the spare, frequently, and
replace them if one or more of the
following conditions exist:
Tire Wear
350
Continental (CPL) Canada/United States of America, enUSA, First Printing Wheels and TiresE142546