2017 LINCOLN CONTINENTAL buttons
[x] Cancel search: buttonsPage 168 of 584

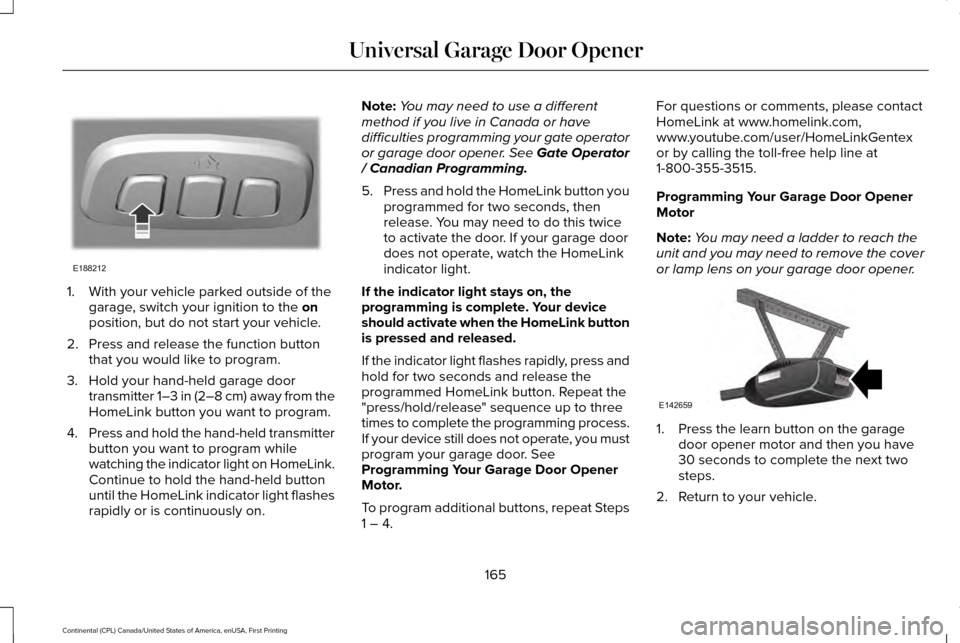
1. With your vehicle parked outside of the
garage, switch your ignition to the on
position, but do not start your vehicle.
2. Press and release the function button that you would like to program.
3. Hold your hand-held garage door transmitter 1–3 in (2–8 cm) away from the
HomeLink button you want to program.
4. Press and hold the hand-held transmitter
button you want to program while
watching the indicator light on HomeLink.
Continue to hold the hand-held button
until the HomeLink indicator light flashes
rapidly or is continuously on. Note:
You may need to use a different
method if you live in Canada or have
difficulties programming your gate operator
or garage door opener. See Gate Operator
/ Canadian Programming.
5. Press and hold the HomeLink button you
programmed for two seconds, then
release. You may need to do this twice
to activate the door. If your garage door
does not operate, watch the HomeLink
indicator light.
If the indicator light stays on, the
programming is complete. Your device
should activate when the HomeLink button
is pressed and released.
If the indicator light flashes rapidly, press and
hold for two seconds and release the
programmed HomeLink button. Repeat the
"press/hold/release" sequence up to three
times to complete the programming process.
If your device still does not operate, you must
program your garage door. See
Programming Your Garage Door Opener
Motor.
To program additional buttons, repeat Steps
1 – 4. For questions or comments, please contact
HomeLink at www.homelink.com,
www.youtube.com/user/HomeLinkGentex
or by calling the toll-free help line at
1-800-355-3515.
Programming Your Garage Door Opener
Motor
Note:
You may need a ladder to reach the
unit and you may need to remove the cover
or lamp lens on your garage door opener. 1. Press the learn button on the garage
door opener motor and then you have
30 seconds to complete the next two
steps.
2. Return to your vehicle.
165
Continental (CPL) Canada/United States of America, enUSA, First Printing Universal Garage Door OpenerE188212 E142659
Page 169 of 584

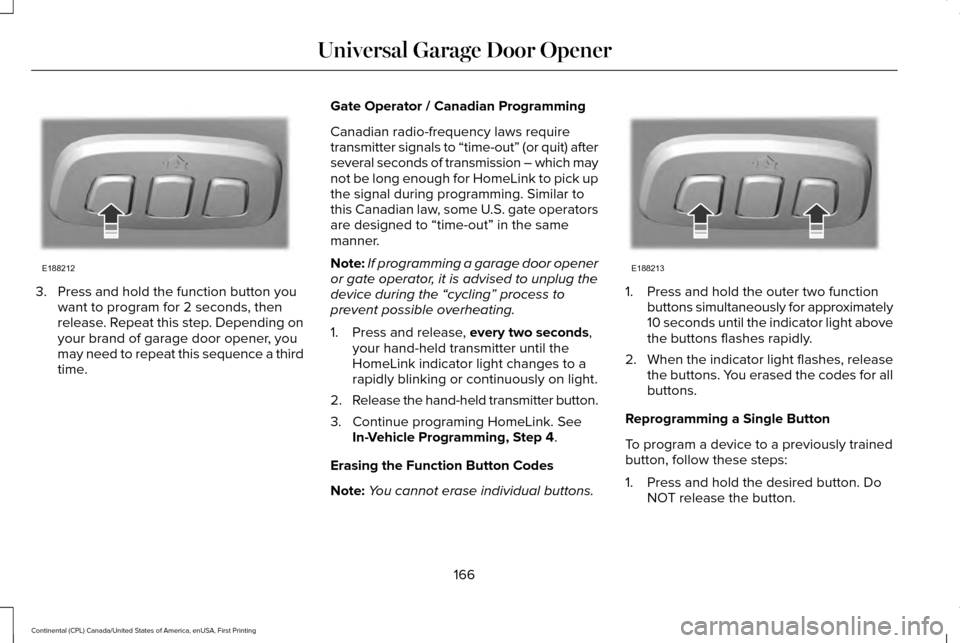
3. Press and hold the function button you
want to program for 2 seconds, then
release. Repeat this step. Depending on
your brand of garage door opener, you
may need to repeat this sequence a third
time. Gate Operator / Canadian Programming
Canadian radio-frequency laws require
transmitter signals to “time-out” (or quit) after
several seconds of transmission – which may
not be long enough for HomeLink to pick up
the signal during programming. Similar to
this Canadian law, some U.S. gate operators
are designed to “time-out” in the same
manner.
Note:
If programming a garage door opener
or gate operator, it is advised to unplug the
device during the “cycling” process to
prevent possible overheating.
1. Press and release, every two seconds,
your hand-held transmitter until the
HomeLink indicator light changes to a
rapidly blinking or continuously on light.
2. Release the hand-held transmitter button.
3. Continue programing HomeLink. See In-Vehicle Programming, Step 4
.
Erasing the Function Button Codes
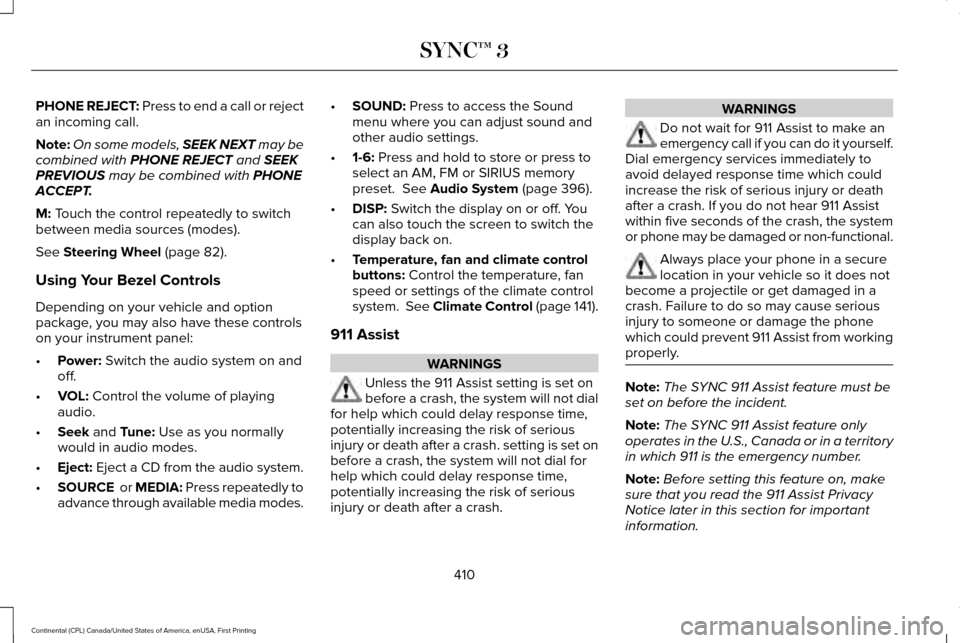
Note: You cannot erase individual buttons. 1. Press and hold the outer two function
buttons simultaneously for approximately
10 seconds until the indicator light above
the buttons flashes rapidly.
2. When the indicator light flashes, release
the buttons. You erased the codes for all
buttons.
Reprogramming a Single Button
To program a device to a previously trained
button, follow these steps:
1. Press and hold the desired button. Do NOT release the button.
166
Continental (CPL) Canada/United States of America, enUSA, First Printing Universal Garage Door OpenerE188212 E188213
Page 190 of 584

AUTOMATIC TRANSMISSION
WARNINGS
Always set the parking brake fully and
make sure you shift the gearshift lever
to park (P). Switch the ignition off and remove
the key whenever you leave your vehicle. Do not apply the brake pedal and
accelerator pedal simultaneously.
Applying both pedals simultaneously for
more than a few seconds will limit engine
rpm, which may result in difficulty maintaining
speed in traffic and could lead to serious
injury. Push Button Shift Transmission
Your vehicle is equipped with an electronic
transmission. The transmission selector is
located on the instrument panel next to the
display screen. The gears are selected by
pressing and releasing the PRNDS buttons.
Every time you select a gear, the button will
light up. The selected gear also appears in
the instrument cluster.Putting your vehicle in gear:
1. Fully press down the brake pedal.
2.
Press and release the button of the gear
you want to select.
3. The button you select will illuminate and
the selected gear appears in the
instrument cluster.
4. Release the brake pedal and your transmission will remain in the selected
gear.
Note: If you attempt to leave your vehicle
while it is in gear, your vehicle will
automatically shift into park (P). Safety belt
and door monitors determine your intent and
make the shift for you. During this time, a
message appears in the instrument cluster
prompting you to make the shift to park (P).
Understanding the Shift Positions of
your Automatic Transmission
Note: Always come to a complete stop
before putting your vehicle into and out of
park (P).
187
Continental (CPL) Canada/United States of America, enUSA, First Printing TransmissionE222846
Page 194 of 584

2. Locate your brake-shift interlock access
slot. The slot is located in your center
console storage bin. The access slot
does not have a label.
Note: Make sure that you correctly identify
the access hole as to not cause damage to
the center console. 3. Using a tool, press and hold the brake
shift interlock switch. The shift buttons
on the instrument panel will flash when
your vehicle is in override mode.
4. With the override switch still held, press the neutral (N) button to shift from park.
5. Release the override button.
6. Your vehicle will remain in neutral for wrecker towing purposes or can be
shifted to the desired gear and driven (if
possible).
7. Release the parking brake.
Automatic Transmission Adaptive
Learning
This feature increases durability and provides
consistent shift feel over the life of your
vehicle. A new vehicle or transmission may
have firm or soft shifts. This operation will
not affect function or durability of your
transmission and is normal. Over time, the
adaptive learning process will fully update
transmission operation. Additionally, the
strategy must be relearned whenever the
battery is disconnected or a new battery is
installed. If Your Vehicle Gets Stuck In Mud or
Snow
Note:
Do not rock your vehicle if your engine
is not at normal operating temperature or
damage to your transmission may occur.
Note: Do not rock your vehicle for more than
a minute or damage to your transmission
and tires may occur, or your engine may
overheat.
If your vehicle gets stuck in mud or snow,
you can help rock your vehicle out by shifting
between forward and reverse gears,
stopping between shifts in a steady pattern.
Press lightly on the accelerator in each gear.
191
Continental (CPL) Canada/United States of America, enUSA, First Printing TransmissionE222739
Page 329 of 584

Changing the Windshield Wiper Blades
Note:
Do not hold the wiper blade when
lifting the wiper arm.
Note: Make sure that the wiper arm does
not spring back against the glass when the
wiper blade is not attached. 1. Lift the wiper arm and then press the
wiper blade locking buttons together.
2. Slightly rotate the wiper blade.
3. Remove the wiper blade.
4. Install in the reverse order.
Note: Make sure that the wiper blade locks
into place. ADJUSTING THE HEADLAMPS
Vertical Aim Adjustment
The headlamps on your vehicle are properly
aimed at the assembly plant. If your vehicle
has been in an accident, have the alignment
of your headlamps checked by your
authorized dealer.
Headlamp Aiming Target
8 feet (2.4 meters)
A
Center height of lamp to ground
B 25 feet (7.6 meters)
C
Horizontal reference line
D
Vertical Aim Adjustment
1. Park the vehicle directly in front of a wall
or screen on a level surface,
approximately 25 feet (7.6 meters) away.
2. Measure the height from the center of your headlamp (indicated by a 3.0
millimeter circle on the lens) to the
ground and mark an 8 foot (2.4 meter)
horizontal reference line on the vertical
wall or screen at this height (a piece of
masking tape works well).
Note: To see a clearer light pattern for
adjusting, you may want to block the light
from one headlamp while adjusting the
other.
3. Turn on the low beam headlamps to illuminate the wall or screen and open
the hood. Cover one of the headlamps
so no light hits the wall.
326
Continental (CPL) Canada/United States of America, enUSA, First Printing MaintenanceE129990
1
1 2 E142592
Page 407 of 584

Action and Description
Menu Item
Item
This bar displays icons and messages pertaining to current system activi\
ties including climate
settings, voice commands and phone functions such as text messages.
Status Bar
A
This button is available on the main screens. Pressing it takes you to the home screen view.
Home
B
This shows the current time. You can set the clock manually or have it controlled by the vehicle's
GPS location. See Settings (page 469).
Clock
C
This displays the current outside temperature.
Outside Temperature
D
You can touch any of the buttons on this bar to select a feature.
Feature Bar
E
The touchscreen allows you quick access to
all of your comfort, navigation,
communication and entertainment options.
Using the status and feature bar you can
quickly select the feature you want to use. Note:
Your system is equipped with a feature
that allows you to access and control audio
features for 10 minutes after you switch the
ignition off (and no doors open). The Status Bar
Additional icons also display in the status bar
depending on market, vehicle options and
current operation. If a feature is not active,
the icon does not display. Certain icons may
move to the left or right depending on what
options are active.
404
Continental (CPL) Canada/United States of America, enUSA, First Printing SYNC™ 3
Page 412 of 584

Information
Option
If you are on a call, the call information is displayed on the informati\
on display.
If you are receiving a call, you can accept it by selecting OK on the ri\
ght-hand steering wheel controls.
* Depending on your vehicle options, all of these choices may not displa\
y.
Use the OK and arrow buttons on the right
side of your steering wheel to scroll through
the available modes. The available options
depend on the cluster screen.
The selection menu expands and different
options appear.
• Press the up and down arrows to scroll
through the modes.
• Press the right arrow to enter the mode,
use the left arrow to exit the mode.
• Press the up and down arrows to make
adjustments within the chosen mode.
• Press
OK to confirm your selection. Note:
If your vehicle is not equipped with
navigation, compass appears in the display
instead of navigation. If you press the right
arrow to go into the compass menu, you can
see the compass graphic. The compass
displays the direction in which the vehicle is
traveling, not true direction (for example, if
the vehicle is traveling west, the middle of
the compass graphic displays west; north
displays to the left of west though its true
direction is to the right of west).
Using the Steering Wheel Controls
Depending on your vehicle and option
package, you can use different controls on
your steering wheel to interact with the
touchscreen system in different ways.
VOL:
Control the volume of audio output.
Mute:
Mute the audio output. Voice:
Press to start a voice session. Press
again to stop the voice prompt and
immediately begin speaking. Press and hold
to end a voice session.
SEEK NEXT:
• While in radio mode, press to seek
between memory presets.
• While in USB, Bluetooth Audio or CD
mode, press to seek between songs or
press and hold to fast seek.
SEEK PREVIOUS:
• While in radio mode, press to seek
between memory presets.
• While in USB, Bluetooth Audio or CD
mode, press to seek between songs or
press and hold to fast seek.
PHONE ACCEPT:
Press to answer a call or
switch between calls.
409
Continental (CPL) Canada/United States of America, enUSA, First Printing SYNC™ 3
Page 413 of 584

PHONE REJECT: Press to end a call or reject
an incoming call.
Note:
On some models, SEEK NEXT may be
combined with PHONE REJECT and SEEK
PREVIOUS may be combined with PHONE
ACCEPT.
M:
Touch the control repeatedly to switch
between media sources (modes).
See
Steering Wheel (page 82).
Using Your Bezel Controls
Depending on your vehicle and option
package, you may also have these controls
on your instrument panel:
• Power:
Switch the audio system on and
off.
• VOL:
Control the volume of playing
audio.
• Seek
and Tune: Use as you normally
would in audio modes.
• Eject:
Eject a CD from the audio system.
• SOURCE
or MEDIA: Press repeatedly to
advance through available media modes. •
SOUND:
Press to access the Sound
menu where you can adjust sound and
other audio settings.
• 1-6:
Press and hold to store or press to
select an AM, FM or SIRIUS memory
preset.
See Audio System (page 396).
• DISP:
Switch the display on or off. You
can also touch the screen to switch the
display back on.
• Temperature, fan and climate control
buttons:
Control the temperature, fan
speed or settings of the climate control
system. See Climate Control (page 141).
911 Assist WARNINGS
Unless the 911 Assist setting is set on
before a crash, the system will not dial
for help which could delay response time,
potentially increasing the risk of serious
injury or death after a crash. setting is set on
before a crash, the system will not dial for
help which could delay response time,
potentially increasing the risk of serious
injury or death after a crash. WARNINGS
Do not wait for 911 Assist to make an
emergency call if you can do it yourself.
Dial emergency services immediately to
avoid delayed response time which could
increase the risk of serious injury or death
after a crash. If you do not hear 911 Assist
within five seconds of the crash, the system
or phone may be damaged or non-functional. Always place your phone in a secure
location in your vehicle so it does not
become a projectile or get damaged in a
crash. Failure to do so may cause serious
injury to someone or damage the phone
which could prevent 911 Assist from working
properly. Note:
The SYNC 911 Assist feature must be
set on before the incident.
Note: The SYNC 911 Assist feature only
operates in the U.S., Canada or in a territory
in which 911 is the emergency number.
Note: Before setting this feature on, make
sure that you read the 911 Assist Privacy
Notice later in this section for important
information.
410
Continental (CPL) Canada/United States of America, enUSA, First Printing SYNC™ 3