Page 102 of 470

Features of your vehicle
32
4
Heated steering wheel
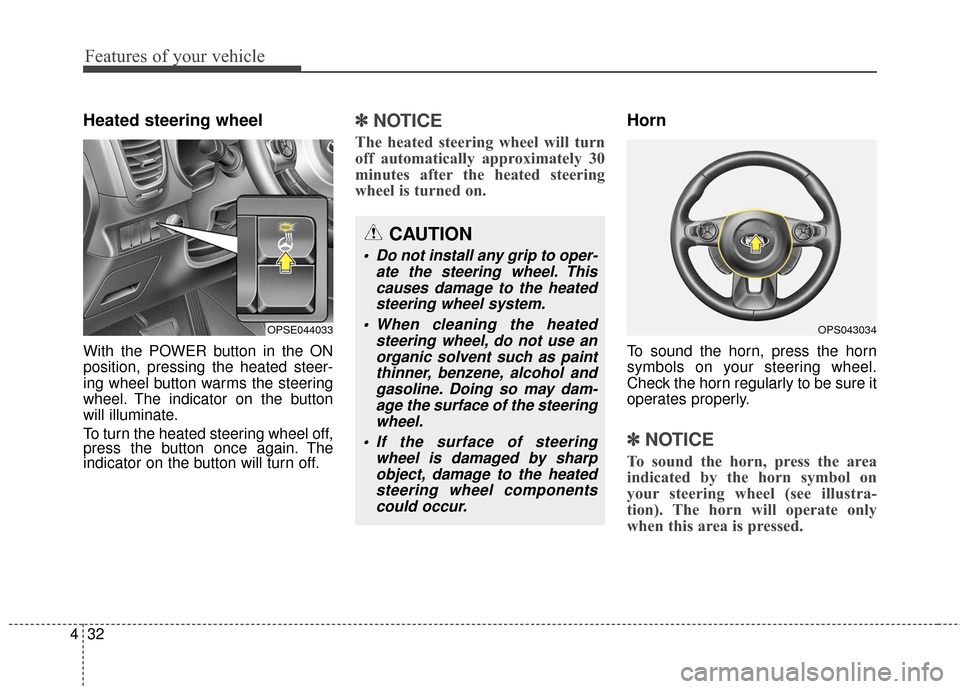
With the POWER button in the ON
position, pressing the heated steer-
ing wheel button warms the steering
wheel. The indicator on the button
will illuminate.
To turn the heated steering wheel off,
press the button once again. The
indicator on the button will turn off.
✽ ✽
NOTICE
The heated steering wheel will turn
off automatically approximately 30
minutes after the heated steering
wheel is turned on.
Horn
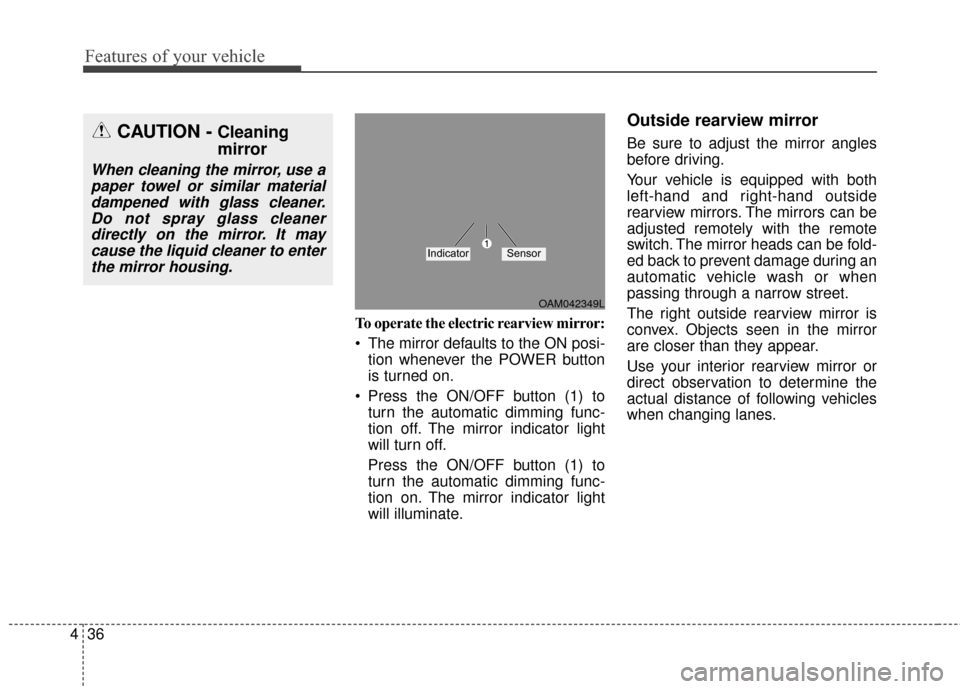
To sound the horn, press the horn
symbols on your steering wheel.
Check the horn regularly to be sure it
operates properly.
✽ ✽NOTICE
To sound the horn, press the area
indicated by the horn symbol on
your steering wheel (see illustra-
tion). The horn will operate only
when this area is pressed.
OPSE044033OPS043034
CAUTION
Do not install any grip to oper-
ate the steering wheel. Thiscauses damage to the heatedsteering wheel system.
When cleaning the heated steering wheel, do not use anorganic solvent such as paintthinner, benzene, alcohol andgasoline. Doing so may dam-age the surface of the steeringwheel.
If the surface of steering wheel is damaged by sharpobject, damage to the heatedsteering wheel componentscould occur.
Page 104 of 470
Features of your vehicle
34
4
Sport mode
The steering wheel becomes heav-
ier. The sport mode is usually used
when driving on the highway.
Comfort mode
The steering wheel becomes lighter.
The comfort mode is usually used
when driving in the city or when park-
ing the vehicle. For your safety, if you press the
steering mode button while operat-
ing the steering wheel, but the
steering effort will not change
immediately. After operating the
steering wheel, the steering effort
will change automatically to the
selected mode.
Use caution when changing the steering mode while driving.
When the electronic power steer- ing is not operating properly, the
flex steering wheel will not work.
OPSE044130OPSE044131L
Page 106 of 470

Features of your vehicle
36
4
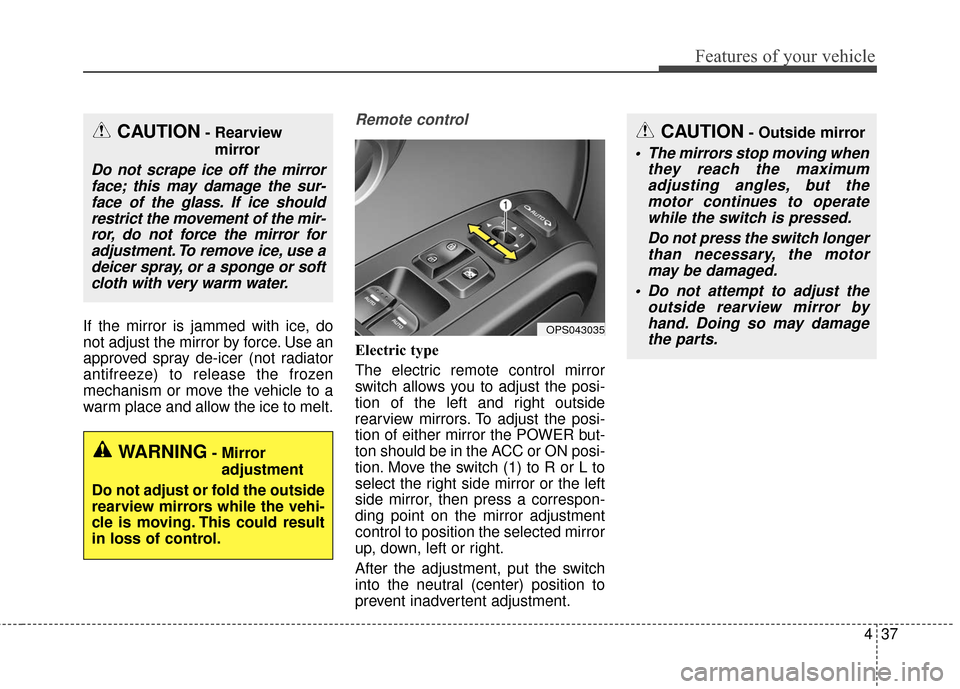
To operate the electric rearview mirror:
The mirror defaults to the ON posi-
tion whenever the POWER button
is turned on.
Press the ON/OFF button (1) to turn the automatic dimming func-
tion off. The mirror indicator light
will turn off.
Press the ON/OFF button (1) to
turn the automatic dimming func-
tion on. The mirror indicator light
will illuminate.
Outside rearview mirror
Be sure to adjust the mirror angles
before driving.
Your vehicle is equipped with both
left-hand and right-hand outside
rearview mirrors. The mirrors can be
adjusted remotely with the remote
switch. The mirror heads can be fold-
ed back to prevent damage during an
automatic vehicle wash or when
passing through a narrow street.
The right outside rearview mirror is
convex. Objects seen in the mirror
are closer than they appear.
Use your interior rearview mirror or
direct observation to determine the
actual distance of following vehicles
when changing lanes.CAUTION - Cleaning
mirror
When cleaning the mirror, use apaper towel or similar materialdampened with glass cleaner.Do not spray glass cleanerdirectly on the mirror. It maycause the liquid cleaner to enterthe mirror housing.
OAM042349L
IndicatorSensor
Page 107 of 470

437
Features of your vehicle
If the mirror is jammed with ice, do
not adjust the mirror by force. Use an
approved spray de-icer (not radiator
antifreeze) to release the frozen
mechanism or move the vehicle to a
warm place and allow the ice to melt.
Remote control
Electric type
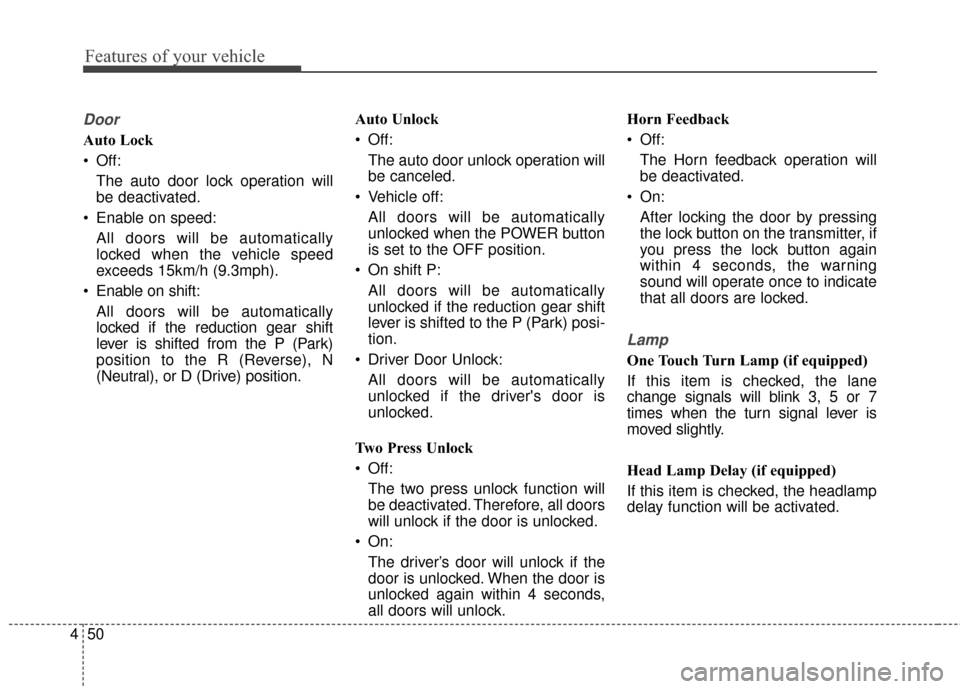
The electric remote control mirror
switch allows you to adjust the posi-
tion of the left and right outside
rearview mirrors. To adjust the posi-
tion of either mirror the POWER but-
ton should be in the ACC or ON posi-
tion. Move the switch (1) to R or L to
select the right side mirror or the left
side mirror, then press a correspon-
ding point on the mirror adjustment
control to position the selected mirror
up, down, left or right.
After the adjustment, put the switch
into the neutral (center) position to
prevent inadvertent adjustment.
CAUTION- Rearviewmirror
Do not scrape ice off the mirrorface; this may damage the sur-face of the glass. If ice shouldrestrict the movement of the mir-ror, do not force the mirror foradjustment. To remove ice, use adeicer spray, or a sponge or softcloth with very warm water.
WARNING- Mirror
adjustment
Do not adjust or fold the outside
rearview mirrors while the vehi-
cle is moving. This could result
in loss of control.
OPS043035
CAUTION- Outside mirror
The mirrors stop moving when they reach the maximumadjusting angles, but themotor continues to operatewhile the switch is pressed.
Do not press the switch longerthan necessary, the motormay be damaged.
Do not attempt to adjust the outside rearview mirror byhand. Doing so may damagethe parts.
Page 109 of 470
439
Features of your vehicle
Outside mirror defroster
The outside mirror defroster will
operate at the same time you turn on
the rear window defroster.
CAUTION - Electric type
outside rearview mirror
The electric type outside rearview mirror operates eventhough the POWER button is inthe OFF position. However, toprevent unnecessary battery dis-charge, do not adjust the mirrorslonger than necessary while thevehicle is in not the ready ( )mode. In case it is an electrictype outside rearview mirror,don’t fold it by hand. It couldcause motor failure.
OPSE045309N
OPS043152
■ Type B
■Type A
Page 111 of 470
441
Features of your vehicle
Instrument Cluster Control
Adjusting Instrument ClusterIllumination
The brightness of the instrument
panel illumination is changed by
pressing the illumination control but-
ton ("+" or "-") when the POWER but-
ton is ON, or the tail lights are turned
on. If you hold the illumination control
button ("+" or "-"), the brightness
will be changed continuously.
If the brightness reaches to the maximum or minimum level, an
alarm will sound.
LCD Display Control
The LCD display modes can be
changed by using the control buttons
on the steering wheel.
(1) : MODE button for changing modes or SELECT button
for setting the selected item
(2) : MOVE button for changing items or RESET button for
resetting the selected item
❈ For the LCD modes, refer to “LCD
Display” in this chapter.OPSE044039
OPSE044117L
OPS043040
Page 118 of 470
Features of your vehicle
48
4
A/V Mode
This mode displays the state of the
A/V system.
Service Mode
Service Interval
Service interval
It calculates and displays when you
need a scheduled maintenance
service (mileage or days).
If the remaining mileage or time
reaches 1,500 km (1,500 mi.) or 30
days, "Service Interval" message is
displayed for several seconds each
time you set the POWER button to
the ON position. Service required
If you do not have your vehicle serv-
iced according to the already inputted
service interval, “Service required”
message is displayed for several sec-
onds each time you set the POWER
button to the ON position (The mileage
and time changes to "---").
To reset the service interval to the
mileage and days you inputted before:
- Press the RESET button for
more than 1 second.
OPSE044266L
OPSE044274L
OPSE044242
Page 120 of 470

Features of your vehicle
50
4
Door
Auto Lock
Off:
The auto door lock operation will
be deactivated.
Enable on speed: All doors will be automatically
locked when the vehicle speed
exceeds 15km/h (9.3mph).
Enable on shift: All doors will be automatically
locked if the reduction gear shift
lever is shifted from the P (Park)
position to the R (Reverse), N
(Neutral), or D (Drive) position. Auto Unlock
Off:
The auto door unlock operation will
be canceled.
Vehicle off: All doors will be automatically
unlocked when the POWER button
is set to the OFF position.
On shift P: All doors will be automatically
unlocked if the reduction gear shift
lever is shifted to the P (Park) posi-
tion.
Driver Door Unlock: All doors will be automatically
unlocked if the driver's door is
unlocked.
Two Press Unlock
Off: The two press unlock function will
be deactivated. Therefore, all doors
will unlock if the door is unlocked.
On: The driver’s door will unlock if the
door is unlocked. When the door is
unlocked again within 4 seconds,
all doors will unlock. Horn Feedback
Off:
The Horn feedback operation will
be deactivated.
On: After locking the door by pressing
the lock button on the transmitter, if
you press the lock button again
within 4 seconds, the warning
sound will operate once to indicate
that all doors are locked.
Lamp
One Touch Turn Lamp (if equipped)
If this item is checked, the lane
change signals will blink 3, 5 or 7
times when the turn signal lever is
moved slightly.
Head Lamp Delay (if equipped)
If this item is checked, the headlamp
delay function will be activated.