Page 184 of 470
Features of your vehicle
114
4
AUTO DEFOGGING SYSTEM
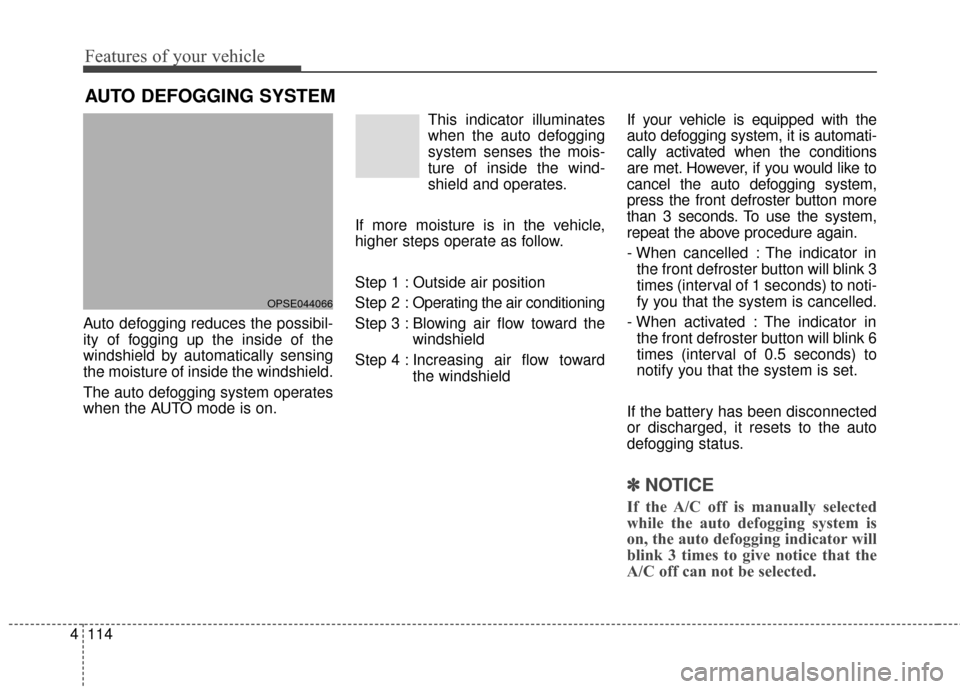
Auto defogging reduces the possibil-
ity of fogging up the inside of the
windshield by automatically sensing
the moisture of inside the windshield.
The auto defogging system operates
when the AUTO mode is on. This indicator illuminates
when the auto defogging
system senses the mois-
ture of inside the wind-
shield and operates.
If more moisture is in the vehicle,
higher steps operate as follow.
Step 1 : Outside air position
Step 2 : Operating the air conditioning
Step 3 : Blowing air flow toward the windshield
Step 4 : Increasing air flow toward the windshield If your vehicle is equipped with the
auto defogging system, it is automati-
cally activated when the conditions
are met. However, if you would like to
cancel the auto defogging system,
press the front defroster button more
than 3 seconds. To use the system,
repeat the above procedure again.
- When cancelled : The indicator in
the front defroster button will blink 3
times (interval of 1 seconds) to noti-
fy you that the system is cancelled.
- When activated : The indicator in the front defroster button will blink 6
times (interval of 0.5 seconds) to
notify you that the system is set.
If the battery has been disconnected
or discharged, it resets to the auto
defogging status.
✽ ✽ NOTICE
If the A/C off is manually selected
while the auto defogging system is
on, the auto defogging indicator will
blink 3 times to give notice that the
A/C off can not be selected.
OPSE044066
Page 261 of 470
Driving your vehicle
16
5
Power brakes
Your vehicle's brake system is
power-assisted by the electric
hydraulic pump.
In the event the brakes lose power
because of a brake control system
malfunction, unstable power supply
or some other reason, you can still
stop your vehicle by applying greater
force to the brake pedal than you
normally would. The stopping dis-
tance, however will be longer. Please
have the system checked as soon as
possible.
If the brake pedal does not return to
its normal position when released,
there may be a malfunction in the
brake system. Take your vehicle to
an authorized Kia dealer and have
the system checked. Wet brakes may impair the vehicle’s
ability to safely slow down; the vehi-
cle may also pull to one side when
the brakes are applied. Applying the
brakes lightly will indicate whether
they have been affected in this way.
Always test your brakes in this fash-
ion after driving through deep water.
To dry the brakes, apply them lightly
while maintaining a safe forward
speed until brake performance
returns to normal.
BRAKE SYSTEM
WARNING- Steep hill
braking
Avoid continuous application of
the brakes when descending a
long or steep hill by shifting to a
lower gear. Continuous brake
application will cause the brakes
to overheat and could result in a
temporary loss of braking per-
formance.WARNING
Do not turn off the vehicle while
going down a hill. The brake
booster may not work suffi-
ciently and the braking distance
may be longer.
CAUTION
Do not depress the brake pedal continuously without READY( ) status. The battery may bedischarged.
CAUTION- Brake Pedal
Do not drive with your foot rest-ing on the brake pedal. This willcreate abnormally high braketemperatures which can causeexcessive brake lining and padwear.
Page 301 of 470
65
What to do in an emergency
EMERGENCY STARTING
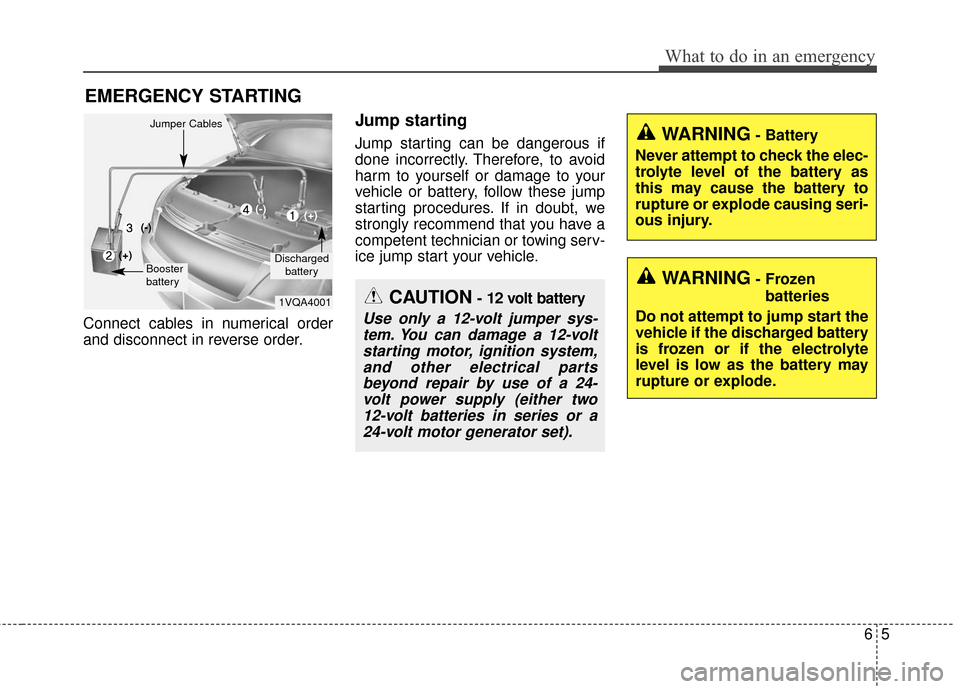
Connect cables in numerical order
and disconnect in reverse order.
Jump starting
Jump starting can be dangerous if
done incorrectly. Therefore, to avoid
harm to yourself or damage to your
vehicle or battery, follow these jump
starting procedures. If in doubt, we
strongly recommend that you have a
competent technician or towing serv-
ice jump start your vehicle.
CAUTION- 12 volt battery
Use only a 12-volt jumper sys-tem. You can damage a 12-voltstarting motor, ignition system,and other electrical partsbeyond repair by use of a 24-volt power supply (either two12-volt batteries in series or a24-volt motor generator set).
WARNING- Battery
Never attempt to check the elec-
trolyte level of the battery as
this may cause the battery to
rupture or explode causing seri-
ous injury.
1VQA4001
Discharged battery
Jumper Cables
Booster
battery
(-)
(+)
(+)(-)
WARNING- Frozenbatteries
Do not attempt to jump start the
vehicle if the discharged battery
is frozen or if the electrolyte
level is low as the battery may
rupture or explode.
Page 302 of 470
What to do in an emergency
66
Jump starting procedure
1. Make sure the booster battery is12-volt and that its negative termi-
nal is grounded.
2. If the booster battery is in another vehicle, do not allow the vehicles
to come in contact.
3. Turn off all unnecessary electrical loads.
4. Connect the jumper cables in the exact sequence shown in the illus-
tration. First connect one end of a
jumper cable to the positive termi-
nal of the discharged battery (1),
then connect the other end to the
positive terminal of the booster
battery (2).
Proceed to connect one end of the
other jumper cable to the negative
terminal of the booster battery (3),
then the other end to a solid, sta-
tionary, metallic point away from
the battery (4). Do not connect it to
or near any part that moves when
the vehicle is started. Do not allow the jumper cables to
contact anything except the cor-
rect battery terminals or the cor-
rect ground. Do not lean over the
battery when making connections.WARNING- Battery
Keep all flames or sparks away
from the battery. The battery
produces hydrogen gas which
will explode if exposed to flame
or sparks.
WARNING- Sulfuric acid risk
When jump starting your vehicle
be careful not to get acid on
yourself, your clothing or on the
vehicle. Automobile batteries
contain sulfuric acid. This is poi-
sonous and highly corrosive.
WARNING- Battery cables
Do not connect the jumper cable
from the negative terminal of the
booster battery to the negative
terminal of the discharged bat-
tery. This can cause the dis-
charged battery to overheat and
crack, releasing battery acid.
Page 303 of 470
67
What to do in an emergency
5. Start the vehicle with the boosterbattery and the auxiliary battery
begins to charge when EV ready
light glows, then start the vehicle
with the discharged battery. If the
first starting attempt is not suc-
cessful, wait a few minutes before
making another attempt in order to
allow the discharged battery to
recharge.
If the cause of your battery discharg-ing is not apparent, you should haveyour vehicle checked by an author-ized Kia dealer.
Push-starting
Your reduction gear equipped vehicle
should not be push-started.
WARNING- Tow starting
vehicle
Never tow a vehicle to start it
because the sudden surge for-
ward when the engine starts
could cause a collision with the
towing vehicle.
Page 351 of 470
Maintenance
32
7
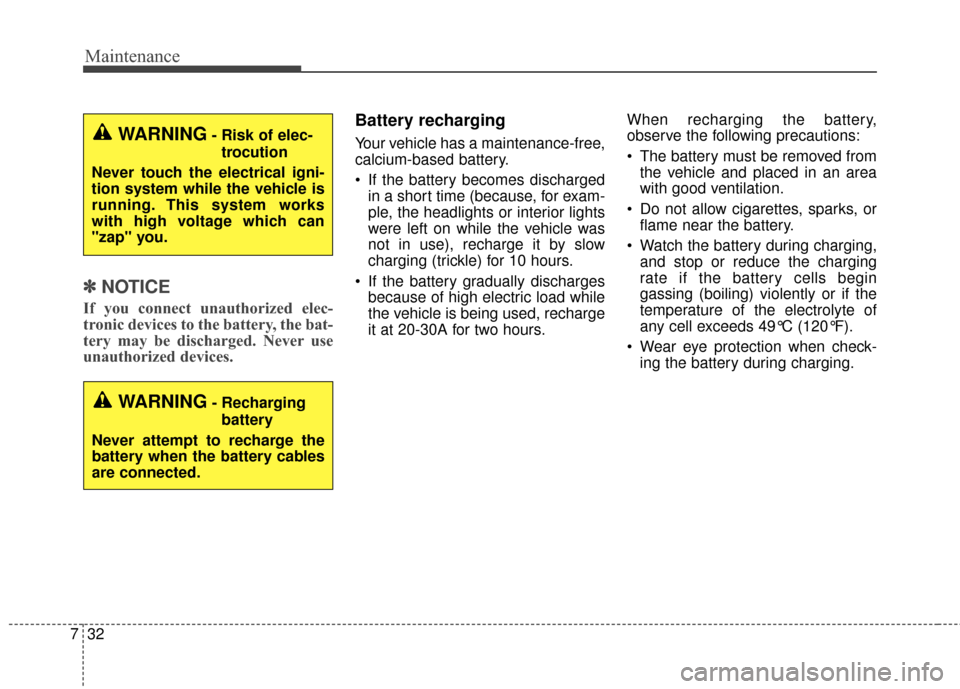
✽ ✽
NOTICE
If you connect unauthorized elec-
tronic devices to the battery, the bat-
tery may be discharged. Never use
unauthorized devices.
Battery recharging
Your vehicle has a maintenance-free,
calcium-based battery.
If the battery becomes discharged
in a short time (because, for exam-
ple, the headlights or interior lights
were left on while the vehicle was
not in use), recharge it by slow
charging (trickle) for 10 hours.
If the battery gradually discharges because of high electric load while
the vehicle is being used, recharge
it at 20-30A for two hours. When recharging the battery,
observe the following precautions:
The battery must be removed from
the vehicle and placed in an area
with good ventilation.
Do not allow cigarettes, sparks, or flame near the battery.
Watch the battery during charging, and stop or reduce the charging
rate if the battery cells begin
gassing (boiling) violently or if the
temperature of the electrolyte of
any cell exceeds 49°C (120°F).
Wear eye protection when check- ing the battery during charging.WARNING- Risk of elec-
trocution
Never touch the electrical igni-
tion system while the vehicle is
running. This system works
with high voltage which can
"zap" you.
WARNING- Recharging battery
Never attempt to recharge the
battery when the battery cables
are connected.
Page 352 of 470
733
Maintenance
Disconnect the battery charger inthe following order:
1. Turn off the battery charger main switch.
2. Unhook the negative clamp from the negative battery terminal.
3. Unhook the positive clamp from the positive battery terminal.
Before performing maintenance or recharging the battery, turn off all
accessories and stop the vehicle.
The negative battery cable must be removed first and installed last
when the battery is disconnected.Reset items
Items should be reset after the bat-
tery has been discharged or the bat-
tery has been disconnected.
Auto up/down window (See chapter 4)
Trip computer (See chapter 4)
Climate control system (See chapter 4)
Audio (See chapter 4)
Page 369 of 470
Maintenance
50
7
Fuse switch
Always, put the fuse switch at the ON
position.
If you move the switch to the OFF
position, some items such as audio
and digital clock must be reset and
transmitter (or smart key) may not
work properly.
✽ ✽
NOTICE
If you need to park your vehicle for
prolonged periods more than 1
month, move the transportation fuse
switch to the OFF position to pre-
vent the battery being discharged.
Motor compartment fuse
replacement
1. Turn the ignition switch and all
other switches off.
2. Remove the fuse panel cover by pressing the tab and pulling the
cover up.
3. Check the removed fuse; replace it if it is blown. To remove or insert
the fuse, use the fuse puller in the
motor compartment fuse panel.
4. Push in a new fuse of the same rating, and make sure it fits tightly
in the clips. If it fits loosely, consult
an authorized Kia dealer.
OPSE074009
OPSE075008N