Page 342 of 586
![KIA SEDONA 2017 Owners Manual 4 240
Features of your vehicle
Setup
Access Display, Sound, Bluetooth,
System and Display Off settings.
Select the [SETUP]button on the
audio system.
Display
Select the [SETUP] button on the
audio sy KIA SEDONA 2017 Owners Manual 4 240
Features of your vehicle
Setup
Access Display, Sound, Bluetooth,
System and Display Off settings.
Select the [SETUP]button on the
audio system.
Display
Select the [SETUP] button on the
audio sy](/manual-img/2/40453/w960_40453-341.png)
4 240
Features of your vehicle
Setup
Access Display, Sound, Bluetooth,
System and Display Off settings.
Select the [SETUP]button on the
audio system.
Display
Select the [SETUP] button on the
audio system ➟ Select [Display].
Mode: Audio screen brightness can be adjusted to the time of day.
Illumination: The brightness of the audio screen can be changed.
Sound
Select the [SETUP] button on the
audio system ➟ Select [Sound].
Position: Sound balance and pan- ning can be adjusted.
Tone: Sound tone color can be adjusted.
Speed Dependent Volume: Automatically adjust volume based
on vehicle speed.
Beep: Select whether to play a sound when the screen is touched.
Bluetooth
Select the [SETUP] button on the
audio system ➟ Select [Bluetooth].
Connections: Control pairing, dele- tion, connection and disconnection
of
Bluetooth®Wireless Technology
devices.
Auto Connection Priority: Set the connection priority of
Bluetooth®
Wireless Technology devices when
the vehicle is started.
Download Contacts: Contacts can be downloaded from connected
Bluetooth®Wireless Technology
devices.
Bluetooth Voice Prompts: Play or mute voice prompts for
Bluetooth®
Wireless Technology device pair-
ing, connection and errors.
Page 343 of 586
241
4
Features of your vehicle
✽ ✽
NOTICE
• When paired devices are deleted,
the call history and contacts of the
device saved to the audio system
are deleted.
• For Bluetooth
®Wireless Technology
connections with low connection
priority, some time may be
required for the connection to be
established.
• Contacts can be downloaded only from the currently connected
Bluetooth
®Wireless Technology
device.
If no Bluetooth
®Wireless
Technology device is connected,
the download contacts button is
disabled.
• If the language setting is Korean, Bluetooth
®Wireless Technology
voice prompts are not supported.
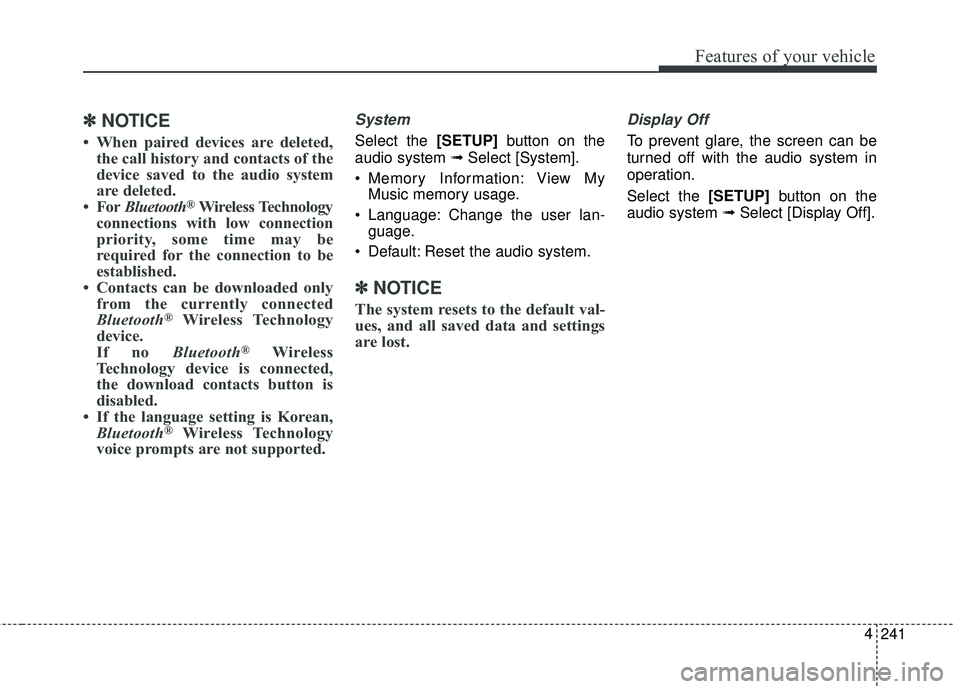
System
Select the [SETUP] button on the
audio system ➟ Select [System].
Memory Information: View My Music memory usage.
Language: Change the user lan- guage.
Default: Reset the audio system.
✽ ✽ NOTICE
The system resets to the default val-
ues, and all saved data and settings
are lost.
Display Off
To prevent glare, the screen can be
turned off with the audio system in
operation.
Select the [SETUP] button on the
audio system ➟ Select [Display Off].
Page 347 of 586
53
Driving your vehicle
Be sure the exhaust system
does not leak.
The exhaust system should be
checked whenever the vehicle is
raised to change the oil or for any
other purpose. If you hear a change
in the sound of the exhaust or if you
drive over something that strikes the
underneath side of the vehicle, have
the exhaust system checked as soon
as possible by an authorized Kia
dealer.
WARNING- Engineexhaust
Do not inhale exhaust fumes or
leave your engine running in a
enclosed area for a prolonged
time. Exhaust fumes contain
carbon monoxide, a colorless,
odorless gas that can cause
unconsciousness and death by
asphyxiation.
WARNING- Open tailgate
Do not drive with the tailgate
open. Poisonous exhaust gases
can enter the passenger com-
partment If you must drive with
the tailgate open proceed as fol-
lows:
1. Close all windows.
2. Open side vents.
3. Set the air intake control at "Fresh", the air flow control at
"Floor" or "Face" and the fan
at the highest speed.
Page 353 of 586
59
Driving your vehicle
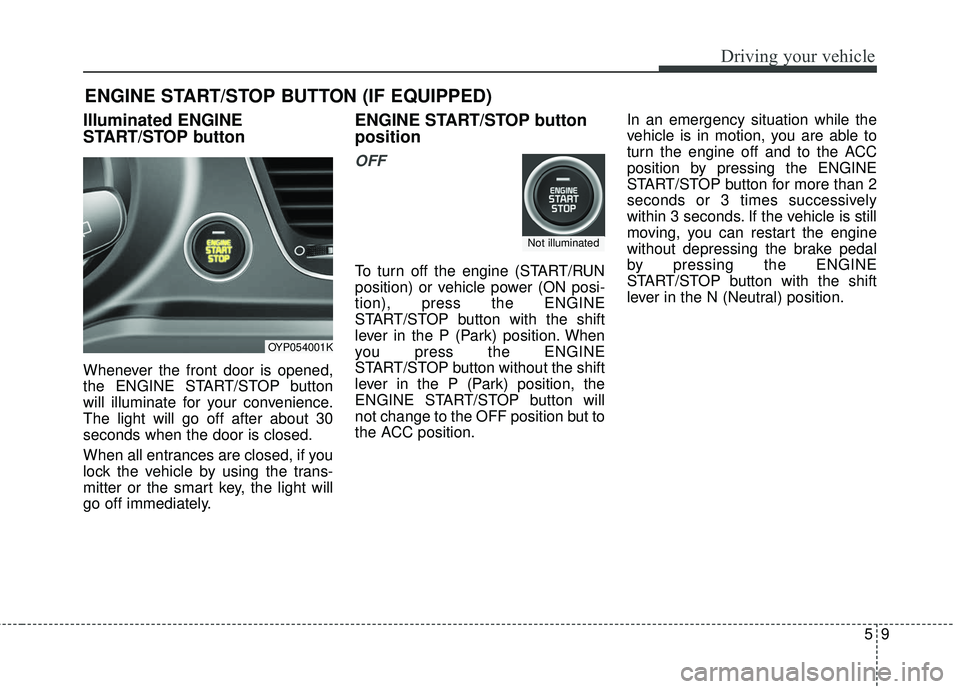
Illuminated ENGINE
START/STOP button
Whenever the front door is opened,
the ENGINE START/STOP button
will illuminate for your convenience.
The light will go off after about 30
seconds when the door is closed.
When all entrances are closed, if you
lock the vehicle by using the trans-
mitter or the smart key, the light will
go off immediately.
ENGINE START/STOP button
position
OFF
To turn off the engine (START/RUN
position) or vehicle power (ON posi-
tion), press the ENGINE
START/STOP button with the shift
lever in the P (Park) position. When
you press the ENGINE
START/STOP button without the shift
lever in the P (Park) position, the
ENGINE START/STOP button will
not change to the OFF position but to
the ACC position.In an emergency situation while the
vehicle is in motion, you are able to
turn the engine off and to the ACC
position by pressing the ENGINE
START/STOP button for more than 2
seconds or 3 times successively
within 3 seconds. If the vehicle is still
moving, you can restart the engine
without depressing the brake pedal
by pressing the ENGINE
START/STOP button with the shift
lever in the N (Neutral) position.
ENGINE START/STOP BUTTON (IF EQUIPPED)
OYP054001K
Not illuminated
Page 354 of 586
Driving your vehicle
10
5
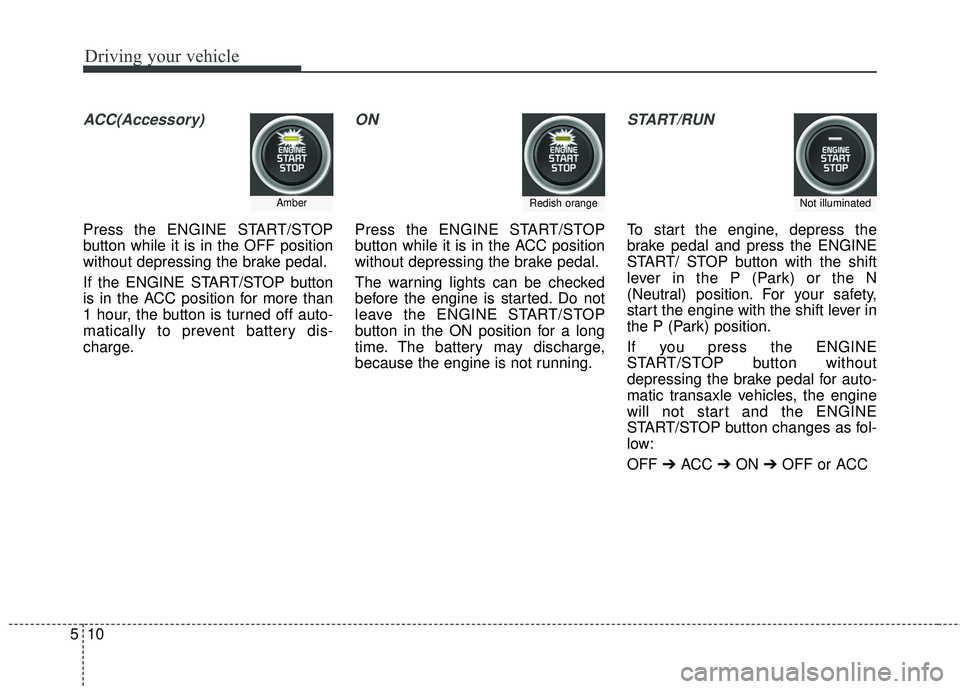
ACC(Accessory)
Press the ENGINE START/STOP
button while it is in the OFF position
without depressing the brake pedal.
If the ENGINE START/STOP button
is in the ACC position for more than
1 hour, the button is turned off auto-
matically to prevent battery dis-
charge.
ON
Press the ENGINE START/STOP
button while it is in the ACC position
without depressing the brake pedal.
The warning lights can be checked
before the engine is started. Do not
leave the ENGINE START/STOP
button in the ON position for a long
time. The battery may discharge,
because the engine is not running.
START/RUN
To start the engine, depress the
brake pedal and press the ENGINE
START/ STOP button with the shift
lever in the P (Park) or the N
(Neutral) position. For your safety,
start the engine with the shift lever in
the P (Park) position.
If you press the ENGINE
START/STOP button without
depressing the brake pedal for auto-
matic transaxle vehicles, the engine
will not start and the ENGINE
START/STOP button changes as fol-
low:
OFF ➔ACC ➔ON ➔OFF or ACC
AmberRedish orangeNot illuminated
Page 359 of 586
515
Driving your vehicle
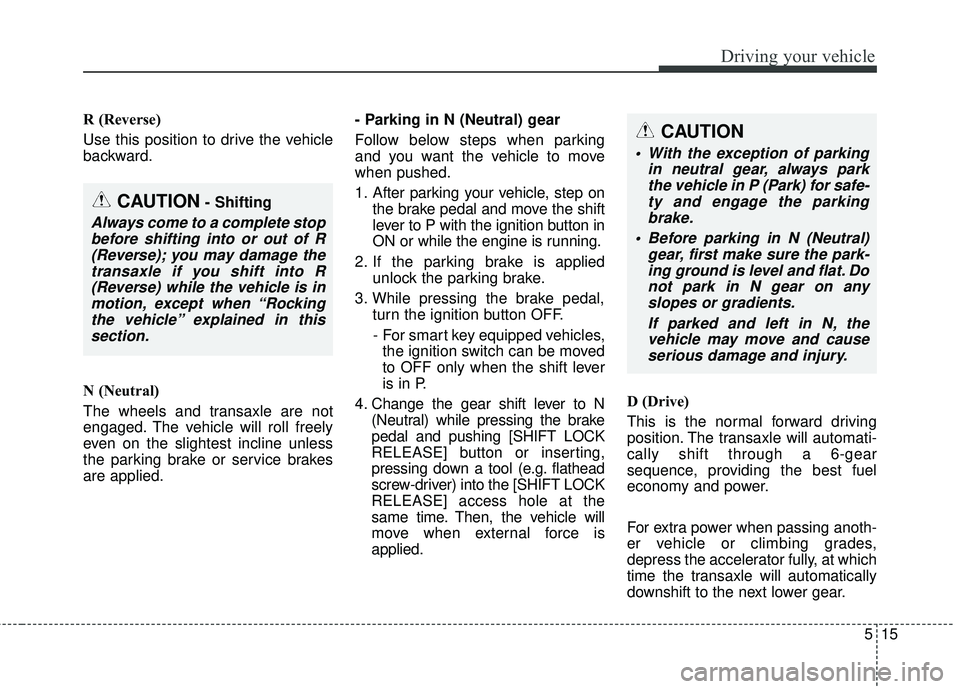
R (Reverse)
Use this position to drive the vehicle
backward.
N (Neutral)
The wheels and transaxle are not
engaged. The vehicle will roll freely
even on the slightest incline unless
the parking brake or service brakes
are applied.- Parking in N (Neutral) gear
Follow below steps when parking
and you want the vehicle to move
when pushed.
1. After parking your vehicle, step on
the brake pedal and move the shift
lever to P with the ignition button in
ON or while the engine is running.
2. If the parking brake is applied unlock the parking brake.
3. While pressing the brake pedal, turn the ignition button OFF.
- For smart key equipped vehicles, the ignition switch can be moved
to OFF only when the shift lever
is in P.
4. Change the gear shift lever to N (Neutral) while pressing the brake
pedal and pushing [SHIFT LOCK
RELEASE] button or inserting,
pressing down a tool (e.g. flathead
screw-driver) into the [SHIFT LOCK
RELEASE] access hole at the
same time. Then, the vehicle will
move when external force is
applied. D (Drive)
This is the normal forward driving
position. The transaxle will automati-
cally shift through a 6-gear
sequence, providing the best fuel
economy and power.
For extra power when passing anoth-
er vehicle or climbing grades,
depress the accelerator fully, at which
time the transaxle will automatically
downshift to the next lower gear.
CAUTION- Shifting
Always come to a complete stop
before shifting into or out of R(Reverse); you may damage thetransaxle if you shift into R(Reverse) while the vehicle is inmotion, except when “Rockingthe vehicle” explained in thissection.
CAUTION
With the exception of parking in neutral gear, always parkthe vehicle in P (Park) for safe-ty and engage the parkingbrake.
Before parking in N (Neutral) gear, first make sure the park-ing ground is level and flat. Donot park in N gear on anyslopes or gradients.
If parked and left in N, thevehicle may move and causeserious damage and injury.
Page 396 of 586
Driving your vehicle
52
5
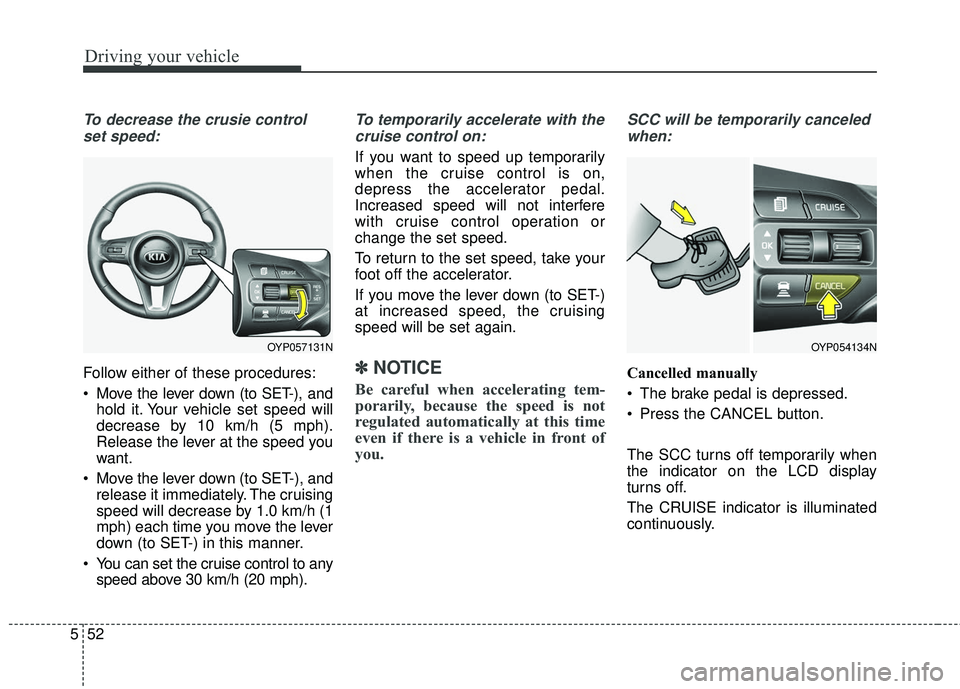
To decrease the crusie control
set speed:
Follow either of these procedures:
Move the lever down (to SET-), and hold it. Your vehicle set speed will
decrease by 10 km/h (5 mph).
Release the lever at the speed you
want.
Move the lever down (to SET-), and release it immediately. The cruising
speed will decrease by 1.0 km/h (1
mph) each time you move the lever
down (to SET-) in this manner.
You can set the cruise control to any speed above 30 km/h (20 mph).
To temporarily accelerate with the
cruise control on:
If you want to speed up temporarily
when the cruise control is on,
depress the accelerator pedal.
Increased speed will not interfere
with cruise control operation or
change the set speed.
To return to the set speed, take your
foot off the accelerator.
If you move the lever down (to SET-)
at increased speed, the cruising
speed will be set again.
✽ ✽ NOTICE
Be careful when accelerating tem-
porarily, because the speed is not
regulated automatically at this time
even if there is a vehicle in front of
you.
SCC will be temporarily canceled
when:
Cancelled manually
The brake pedal is depressed.
Press the CANCEL button.
The SCC turns off temporarily when
the indicator on the LCD display
turns off.
The CRUISE indicator is illuminated
continuously.
OYP054134NOYP057131N
Page 399 of 586
555
Driving your vehicle
Vehicle to vehicle distance
setting (SCC)
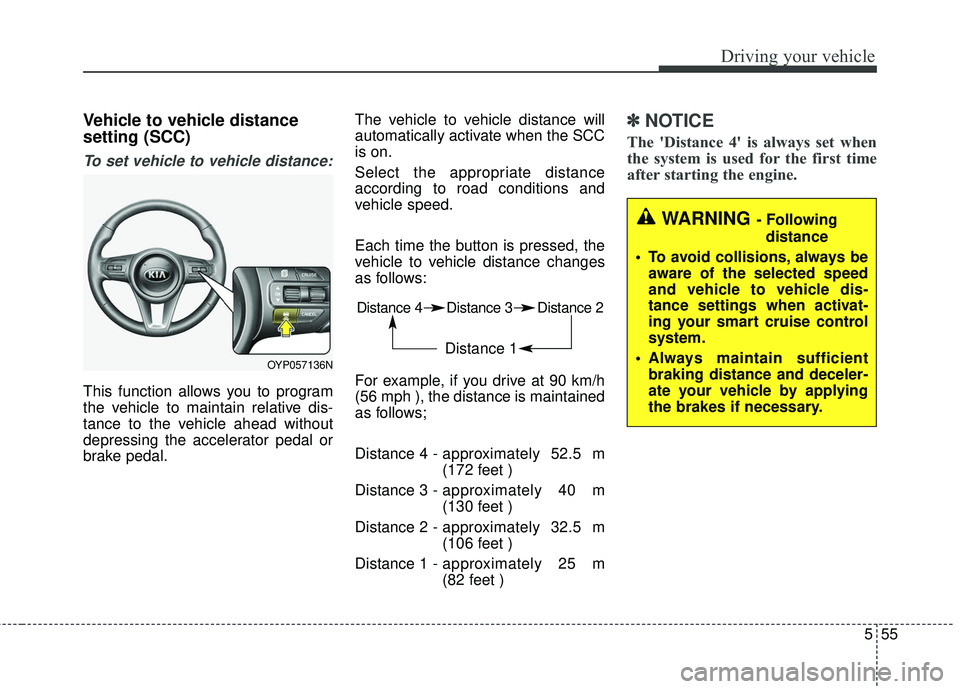
To set vehicle to vehicle distance:
This function allows you to program
the vehicle to maintain relative dis-
tance to the vehicle ahead without
depressing the accelerator pedal or
brake pedal.The vehicle to vehicle distance will
automatically activate when the SCC
is on.
Select the appropriate distance
according to road conditions and
vehicle speed.
Each time the button is pressed, the
vehicle to vehicle distance changes
as follows:
For example, if you drive at 90 km/h
(56 mph ), the distance is maintained
as follows;
Distance 4 -
approximately 52.5 m
(172 feet )
Distance 3 - approximately 40 m
(130 feet )
Distance 2 - approximately 32.5 m
(106 feet )
Distance 1 - approximately 25 m
(82 feet )
✽ ✽
NOTICE
The 'Distance 4' is always set when
the system is used for the first time
after starting the engine.
Distance 4 Distance 3 Distance 2
Distance 1
WARNING - Following
distance
To avoid collisions, always be aware of the selected speed
and vehicle to vehicle dis-
tance settings when activat-
ing your smart cruise control
system.
Always maintain sufficient braking distance and deceler-
ate your vehicle by applying
the brakes if necessary.
OYP057136N