2017 KIA RIO remote control
[x] Cancel search: remote controlPage 72 of 449
4
Keys / 4-3
Smart key / 4-5
Remote keyless entry / 4-8
Theft-alarm system / 4-13
Door locks / 4-16
Trunk / 4-20
Tailgate / 4-22
Windows / 4-24
Hood / 4-28
Fuel filler lid / 4-30
Sunroof / 4-33
Steering wheel / 4-37
Mirrors / 4-40
Instrument cluster / 4-43
Rear-Camera Display / 4-71
Hazard warning flasher / 4-72
Lighting / 4-73
Wipers and washers / 4-77
Interior light / 4-81
Defroster / 4-83
Manual climate control system / 4-84
Automatic climate control system / 4-94
Features of your vehicle
Page 111 of 449
Features of your vehicle
40
4
Inside rearview mirror
Adjust the rearview mirror so that the
center view through the rear window is
seen. Make this adjustment before you
start driving.
Do not place objects in the rear seat
which would interfere with your vision
through the rear window.
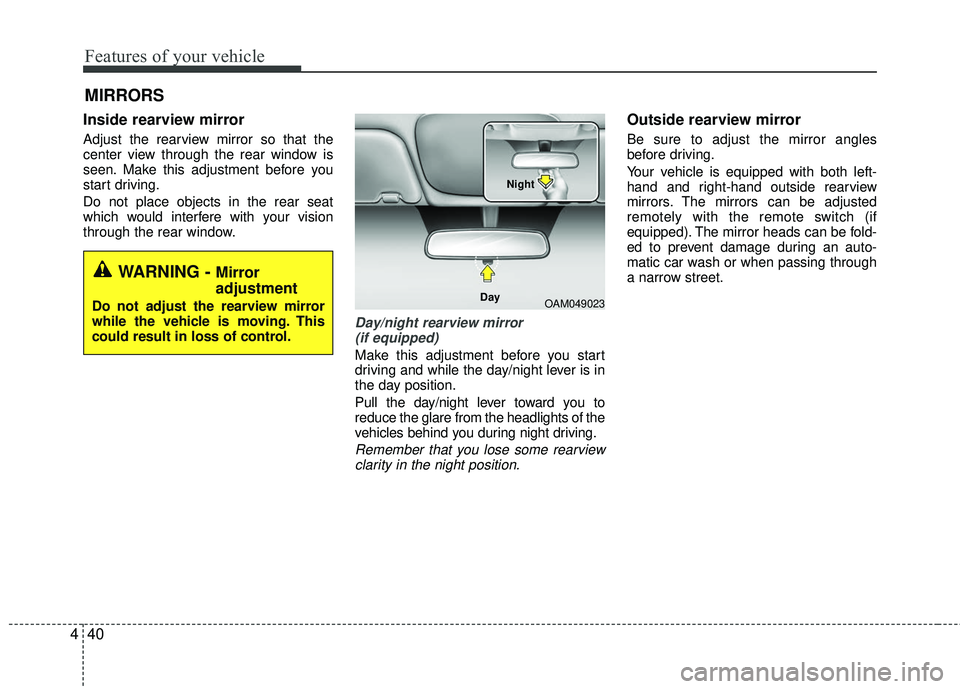
Day/night rearview mirror
(if equipped)
Make this adjustment before you start
driving and while the day/night lever is in
the day position.
Pull the day/night lever toward you to
reduce the glare from the headlights of the
vehicles behind you during night driving.
Remember that you lose some rearviewclarity in the night position.
Outside rearview mirror
Be sure to adjust the mirror angles
before driving.
Your vehicle is equipped with both left-
hand and right-hand outside rearview
mirrors. The mirrors can be adjusted
remotely with the remote switch (if
equipped). The mirror heads can be fold-
ed to prevent damage during an auto-
matic car wash or when passing through
a narrow street.
MIRRORS
WARNING - Mirror
adjustment
Do not adjust the rearview mirror
while the vehicle is moving. This
could result in loss of control.OAM049023
Day Night
Page 112 of 449

441
Features of your vehicle
The right outside rearview mirror is con-
vex. Objects seen in the mirror are closer
than they appear.
Use your interior rearview mirror or direct
observation to determine the actual dis-
tance of following vehicles when chang-
ing lanes.
Remote control
Electric type
The electric remote control mirror switch
allows you to adjust the position of the
left and right outside rearview mirrors. To
adjust the position of either mirror the
ignition switch should be in the ACC or
ON position.Move the lever (1) to R or L to select the
right side mirror or the left side mirror,
then press a corresponding point on the
mirror adjustment control to position the
selected mirror up, down, left or right.
After the adjustment, put the lever into
neutral (center) position to prevent inad-
vertent adjustment.
CAUTION - Rearview
mirror
Do not scrape ice off the mirror
face; this may damage the surfaceof the glass. If ice should restrictmovement of the mirror, do not forcethe mirror for adjustment. To removeice, use a deicer spray, or a spongeor soft cloth with very warm water.
WARNING - Mirror
adjustment
Do not adjust or fold the outside
rearview mirrors while the vehicle
is moving. This could result in loss
of control.
■Type BOUB041032
OUB041033
■Type A
CAUTION - Outside mirror
The mirrors stop moving when they reach the maximum adjust-ing angles, but the motor contin-ues to operate while the switch is pressed. Do not press the switchlonger than necessary, the motor may be damaged.
Do not attempt to adjust the out- side rearview mirror by hand.Doing so may damage the related parts.
Page 193 of 449

Features of your vehicle
122
4 Steering wheel audio control
(if equipped)
The steering wheel audio control button
is installed to improve convenience.
Do not operate the audio remote control
buttons simultaneously.
VOLUME (+/-) (1)
Push the lever up to increase volume.
Push the lever down to decrease vol-
ume.
MODE (3)
Press the button to select Radio or CD
(compact disc).
MUTE (4)
Press the MUTE button to cancel thesound.
Press the MUTE button again to acti- vate the sound.
SEEK/PRESET ( / ) (2)
The SEEK/PRESET button has different
functions base on the system mode. For
the following functions the button should
be pressed for 0.8 second or more.
RADIO mode
It will function as the AUTO SEEK select
button.
CDP/USB/iPod
®mode
It will function as the FF/REW button.
iPod
®is a registered trademark of Apple
Inc. If the SEEK button is pressed for less
than 0.8 second, it will work as follows in
each mode.
RADIO mode
It will function as the PRESET STATION
select buttons.
CDP/USB/iPod
®mode
It will function as the TRACK UP/DOWN
button.
Detailed information for audio control
buttons is described in the following
pages in this section.
Bluetooth®Wireless Technology
(if equipped)
You can use a compatible phone via
using the
Bluetooth®Wireless
Technology
. Detailed information for the
Bluetooth® Wireless Technology is
described in the Audio system section.
OUB041163
Page 225 of 449
Features of your vehicle
154
4
PHONE
Before using the Bluetooth®Wireless
Technology phone features
Bluetooth®Wireless
Technology phone, you must first pair
and connect the
Bluetooth®Wireless
Technology mobile phone.
If the mobile phone is not paired or connected, it is not possible to enter
Phone mode. Once a phone is paired
or connected, the guidance screen will
be displayed.
If Priority is set upon vehicle ignition (IGN/ACC ON), the
Bluetooth®
Wireless Technology phone will be
automatically connected. Even if you
are outside, the
Bluetooth®Wireless
Technology phone will be automatically
connected once you are in the vicinity
of the vehicle. If you do not want auto-
matic
Bluetooth®Wireless Technology
phone connection, set the Bluetooth®
Wireless Technology power to OFF.
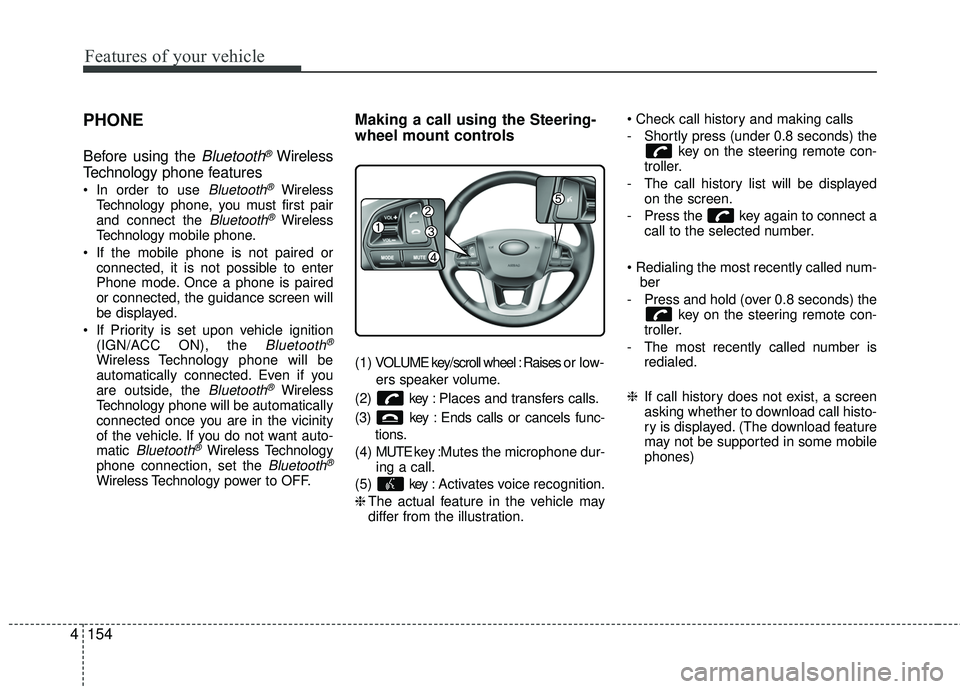
Making a call using the Steering-
wheel mount controls
( 1 ) VOLUME key/scroll wheel : Raises o r l ow -
ers speaker volume.
(2) key : Places and transfers calls.
(3) key : Ends calls or cancels func- tions.
(4) MUTE key : Mutes the microphone dur-
ing a call.
(5) key : Activates voice recognition.
❈ The actual feature in the vehicle may
differ from the illustration.
- Shortly press (under 0.8 seconds) the
key on the steering remote con-
troller.
- The call history list will be displayed on the screen.
- Press the key again to connect a call to the selected number.
ber
- Press and hold (over 0.8 seconds) the key on the steering remote con-
troller.
- The most recently called number is redialed.
❈ If call history does not exist, a screen
asking whether to download call histo-
ry is displayed. (The download feature
may not be supported in some mobile
phones)
Page 226 of 449
Features of your vehicle
4155
Bluetooth®Wireless Technology
Pairing a
Bluetooth®Wireless
Technology Device
What is Bluetooth®Wireless
Technology Pairing?
Pairing refers to the process of synchro-
nizing your Bluetooth®Wireless
Technology phone or device with the car
audio system for connection. Pairing is
necessary to connect and use the
Bluetooth®Wireless Technology feature.
The Bluetooth®word mark and logos are
registered trademarks owned by
Bluetooth SIG, Inc. and any use of such
marks by Kia is under license. Other
trademarks and trade names are those
of their respective owners. A Bluetooth
®
enabled cell phone is required to useBluetooth®Wireless Technology
Pairing key / key on
the Steering Remote Controller
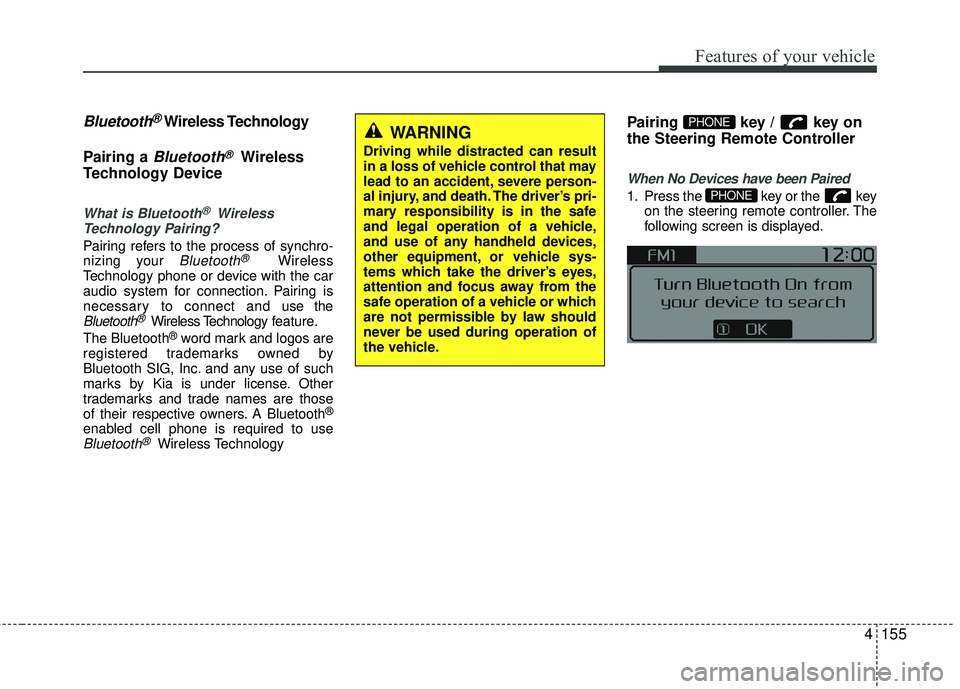
When No Devices have been Paired
1. Press the key or the key on the steering remote controller. The
following screen is displayed.PHONE
PHONEWARNING
Driving while distracted can result
in a loss of vehicle control that may
lead to an accident, severe person-
al injury, and death. The driver’s pri-
mary responsibility is in the safe
and legal operation of a vehicle,
and use of any handheld devices,
other equipment, or vehicle sys-
tems which take the driver’s eyes,
attention and focus away from the
safe operation of a vehicle or which
are not permissible by law should
never be used during operation of
the vehicle.
Page 238 of 449
![KIA RIO 2017 Owners Manual Features of your vehicle
4167
VOICE RECOGNITION
Using Voice Recognition
Starting Voice Recognition
Shortly press the key on the steer-
ing wheel. Say a command.
If prompt feedback is in [ON], then KIA RIO 2017 Owners Manual Features of your vehicle
4167
VOICE RECOGNITION
Using Voice Recognition
Starting Voice Recognition
Shortly press the key on the steer-
ing wheel. Say a command.
If prompt feedback is in [ON], then](/manual-img/2/40419/w960_40419-237.png)
Features of your vehicle
4167
VOICE RECOGNITION
Using Voice Recognition
Starting Voice Recognition
Shortly press the key on the steer-
ing wheel. Say a command.
If prompt feedback is in [ON], then the
system will say “Please say a command
after the beep (BEEP)”
If prompt feedback is in [OFF] mode,then the system will only say “(BEEP)”
To change Prompt Feedback [On]/[Off], go to
[System] [Prompt Feedback]
For proper recognition, say the com- mand after the voice instruction and
beep tone.
Contact List Best Practices
1) Use full names vs. short or singlesylla- ble names (“John Smith” vs. “Dad”,
“Smith Residence” vs. “Home”)
2) Avoid using special characters or hyphens (@, &, #, /, -, *, +, etc.)
3) Avoid using acronyms (“In Case Emergency” vs. “ICE”)
4) Spell words completely, no abbrevia- tions (“Doctor Goodman” vs. “Dr.
Goodman”)
Skipping Prompt Messages
While prompt message is being stated
Shortly press the key on the steer-
ing remote controller
The prompt message is immediately
ended and the beep tone will sound.
After the “beep”, say the voice command.
Re-starting Voice Recognition
While system waits for a command
Shortly press the key on the steer-
ing remote controller
The command wait state is immediately
ended and the beep tone will sound.
After the “beep”, say the voice command.
SETUP/CLOCK
Page 239 of 449
Features of your vehicle
168
4
ENDING VOICE RECOGNITION
While Voice Recognition is operating
Press and hold the key on the steer-
ing remote controller
any steering wheel control or a different
key will end voice command.
command, say “cancel” or “end” to end
voice command.
command, press and hold the key
on the steering wheel to end voice com-
mand.
Voice Recognition and Phone
Contact Tips:
The Kia Voice Recognition System may
have difficulty understanding some
accents or uncommon names. When
using Voice Recognition to place a call,
speak in a moderate tone, with clear pro-
nunciation.
To maximize the use of Voice
Recognition, consider these guidelines
when storing contacts :
Use full names vs. short or single syl- lable names (“John Smith” vs. “Dad”,
“Smith Residence” vs. “Home”)
Avoid using special characters or hyphens (@, &, #, /, -, *, +, etc.)
Avoid using acronyms (“In Case Emergency” vs. “ICE”)
Spell words completely, no abbrevia- tions (“Doctor Goodman” vs. “Dr.
Goodman”)