2017 KIA RIO battery
[x] Cancel search: batteryPage 363 of 449
727
Maintenance
240,000 km (150,000 miles) or 120 months
❑Inspect air conditioning compressor, air conditioner refrigerant and
performance (if equipped)
❑ Inspect cooling system *1
❑Inspect drive belt *4
(First 96,000 km or 72 months after
every 24,000 km or 24 months)
❑ Inspect drive shaft and boots
❑ Inspect fuel line, hoses and connection
❑Inspect fuel tank air filter *2
❑Inspect manual transaxle fluid (if equipped)
(Every 60,000 km or 48 months)
❑ Inspect vapor hose and fuel filler cap
❑Inspect visually the following items
1) Battery condition
2) Brake fluid / clutch (if equipped) fluid
3) Brake lines, hoses and connections
4) Brake pedal and operation
5) Chassis/body nuts and bolts
6) Drum brake and linings (if equipped)
7) Disc brakes and pads (if equipped)
8) Exhaust pipe and muffler
9) Front suspension ball joints
10) Fuel tank, cap, lines and hoses
11) Lubricate all locks and hinges
12) Parking brakes
(Continued)
(Continued)
13) Steering operation and linkage
14) Suspension mounting bolts
❑ Replace air cleaner filter
❑Replace climate control air filter (if equipped)
❑Replace engine coolant *5
(First 192,000 km or 120 months
after every 48,000 km or 24 months)
❑ Replace engine oil and filter
❑Add fuel additive *A
❑Rotate tires - including tire pressure and tread wear
NORMAL MAINTENANCE SCHEDULE (CONT.)
*1lnspect "Water Pump" when replacing the drive belt or timing belt.
*2Fuel tank air filter is considered to be maintenance free but periodic
inspection is recommended for this maintenance schedule depends on
fuel quality.
*
4The drive belt should be replaced when cracks occur or tension is reduced excessively.
*
5When replacing coolant, use only a qualified coolant additive for your vehicle and never mix hard water in the coolant filled at the factory.
An improper coolant mixture can result in serious malfunction or engine
damage.
*
AIf TOP TIER Detergent Gasoline is not available, one bottle of additive is
recommended. Additives are available from your authorized Kia dealer
along with information on how to use them. Do not mix other additives.
❈ Inspect : Inspect and if necessary, adjust, correct, clean or replace.
Page 381 of 449
745
Maintenance
BATTERY
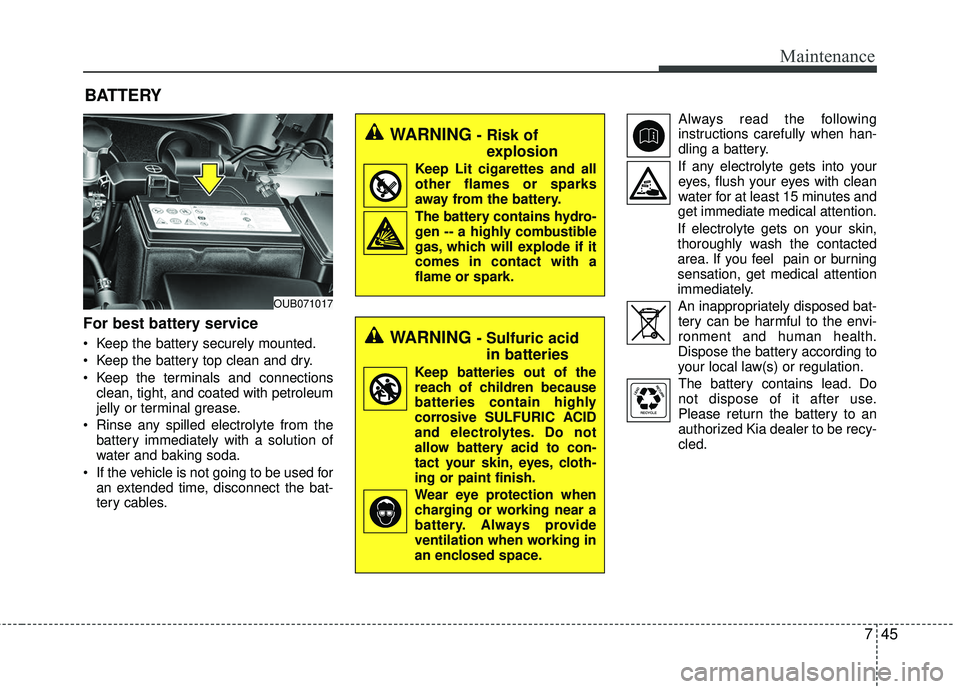
For best battery service
Keep the battery securely mounted.
Keep the battery top clean and dry.
Keep the terminals and connectionsclean, tight, and coated with petroleum
jelly or terminal grease.
Rinse any spilled electrolyte from the battery immediately with a solution of
water and baking soda.
If the vehicle is not going to be used for an extended time, disconnect the bat-
tery cables. Always read the following
instructions carefully when han-
dling a battery.
If any electrolyte gets into your eyes, flush your eyes with clean
water for at least 15 minutes and
get immediate medical attention.
If electrolyte gets on your skin,
thoroughly wash the contacted
area. If you feel pain or burning
sensation, get medical attention
immediately. An inappropriately disposed bat-tery can be harmful to the envi-
ronment and human health.
Dispose the battery according to
your local law(s) or regulation.
The battery contains lead. Do
not dispose of it after use.
Please return the battery to an
authorized Kia dealer to be recy-
cled.
OUB071017
WARNING - Risk of explosion
Keep Lit cigarettes and all
other flames or sparks
away from the battery.
The battery contains hydro-
gen -- a highly combustible
gas, which will explode if it
comes in contact with a
flame or spark.
WARNING - Sulfuric acidin batteries
Keep batteries out of the
reach of children because
batteries contain highly
corrosive SULFURIC ACID
and electrolytes. Do not
allow battery acid to con-
tact your skin, eyes, cloth-
ing or paint finish.
Wear eye protection when charging or working near a
battery. Always provide
ventilation when working in
an enclosed space.
Page 382 of 449

Maintenance
46
7
When you don’t use the vehicle for a long
time in the low temperature area, sepa-
rate the battery and keep it indoors.
Battery recharging
Your vehicle has a maintenance-free,
calcium-based battery.
If the battery becomes discharged in a
short time (because, for example, the
headlights or interior lights were left on
while the vehicle was not in use),
recharge it by slow charging (trickle)
for 10 hours.
If the battery gradually discharges because of high electric load while the
vehicle is being used, recharge it at no
more than 20-30A for two hours. When recharging the battery, observe
the following precautions:
The battery must be removed from the
vehicle and placed in an area with
good ventilation.
Watch the battery during charging, and stop or reduce the charging rate if the
battery cells begin gassing (boiling)
violently or if the temperature of the
electrolyte of any cell exceeds 49°C
(120°F).
Wear eye protection when checking the battery during charging.
Disconnect the battery charger in the following order.
1. Turn off the battery charger main switch.
2. Unhook the negative clamp from the negative battery terminal.
3. Unhook the positive clamp from the positive battery terminal.
Before performing maintenance or recharging the battery, turn off all
accessories and stop the engine.
The negative battery cable must be removed first and installed last when
the battery is disconnected.WARNING - Recharging
battery
Never attempt to recharge the bat-
tery when the battery cables are
connected.
WARNING - Risk of elec-
trocution
Never touch the electrical ignition
system while the vehicle is run-
ning. This system works with high
voltage which can "zap" you.
Page 383 of 449
747
Maintenance
Reset items
Items should be reset after the battery
has been discharged or the battery has
been disconnected.
Auto down window (See section 4)
Sunroof (See section 4)
Trip computer (See section 4)
Climate control system (See section 4)
Clock (See section 4)
Audio (See section 4)
Page 393 of 449
757
Maintenance
Light truck(LT) tire:A tire designat-
ed by its manufacturer as primarily
intended for use on lightweight trucks
or multipurpose passenger vehicles.
Load Index: An assigned number
ranging from 1 to 279 that corre-
sponds to the load carrying capacity
of a tire.
Load ratings: The maximum load
that a tire is rated to carry for a given
inflation pressure.
Maximum Inflation Pressure: The
maximum air pressure to which a
cold tire may be inflated. The maxi-
mum air pressure is molded onto the
sidewall.
Maximum Load Rating: The load
rating for a tire at the maximum per-
missible inflation pressure for that tire.
Maximum Loaded Vehicle Weight:
The sum of curb weight; accessory
weight; vehicle capacity weight; and
production options weight.
Normal Occupant Weight: The
number of occupants a vehicle is
designed to seat multiplied by 68 kg
(150 pounds). Occupant Distribution:
Designated
seating positions.
Outward Facing Sidewall: The side
of a asymmetrical tire that has a par-
ticular side that faces outward when
mounted on a vehicle. The outward
facing sidewall bears white lettering
or bears manufacturer, brand, and/or
model name molding that is higher or
deeper than the same moldings on
the inner facing sidewall.
Passenger (P-Metric) Tire: A tire
used on passenger cars and some
light duty trucks and multipurpose
vehicles.
Ply: A layer of rubber-coated parallel
cords
Pneumatic tire: A mechanical
device made of rubber, chemicals,
fabric and steel or other materials,
that, when mounted on an automo-
tive wheel, provides the traction and
contains the gas or fluid that sustains
the load. Production options weight:
The
combined weight of installed regular
production options weighing over 5
lb.(2.3 kg) in excess of the standard
items which they replace, not previ-
ously considered in curb weight or
accessory weight, including heavy
duty brakes, ride levelers, roof rack,
heavy duty battery, and special trim.
Recommended Inflation Pressure:
Vehicle manufacturer's recommend-
ed tire inflation pressure and shown
on the tire placard.
Radial Ply Tire: A pneumatic tire in
which the ply cords that extend to the
beads are laid at 90 degrees to the
centerline of the tread.
Rim: A metal support for a tire and
upon which the tire beads are seat-
ed.
Sidewall: The portion of a tire
between the tread and the bead.
Page 397 of 449

761
Maintenance
FUSES
A vehicle’s electrical system is protected
from electrical overload damage by
fuses.This vehicle has 2 fuse panels, one locat-
ed in the driver’s side panel bolster, the
other in the engine compartment near
the battery.
If any of your vehicle’s lights, acces-
sories, or controls do not work, check the
appropriate circuit fuse. If a fuse has
blown, the element inside the fuse will
melt.
If the electrical system does not work,
first check the driver’s side fuse panel.
Always replace a blown fuse with one of
the same rating.
If the replacement fuse blows, this indi-
cates an electrical problem. Avoid using
the system involved and immediately
consult an authorized Kia dealer.
Three kinds of fuses are used: blade type
for lower amperage rating, cartridge type, and multi fuse for higher amperage rat-ings.
OTA070039
Blade type
Cartridge type
Fusible link B B
B B
l l
l l
o o
o o
w w
w w
n n
n n
B B
B B
l l
l l
o o
o o
w w
w w
n n
n n
B B
B B
l l
l l
o o
o o
w w
w w
n n
n n
WARNING - Fuse replace-
ment
Never replace a fuse with any-
thing but another fuse of the
same rating.
A higher capacity fuse could cause damage and possibly a
fire.
Never install a wire or aluminum foil instead of the proper fuse -
even as a temporary repair. It may
cause extensive wiring damage
and a possible fire.
Do not arbitrarily modify or add- on electric wiring of the vehicle.
CAUTION - Fuse replace-ment
Do not use a screwdriver or any
other metal object to remove fuses because it may cause a short circuitand damage the system.
Page 399 of 449

763
Maintenance
If it fits loosely, consult an authorized Kia
dealer.
If you do not have a spare, use a fuse ofthe same rating from a circuit you maynot need for operating the vehicle, suchas the cigar lighter fuse.
If the headlights or other electrical com-
ponents do not work and the fuses are
OK, check the fuse block in the engine
compartment. If a fuse is blown, it must
be replaced.
Memory fuse
Your vehicle is equipped with the memo-
ry fuse to prevent battery discharge if
your vehicle is parked without being
operated for prolonged periods. Use the
following procedures before parking the
vehicle for prolonged periods.
1. Turn off the engine.
2. Turn off the headlights and tail lights.
3. Open the driver’s side panel cover and pull up the memory fuse. If the memory fuse is pulled up from the
fuse panel, the warning chime, audio,
clock and interior lamps, etc., will not
operate. Some items must be reset after
replacement. Refer to “Battery” in this
section.
Even though the memory fuse is pulled
up, the battery can still be discharged by
operation of the headlights or other elec-
trical devices.
OUB071021
Page 442 of 449
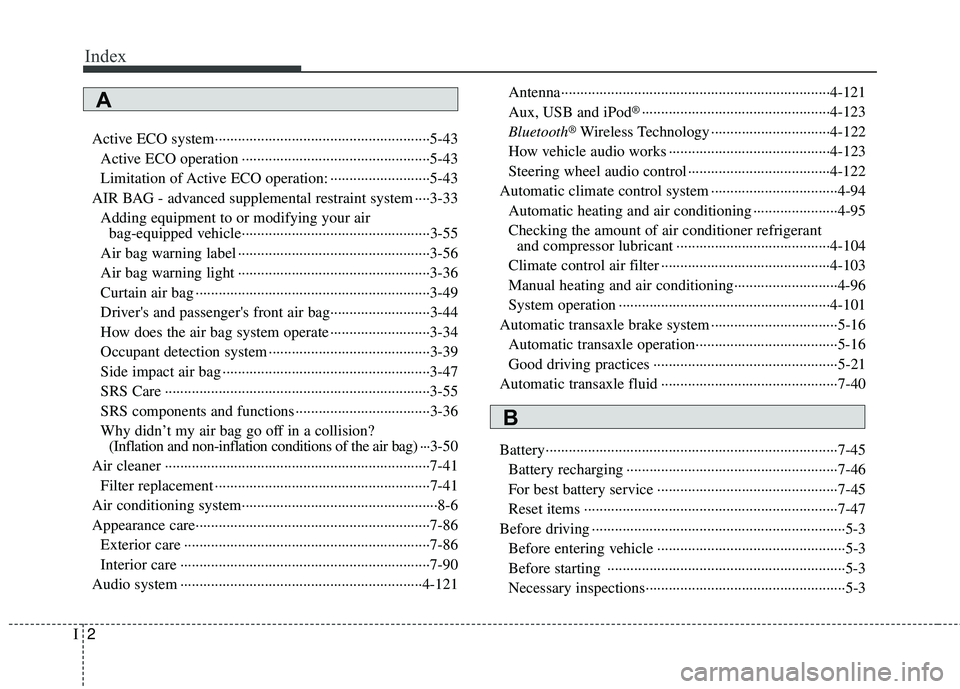
Index
2I
Active ECO system··················\
··················\
··················\
··5-43Active ECO operation ··················\
··················\
·············5-43
Limitation of Active ECO operation: ··················\
········5-43
AIR BAG - advanced supplemental restraint system ····3-33 Adding equipment to or modifying your airbag-equipped vehicle··················\
··················\
·············3-55
Air bag warning label ··················\
··················\
··············3-56
Air bag warning light ··················\
··················\
··············3-36
Curtain air bag ··················\
··················\
··················\
·······3-49
Driver's and passenger's front air bag··········\
················3-44
How does the air bag system operate ··················\
········3-34
Occupant detection system ··················\
··················\
······3-39
Side impact air bag ··················\
··················\
··················\
3-47
SRS Care ··················\
··················\
··················\
···············3-55
SRS components and functions ··················\
·················3-36\
Why didn’t my air bag go off in a collision? (Inflation and non-inflation conditions of the air bag) ···3-50
Air cleaner ··················\
··················\
··················\
···············7-41 Filter replacement ··················\
··················\
··················\
··7-41
Air conditioning system··················\
··················\
···············8-6
Appearance care··················\
··················\
··················\
·······7-86 Exterior care ··················\
··················\
··················\
··········7-86
Interior care ··················\
··················\
··················\
···········7-90
Audio system ··················\
··················\
··················\
·········4-121 Antenna··················\
··················\
··················\
················4-121
Aux, USB and iPod
®··················\
··················\
·············4-123
Bluetooth
®Wireless Technology ··················\
·············4-122
How vehicle audio works ··················\
··················\
······4-123
Steering wheel audio control ··················\
··················\
·4-122
Automatic climate control system ··················\
···············4-94 Automatic heating and air conditioning ··················\
····4-95
Checking the amount of air conditioner refrigerantand compressor lubricant ··················\
··················\
····4-104
Climate control air filter ··················\
··················\
········4-103
Manual heating and air conditioning··················\
·········4-96
System operation ··················\
··················\
··················\
·4-101
Automatic transaxle brake system ··················\
···············5-16 Automatic transaxle operation··················\
··················\
·5-16
Good driving practices ··················\
··················\
············5-21
Automatic transaxle fluid ··················\
··················\
··········7-40
Battery··················\
··················\
··················\
··················\
····7-45 Battery recharging ··················\
··················\
··················\
·7-46
For best battery service ··················\
··················\
···········7-45
Reset items ··················\
··················\
··················\
············7-47
Before driving ··················\
··················\
··················\
············5-3 Before entering vehicle ··················\
··················\
·············5-3
Before starting ··················\
··················\
··················\
········5-3
Necessary inspections··················\
··················\
················5-3
A
B