Page 138 of 552
435
Features of your vehicle
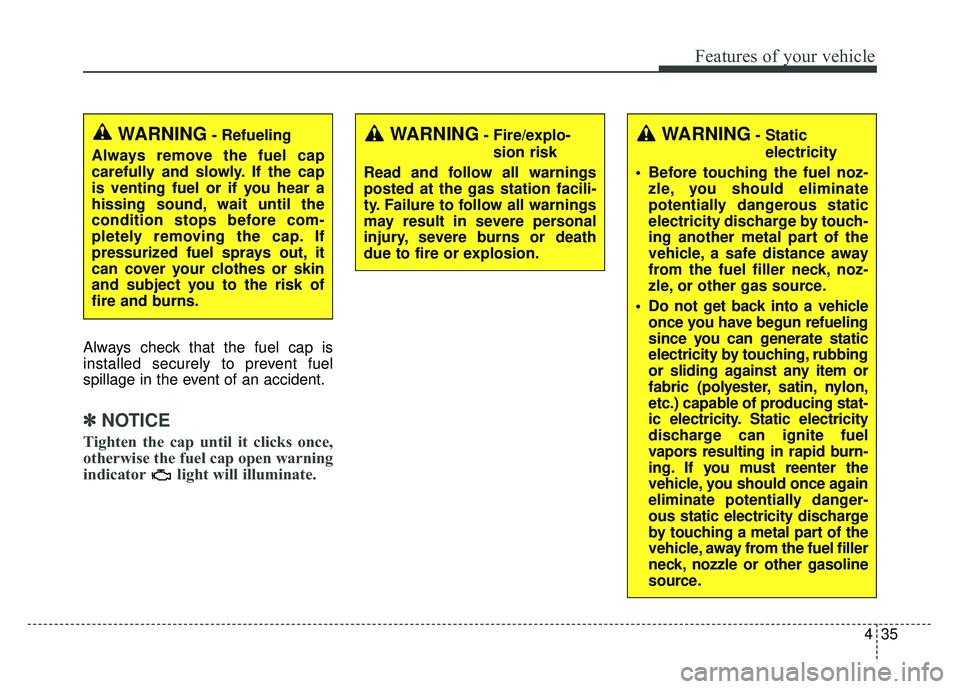
Always check that the fuel cap is
installed securely to prevent fuel
spillage in the event of an accident.
✽ ✽NOTICE
Tighten the cap until it clicks once,
otherwise the fuel cap open warning
indicator light will illuminate.
WARNING- Fire/explo-
sion risk
Read and follow all warnings
posted at the gas station facili-
ty. Failure to follow all warnings
may result in severe personal
injury, severe burns or death
due to fire or explosion.WARNING- Static electricity
Before touching the fuel noz- zle, you should eliminate
potentially dangerous static
electricity discharge by touch-
ing another metal part of the
vehicle, a safe distance away
from the fuel filler neck, noz-
zle, or other gas source.
Do not get back into a vehicle once you have begun refueling
since you can generate static
electricity by touching, rubbing
or sliding against any item or
fabric (polyester, satin, nylon,
etc.) capable of producing stat-
ic electricity. Static electricity
discharge can ignite fuel
vapors resulting in rapid burn-
ing. If you must reenter the
vehicle, you should once again
eliminate potentially danger-
ous static electricity discharge
by touching a metal part of the
vehicle, away from the fuel filler
neck, nozzle or other gasoline
source.WARNING- Refueling
Always remove the fuel cap
carefully and slowly. If the cap
is venting fuel or if you hear a
hissing sound, wait until the
condition stops before com-
pletely removing the cap. If
pressurized fuel sprays out, it
can cover your clothes or skin
and subject you to the risk of
fire and burns.
Page 147 of 552

Features of your vehicle
44
4
Heated steering wheel
(if equipped)
With the Engine Start/Stop button is
ON position, pressing the heated
steering wheel button warms the
steering wheel. The indicator on the
button will illuminate.
To turn the heated steering wheel off,
press the button once again. The
indicator on the button will turn off.
✽ ✽
NOTICE
The heated steering wheel will turn
off automatically approximately 30
minutes after the heated steering
wheel is turned on.
CAUTION
Do not install any type of grip
cover for the steering wheel, itmay impair the function of theheated steering wheel system.
When cleaning the heated steering wheel, do not use anorganic solvent such as paintthinner, benzene, alcohol andgasoline. Doing so may dam-age the surface of the steeringwheel.
If the surface of steering wheel is damaged by sharpobject, damage to the heatedsteering wheel componentscould occur.
ODE046023
WARNING
If the steering wheel becomes
too warm, turn the system off.
The heated steering wheel may
cause burns even at low tem-
peratures, especially if used for
long periods of time.
Page 150 of 552

447
Features of your vehicle
Electric chromatic mirror (ECM) (if equipped)
The electric rearview mirror automat-
ically controls the glare from the
headlights of the vehicles behind you
in nighttime or low light driving condi-
tions. The sensor mounted in the mir-
ror senses the light level around the
vehicle and automatically controls
the headlight glare from the vehicles
behind you.
When the engine is running, the
glare is automatically controlled by
the sensor mounted in the rearview
mirror.
Whenever the shift lever is shifted
into reverse (R), the mirror will auto-
matically go to the brightest setting in
order to improve the drivers view
behind the vehicle. To operate the electric rearview mirror:
The mirror defaults to the ON posi-
tion whenever the ignition switch is
turned on.
Press the ON/OFF button (1) to turn the automatic dimming func-
tion off. The mirror indicator light
(2) will turn off.
Press the ON/OFF button (1) to
turn the automatic dimming func-
tion on. The mirror indicator light
(2) will illuminate.
❈ (2) : Indicator, (3) : Sensor
CAUTION - Cleaning
mirror
When cleaning the mirror, use a
paper towel or similar materialdampened with glass cleaner.Do not spray glass cleanerdirectly on the mirror. It maycause the liquid cleaner to enterthe mirror housing.
ODE046036L
Page 154 of 552
451
Features of your vehicle
INSTRUMENT CLUSTER
ODE046168N
1. Hybrid system gauge
2. Fuel gauge
3. Speedometer
4. Warning and indicator lights
5. LCD display (including Trip computer)
6. Battery SOC (State of Charge) gauge
7. Distance to empty
❈The actual cluster in the vehicle may differ
from the illustration.
For more details, refer to the “Gauges” in
this chapter.
Page 157 of 552
Features of your vehicle
54
4
✽
✽
NOTICE
Accordance to the hybrid system
gauge area the “EV” indicator
comes on or off.
- “EV” indicator ON : Vehicle is
driven using the electric motor or
the gasoline engine is stopped.
- “EV” indicator OFF : Vehicle is driven using the gasoline engine.
Hybrid Battery SOC
(State of Charge) Gauge
This gauge indicates the remaining
hybrid battery power. If the SOC is
near the “L (Low)” level, the vehicle
automatically operates the engine to
charge the battery.
However, if the Service Indicator ( )
and Malfunction Indicator Lamp (MIL)
( ) turn on when the SOC gauge is
near the “L (Low)” level, have your
vehicle inspected by an authorized
Kia dealer.
✽ ✽ NOTICE
Never try to start the vehicle if the
fuel tank is empty. In this condition,
the engine cannot charge the high
voltage battery of the hybrid system.
If you try to start the vehicle when
the fuel is empty, the high voltage
battery will become discharged and
be damaged.
ODE046107
Page 158 of 552
455
Features of your vehicle
Fuel Gauge
This gauge indicates the approxi-
mate amount of fuel remaining in the
fuel tank.
✽ ✽NOTICE
• The fuel tank capacity is given in
chapter 9.
• The fuel gauge is supplemented by a low fuel warning light which will
illuminate when the fuel tank is
nearly empty.
• On inclines or curves, the fuel gauge pointer may fluctuate or the
low fuel warning light may come
on earlier than usual due to the
movement of fuel in the tank.
✽ ✽ NOTICE - Fuel gauge
Running out of fuel can expose vehi-
cle occupants to danger. You must
top and obtain additional fuel as
soon as possible after the warning
light comes on or when the gauge
indicator comes close to the “E
(Empty)” level.
✽ ✽NOTICE
Fuel display may not be accurate if
you are filling in sloping places.
ODE046108
CAUTION- Low fuel
Avoid driving with an extremely
low fuel level. Running out offuel could cause the engine tomisfire damaging the catalyticconverter.
Page 161 of 552
Features of your vehicle
58
4
Dual clutch transmission shift
indicator
This indicator displays which shift
lever is selected.
Reverse : R
Neutral : N
Sports mode : S
ODE046141L
ODE046140L
■
Drive mode
■Sports mode
Page 173 of 552

Features of your vehicle
70
4
Other Features
Fuel Economy Auto Reset
- Off : The average fuel economy willnot reset automatically whenever
refueling.
- After Ignition : The average fuel economy will reset automatically
when driving.
- After Refueling : The average fuel economy will reset automatically
when refueling.
❈ For more details, refer to “Trip
Computer” in this chapter.
Fuel Economy Unit : Choose the fuel economy unit. (US gallon,UK
gallon)
Temperature Unit : Choose the temperature unit. (°C, °F)
Tire Pressure Unit : Choose the tire pressure unit. (psi, kPa, Bar)
Reset
You can reset the menus in the User
Settings Mode. All menus in the User
Settings Mode are initialized, except
service interval.Coasting guide (if equipped)
A chime will sound and the coasting
guide indicator will blink four times to
inform the driver when to take the
foot off from the accelerator by antic-
ipating a decelerating event* based
on the analysis of driving routes and
road conditions of the navigation. It
encourages the driver to remove foot
from the pedal and allow coasting
down the road with EV motor only.
This helps prevent unnecessary fuel
consumption and increases fuel effi-
ciency.
❈ Example of a deceleration event is
going down an extended hill, slow-
ing down approaching a toll booth,
and approaching reduced speed
zones.
Press the Engine Start/Stop button
and put the shift lever in P(Park). In
the User Settings Mode, select
Driving Assist, Coasting Guide, and
then On to turn on the system.
Cancel the selection of coasting
guide to turn off the system. For the
explanation of the system, press and
hold the [OK] button.


