Page 503 of 552

Maintenance
80
8
Front turn signal lamp bulb
replacement
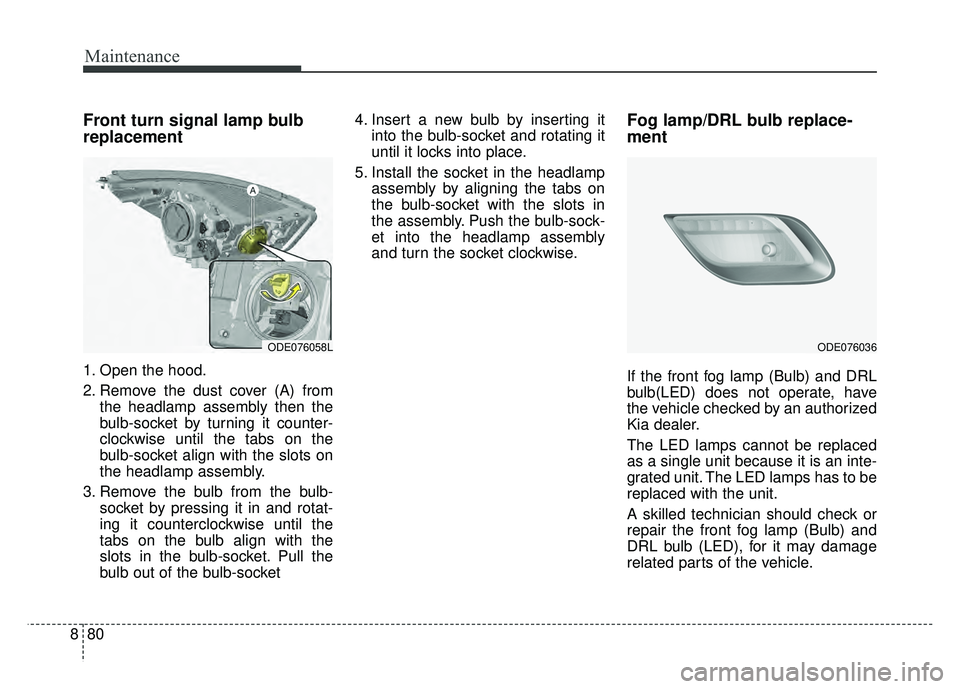
1. Open the hood.
2. Remove the dust cover (A) from
the headlamp assembly then the
bulb-socket by turning it counter-
clockwise until the tabs on the
bulb-socket align with the slots on
the headlamp assembly.
3. Remove the bulb from the bulb- socket by pressing it in and rotat-
ing it counterclockwise until the
tabs on the bulb align with the
slots in the bulb-socket. Pull the
bulb out of the bulb-socket 4. Insert a new bulb by inserting it
into the bulb-socket and rotating it
until it locks into place.
5. Install the socket in the headlamp assembly by aligning the tabs on
the bulb-socket with the slots in
the assembly. Push the bulb-sock-
et into the headlamp assembly
and turn the socket clockwise.
Fog lamp/DRL bulb replace-
ment
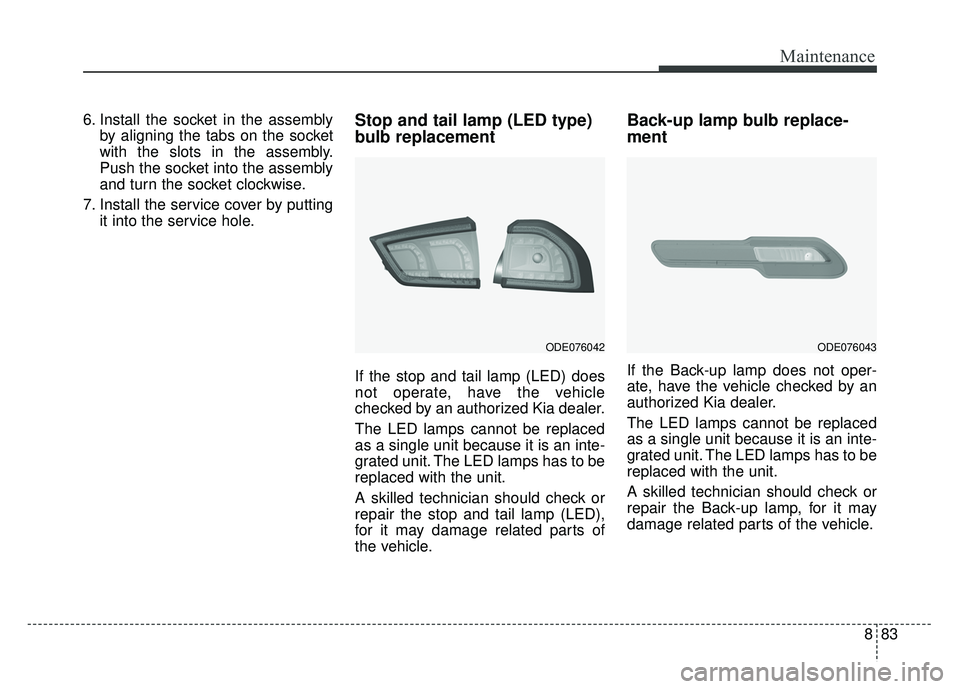
If the front fog lamp (Bulb) and DRL
bulb(LED) does not operate, have
the vehicle checked by an authorized
Kia dealer.
The LED lamps cannot be replaced
as a single unit because it is an inte-
grated unit. The LED lamps has to be
replaced with the unit.
A skilled technician should check or
repair the front fog lamp (Bulb) and
DRL bulb (LED), for it may damage
related parts of the vehicle.
ODE076036ODE076058L
Page 504 of 552
881
Maintenance
Stop and tail lamp bulb
replacement
1. Open the tailgate.
2. Open the service cover.
3. Loosen the light assembly retain-ing screws with a cross-tip screw-
driver. 4. Remove the rear combination
lamp assembly from the body of
the vehicle.
5. Disconnect the rear combination lamp connector. 6. Remove the socket from the
assembly by turning the socket
counterclockwise until the tabs on
the socket align with the slots on
the assembly.
7. Remove the bulb from the socket by pressing it in and rotating it counter-
clockwise until the tabs on the bulb
align with the slots in the socket.
Pull the bulb out of the socket.
8. Insert a new bulb by inserting it into the socket and rotating it until
it locks into place.
ODE076038ODE076039
ODE076037
Page 505 of 552
Maintenance
82
8
9. Install the socket in the assembly
by aligning the tabs on the socket
with the slots in the assembly.
Push the socket into the assembly
and turn the socket clockwise.
10. Install the rear combination lamp assembly to the body of the vehi-
cle.
11. Install the service cover.Tail lamp (inside) bulb replace-
ment
1. Open the tailgate.
2. Remove the service cover. 3. Remove the socket from the
assembly by turning the socket
counterclockwise until the tabs on
the socket align with the slots on
the assembly.
4. Remove the bulb from the socket by pressing it in and rotating it
counter-clockwise until the tabs on
the bulb align with the slots in the
socket. Pull the bulb out of the
socket.
5. Insert a new bulb by inserting it into the socket and rotating it until
it locks into place.
ODE076040
ODE076041
Page 506 of 552

883
Maintenance
6. Install the socket in the assemblyby aligning the tabs on the socket
with the slots in the assembly.
Push the socket into the assembly
and turn the socket clockwise.
7. Install the service cover by putting it into the service hole.Stop and tail lamp (LED type)
bulb replacement
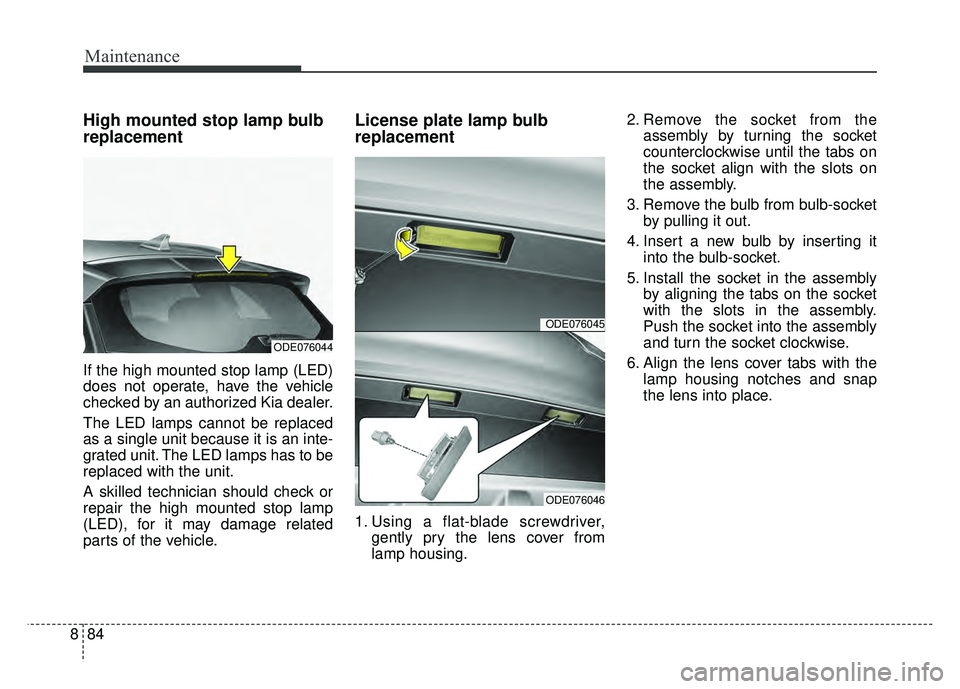
If the stop and tail lamp (LED) does
not operate, have the vehicle
checked by an authorized Kia dealer.
The LED lamps cannot be replaced
as a single unit because it is an inte-
grated unit. The LED lamps has to be
replaced with the unit.
A skilled technician should check or
repair the stop and tail lamp (LED),
for it may damage related parts of
the vehicle.
Back-up lamp bulb replace-
ment
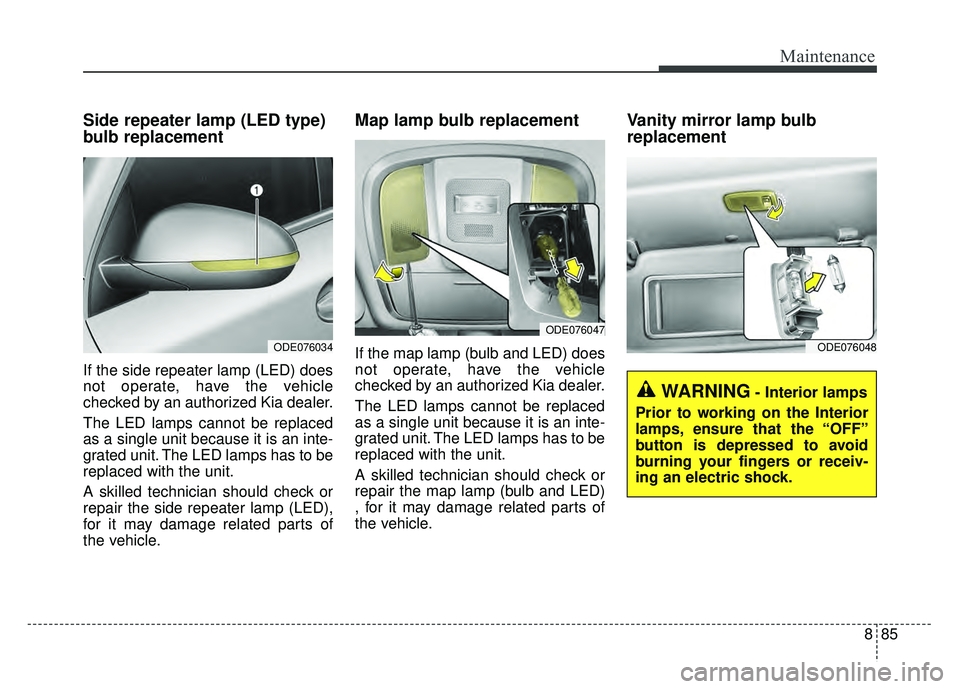
If the Back-up lamp does not oper-
ate, have the vehicle checked by an
authorized Kia dealer.
The LED lamps cannot be replaced
as a single unit because it is an inte-
grated unit. The LED lamps has to be
replaced with the unit.
A skilled technician should check or
repair the Back-up lamp, for it may
damage related parts of the vehicle.
ODE076042ODE076043
Page 507 of 552

Maintenance
84
8
High mounted stop lamp bulb
replacement
If the high mounted stop lamp (LED)
does not operate, have the vehicle
checked by an authorized Kia dealer.
The LED lamps cannot be replaced
as a single unit because it is an inte-
grated unit. The LED lamps has to be
replaced with the unit.
A skilled technician should check or
repair the high mounted stop lamp
(LED), for it may damage related
parts of the vehicle.
License plate lamp bulb
replacement
1. Using a flat-blade screwdriver,
gently pry the lens cover from
lamp housing. 2. Remove the socket from the
assembly by turning the socket
counterclockwise until the tabs on
the socket align with the slots on
the assembly.
3. Remove the bulb from bulb-socket by pulling it out.
4. Insert a new bulb by inserting it into the bulb-socket.
5. Install the socket in the assembly by aligning the tabs on the socket
with the slots in the assembly.
Push the socket into the assembly
and turn the socket clockwise.
6. Align the lens cover tabs with the lamp housing notches and snap
the lens into place.
ODE076045
ODE076046
ODE076044
Page 508 of 552

885
Maintenance
Side repeater lamp (LED type)
bulb replacement
If the side repeater lamp (LED) does
not operate, have the vehicle
checked by an authorized Kia dealer.
The LED lamps cannot be replaced
as a single unit because it is an inte-
grated unit. The LED lamps has to be
replaced with the unit.
A skilled technician should check or
repair the side repeater lamp (LED),
for it may damage related parts of
the vehicle.
Map lamp bulb replacement
If the map lamp (bulb and LED) does
not operate, have the vehicle
checked by an authorized Kia dealer.
The LED lamps cannot be replaced
as a single unit because it is an inte-
grated unit. The LED lamps has to be
replaced with the unit.
A skilled technician should check or
repair the map lamp (bulb and LED)
, for it may damage related parts of
the vehicle.
Vanity mirror lamp bulb
replacement
ODE076047
WARNING- Interior lamps
Prior to working on the Interior
lamps, ensure that the “OFF”
button is depressed to avoid
burning your fingers or receiv-
ing an electric shock.
ODE076048ODE076034
Page 509 of 552
Maintenance
86
8
1. Using a flat-blade screwdriver,
gently pry the lamp assembly from
interior.
2. Remove the bulb by pulling it straight out.
3. Install a new bulb in the socket.
4. Install the lamp assembly to interior.
✽ ✽ NOTICE
Be careful not to dirty or damage the
lens, lens tab, and plastic housings.
Room lamp bulb replacement 1. Using a flat-blade screwdriver,
gently pry the lens cover from
lamp housing.
2. Remove the bulb by pulling it straight out.
3. Install a new bulb in the socket.
4. Align the lens cover tabs with the lamp housing notches and snap
the lens into place.
✽ ✽NOTICE
Be careful not to dirty or damage the
lens, lens tab, and plastic housings.ODE076049
WARNING- Interior lamps
Prior to working on the Interior
lamps, ensure that the “OFF”
button is depressed to avoid
burning your fingers or receiv-
ing an electric shock.
Page 510 of 552
887
Maintenance
Tailgate room lamp bulb
replacement
1. Using a flat-blade screwdriver,gently pry the lens cover from
lamp housing.
2. Remove the bulb by pulling it straight out.
3. Install a new bulb in the socket.
4. Align the lens cover tabs with the lamp housing notches and snap
the lens into place.
✽ ✽NOTICE
Be careful not to dirty or damage the
lens, lens tab, and plastic housings.
ODE076050