Page 252 of 421
WARNING!(Continued)
•Never start or run the engine while the vehicle is on
a jack.
• The jack is designed to be used as a tool for changing
tires only. The jack should not be used to lift the
vehicle for service purposes. The vehicle should be
jacked on a firm level surface only. Avoid ice or
slippery areas.
Jack Location
The jack and jack-handle are stowed under the load floor in
the cargo area.
Spare Tire Stowage
The compact spare tire is stowed under the rear load floor
in the cargo area.
Spare Tire Removal
Lift up the load floor cover and remove the hold down.
Spare Tire And Jack Stowage
250 IN CASE OF EMERGENCY
Page 254 of 421
WARNING!(Continued)
•If working on or near a roadway, be extremely
careful of motor traffic.
• To assure that spare tires, flat or inflated, are securely
stowed, spares must be stowed with the valve stem
facing the ground.
NOTE: Refer to “Tires — General Information” in “Servic-
ing And Maintenance” for further information about the
spare tire, it’s use, and operation. 1. Remove the scissors jack and lug wrench from the spare
wheel as an assembly. Turn the jack screw to the left to
loosen the lug wrench and remove the wrench from the
jack assembly.
NOTE: The jack handle attaches to the side of the jack with
two attachment points. When the jack is partially ex-
panded, the tension between the two attachment points
holds the jack handle in place.
2. Loosen, but do not remove, the wheel nuts by turning them to the left one turn while the wheel is still on the
ground.
Jack Warning Label
Removing Jack Handle From Jack
252 IN CASE OF EMERGENCY
Page 262 of 421

•When the Tire Service Kit sealant is in a liquid form,
clean water, and a damp cloth will remove the material
from the vehicle or tire and wheel components. Once the
sealant dries, it can easily be peeled off and properly
discarded.
• For optimum performance, make sure the valve stem on
the wheel is free of debris before connecting the Tire
Service Kit.
• You can use the Tire Service Kit air pump to inflate
bicycle tires. The kit also comes with two needles,
located in the Accessory Storage Compartment (on the
bottom of the air pump) for inflating sport balls, rafts, or
similar inflatable items. However, use only the Air Pump
Hose (7) and make sure the Mode Select Knob (5) is in
the Air Mode when inflating such items to avoid inject-
ing sealant into them. The Tire Service Kit Sealant is only
intended to seal punctures less than 1/4 inch (6 mm)
diameter in the tread of your tire.
• Do not lift or carry the Tire Service Kit by the hoses.WARNING!
•Do not attempt to seal a tire on the side of the vehicle
closest to traffic. Pull far enough off the road to avoid
the danger of being hit when using the Tire Service
Kit.
• Do not use Tire Service Kit or drive the vehicle under
the following circumstances:
– If the puncture in the tire tread is approximately 1/4 inch (6 mm) or larger.
– If the tire has any sidewall damage.
– If the tire has any damage from driving with extremely low tire pressure.
– If the tire has any damage from driving on a flat tire.
– If the wheel has any damage.
– If you are unsure of the condition of the tire or the wheel.
• Keep Tire Service Kit away from open flames or heat
source.
• A loose Tire Service Kit thrown forward in a collision
or hard stop could endanger the occupants of the
vehicle. Always stow the Tire Service Kit in the place
provided. Failure to follow these warnings can result
(Continued)
260 IN CASE OF EMERGENCY
Page 273 of 421

NOTE:Push the �ESC Off� switch, to place the Electronic
Stability Control (ESC) system in �Partial Off�mode, before
rocking the vehicle. Refer to “Electronic Brake Control” in
“Safety” for further information. Once the vehicle has been
freed, push the �ESC Off�switch again to restore �ESC On�
mode.
WARNING!
Fast spinning tires can be dangerous. Forces generated
by excessive wheel speeds may cause damage, or even
failure, of the axle and tires. A tire could explode and
injure someone. Do not spin your vehicle’s wheels
faster than 30 mph (48 km/h) or for longer than 30
seconds continuously without stopping when you are
stuck and do not let anyone near a spinning wheel, no
matter what the speed.
CAUTION!
• When “rocking” a stuck vehicle by shifting between
DRIVE/2nd gear and REVERSE, do not spin the
wheels faster than 15 mph (24 km/h), or drivetrain
damage may result.
• Revving the engine or spinning the wheels too fast
may lead to transmission overheating and failure. It
can also damage the tires. Do not spin the wheels
above 30 mph (48 km/h) while in gear (no transmis-
sion shifting occurring).
7
IN CASE OF EMERGENCY 271
Page 277 of 421

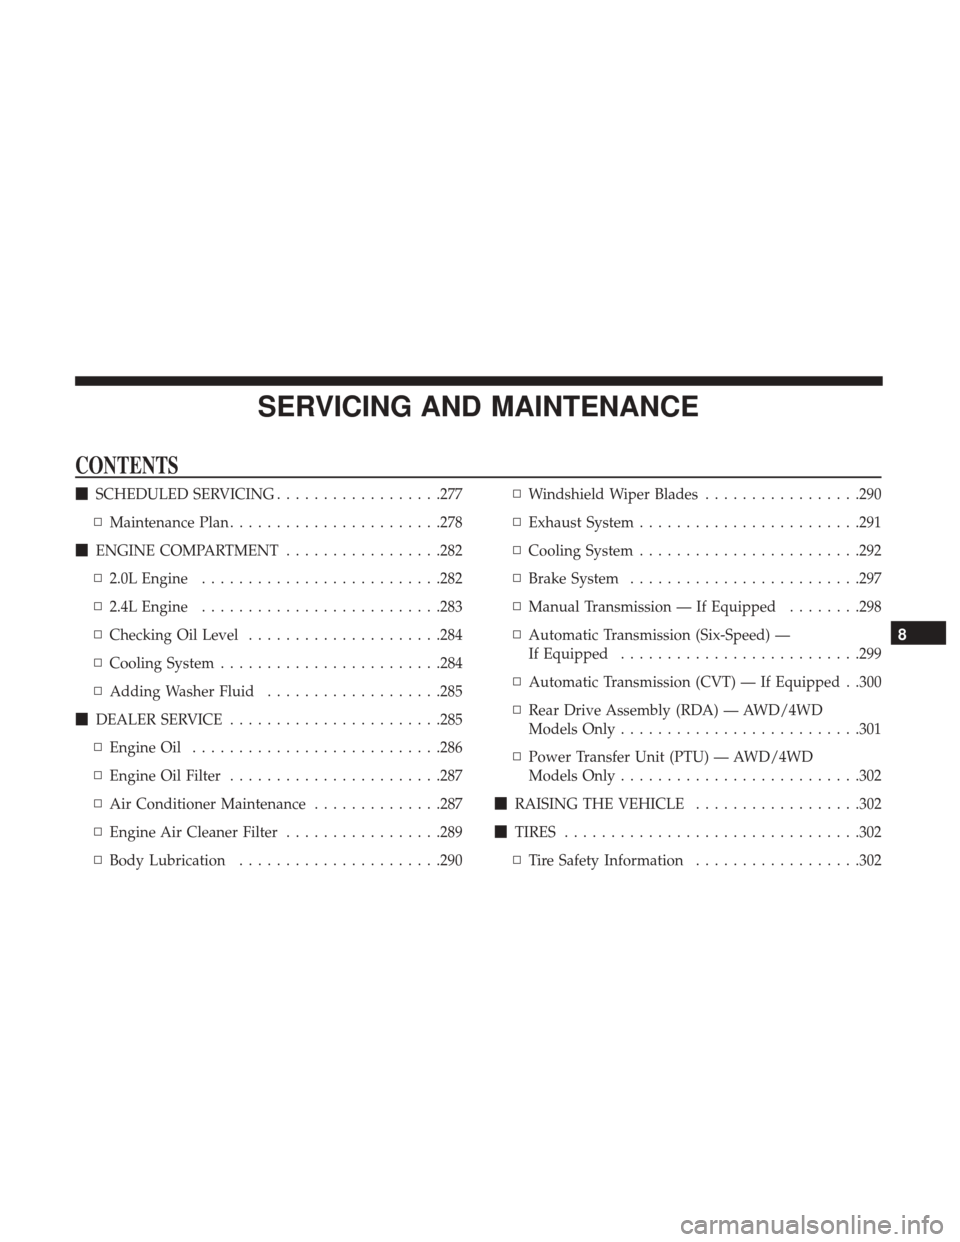
SERVICING AND MAINTENANCE
CONTENTS
�SCHEDULED SERVICING ..................277
▫ Maintenance Plan ...................... .278
� ENGINE COMPARTMENT .................282
▫ 2.0L Engine ......................... .282
▫ 2.4L Engine ......................... .283
▫ Checking Oil Level .....................284
▫ Cooling System ....................... .284
▫ Adding Washer Fluid ...................285
� DEALER SERVICE ...................... .285
▫ Engine Oil .......................... .286
▫ Engine Oil Filter ...................... .287
▫ Air Conditioner Maintenance ..............287
▫ Engine Air Cleaner Filter .................289
▫ Body Lubrication ..................... .290▫
Windshield Wiper Blades .................290
▫ Exhaust System ....................... .291
▫ Cooling System ....................... .292
▫ Brake System ........................ .297
▫ Manual Transmission — If Equipped ........298
▫ Automatic Transmission (Six-Speed) —
If Equipped ......................... .299
▫ Automatic Transmission (CVT) — If Equipped . .300
▫ Rear Drive Assembly (RDA) — AWD/4WD
Models Only ......................... .301
▫ Power Transfer Unit (PTU) — AWD/4WD
Models Only ......................... .302
� RAISING THE VEHICLE ..................302
� TIRES ............................... .302
▫ T
ire Safety Information ..................302
8
Page 278 of 421
▫Tires — General Information ..............310
▫ Tire Types ........................... .316
▫ Spare Tires — If Equipped ................317
▫ Wheel And Wheel Trim Care ..............319
▫ Tire Chains (Traction Devices) .............320
▫ Tire Rotation Recommendations ............321
� DEPARTMENT OF TRANSPORTATION UNIFORM
TIRE QUALITY GRADES ..................322
▫ Treadwear ........................... .322
▫ Traction Grades ....................... .322
▫ Temperature Grades .....................322 �
BODYWORK .......................... .323
▫ Protection From Atmospheric Agents ........323
▫ Body And Underbody Maintenance ..........323
▫ Preserving The Bodywork .................324
� INTERIORS ........................... .325
▫ Seats And Fabric Parts ...................325
▫ Plastic And Coated Parts ..................325
▫ Leather Parts ......................... .326
▫ Glass Surfaces ........................ .326
276 SERVICING AND MAINTENANCE
Page 280 of 421

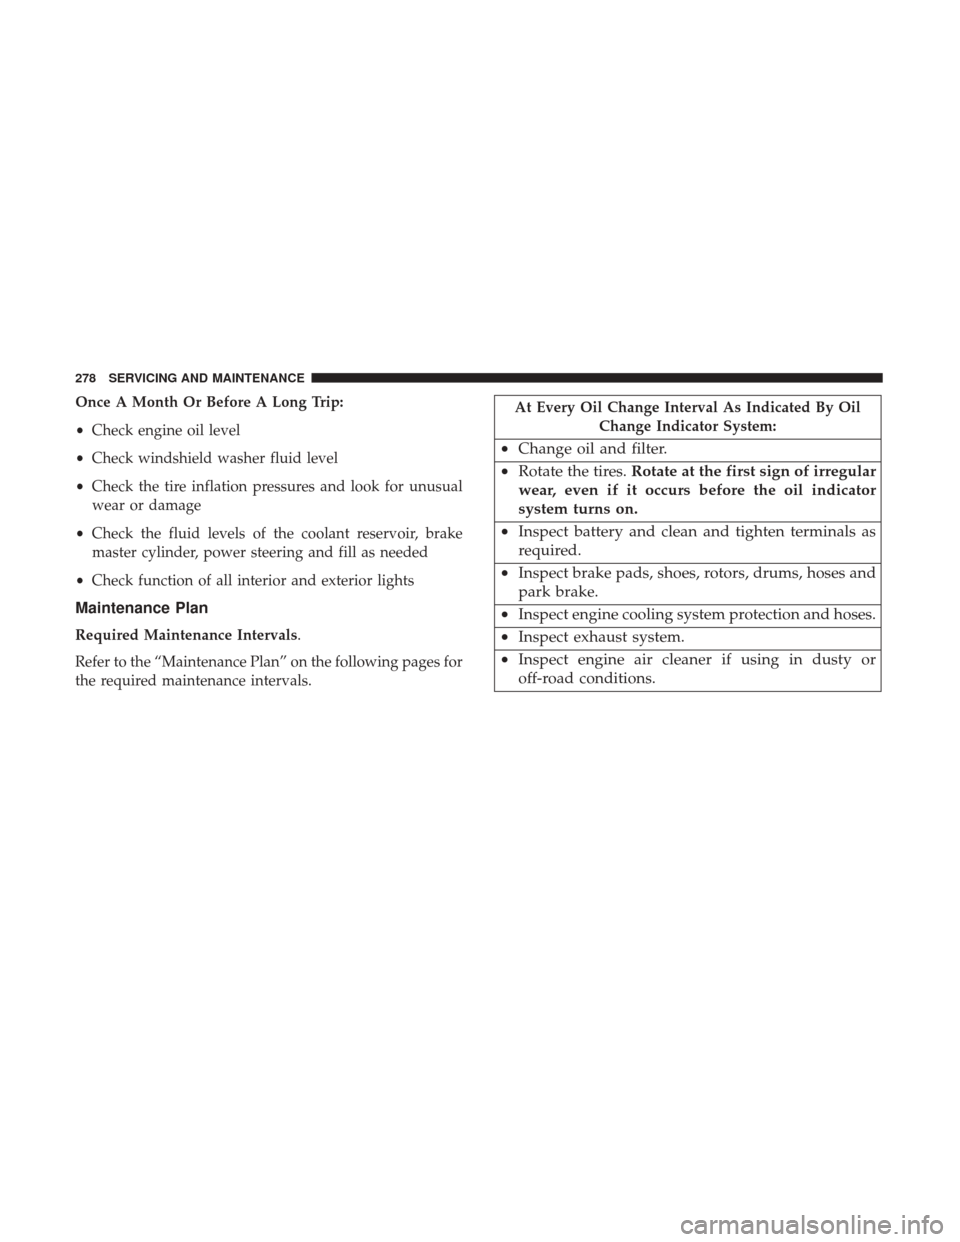
Once A Month Or Before A Long Trip:
•Check engine oil level
• Check windshield washer fluid level
• Check the tire inflation pressures and look for unusual
wear or damage
• Check the fluid levels of the coolant reservoir, brake
master cylinder, power steering and fill as needed
• Check function of all interior and exterior lights
Maintenance Plan
Required Maintenance Intervals.
Refer to the “Maintenance Plan” on the following pages for
the required maintenance intervals.
At Every Oil Change Interval As Indicated By Oil
Change Indicator System:
•Change oil and filter.
• Rotate the tires. Rotate at the first sign of irregular
wear, even if it occurs before the oil indicator
system turns on.
• Inspect battery and clean and tighten terminals as
required.
• Inspect brake pads, shoes, rotors, drums, hoses and
park brake.
• Inspect engine cooling system protection and hoses.
• Inspect exhaust system.
• Inspect engine air cleaner if using in dusty or
off-road conditions.
278 SERVICING AND MAINTENANCE
Page 304 of 421

Fluid Level Check
Visually inspect the unit at each oil change for leakage. If
leakage is detected, check the fluid level by removing the
fill plug. The fluid level should be maintained between the
bottom of the fill hole to 1/8 inch (4 mm) below the fill
hole.
Add fluid, if necessary, to maintain the proper level.
Frequency Of Fluid Change
Refer to the “Maintenance Plan” for the proper mainte-
nance intervals.
Power Transfer Unit (PTU) — AWD/4WD Models
Only
Lubricant Selection
Use only the manufacturer’s recommended fluid. Refer to
“Fluids And Lubricants” in “Technical Specifications” for
further information.
Fluid Level Check
Visually inspect the unit at each oil change for leakage. If
leakage is detected, Check the fluid level by removing thefill plug. The fluid level should be maintained between the
bottom of the fill hole to 1/8 inch (4 mm) below the fill
hole.
Add fluid, if necessary, to maintain the proper level.
Frequency Of Fluid Change
Refer to the “Maintenance Plan” for the proper mainte-
nance intervals.
RAISING THE VEHICLE
In the case where it is necessary to raise the vehicle, go to
an authorized dealer or service station.
TIRES
Tire Safety Information
Tire safety information will cover aspects of the following
information: Tire Markings, Tire Identification Numbers,
Tire Terminology and Definitions, Tire Pressures and Tire
Loading.
302 SERVICING AND MAINTENANCE