2017 JEEP COMPASS instrument cluster
[x] Cancel search: instrument clusterPage 14 of 429

INSTRUMENT PANEL
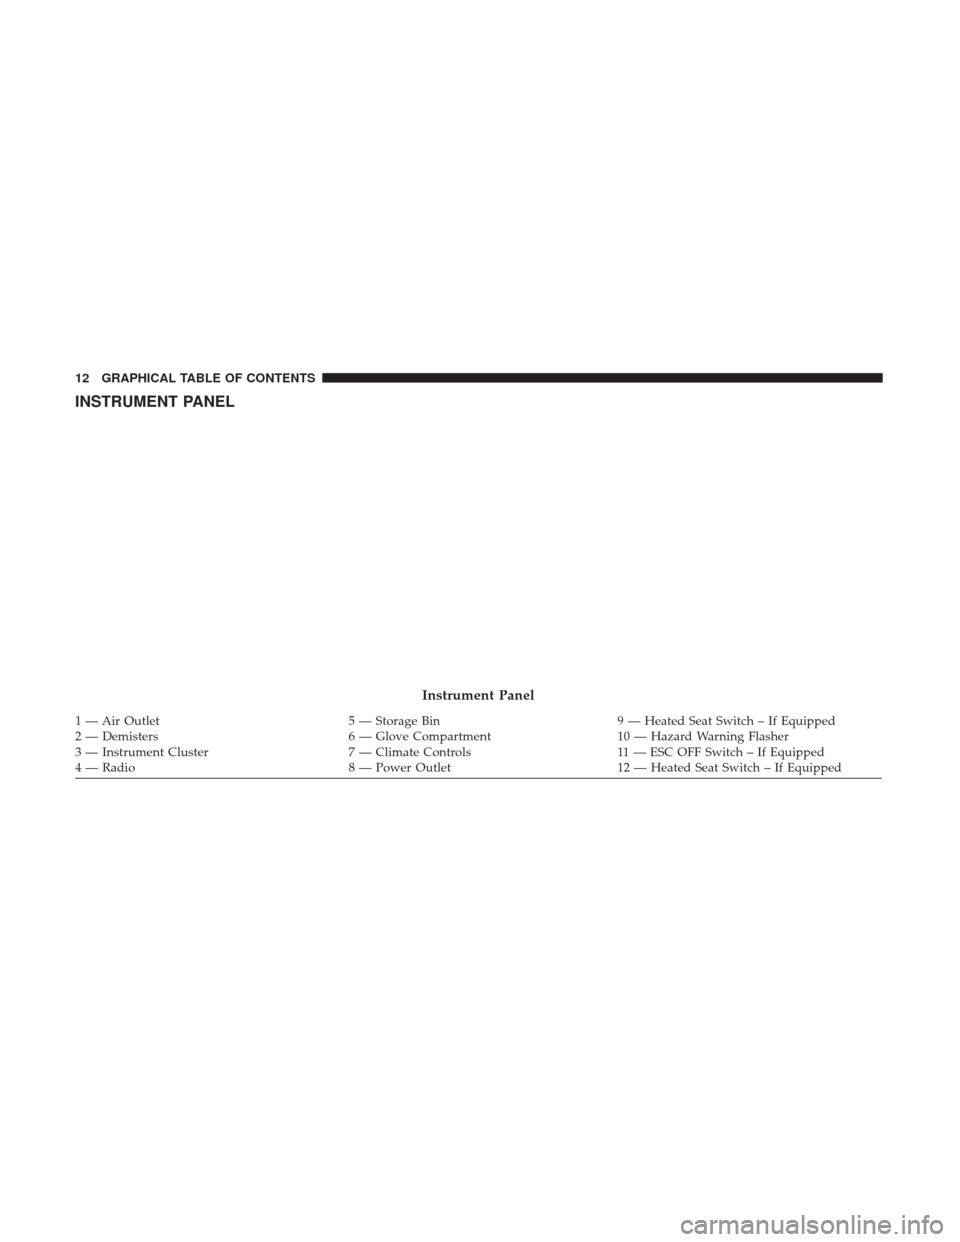
Instrument Panel
1 — Air Outlet5 — Storage Bin9 — Heated Seat Switch – If Equipped
2 — Demisters 6 — Glove Compartment10 — Hazard Warning Flasher
3 — Instrument Cluster 7 — Climate Controls11 — ESC OFF Switch – If Equipped
4 — Radio 8 — Power Outlet12 — Heated Seat Switch – If Equipped
12 GRAPHICAL TABLE OF CONTENTS
Page 21 of 429

KEYS
Your vehicle uses keyless ignition system. The ignition
system consists of a key fob with a Remote Keyless Entry
(RKE) and an ignition switch. The keyless ignition system
consists of a key fob and Keyless Enter-N-Go button.
A Word About Your Keys
The authorized dealer that sold you your new vehicle has
the key code numbers for your vehicle locks. These num-
bers can be used to order duplicate Remote Keyless Entry
(RKE) key fobs. Ask your authorized dealer for these
numbers and keep them in a safe place.
Locking Doors With A Key
You can insert the key with either side up. To lock the door,
turn the key to the right. To unlock the door, turn the key
to the left. Refer to ”Body Lubrication” in Dealer Service”
in “Servicing And Maintenance” for further information.
To Unlock The Doors And Liftgate
Push and release the unlockbutton on the key fob
once to unlock the driver ’s door or twice within five
seconds to unlock all doors and liftgate. The turn signal
lights will flash to acknowledge the unlock signal. The
illuminated entry system will also turn on.
Key Fob Unlock, Driver Door/All First Press
This feature lets you program the system to unlock either
the driver ’s door or all doors on the first push of the unlock
button on the key fob. To change the current setting,
proceed as follows:
• For vehicles equipped with the instrument cluster dis-
play, refer to “Instrument Cluster Display/Personal Set-
tings (Customer-Programmable Features)” in “Getting
To Know Your Instrument Panel” for further informa-
tion.
Key Fob
3
GETTING TO KNOW YOUR VEHICLE 19
Page 22 of 429

•For vehicles not equipped with the instrument cluster
display, perform the following steps:
1. Push and hold the lock
button on a programmed
key fob for at least 4 seconds but no longer than 10
seconds. Then, push and hold the unlock
but-
ton while still holding the lock
button.
2. Release both buttons at the same time.
3. Test the feature while outside of the vehicle by pushing the lock/unlock buttons on the key fob with
the ignition in the lock position and the Key re-
moved.
4. Repeat these steps if you want to return this feature to its previous setting.
NOTE: Pushing the lock button on the key fob while you
are inside the vehicle will activate the Vehicle Security
Alarm. Opening a door with the Vehicle Security Alarm
activated will cause the alarm to sound. Push the unlock
button to deactivate the Vehicle Security Alarm.
Programming Additional Key Fobs
Refer to “Sentry Key” in this section for further informa-
tion.
If you do not have a programmed key fob, contact your
authorized dealer for details.
Key Fob Battery Replacement
NOTE: Perchlorate Material – special handling may apply.
See www.dtsc.ca.gov/hazardouswaste/perchlorate
The recommended replacement battery is CR2032.
1. If the key fob is equipped with a screw, remove the screw. With the key fob buttons facing down, use a flat
blade screwdriver to pry the two halves of the key fob
apart. Make sure not to damage the elastomer seal
during removal.
20 GETTING TO KNOW YOUR VEHICLE
Page 28 of 429

present (driver’s door, passenger door, other doors, igni-
tion) after three minutes, the parking lights and tail lights
will flash for an additional 15 minutes.
To Arm The System
1. Remove the key fob from the ignition and get out of thevehicle.
2. Lock the door using either the power door lock
switch or the key fob lockbutton and close all
doors.
3. The Vehicle Security Light in the instrument cluster will flash rapidly for approximately 16 seconds. This shows
that the Vehicle Security Alarm is arming. During this
period, if a door is opened, the ignition is placed in the
ON/RUN position, or the power door locks are un-
locked in any manner, the Vehicle Security Alarm will
automatically disarm. After approximately 16 seconds,
the Vehicle Security Light will flash slowly. This shows
that the Vehicle Security Alarm is fully armed.
Rearming The System
If something triggers the alarm, and no action is taken to
disarm it, the Vehicle Security Alarm will turn off the horn after three minutes, turn off all of the visual signals after 15
minutes, and then the Vehicle Security Alarm will rearm
itself.
To Disarm The System
Push unlockon the key fob, or insert the key into the
ignition and place the ignition in the ON/RUN position.
If something has triggered the Vehicle Security Alarm in
your absence, the horn will sound three times, and exterior
lights blink three times when you unlock the doors. Check
the vehicle for tampering. The Vehicle Security Alarm is
designed to protect your vehicle. However, you can create
conditions where the Vehicle Security Alarm will arm
unexpectedly. If you remain in the vehicle and lock the
doors with the key fob, once the Vehicle Security Alarm is
armed (after 16 seconds), when you pull the door handle to
exit, the alarm will sound. If this occurs, push the unlock
button on the key fob to disarm the Vehicle Security
Alarm.
Vehicle Security Alarm Manual Override
The Vehicle Security Alarm will not arm if you lock the
doors using the manual door lock plunger.
26 GETTING TO KNOW YOUR VEHICLE
Page 33 of 429

Auto Lock Doors Programming
The Automatic Door Locks feature can be enabled or
disabled as follows:
•For vehicles equipped with the instrument cluster dis-
play, refer to “Instrument Cluster Display — If
Equipped/Personal Settings (Customer Programmable
Features)” in “Getting To Know Your Instrument Panel”
for further information.
• For vehicles not equipped with the instrument cluster
display, perform the following procedure:
1. Close all doors and place the key in the ignition.
2. Within 15 seconds, place the ignition between LOCK and ON/RUN and then back to LOCK four times,
ending up in the LOCK position (do not start the
engine).
3. Within 30 seconds, push the power door LOCK switch to lock the doors.
4. A single chime will indicate the completion of the programming. 5. Repeat these steps if you want to return this feature
to its previous setting.
NOTE:
• If you do not hear the chime, it means that the system
did not enter the programming mode and you will need
to repeat the procedure.
• Use the Automatic Door Lock feature in accordance with
local laws.
Automatic Unlock Doors On Exit
The doors will unlock automatically if:
•The Automatic Unlock Doors On Exit feature is enabled.
• The transmission was in gear, and the vehicle speed
returned to 0 MPH (0 km/h).
• The transmission is in NEUTRAL or PARK.
• The driver’s door is opened.
• The doors were not previously unlocked.
3
GETTING TO KNOW YOUR VEHICLE 31
Page 34 of 429

Automatic Unlock Doors On Exit Programming
The Automatic Unlock Doors On Exit feature can be
enabled or disabled as follows:
•For vehicles equipped with the instrument cluster dis-
play, refer to “Instrument Cluster Display — If
Equipped/Personal Settings (Customer-Programmable
Features)” in “Getting To Know Your Instrument Panel”
for further information.
• For vehicles not equipped with the instrument cluster
display, perform the following procedure:
1. Close all doors and place the key in the ignition.
2. Within 15 seconds, place the ignition between LOCK and ON/RUN and then back to LOCK five times,
ending up in the ON/RUN position (do not start the
engine).
3. Within 30 seconds, push the power door UNLOCK switch to unlock the doors. 4. A single chime will indicate the completion of the
programming.
5. Repeat these steps if you want to return this feature to its previous setting.
NOTE:
• If you do not hear the chime, it means that the system
did not enter the programming mode and you will need
to repeat the procedure.
• Use the Automatic Unlock Doors On Exit feature in
accordance with local laws.
Child-Protection Door Lock System — Rear Doors
To provide a safer environment for small children riding in
the rear seats, the rear doors are equipped with Child-
Protection Door Lock system.
32 GETTING TO KNOW YOUR VEHICLE
Page 51 of 429

Turn Signals
Move the multifunction lever up or down and the arrows
on each side of the instrument cluster flash to show proper
operation of the front and rear turn signal lights.
NOTE:If either light remains on and does not flash, or
there is a very fast flash rate, check for a defective outside
light bulb. If an indicator fails to light when the lever is
moved, it would suggest that the indicator bulb is defec-
tive.
Lane Change Assist
Tap the lever up or down once, without moving beyond
the detent, and the turn signal (right or left) will flash three
times then automatically turn off.
Lights-On Reminder
If the headlights or parking lights are left on after the
ignition is turned OFF, a chime will sound to alert the
driver when the driver’s door is opened.
Headlights On With Wipers (Available With
Automatic Headlights Only)
When this feature is active, the headlights will turn on
approximately 10 seconds after the wipers are turned on if
the headlight switch is placed in the AUTO position. In
addition, the headlights will turn off when the wipers are
turned off if they were turned on by this feature.
NOTE: The Headlights On with Wipers feature can be
turned on or off using the instrument cluster display. Refer
to “Instrument Cluster Display” in “Getting To Know Your
Instrument Panel” for further information.
Turn Signal Operation
3
GETTING TO KNOW YOUR VEHICLE 49
Page 55 of 429

NOTE:The wiper delay times depend on vehicle speed. If
the vehicle is moving less than 10 mph (16 km/h), delay
times will be doubled.
Windshield Washers
To use the washer, pull the control lever toward you and
hold while spray is desired. If the lever is pulled while in
the delay range, the wiper will operate in low-speed while
the lever is pulled and for two wipe cycles after the lever is
released, and then resume the intermittent interval previ-
ously selected.
If the lever is pulled while in the off position, the wipers
will operate for two wipe cycles, then turn off.
WARNING!
Sudden loss of visibility through the windshield could
lead to a collision. You might not see other vehicles or
other obstacles. To avoid sudden icing of the wind-
shield during freezing weather, warm the windshield
with the defroster before and during windshield
washer use.
Headlights On With Wipers (Available With
Automatic Headlights Only)
When this feature is active, the headlights will turn on
approximately 10 seconds after the wipers are turned on if
the headlight switch is placed in the AUTO position. In
addition, the headlights will turn off when the wipers are
turned off if they were turned on by this feature.
NOTE: The Headlights On with Wipers feature can be
turned on or off using the instrument cluster display. Refer
to “Instrument Cluster Display” in “Getting To Know Your
Instrument Panel” for further information.
Mist Feature
Push down on the control lever to activate a single wipe to
clear the windshield of road mist or spray from a passing
vehicle. As long as the lever is held down, the wipers will
continue to operate.
3
GETTING TO KNOW YOUR VEHICLE 53