Page 527 of 615

MULTIMEDIA
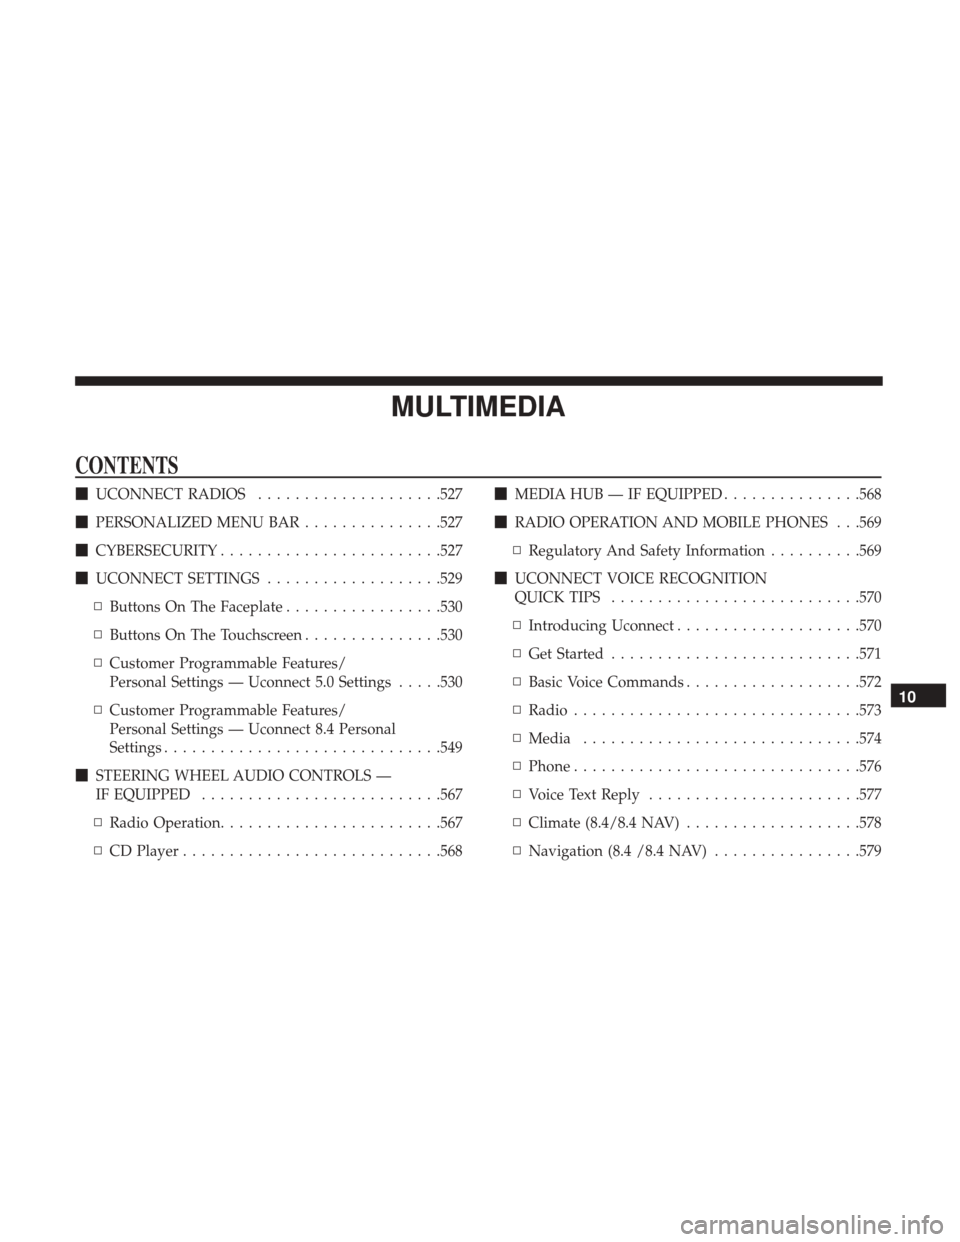
CONTENTS
�UCONNECT RADIOS ....................527
� PERSONALIZED MENU BAR ...............527
� CYBERSECURITY ....................... .527
� UCONNECT SETTINGS ...................529
▫ Buttons On The Faceplate .................530
▫ Buttons On The Touchscreen ...............530
▫ Customer Programmable Features/
Personal Settings — Uconnect 5.0 Settings .....530
▫ Customer Programmable Features/
Personal Settings — Uconnect 8.4 Personal
Settings ............................. .549
� STEERING WHEEL AUDIO CONTROLS —
IF EQUIPPED ......................... .567
▫ Radio Operation ....................... .567
▫ CD Player ........................... .568�
MEDIA HUB — IF EQUIPPED ...............568
� RADIO OPERATION AND MOBILE PHONES . . .569
▫ Regulatory And Safety Information ..........569
� UCONNECT VOICE RECOGNITION
QUICK TIPS .......................... .570
▫ Introducing Uconnect ....................570
▫ Get Started .......................... .571
▫ Basic Voice Commands ...................572
▫ Radio .............................. .573
▫ Media ............................. .574
▫ Phone .............................. .576
▫ Voice Text Reply ...................... .577
▫ Climate (8.4/8.4 NAV) ...................578
▫ Navigation (8.4 /8.4 NAV) ................579
10
Page 533 of 615

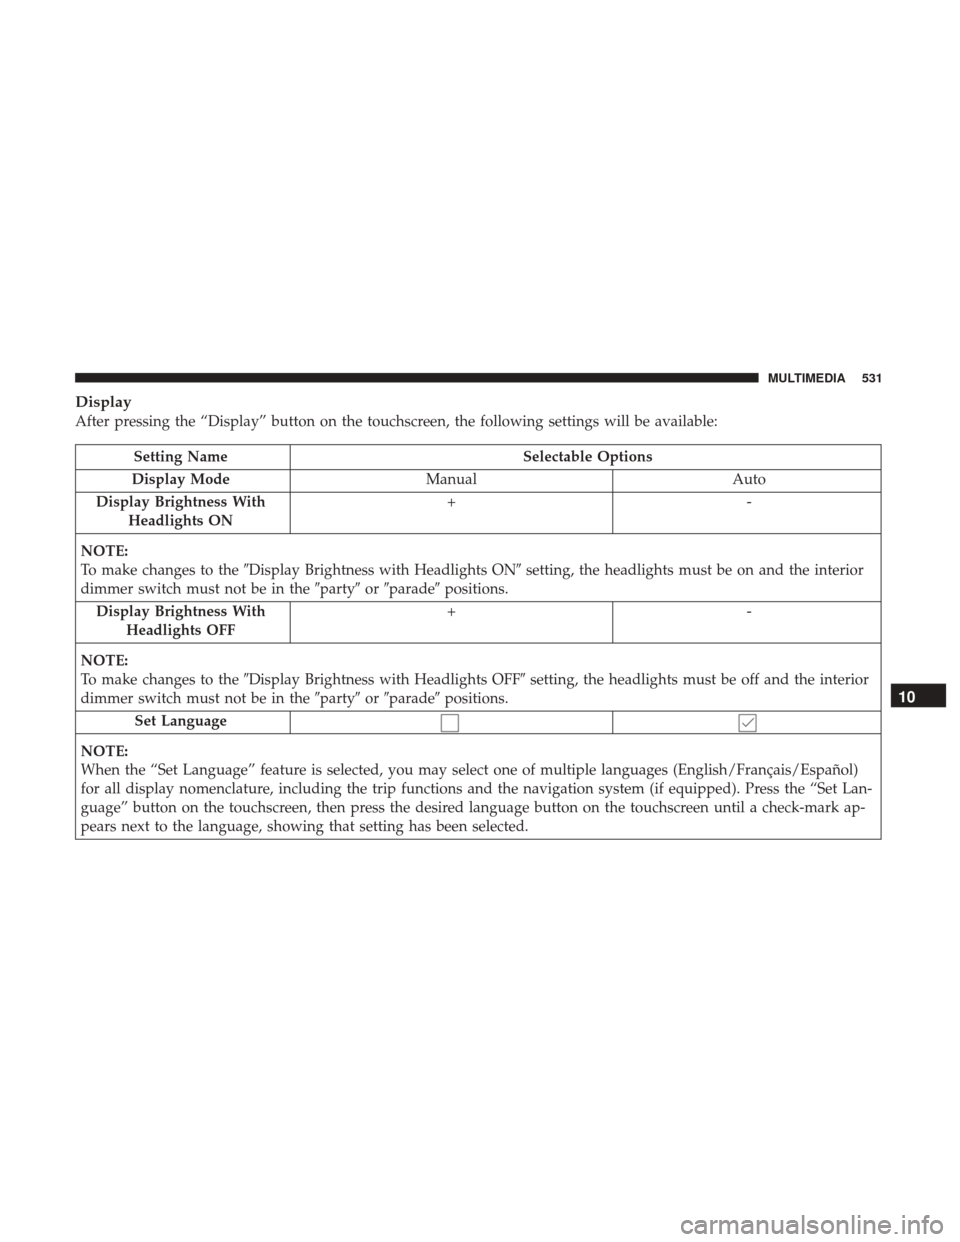
Display
After pressing the “Display” button on the touchscreen, the following settings will be available:
Setting NameSelectable Options
Display Mode Manual Auto
Display Brightness With Headlights ON +-
NOTE:
To make changes to the �Display Brightness with Headlights ON� setting, the headlights must be on and the interior
dimmer switch must not be in the �party�or�parade� positions.
Display Brightness With Headlights OFF +-
NOTE:
To make changes to the �Display Brightness with Headlights OFF� setting, the headlights must be off and the interior
dimmer switch must not be in the �party�or�parade� positions.
Set Language
NOTE:
When the “Set Language” feature is selected, you may select one of multiple languages (English/Français/Español)
for all display nomenclature, including the trip functions and the navigation system (if equipped). Press the “Set Lan-
guage” button on the touchscreen, then press the desired language button on the touchscreen until a check-mark ap-
pears next to the language, showing that setting has been selected.
10
MULTIMEDIA 531
Page 534 of 615
Setting NameSelectable Options
Units US Metric
Touchscreen Beep
Navigation Turn-By-Turn In Cluster — If Equipped
NOTE:
When the “Navigation Turn-By-Turn In Cluster” feature is selected, the turn-by-turn directions will appear in the in-
strument cluster display as the vehicle approaches a designated turn within a programmed route. Control Screen Time-Out — If Equipped
NOTE:
When the “Control Screen Time-Out” feature is selected, the Controls Screen will stay open for five seconds before
the screen times out. With the feature deselected, the screen will stay open until it is manually closed.
Voice
After pressing the “Voice” button on the touchscreen, the following settings will be available:
Setting Name Selectable Options
Voice Response Length Brief Detailed
Show Command List AlwaysWith Help Never
532 MULTIMEDIA
Page 553 of 615

Setting NameSelectable Options
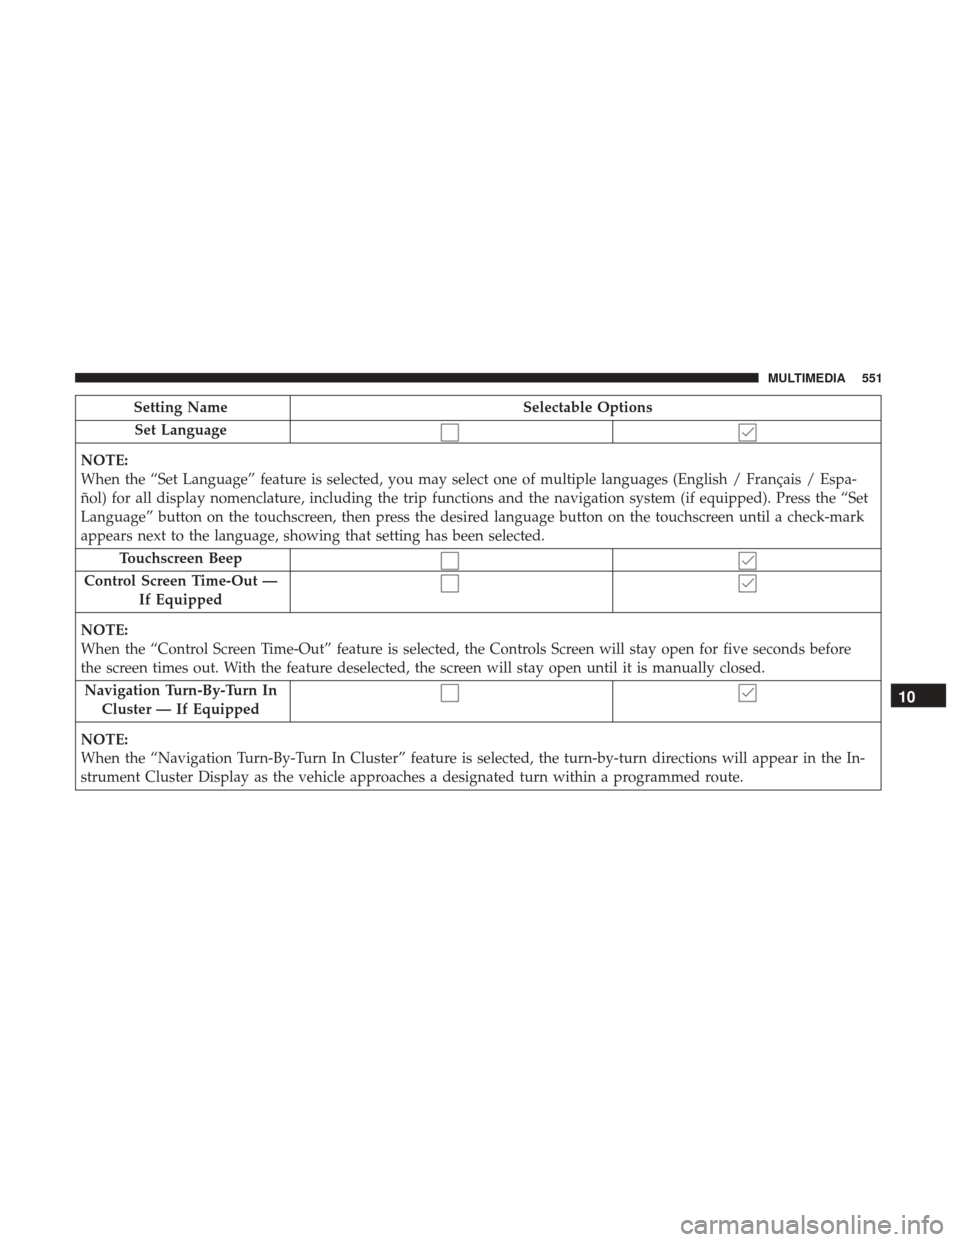
Set Language
NOTE:
When the “Set Language” feature is selected, you may select one of multiple languages (English / Français / Espa-
ñol) for all display nomenclature, including the trip functions and the navigation system (if equipped). Press the “Set
Language” button on the touchscreen, then press the desired language button on the touchscreen until a check-mark
appears next to the language, showing that setting has been selected. Touchscreen Beep
Control Screen Time-Out — If Equipped
NOTE:
When the “Control Screen Time-Out” feature is selected, the Controls Screen will stay open for five seconds before
the screen times out. With the feature deselected, the screen will stay open until it is manually closed. Navigation Turn-By-Turn In Cluster — If Equipped
NOTE:
When the “Navigation Turn-By-Turn In Cluster” feature is selected, the turn-by-turn directions will appear in the In-
strument Cluster Display as the vehicle approaches a designated turn within a programmed route.
10
MULTIMEDIA 551
Page 574 of 615
5. You can interrupt the help message or system promptsby pushing the VR or Phone button and saying a Voice
Command from current category.Basic Voice Commands
The basic Voice Commands below can be given at any
point while using your Uconnect system.
Push the VR button
. After the beep, say�
•Cancel to stop a current voice session
• Help to hear a list of suggested Voice Commands
• Repeat to listen to the system prompts again
Notice the visual cues that inform you of your voice recog-
nition system’s status. Cues appear on the touchscreen.
Uconnect Voice Command Buttons
1 — Push To Initiate Or To Answer A Phone Call, Send Or Receive
A Text
2 — For All Radios: Push To Begin Radio Or Media functions. For
8.4/8.4 NAV Only: Push To Begin Navigation, Apps And Climate
Functions.
3 — Push To End Call
Uconnect 5.0
572 MULTIMEDIA
Page 581 of 615
TIP:Voice Command for Climate may only be used to
adjust the interior temperature of your vehicle. Voice
Command will not work to adjust the heated seats or
steering wheel if equipped.Navigation (8.4 /8.4 NAV)
The Uconnect navigation feature helps you save time and
become more productive when you know exactly how to
get to where you want to go. (Navigation is optional on the
Uconnect 8.4 system. See your dealer to activate navigation
at any time.)
1. To enter a destination, push the VR button
. After
the beep, say:
• For the 8.4 Uconnect System, say: “Enter state.”
• For the 8.4 NAV Uconnect System, say: “Find address
800 Chrysler Drive Auburn Hills, Michigan.”
2. Then follow the system prompts.
Uconnect 8.4/8.4 NAV Climate
10
MULTIMEDIA 579
Page 582 of 615
TIP:To start a POI search, push the VR button. After
the beep, say: “ Find nearestcoffee shop.” Uconnect Access (8.4/8.4 NAV)
WARNING!
ALWAYS obey traffic laws and pay attention to the
road. Some Uconnect Access services, including 9-1-1
and Assist, will NOT work without an operable
1X(voice/data) or 3G(data) network connection.
NOTE: Your vehicle may be transmitting data as autho-
rized by the subscriber.
An included trial and/or subscription is required to take
advantage of the Uconnect Access services in the next
section of this guide. To register with Uconnect Access,
press the Apps button on the 8.4-inch touchscreen to get
started. Detailed registration instructions can be found on
the next page.
Uconnect 8.4 NAV Navigation
580 MULTIMEDIA
Page 584 of 615

Signing up is easy!Simply follow the steps above. Or,
press the “Apps
” button on the touchscreen to
“Register By Web” to complete the process using your
smartphone or computer.
For further information, please visit DriveUconnect.com.
Vehicle Health Alert
Your vehicle will send you an email alert if it senses a
problem under the hood with one of your vehicles key
systems. For further information go to the Mopar Owner
Connect website moparownerconnect.com.
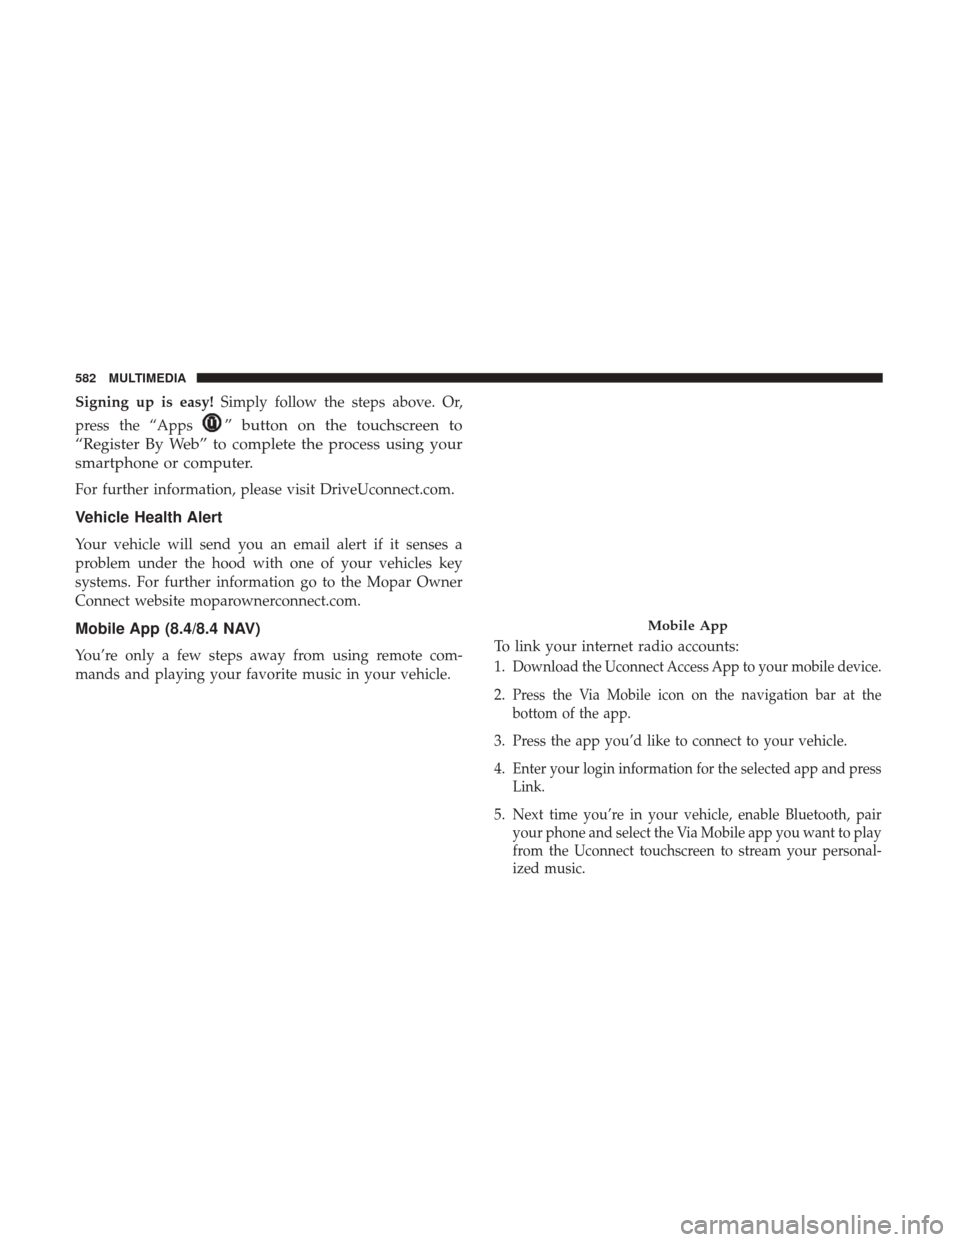
Mobile App (8.4/8.4 NAV)
You’re only a few steps away from using remote com-
mands and playing your favorite music in your vehicle. To link your internet radio accounts:
1.Download the Uconnect Access App to your mobile device.
2.Press the Via Mobile icon on the navigation bar at the
bottom of the app.
3.Press the app you’d like to connect to your vehicle.
4.Enter your login information for the selected app and press
Link.
5.Next time you’re in your vehicle, enable Bluetooth, pair
your phone and select the Via Mobile app you want to play
from the Uconnect touchscreen to stream your personal-
ized music.
Mobile App
582 MULTIMEDIA