Page 531 of 615
UCONNECT SETTINGS
The Uconnect system uses a combination of buttons on the
touchscreen and buttons on the faceplate located on the
center of the instrument panel that allow you to access and
change the customer programmable features.
NOTE:Features can vary by vehicle.
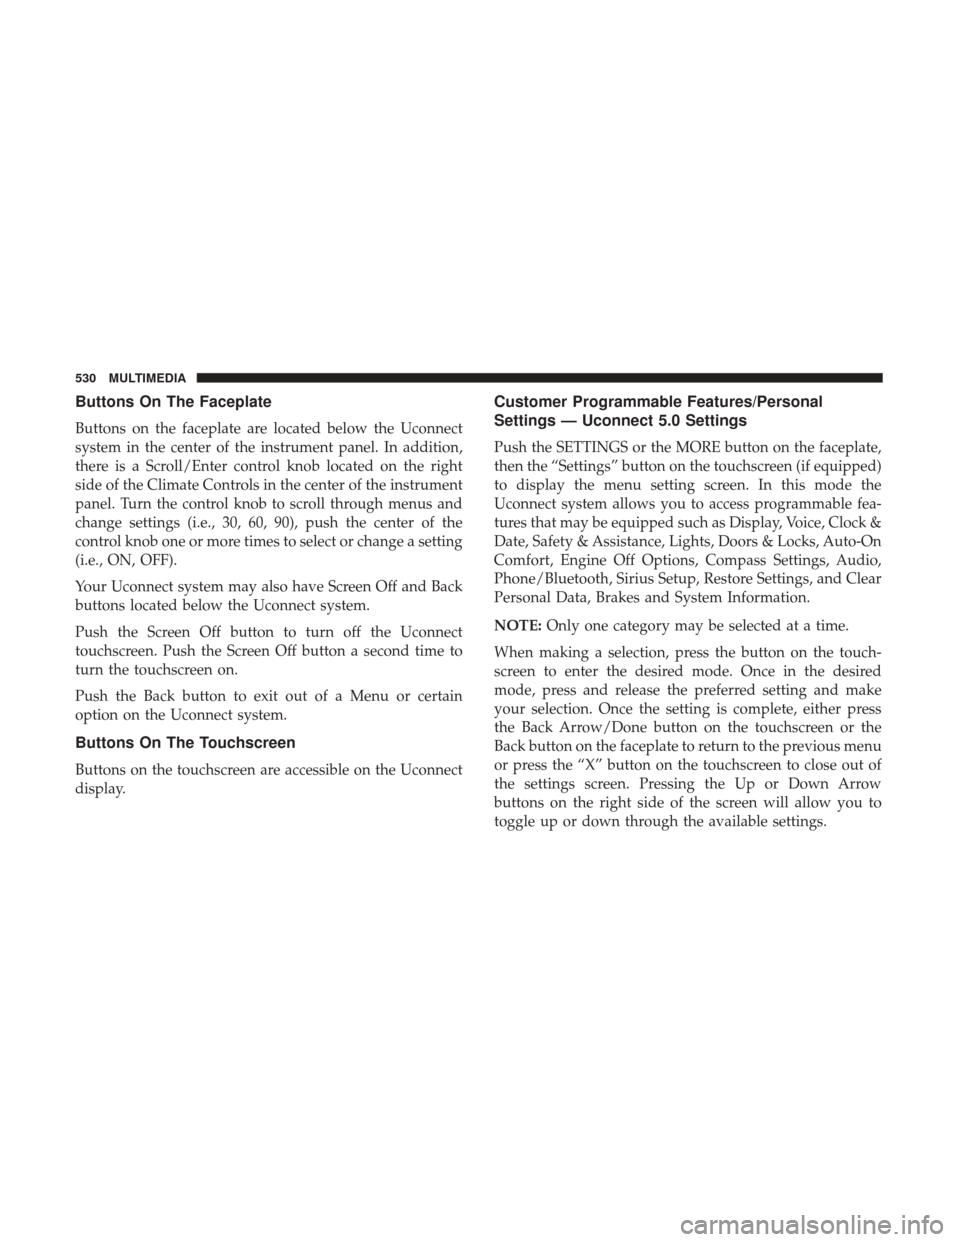
Uconnect 5.0 Buttons On The Touchscreen And Buttons
On The Faceplate
1 — Uconnect Buttons On The Touchscreen
2 — Uconnect Buttons On The Faceplate
Uconnect 8.4/8.4 NAV Buttons On The TouchscreenAnd Buttons On The Faceplate
1 — Uconnect Buttons On The Touchscreen
2 — Uconnect Buttons On The Faceplate
10
MULTIMEDIA 529
Page 532 of 615

Buttons On The Faceplate
Buttons on the faceplate are located below the Uconnect
system in the center of the instrument panel. In addition,
there is a Scroll/Enter control knob located on the right
side of the Climate Controls in the center of the instrument
panel. Turn the control knob to scroll through menus and
change settings (i.e., 30, 60, 90), push the center of the
control knob one or more times to select or change a setting
(i.e., ON, OFF).
Your Uconnect system may also have Screen Off and Back
buttons located below the Uconnect system.
Push the Screen Off button to turn off the Uconnect
touchscreen. Push the Screen Off button a second time to
turn the touchscreen on.
Push the Back button to exit out of a Menu or certain
option on the Uconnect system.
Buttons On The Touchscreen
Buttons on the touchscreen are accessible on the Uconnect
display.
Customer Programmable Features/Personal
Settings — Uconnect 5.0 Settings
Push the SETTINGS or the MORE button on the faceplate,
then the “Settings” button on the touchscreen (if equipped)
to display the menu setting screen. In this mode the
Uconnect system allows you to access programmable fea-
tures that may be equipped such as Display, Voice, Clock &
Date, Safety & Assistance, Lights, Doors & Locks, Auto-On
Comfort, Engine Off Options, Compass Settings, Audio,
Phone/Bluetooth, Sirius Setup, Restore Settings, and Clear
Personal Data, Brakes and System Information.
NOTE:Only one category may be selected at a time.
When making a selection, press the button on the touch-
screen to enter the desired mode. Once in the desired
mode, press and release the preferred setting and make
your selection. Once the setting is complete, either press
the Back Arrow/Done button on the touchscreen or the
Back button on the faceplate to return to the previous menu
or press the “X” button on the touchscreen to close out of
the settings screen. Pressing the Up or Down Arrow
buttons on the right side of the screen will allow you to
toggle up or down through the available settings.
530 MULTIMEDIA
Page 535 of 615

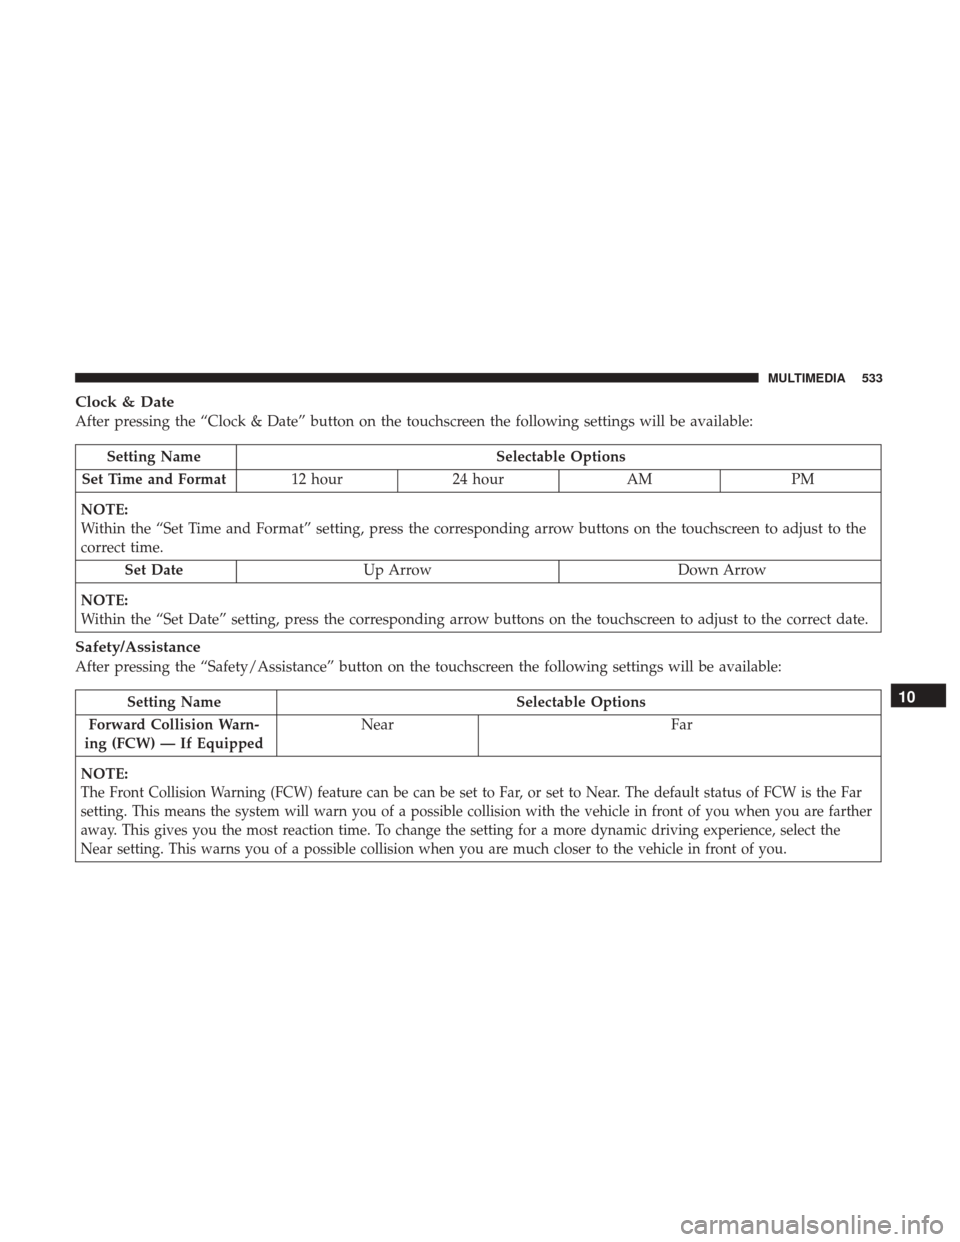
Clock & Date
After pressing the “Clock & Date” button on the touchscreen the following settings will be available:
Setting NameSelectable Options
Set Time and Format 12 hour24 hour AMPM
NOTE:
Within the “Set Time and Format” setting, press the corresponding arrow buttons on the touchscreen to adjust to the
correct time. Set Date Up Arrow Down Arrow
NOTE:
Within the “Set Date” setting, press the corresponding arrow buttons on the touchscreen to adjust to the correct date.
Safety/Assistance
After pressing the “Safety/Assistance” button on the touchscreen the following settings will be available:
Setting Name Selectable Options
Forward Collision Warn-
ing (FCW) — If Equipped Near
Far
NOTE:
The Front Collision Warning (FCW) feature can be can be set to Far, or set to Near. The default status of FCW is the Far
setting. This means the system will warn you of a possible collision with the vehicle in front of you when you are farther
away. This gives you the most reaction time. To change the setting for a more dynamic driving experience, select the
Near setting. This warns you of a possible collision when you are much closer to the vehicle in front of you.
10
MULTIMEDIA 533
Page 547 of 615

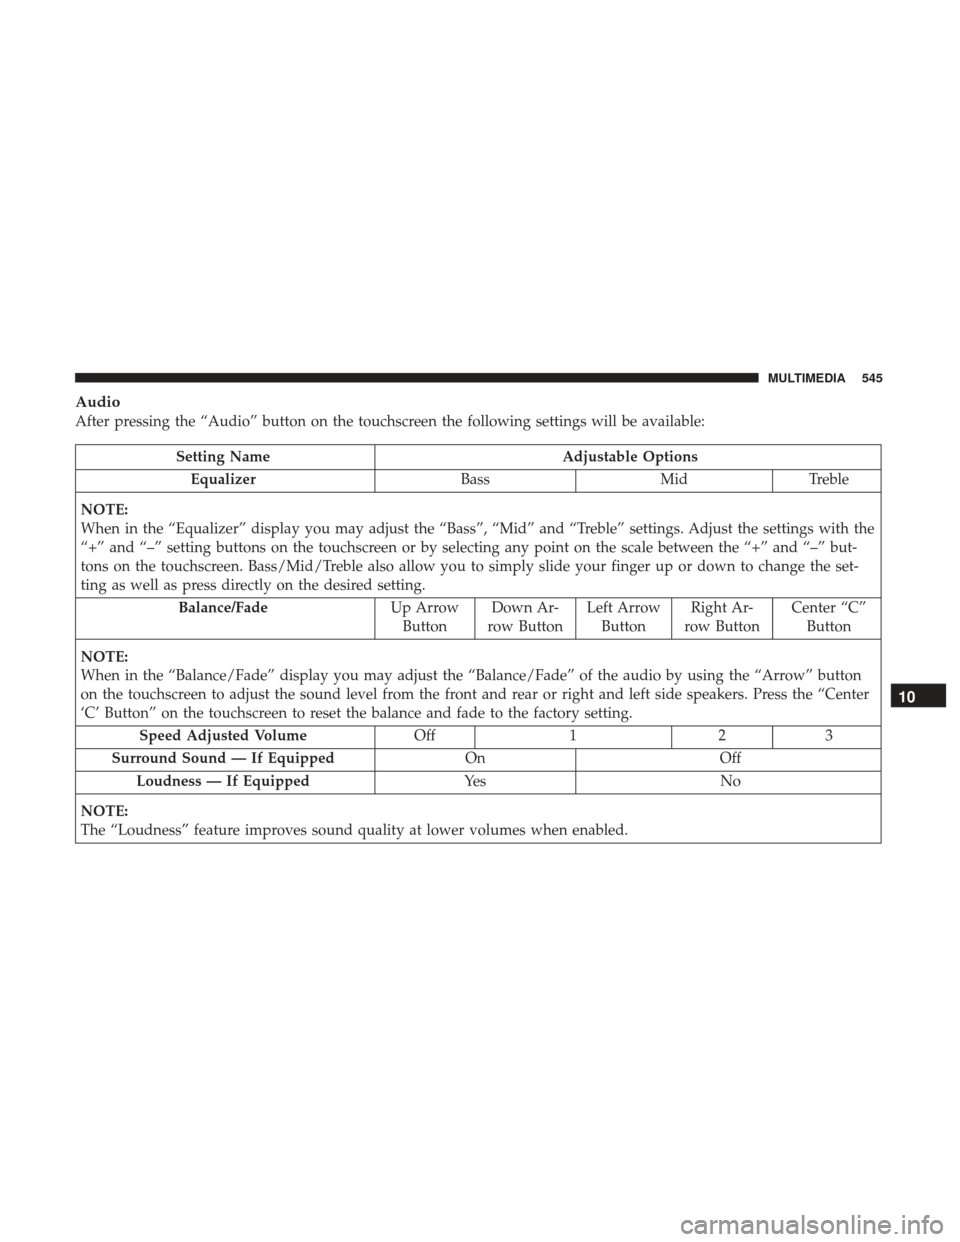
Audio
After pressing the “Audio” button on the touchscreen the following settings will be available:
Setting NameAdjustable Options
Equalizer BassMidTreble
NOTE:
When in the “Equalizer” display you may adjust the “Bass”, “Mid” and “Treble” settings. Adjust the settings with the
“+” and “–” setting buttons on the touchscreen or by selecting any point on the scale between the “+” and “–” but-
tons on the touchscreen. Bass/Mid/Treble also allow you to simply slide your finger up or down to change the set-
ting as well as press directly on the desired setting. Balance/Fade Up Arrow
Button Down Ar-
row Button Left Arrow
Button Right Ar-
row Button Center “C”
Button
NOTE:
When in the “Balance/Fade” display you may adjust the “Balance/Fade” of the audio by using the “Arrow” button
on the touchscreen to adjust the sound level from the front and rear or right and left side speakers. Press the “Center
‘C’ Button” on the touchscreen to reset the balance and fade to the factory setting. Speed Adjusted Volume Off123
Surround Sound — If Equipped OnOff
Loudness — If Equipped Ye sN o
NOTE:
The “Loudness” feature improves sound quality at lower volumes when enabled.
10
MULTIMEDIA 545
Page 562 of 615
Setting NameSelectable Options
Passive Entry — If Equipped
NOTE:
The “Passive Entry” feature allows you to lock and unlock the vehicles door(s) without having to push the key fob
lock or unlock buttons. Personal Settings Linked ToKey Fob — If Equipped
NOTE:
The “Personal Settings Linked To Key Fob” feature provides automatic recall of all settings stored to a memory loca-
tion (driver ’s seat, exterior mirrors, steering column position and radio station pre-sets) to enhance driver mobility
when entering and exiting the vehicle. Power Lift Gate Chime — If Equipped
560 MULTIMEDIA
Page 565 of 615

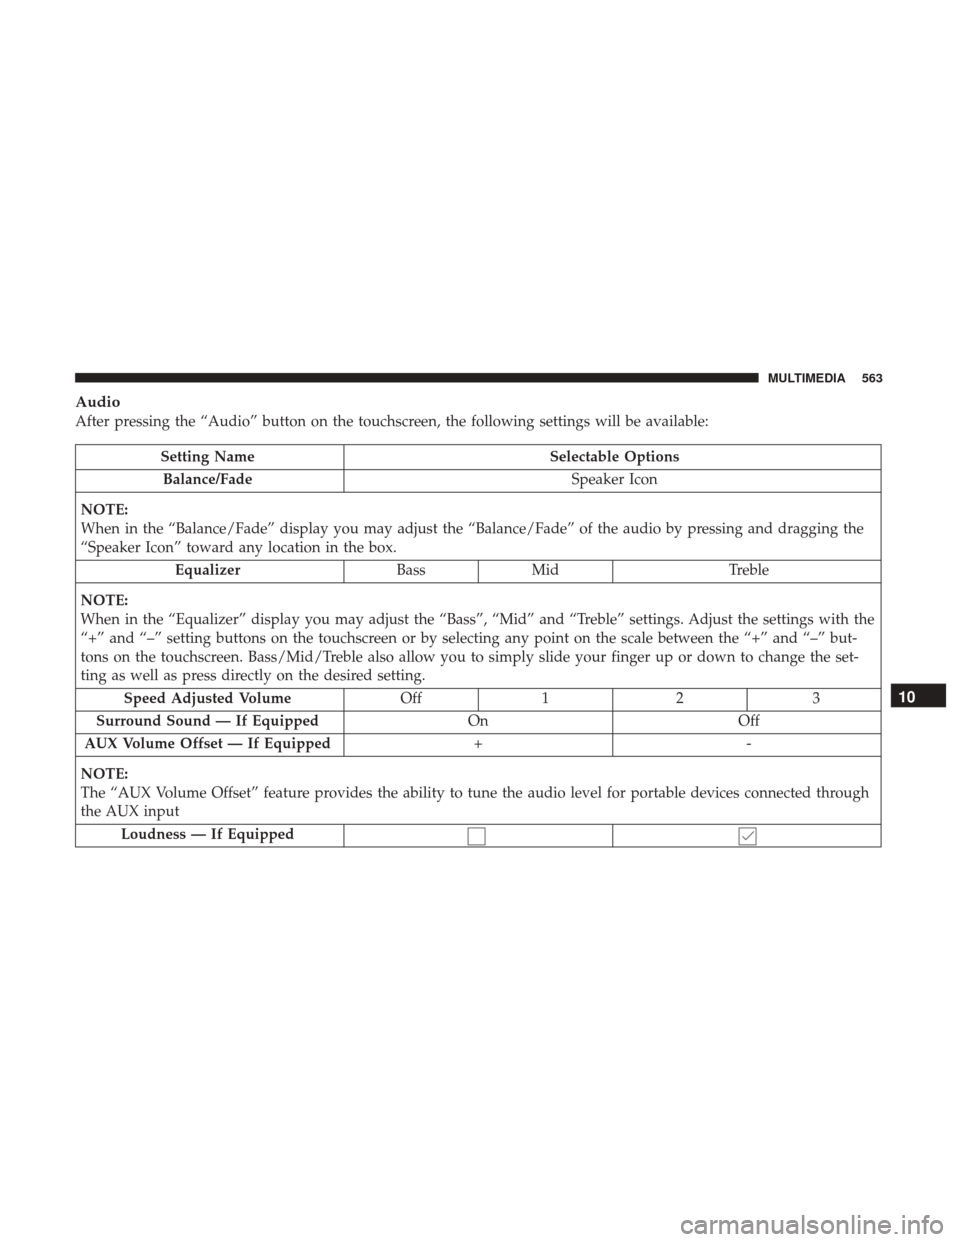
Audio
After pressing the “Audio” button on the touchscreen, the following settings will be available:
Setting NameSelectable Options
Balance/Fade Speaker Icon
NOTE:
When in the “Balance/Fade” display you may adjust the “Balance/Fade” of the audio by pressing and dragging the
“Speaker Icon” toward any location in the box. Equalizer BassMid Treble
NOTE:
When in the “Equalizer” display you may adjust the “Bass”, “Mid” and “Treble” settings. Adjust the settings with the
“+” and “–” setting buttons on the touchscreen or by selecting any point on the scale between the “+” and “–” but-
tons on the touchscreen. Bass/Mid/Treble also allow you to simply slide your finger up or down to change the set-
ting as well as press directly on the desired setting. Speed Adjusted Volume Off12 3
Surround Sound — If Equipped OnOff
AUX Volume Offset — If Equipped +-
NOTE:
The “AUX Volume Offset” feature provides the ability to tune the audio level for portable devices connected through
the AUX input Loudness — If Equipped
10
MULTIMEDIA 563
Page 573 of 615
If you see theicon on your touchscreen, you have the
Uconnect 8.4 NAV system. If not, you have a Uconnect
8.4 system. Get Started
All you need to control your Uconnect system with your
voice are the buttons on your steering wheel.
1. Visit UconnectPhone.com to check mobile device and
feature compatibility and to find phone pairing instruc-
tions.
2. Reduce background noise. Wind and passenger conver- sations are examples of noise that may impact recogni-
tion.
3. Speak clearly at a normal pace and volume while facing straight ahead. The microphone is positioned on the
rearview mirror and aimed at the driver.
4. Each time you give a Voice Command, you must first push either the Voice Recognition (VR) or Phone button,
wait until afterthe beep, then say your Voice Command.
Uconnect 8.4 NAV10
MULTIMEDIA 571
Page 574 of 615
5. You can interrupt the help message or system promptsby pushing the VR or Phone button and saying a Voice
Command from current category.Basic Voice Commands
The basic Voice Commands below can be given at any
point while using your Uconnect system.
Push the VR button
. After the beep, say�
•Cancel to stop a current voice session
• Help to hear a list of suggested Voice Commands
• Repeat to listen to the system prompts again
Notice the visual cues that inform you of your voice recog-
nition system’s status. Cues appear on the touchscreen.
Uconnect Voice Command Buttons
1 — Push To Initiate Or To Answer A Phone Call, Send Or Receive
A Text
2 — For All Radios: Push To Begin Radio Or Media functions. For
8.4/8.4 NAV Only: Push To Begin Navigation, Apps And Climate
Functions.
3 — Push To End Call
Uconnect 5.0
572 MULTIMEDIA