Page 256 of 642
3-158
Convenient features of your vehicle
With Audio system
Whenever the battery terminals or
related fuses are disconnected, you
must reset the time.
To set the time:The ignition switch must be in the
ACC position or the ON position.
To adjust the time, AM/PM, and date:
Press the SETUP CLOCK button (1)
over 2 seconds to select the time
screen. Then, the number flashes on
the LCD display. Rotate the volume
knob (2) to the right to adjust the
time. Re-press the volume knob (2)
to save it.
Repeat the above procedure to
adjust time, AM/PM and date. It pro-
ceeds in the following order. “Hour
�Minute �AM/PM �Year �
Month �Date”
With Navigation system
The driver can adjust the time in the
AVN (Audio, Video, and Navigation)system.
For more information, refer to the
CAR MULTI MEDIA SYSTEM.
OTL045260OTL045261
Page 266 of 642
4-3
Multimedia System
Steering Wheel Audio Control
Do not operate audio remote con-
trol buttons simultaneously.
VOLUME (VOL + / - ) (1)
Move the VOLUME lever up toincrease volume.
Move the VOLUME lever down to decrease volume.
SEEK/PRESET ( / ) (2)
If the SEEK/PRESET lever is moved
up or down and held for 0.8 second
or more, it will function in the follow-ing modes;
RADIO mode
It will function as the AUTO SEEK
select button. It will SEEK until you
release the button.
MEDIA mode
It will function as the FF/REW button.
If the SEEK/PRESET lever is moved
up or down, it will function in the fol-
lowing modes;
RADIO mode
It will function as the PRESET STA-
TION UP/DOWN button.
MEDIA mode
It will function as the TRACK UP/
DOWN button.
MODE (3)
Press the MODE button to select
Radio, XM, Disc, or AUX.
Information
Detailed information for audio control
buttons are described in the following
pages in this chapter.
iNOTICE
4
OTLA045238
Page 277 of 642

4-14
Multimedia System
(Continued)
If your iPhone
®is connected to both
the Bluetooth®Wireless Technology
and USB, the sound may not be
properly played. In your iPhone
®,
select the Dock c onnector or
Bluetooth
®Wireless Technology to
change the sound output (source).
iPod mode cannot be operated when the iPod
®cannot be recognized due
to versions that do not support com-
munication protocols.
For fifth generation iPod
®Nano
devices, the iPod®may not be recog-
nized when the battery level is low.
Please charge the iPod
®for use.
Search/play orders shown within the iPod
®device may differ with the
orders shown within the audio sys-
tem.
If the iPod
®malfunctions due to an
iPod®device defect, reset the iPod®
and try again. (To learn more, refer to
your iPod®manual)
(Continued) (Continued)
Some iPod
®s may not sync with the
System depending on its version. If
the Media is removed before the
Media is recognized, then the sys-
tem may not properly restore the
previously operated mode. (iPad
®
charging is not supported.)
Information - Using the AUX
device
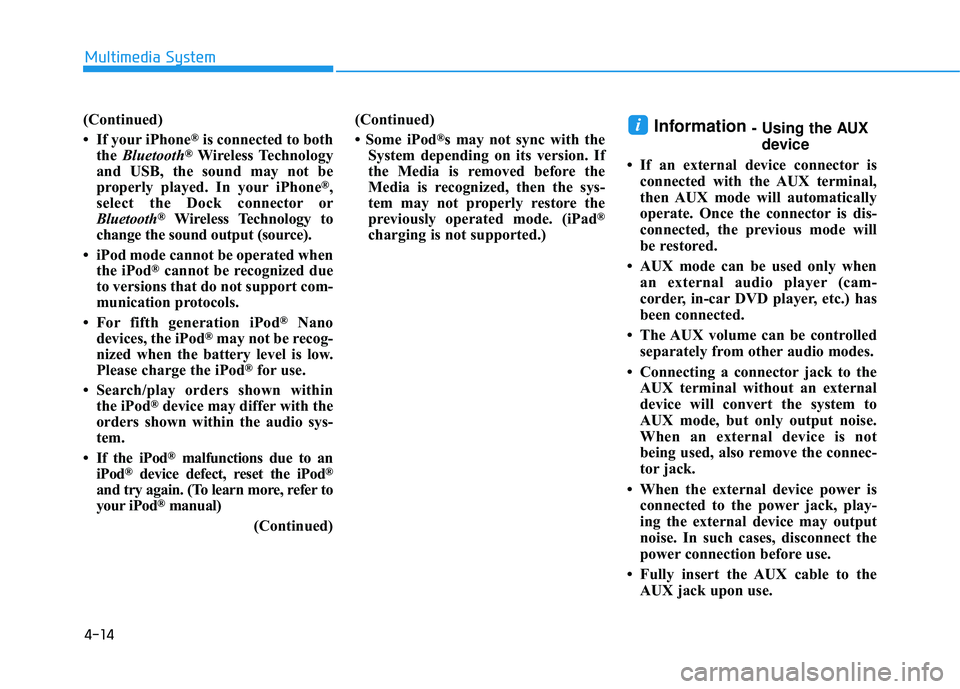
If an external device connector is connected with the AUX terminal,
then AUX mode will automatically
operate. Once the connector is dis-
connected, the previous mode will
be restored.
AUX mode can be used only when an external audio player (cam-
corder, in-car DVD player, etc.) has
been connected.
The AUX volume can be controlled separately from other audio modes.
Connecting a connector jack to the AUX terminal without an external
device will convert the system to
AUX mode, but only output noise.
When an external device is not
being used, also remove the connec-
tor jack.
When the external device power is connected to the power jack, play-
ing the external device may output
noise. In such cases, disconnect the
power connection before use.
Fully insert the AUX cable to the AUX jack upon use.i
Page 283 of 642
4-20
Multimedia System
Steering-Wheel Mounted Controls
❈The actual feature in the vehicle may differ from the
illustration.
NameDescription
- Starts voice recognition
- When selecting during a voice prompt, stops the
prompt and converts to voice command waiting state
- Ends voice recognition
MODE in order of FM1 ➟FM2 ➟AM ➟XM1 ➟XM2 ➟
XM3 ➟CD ➟USB or iPod ➟AUX ➟My Music ➟
BT Audio
inserted, corresponding modes will be disabled.
,VOL-VOL+Used to control volume.
,
- Radio mode : searches broadcast frequencies andchannels saved to presets.
- Media(CD / USB / iPod ®
/ My Music / BT Audio)
modes : changes the track, file or chap ter.
- Radio mode, automatically searches broadcast fre- quencies and channels
- Media(CD / USB / iPod ®
/ My Music) modes,
rewinds or fast forwards the track or song(file)
- BT Audio mode may not be supported in some mobile phones.
Page 285 of 642
4-22
Multimedia System
RRaadd iioo MM ooddee
Basic Mode Screen
1. Mode Display
Displays the current operating mode (FM1, FM2, AM, XM1, etc.)
2. Frequency
Displays the current frequency.
3. Preset
Displays the current preset number
~ .
4. Preset Display
Displays preset buttons.
5. A.store
Automatically saves frequencies with
superior reception to Preset buttons.Switching to Radio Mode
Pressing the key will change
the operating mode in order of FM1 ➟
➟ FM2
➟AM ➟XM1 ➟XM2 ➟XM3
If [Mode Pop up] is turned on within [Display], then pressing the
key will display the Radio
Pop-up Mode screen.
Turn the TUNE knob to move the
focus. Press the knob to select.
RADIO
SETUP
RADIO
P6P1
Page 286 of 642

4-23
Multimedia System
4
Searching Radio Frequencies
Using Seek
Press the , key to
play the previous/next frequency.
Using TUNE
Turn the TUNE knob to select the
desired frequency.
Using Radio Mode
Selecting Presets/Saving
Presets
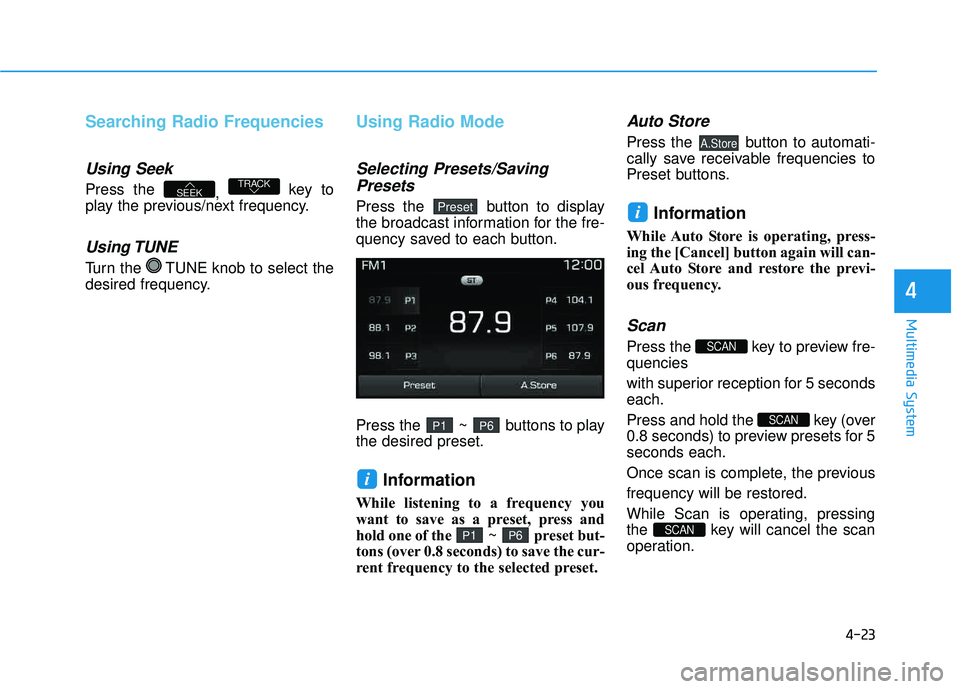
Press the button to display
the broadcast information for the fre-
quency saved to each button.
Press the ~ buttons to play the desired preset.
Information
While listening to a frequency you
want to save as a preset, press and
hold one of the ~ preset but-
tons (over 0.8 seconds) to save the cur-
rent frequency to the selected preset.
Auto Store
Press the button to automati-
cally save receivable frequencies to
Preset buttons.
Information
While Auto Store is operating, press-
ing the [Cancel] button again will can-
cel Auto Store and restore the previ-
ous frequency.
Scan
Press the key to preview fre-quencies
with superior reception for 5 seconds each.
Press and hold the key (over
0.8 seconds) to preview presets for 5seconds each.
Once scan is complete, the previous frequency will be restored.
While Scan is operating, pressing
the key will cancel the scan
operation.
SCAN
SCAN
SCAN
i
A.Store
P6P1
i
P6P1
Preset
TRACKSEEK
Page 289 of 642
4-26
Multimedia System
SSiirr iiuu ssXX MM RR aadd iioo MM ooddee
Basic Mode Screen
1. Mode Display
Displays currently operating mode.
2. Channel Information
Displays the category, channel num-
ber, channel name, artist and title
information.
3. Preset
Displays currently playing preset
number ~ .
4. Preset Display
Displays saved presets.Using SEEK
Press the
, key to
play the previous/next channel. ❈ If the “Category” icon is displayed,
channels are changed within the
current category.
SiriusXM RADIO
Using SiriusXM Satellite Radio
Your HYUNDAI vehicle is equipped
with a 3-month trial subscription to
SiriusXM so you have access to over
140 channels of music, information,
and entertainment programming.
TRACKSEEK
P6P1
Page 291 of 642

4-28
Multimedia System
Selecting Presets/SavingPresets
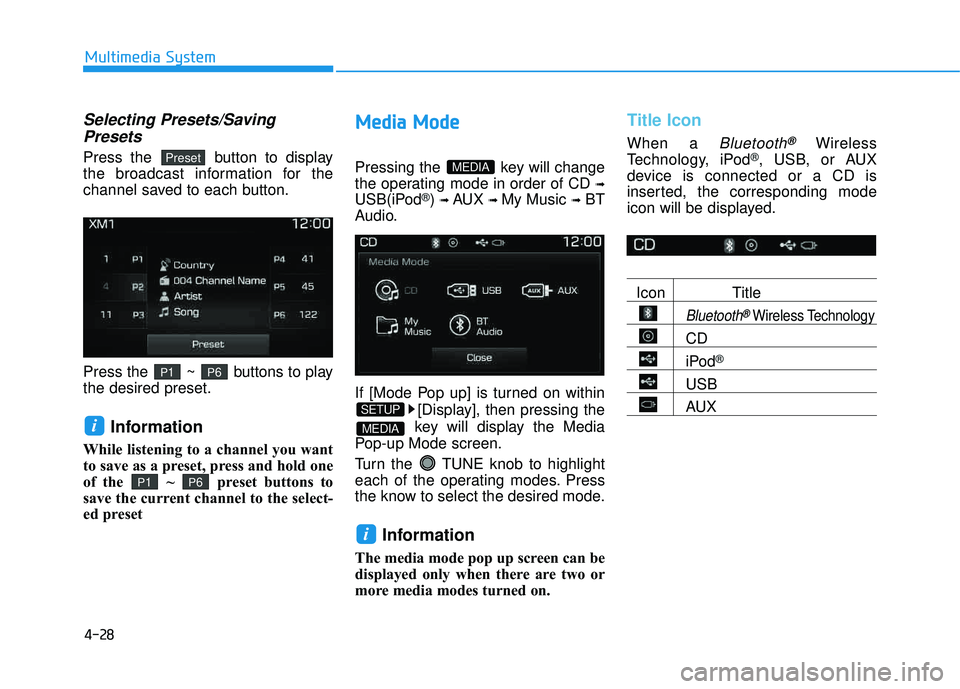
Press the button to display
the broadcast information for the
channel saved to each button.
Press the ~ buttons to play the desired preset.
Information
While listening to a channel you want
to save as a preset, press and hold one
of the ~ preset buttons to
save the current channel to the select-
ed preset
MM eedd iiaa MM ooddee
Pressing the key will change
the operating mode in order of CD
➟
USB(iPod®) ➟ AUX ➟ My Music ➟BT
Audio.
If [Mode Pop up] is turned on within
[Display], then pressing the
key will display the Media
Pop-up Mode screen.
Turn the TUNE knob to highlight
each of the operating modes. Press
the know to select the desired mode.
Information
The media mode pop up screen can be
displayed only when there are two or
more media modes turned on.
Title Icon
When a Bluetooth®Wireless
Technology, iPod®, USB, or AUX
device is connected or a CD is
inserted, the corresponding mode
icon will be displayed.
Icon Title
Bluetooth®Wireless Technology
CD
iPod®
USB
AUX
i
MEDIA
SETUP
MEDIA
P6P1
i
P6P1
Preset