Page 198 of 614
4101
Features of your vehicle
Check headlight (if equipped)
This warning message illuminates ifthere is a malfunction with the head-
lamp. In this case, have your vehicle
inspected by an authorized
HYUNDAI dealer.
✽ ✽ NOTICE
• When replacing the bulb, use the
same wattage bulb.
For more information, refer to
"BULB WATTAGE" in chapter 8.
• If the different wattage bulb is equipped with the vehicle, this
warning message is not displayed.
ODM046637/ODM046638
■
Type A
■Type B
Page 228 of 614
4131
Features of your vehicle
To flash the headlights, pull the lever
towards you. It will return to the nor-
mal (low beam) position when
released. The headlight switch does
not need to be on to use this flashing
feature.
Turn signals and lane change sig-nals
The ignition switch must be on for the
turn signals to function. To turn on
the turn signals, move the lever up or
down (A). Green arrow indicators on
the instrument panel indicate which
turn signal is operating. They will
self-cancel after a turn is completed.
If the indicator continues to flash
after a turn, manually return the lever
to the OFF position. To signal a lane change, move the
turn signal lever slightly and hold it in
position (B). The lever will return to
the OFF position when released.
If an indicator stays on and does not
flash or if it flashes abnormally, one
of the turn signal bulbs may be
burned out and will require replace-
ment.
ODMECO2026
ODMECO2014
Page 569 of 614

Maintenance
72
7
LIGHT BULBS
Use only the bulbs of the specified
wattage.
✽
✽ NOTICE
After heavy, driving rain or wash-
ing, headlamp and taillamp lenses
could appear frosty. This condition
is caused by the temperature differ-
ence between the lamp inside and
outside. This is similar to the con-
densation on your windows inside
your vehicle during the rain and
doesn’t indicate a problem with
your vehicle. If the water leaks into
the lamp bulb circuitry, have the
vehicle checked by an authorized
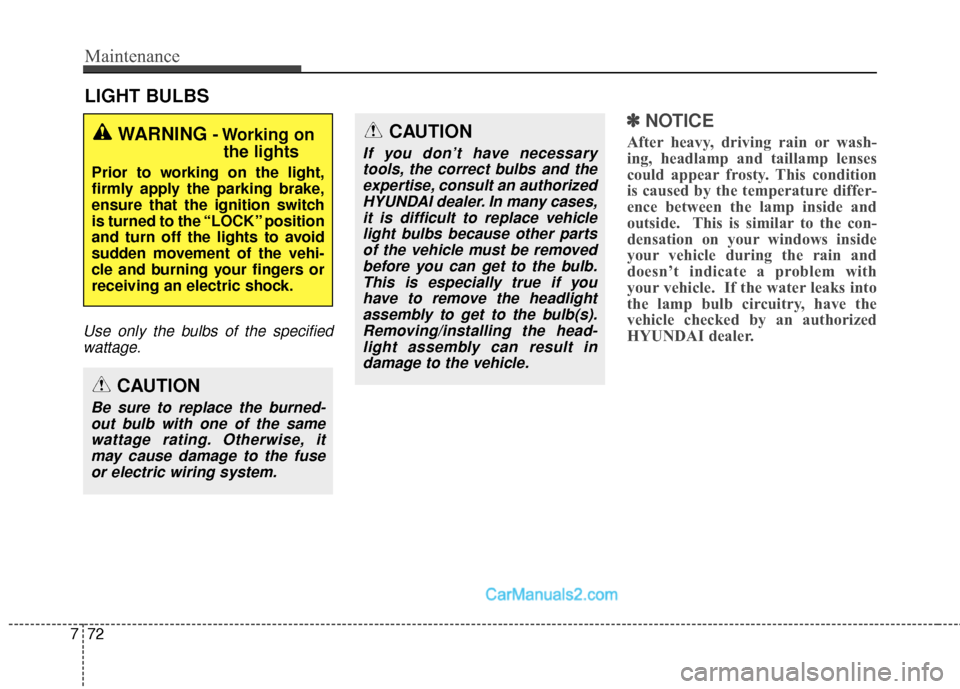
HYUNDAI dealer.WARNING - Working on
the lights
Prior to working on the light,
firmly apply the parking brake,
ensure that the ignition switch
is turned to the “LOCK” position
and turn off the lights to avoid
sudden movement of the vehi-
cle and burning your fingers or
receiving an electric shock.
CAUTION
Be sure to replace the burned-
out bulb with one of the samewattage rating. Otherwise, itmay cause damage to the fuseor electric wiring system.
CAUTION
If you don’t have necessarytools, the correct bulbs and theexpertise, consult an authorizedHYUNDAI dealer. In many cases,it is difficult to replace vehiclelight bulbs because other partsof the vehicle must be removedbefore you can get to the bulb.This is especially true if youhave to remove the headlightassembly to get to the bulb(s).Removing/installing the head-light assembly can result indamage to the vehicle.
Page 571 of 614

Maintenance
74
7
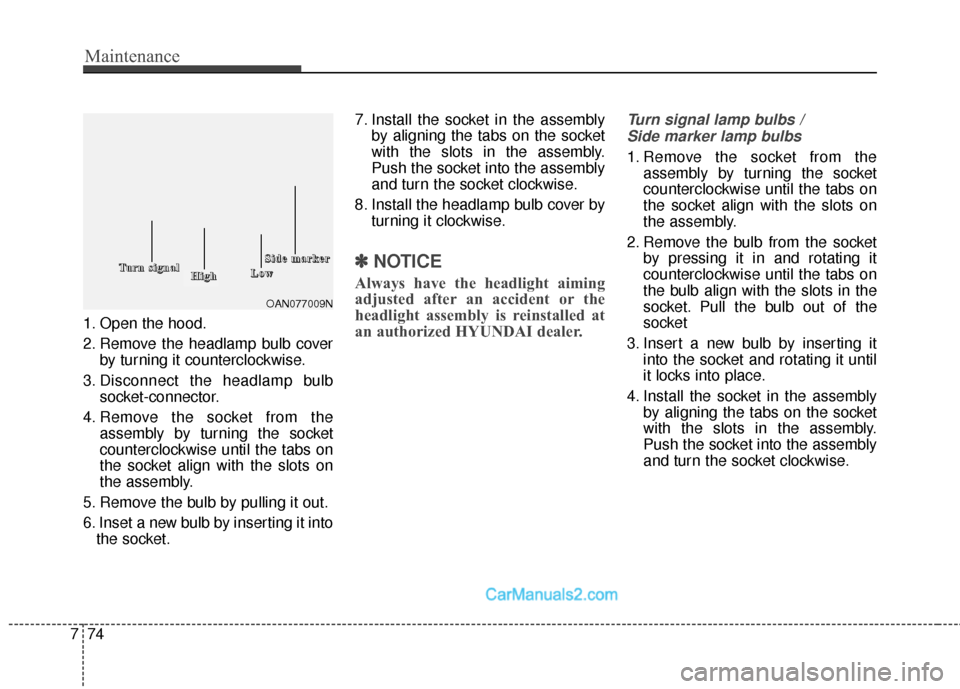
1. Open the hood.
2. Remove the headlamp bulb cover
by turning it counterclockwise.
3. Disconnect the headlamp bulb socket-connector.
4. Remove the socket from the assembly by turning the socket
counterclockwise until the tabs on
the socket align with the slots on
the assembly.
5. Remove the bulb by pulling it out.
6. Inset a new bulb by inserting it into the socket. 7. Install the socket in the assembly
by aligning the tabs on the socket
with the slots in the assembly.
Push the socket into the assembly
and turn the socket clockwise.
8. Install the headlamp bulb cover by turning it clockwise.
✽ ✽NOTICE
Always have the headlight aiming
adjusted after an accident or the
headlight assembly is reinstalled at
an authorized HYUNDAI dealer.
Turn signal lamp bulbs /
Side marker lamp bulbs
1. Remove the socket from the assembly by turning the socket
counterclockwise until the tabs on
the socket align with the slots on
the assembly.
2. Remove the bulb from the socket by pressing it in and rotating it
counterclockwise until the tabs on
the bulb align with the slots in the
socket. Pull the bulb out of the
socket
3. Insert a new bulb by inserting it into the socket and rotating it until
it locks into place.
4. Install the socket in the assembly by aligning the tabs on the socket
with the slots in the assembly.
Push the socket into the assembly
and turn the socket clockwise.
OAN077009N
T
T
T
T
u
u
u
u
r
r
r
r
n
n
n
n
s
s
s
s
i
i
i
i
g
g
g
g
n
n
n
n
a
a
a
a
l
l
l
l
H
H
H
H
i
i
i
i
g
g
g
g
h
h
h
h L
L
L
L
o
o
o
o
w
w
w
w
S
S
S
S
i
i
i
i
d
d
d
d
e
e
e
e
m
m
m
m
a
a
a
a
r
r
r
r
k
k
k
k
e
e
e
e
r
r
r
r
Page 608 of 614

Index
6I
Hazard warning flasher ........................................4-126, 6-2
Hazardous driving conditions ......................................5-103
Headlamp welcome ......................................................4-144
Headlight (Headlamp) escort function, see Headlamp delay ..................................................4-127
Headlight bulb replacement ............................................7-73
Headlight position ........................................................4-130
Headrest (Front) ..............................................................3/10
Headrest (Rear) ..............................................................3/18
Heated steering wheel ....................................................4-58
High beam operation ....................................................4-130
Highway driving ..........................................................5-107
Hill-start assist control (HAC)........................................5-53
Hood........................................................................\
........4-44
Horn ........................................................................\
........4-58
How to use this manual ....................................................1-2 Immobilizer system ..........................................................4-8
Indicator Lights ............................................................4-115
Inside rearview mirror ....................................................4-60
Instrument cluster ..........................................................4-79
Gauges ........................................................................\
4-80
Instrument cluster illumination ..................................4-79
LCD Display Control ..................................................4-84
Transaxle Shift Indicator ............................................4-83
Instrument panel fuse......................................................7-61
Instrument panel overview ..............................................2-6 Interior care ................................................................7-87
Interior features ............................................................4-172
Aux, USB and iPod
®port ........................................4-176
Cargo security screen ..............................................4-177
Clothes hanger ..........................................................4-175
Cup holder ................................................................4-172
Floor mat anchor(s) ..................................................4-175
Luggage net (holder) ................................................4-176
Power outlet ..............................................................4-173
Side curtain ................................................................4-179
Sunvisor ....................................................................4-17\
3
HI