Page 484 of 553
7-63
7
Maintenance
TypeSymbolFuse RatingCircuit Protected
Multi Fuse
PTC
HEATER 250AEngine Room Junction Block
CLUTCH
ACTUATOR40AClutch Actuator
Fuse
DCT
315ATCM
HPCU
110AHPCU
EWP10AElectric Water Pump (Engine)
140AIGPM
DCT
240ATCM
DCT
140ATCM
10AEngine Room Junction Block
1
ACTIVE
HYDRAULIC BO SSTER40AMultipurpose Check Connector, IBAU
2
ACTIVE
HYDRAULIC BO SSTER30AMultipurpose Check Connector, IBAU
POWER
OUTLET140AEngine Room Junction Block
B/UP
LAMP10AAudio, Rear Combination Lamp (IN) LH/RH, Electro Chromic Mirror
Engine compartment fuse panel
Page 485 of 553
7-64
Maintenance
TypeSymbolFuse RatingCircuit Protected
Fuse
POWER
OUTLET
320ACigarette Lighter
POWER
OUTLET
220APower Outlet
215AIGPM, Rear Defogger (+) (Lower)
S
210AEngine Room Junction Block, Purge Control Solenoid Valve, Mass Air Flow Sensor
E120AECM
S115AOxygen Sensor (Up), Oxygen Sensor (Down)
IGN
COIL20AIgnition Coil #1~#4
E215AECM
10ABurglar Alarm Horn Relay
E 310AECM
HPCU
215AHPCU, Clutch Actuator (HEV)
3
ACTIVE
HYDRAULIC BO SSTER10AMultipurpose Check Connector, IBAU
DCT
415ADCT Shift Lever, TCM, Transaxle Range Switch
Engine compartment fuse panel
Page 486 of 553
7-65
7
Maintenance
TypeSymbolFuse RatingCircuit Protected
Fuse
S310AFuel Pump Relay, Camshaft Position Sensor #1 (Intake), Camshaft Position Sensor #2
(Exhaust), Oil Control Valve #1 (Intake), Oil Control Valve #2 (Exhaust)
BATTERYC/FAN15AEngine Room Junction Block
FUEL
PUMP20AFuel Pump Relay
20AHorn Relay
Engine compartment fuse panel
Page 497 of 553
7-76
Maintenance
Type B
If the LED lamp does not operate,
have the vehicle checked by an
authorized HYUNDAI dealer.
Rear combination lamp bulb replacement
Type A
(1) Stop/Tail lamp
(2) Turn signal lamp
(3) Tail lamp
(4) Backup lamp
Stop/Tail lamp and turn signal lamp
1. Turn off the engine.
2. Open the tailgate.
3. Open the lamp assembly retainingscrew covers.
4. Loosen the lamp assembly retain- ing screws with a cross-tip screw-
driver.OAE076034
OAE076035
OAE076037
Page 499 of 553
7-78
Maintenance
Tail lamp and backup lamp
1. Turn off the engine.
2. Open the tailgate.
3. Remove the service cover using aflat-blade screwdriver. 4. Remove the bulb by pulling it
straight out.
5. Insert a new bulb by inserting it into the socket and rotating it until
it locks into place.
6. Install the socket into the assembly by aligning the tabs on the socket
with the slots in the assembly.
Push the socket into the assembly
and turn the socket clockwise.
7. Reinstall the trunk lid cover by pushing in the screw.
Type B
(1) Stop/Tail lamp
(2) Turn signal lamp
(3) Tail lamp
(4) Backup lamp
Stop/Tail lamp
If the LED lamp does not operate,
have the vehicle checked by an
authorized HYUNDAI dealer.
OAE076036
OAE076041OAE076042
Backup lamp
Page 500 of 553
7-79
7
Maintenance
Turn signal lamp
1. Turn off the engine.
2. Open the tailgate.
3. Open the lamp assembly retainingscrew covers.
4. Loosen the lamp assembly retain- ing screws with a cross-tip screw-
driver. 5. Remove the rear combination
lamp assembly from the body of
the vehicle. 6. Remove the socket from the
assembly by turning the socket
counterclockwise until the tabs on
the socket align with the slots on the
assembly.
7. Remove the bulb from the socket by pressing it in and rotating it counter-
clockwise until the tabs on the bulb
align with the slots in the socket.
Pull the bulb out of the socket.
8. Insert a new bulb by inserting it into the socket and rotating it until it
locks into place.
OAE076040OAE076038OAE076037
Page 501 of 553
7-80
Maintenance
9. Install the socket in the assembly byaligning the tabs on the socket with
the slots in the assembly. Push the
socket into the assembly and turn
the socket clockwise.
10. Reinstall the lamp assembly to the body of the vehicle
Backup lamp
1. Turn off the engine.
2. Open the tailgate.
3. Remove the service cover using aflat-blade screwdriver. 4. Remove the bulb by pulling it
straight out.
5. Insert a new bulb by inserting it into the socket and rotating it until
it locks into place.
6. Install the socket into the assembly by aligning the tabs on the socket
with the slots in the assembly.
Push the socket into the assembly
and turn the socket clockwise.
7. Reinstall the service cover.
OAE076042
Backup lamp
OAE076041
Page 505 of 553

7-84
Maintenance
Waxing
A good coat of wax is a barrier
between your paint and contaminate.
Keeping a good coat of wax on your
vehicle will help protect it.
Wax the vehicle when water will no longer bead on the paint.
Always wash and dry the vehicle
before waxing. Use a good quality
liquid or paste wax, and follow the
manufacturer’s instructions. Wax all
metal trim to protect it and to main-
tain its luster.
Removing oil, tar, and similar materi-
als with a spot remover will usually
strip the wax from the finish. Be sure
to re-wax these areas even if the rest
of the vehicle does not yet need wax-ing.
OAE076051
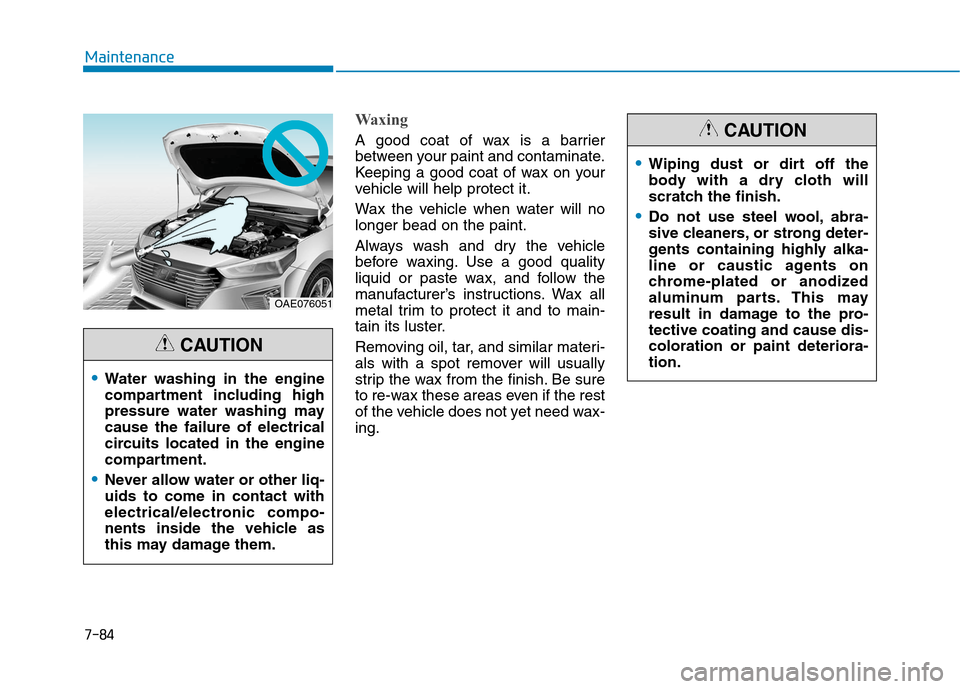
Water washing in the engine
compartment including high
pressure water washing maycause the failure of electrical
circuits located in the engine
compartment.
Never allow water or other liq- uids to come in contact with
electrical/electronic compo-
nents inside the vehicle as
this may damage them.
CAUTION
Wiping dust or dirt off the
body with a dry cloth will
scratch the finish.
Do not use steel wool, abra-
sive cleaners, or strong deter-
gents containing highly alka-
line or caustic agents on
chrome-plated or anodized
aluminum parts. This may
result in damage to the pro-tective coating and cause dis-coloration or paint deteriora-tion.
CAUTION