Page 123 of 586

3-29
Convenient features of your vehicle
3
Programming HomeLink®
Please note the following:
When programming a garage dooropener, it is advised to park the
vehicle outside of the garage.
It is recommended that a new bat- tery be placed in the hand-held
transmitter of the device being pro-
grammed to HomeLink
®for quicker
training and accurate transmission
of the radio-frequency signal.
Some vehicles may require the ignition switch to be placed in the
ACC (or "Accessories") position for
programming and/or operation of
HomeLink
®.
In the event that there are still pro- gramming difficulties or questions
after following the programming
steps listed below, contact
HomeLink
®at: www.homelink.com
or by calling 1-800-355-3515.
Programming
To train most devices, follow these
instructions:
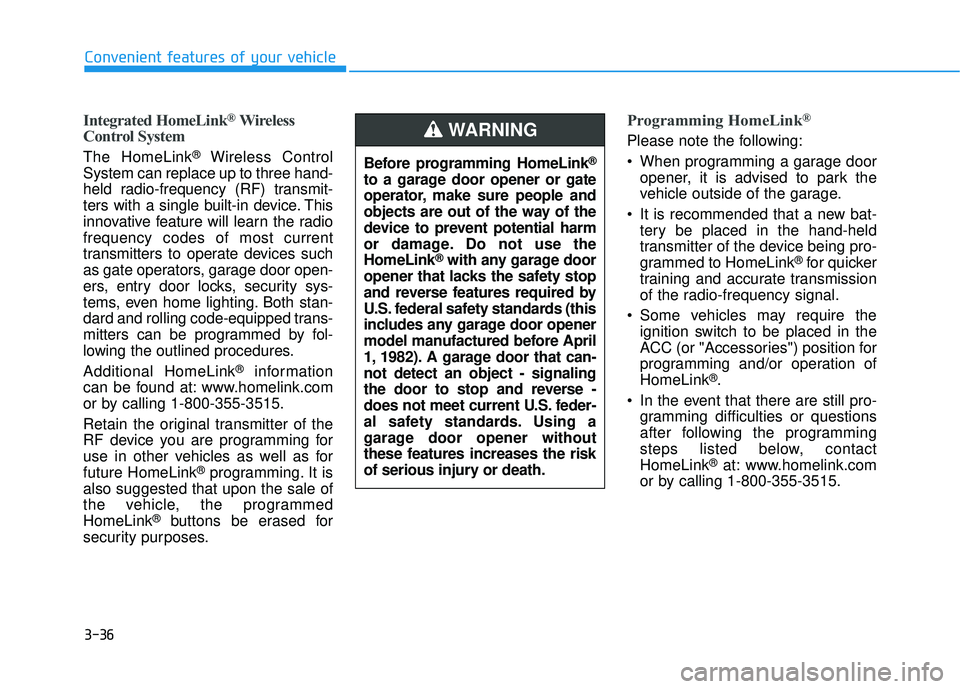
1. For first-time programming, press and hold the two outside buttons
( ,), HomeLink
®Channel 1
and Channel 3, until the indicator
light begins to flash (after 10 sec-
onds). Release both buttons. Do
not hold the buttons for longer
than 20 seconds.
ODH044413N
Flashing
Before programming HomeLink®
to a garage door opener or gate
operator, make sure people and
objects are out of the way of the
device to prevent potential harm
or damage. Do not use the
HomeLink
®with any garage door
opener that lacks the safety stop
and reverse features required by
U.S. federal safety standards (this
includes any garage door opener
model manufactured before April
1, 1982). A garage door that can-
not detect an object - signaling
the door to stop and reverse -
does not meet current U.S. feder-
al safety standards. Using a
garage door opener without
these features increases the risk
of serious injury or death.
WARNING
Page 130 of 586

3-36
Convenient features of your vehicle
Integrated HomeLink®Wireless
Control System
The HomeLink®Wireless Control
System can replace up to three hand-
held radio-frequency (RF) transmit-
ters with a single built-in device. This
innovative feature will learn the radio
frequency codes of most current
transmitters to operate devices such
as gate operators, garage door open-
ers, entry door locks, security sys-
tems, even home lighting. Both stan-
dard and rolling code-equipped trans-
mitters can be programmed by fol-
lowing the outlined procedures.
Additional HomeLink
®information
can be found at: www.homelink.com
or by calling 1-800-355-3515.
Retain the original transmitter of the
RF device you are programming for
use in other vehicles as well as for
future HomeLink
®programming. It is
also suggested that upon the sale of
the vehicle, the programmed
HomeLink
®buttons be erased for
security purposes.
Programming HomeLink®
Please note the following:
When programming a garage door opener, it is advised to park the
vehicle outside of the garage.
It is recommended that a new bat- tery be placed in the hand-held
transmitter of the device being pro-
grammed to HomeLink
®for quicker
training and accurate transmission
of the radio-frequency signal.
Some vehicles may require the ignition switch to be placed in the
ACC (or "Accessories") position for
programming and/or operation of
HomeLink
®.
In the event that there are still pro- gramming difficulties or questions
after following the programming
steps listed below, contact
HomeLink
®at: www.homelink.com
or by calling 1-800-355-3515.
Before programming HomeLink
®
to a garage door opener or gate
operator, make sure people and
objects are out of the way of the
device to prevent potential harm
or damage. Do not use the
HomeLink
®with any garage door
opener that lacks the safety stop
and reverse features required by
U.S. federal safety standards (this
includes any garage door opener
model manufactured before April
1, 1982). A garage door that can-
not detect an object - signaling
the door to stop and reverse -
does not meet current U.S. feder-
al safety standards. Using a
garage door opener without
these features increases the risk
of serious injury or death.
WARNING
Page 138 of 586

3-44
Convenient features of your vehicle
Power Windows
The ignition switch must be in the ON
position to be able to raise or lower
the windows. Each door has a Power
Window switch to control that door’s
window. The driver has a Power
Window Lock switch which can block
the operation of passenger windows.
The power windows will operate for
approximately 30 seconds after the
ignition switch is placed in the ACC
or LOCK/OFF position. However, if
the front doors are opened, the
Power Windows cannot be operated
even within the 30 second period.
Information
• In cold and wet climates, power win-dows may not work properly due to
freezing conditions.
• While driving with the rear win- dows down or with the sunroof (if
equipped) opened (or partially
opened), your vehicle may demon-
strate a wind buffeting or pulsation
noise. This noise is normal and can
be reduced or eliminated by taking
the following actions. If the noise
occurs with one or both of the rear
windows down, partially lower both
front windows approximately one
inch. If you experience the noise
with the sunroof open, slightly close
the sunroof.
Window opening and closing
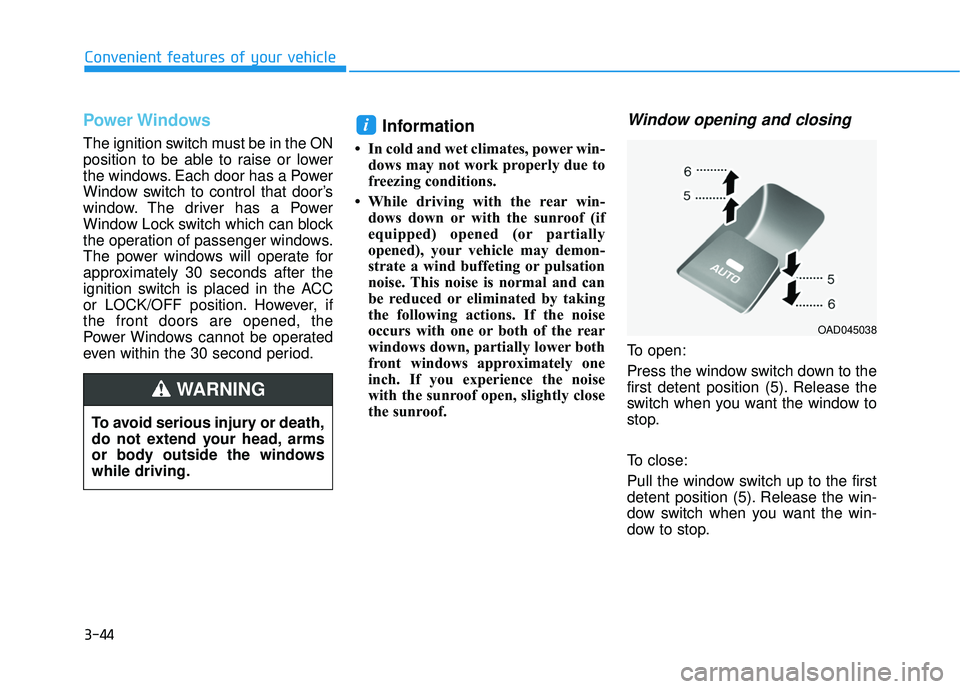
To open:
Press the window switch down to the
first detent position (5). Release the
switch when you want the window to
stop.
To close:
Pull the window switch up to the first
detent position (5). Release the win-
dow switch when you want the win-
dow to stop.
i
To avoid serious injury or death,
do not extend your head, arms
or body outside the windows
while driving.
WARNING
OAD045038
Page 145 of 586
3-51
Convenient features of your vehicle
3
Hood
Opening the hood
1. Park the vehicle and set the park-ing brake.
2. Pull the release lever to unlatch the hood. The hood should pop
open slightly. 3. Go to the front of the vehicle, raise
the hood slightly, push up the sec-
ondary latch (1) inside of the hood
center and lift the hood (2). 4. Pull out the support rod and hold
the hood open with the support
rod (3).
E EX
X T
TE
ER
R I
IO
O R
R
F
F E
E A
A T
TU
U R
RE
ES
S
OAD045025
OAD045039LOAD045026
Grasp the support rod in the
area wrapped in rubber. The
rubber will help prevent you
from being burned by hot metal
when the engine is hot.
The support rod must be insert-
ed completely into the hole pro-
vided whenever you inspect the
engine compartment. This will
prevent the hood from falling
and possibly injuring you.
WARNING
Page 150 of 586

3-56
Convenient features of your vehicle
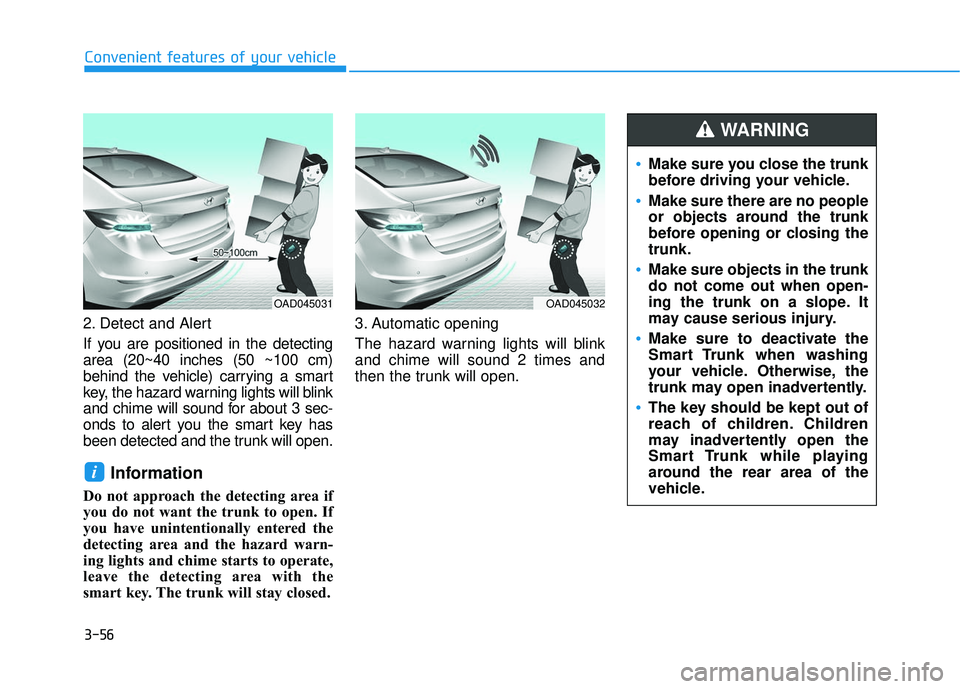
2. Detect and Alert
If you are positioned in the detecting
area (20~40 inches (50 ~100 cm)
behind the vehicle) carrying a smart
key, the hazard warning lights will blink
and chime will sound for about 3 sec-
onds to alert you the smart key has
been detected and the trunk will open.
Information
Do not approach the detecting area if
you do not want the trunk to open. If
you have unintentionally entered the
detecting area and the hazard warn-
ing lights and chime starts to operate,
leave the detecting area with the
smart key. The trunk will stay closed. 3. Automatic opening
The hazard warning lights will blink
and chime will sound 2 times and
then the trunk will open.
i
Make sure you close the trunk
before driving your vehicle.
Make sure there are no people
or objects around the trunk
before opening or closing the
trunk.
Make sure objects in the trunk
do not come out when open-
ing the trunk on a slope. It
may cause serious injury.
Make sure to deactivate the
Smart Trunk when washing
your vehicle. Otherwise, the
trunk may open inadvertently.
The key should be kept out of
reach of children. Children
may inadvertently open the
Smart Trunk while playing
around the rear area of the
vehicle.
WARNING
OAD045032OAD045031
Page 155 of 586
3-61
Convenient features of your vehicle
3
I
IN
N S
ST
T R
R U
U M
M E
EN
N T
T
C
C L
LU
U S
ST
T E
ER
R
1. Tachometer
2. Speedometer
3. Engine coolant temperature gauge
4. Fuel gauge
5. Warning and indicator lights
6. LCD display (including Trip computer)
OADA046100
■
■
Conventional cluster
The actual cluster in the vehicle may
differ from the illustration.
Page 156 of 586
3-62
Convenient features of your vehicle
OADA046101/OADA046102
The actual cluster in the vehicle may
differ from the illustration.
■
■Supervision cluster (Type B)
1. Tachometer
2. Speedometer
3. Engine coolant temperature gauge
4. Fuel gauge
5. Warning and indicator lights
6. LCD display (including Trip computer)
■ ■Supervision cluster (Type A)
Page 159 of 586

3-65
Convenient features of your vehicle
3
Fuel Gauge
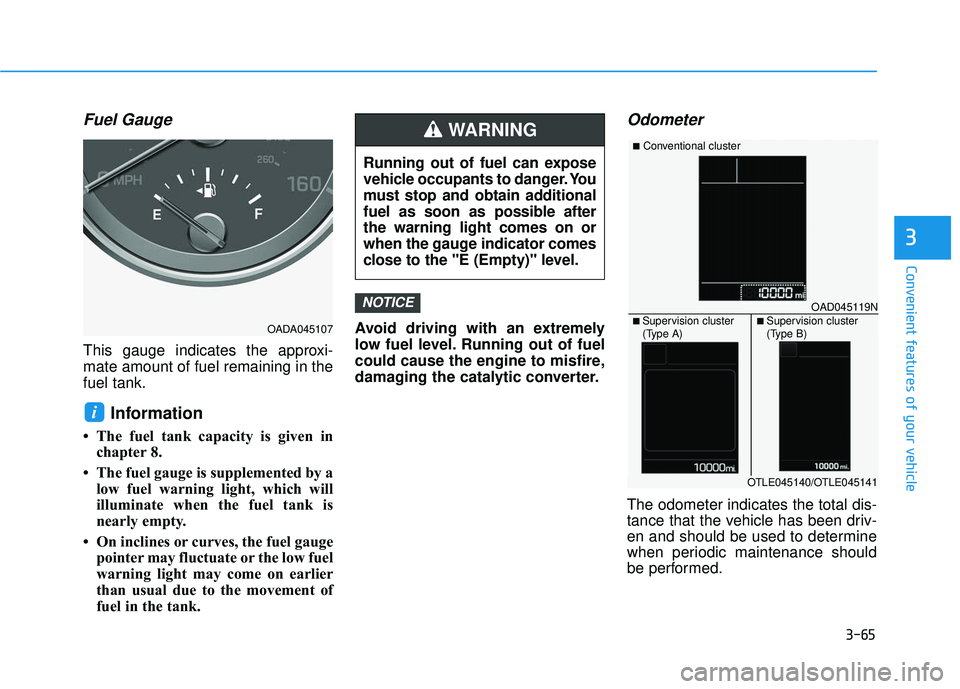
This gauge indicates the approxi-
mate amount of fuel remaining in the
fuel tank.
Information
• The fuel tank capacity is given inchapter 8.
• The fuel gauge is supplemented by a low fuel warning light, which will
illuminate when the fuel tank is
nearly empty.
• On inclines or curves, the fuel gauge pointer may fluctuate or the low fuel
warning light may come on earlier
than usual due to the movement of
fuel in the tank. Avoid driving with an extremely
low fuel level. Running out of fuel
could cause the engine to misfire,
damaging the catalytic converter.
Odometer
The odometer indicates the total dis-
tance that the vehicle has been driv-
en and should be used to determine
when periodic maintenance should
be performed.
NOTICE
i
OADA045107
Running out of fuel can expose
vehicle occupants to danger. You
must stop and obtain additional
fuel as soon as possible after
the warning light comes on or
when the gauge indicator comes
close to the "E (Empty)" level.
WARNING
OAD045119N
■Conventional cluster
■ Supervision cluster
(Type A)■ Supervision cluster
(Type B)
OTLE045140/OTLE045141