2017 FORD FUSION (AMERICAS) wheel
[x] Cancel search: wheelPage 231 of 528

BREAKING-IN
You need to break in new tires for
approximately 300 miles (480
kilometers). During this time, your vehicle
may exhibit some unusual driving
characteristics.
Avoid driving too fast during the first 1000
miles (1600 kilometers). Vary your speed
frequently and change up through the
gears early. Do not labor the engine.
Do not tow during the first 1000 miles
(1600 kilometers).
ECONOMICAL DRIVING
Fuel economy is affected by several things
such as how you drive, the conditions you
drive under and how you maintain your
vehicle.
There are some things to keep in mind that
may improve your fuel economy:
•
Accelerate and slow down in a smooth,
moderate fashion.
• Drive at steady speeds.
• Anticipate stops; slowing down may
eliminate the need to stop.
• Combine errands and minimize
stop-and-go driving (When running
errands, go to the furthest destination
first and then work your way back
home).
• Close the windows for high-speed
driving.
• Drive at reasonable speeds.
• Keep the tires properly inflated and use
only the recommended size.
• Use the recommended engine oil.
• Perform all regularly scheduled
maintenance. There are also some things you may want
to avoid doing because they reduce your
fuel economy:
•
Avoid sudden or hard accelerations.
• Avoid revving the engine before turning
off the car.
• Avoid long idle periods.
• Do not warm up your vehicle on cold
mornings.
• Reduce the use of air conditioning and
heat.
• Avoid using speed control in hilly
terrain.
• Do not rest your foot on the brake
pedal while driving.
• Avoid carrying unnecessary weight.
• Avoid adding particular accessories to
your vehicle (e.g. bug deflectors,
rollbars/light bars, running boards, ski
racks).
• Avoid driving with the wheels out of
alignment.
DRIVING THROUGH WATER WARNING
Do not drive through flowing or deep
water as you may lose control of your
vehicle.
Note:
Driving through standing water can
cause vehicle damage.
Note: Engine damage can occur if water
enters the air filter.
Before driving through standing water,
check the depth. Never drive through water
that is higher than the bottom of the front
rocker area of your vehicle.
228
Fusion (CC7) Canada/United States of America, enUSA, First Printing Driving Hints
Page 232 of 528

When driving through standing water, drive
very slowly and do not stop your vehicle.
Your brake performance and traction may
be limited. After driving through water and
as soon as it is safe to do so:
•
Lightly press the brake pedal to dry the
brakes and to check that they work.
• Check that the horn works.
• Check that the exterior lights work.
• Turn the steering wheel to check that
the steering power assist works.
FLOOR MATS WARNINGS
Always use floor mats that are
designed to fit the foot well of your
vehicle. Only use floor mats that
leave the pedal area unobstructed. Only
use floor mats that are firmly secured to
retention posts so that they cannot slip out
of position and interfere with the pedals
or impair safe operation of your vehicle in
other ways. Pedals that cannot move freely can
cause loss of vehicle control and
increase the risk of serious personal
injury. WARNINGS
Always make sure that the floor
mats are properly attached to the
retention posts in the carpet that are
supplied with your vehicle. Floor mats must
be properly secured to both retention posts
to make sure mats do not shift out of
position. Never place floor mats or any other
covering in the vehicle foot well that
cannot be properly secured to
prevent them from moving and interfering
with the pedals or the ability to control the
vehicle. Never place floor mats or any other
covering on top of already installed
floor mats. Floor mats should always
rest on top of vehicle carpeting surface and
not another floor mat or other covering.
Additional floor mats or any other covering
will reduce the pedal clearance and
potentially interfere with pedal operation. Check attachment of floor mats on
a regular basis. Always properly
reinstall and secure floor mats that
have been removed for cleaning or
replacement. Always make sure that objects
cannot fall into the driver foot well
while the vehicle is moving. Objects
that are loose can become trapped under
the pedals causing a loss of vehicle control. Failure to properly follow floor mat
installation or attachment
instructions can potentially cause
interference with pedal operation causing
a loss of vehicle control. 229
Fusion (CC7) Canada/United States of America, enUSA, First Printing Driving HintsE176360
Page 239 of 528

TRANSPORTING THE VEHICLE
If you need to have your vehicle towed,
contact a professional towing service or,
if you are a member of a roadside
assistance program, your roadside
assistance service provider.
We recommend the use of a wheel lift and
dollies or flatbed equipment to tow your
vehicle. Do not tow with a slingbelt. Ford
Motor Company has not approved a
slingbelt towing procedure. Vehicle
damage may occur if towed incorrectly, or
by any other means.
Ford Motor Company produces a towing
manual for all authorized tow truck
operators. Have your tow truck operator
refer to this manual for proper hook-up
and towing procedures for your vehicle. It is acceptable to have your front-wheel
drive vehicle towed from the front if using
proper wheel lift equipment to raise the
front wheels off the ground. When towing
in this manner, the rear wheels can remain
on the ground.
Front-wheel drive vehicles must have the
front wheels placed on a tow dolly when
towing your vehicle from the rear using
wheel lift equipment. This prevents
damage to the transmission.
Towing an all-wheel or four-wheel drive
vehicle requires that all wheels be off the
ground, such as using a wheel lift and
dollies or flatbed equipment. This prevents
damage to the transmission, all-wheel or
four-wheel drive system and vehicle.
TOWING POINTS
Due to local market requirements in some
countries, some vehicles may be equipped
with a recovery hook.
Recovery Hook Location
If your vehicle is equipped with a screw-in
recovery hook, it is located with the spare
tire kit.
Installing the Recovery Hook
There is an installation point for the
recovery hook located behind the fascia.
Note:
The screw-in recovery hook has a
left-hand thread. Turn it counterclockwise
to install it. Make sure that the recovery hook
is fully tightened.
236
Fusion (CC7) Canada/United States of America, enUSA, First Printing Roadside EmergenciesE143886
Page 256 of 528

Protected components
Fuse amp rating
Fuse or relay number
Climate control.
7.5A 2
12
Gear shift
Steering wheel column lock.
7.5A 2
13
Cluster.
Datalink logic.
Extended power module.
10A 2
14
Datalink gateway module.
10A 2
15
Child lock.
15A 1
16
Decklid-liftglass release.
Not used (spare).
5A 2
17
Push button stop start switch.
5A 2
18
Extended power module.
7.5A 2
19
Adaptive headlamp.
7.5A 2
20
Humidity and in–car temperature sensor.
5A 2
21
Not Used (spare).
5A 2
22
Delayed accessory (power inverter logic,
moonroof logic, driver master switch).
10A
1
23
Central lock unlock.
20A 1
24
Driver door (window, mirror).
30A 1
25
Front passenger door (window, mirror).
30A 1
26
Moonroof.
30A 1
27
Amplifier.
20A 1
28
Rear driver side door (window).
30A 1
29
Rear passenger side door (window).
30A 1
30
Not used (spare).
15A 1
31
253
Fusion (CC7) Canada/United States of America, enUSA, First Printing Fuses
Page 257 of 528

Protected components
Fuse amp rating
Fuse or relay number
Global positioning system.
10A 1
32
Display.
Voice control.
Radio frequency receiver.
Radio.
20A 1
33
Active noise control.
Run-start bus (fuse 19, 20, 21, 22, 35, 36,
37, circuit breaker).
30A
1
34
Not used (spare).
5A 1
35
Auto-dimming rear view mirror.
15A 1
36
Continuous control damping suspension.
Rear heated seats.
Heated steering wheel.
20A 1
37
Not used (spare).
30A
38
1 Micro fuse.
2 Dual micro fuse.
CHANGING A FUSE
Fuses WARNING
Always replace a fuse with one that
has the specified amperage rating.
Using a fuse with a higher amperage
rating can cause severe wire damage and
could start a fire. If electrical components in the vehicle are
not working, a fuse may have blown. Blown
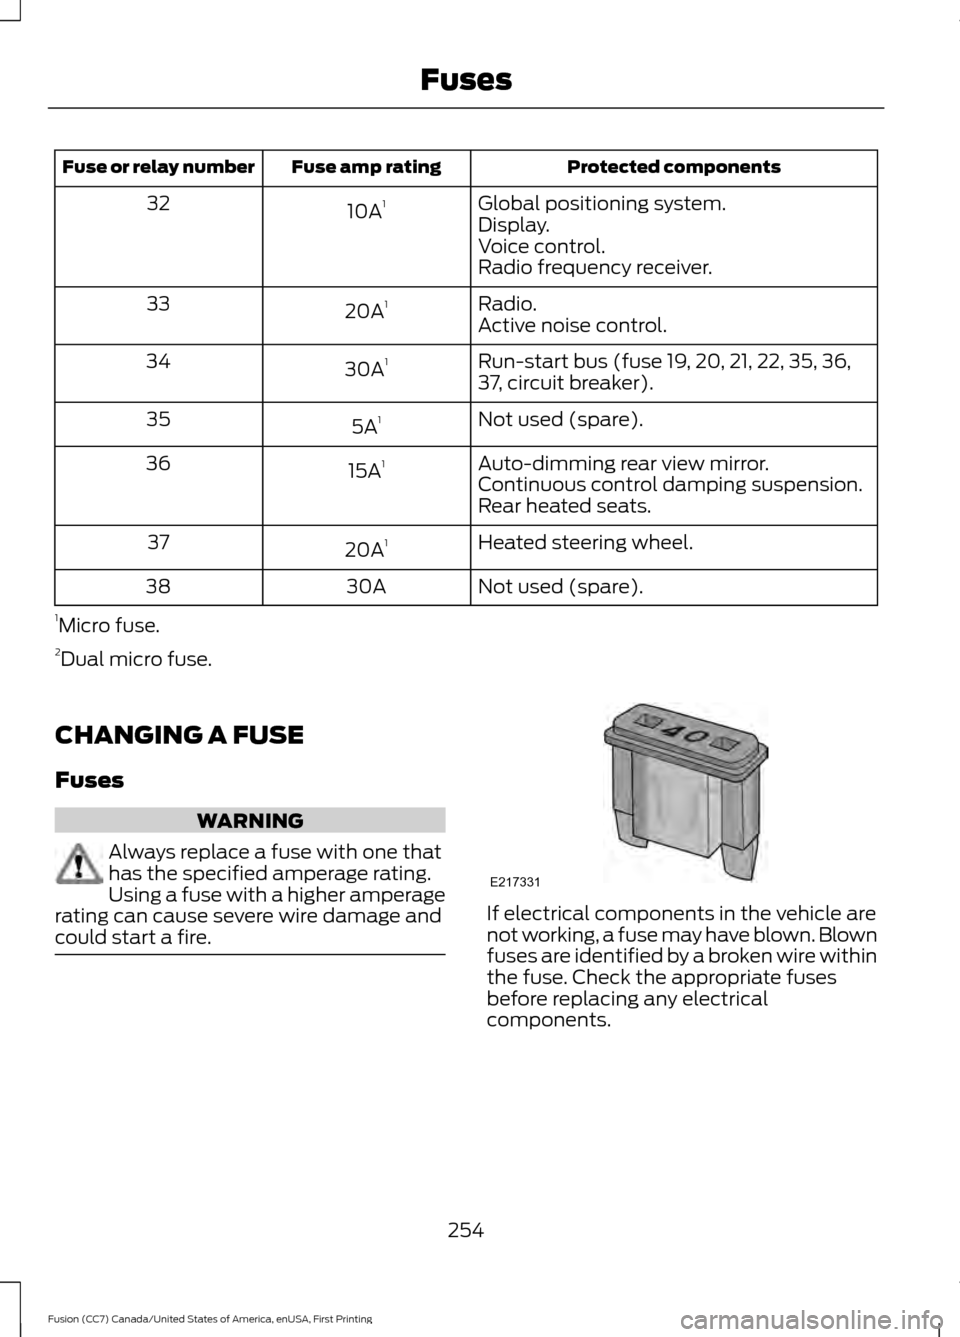
fuses are identified by a broken wire within
the fuse. Check the appropriate fuses
before replacing any electrical
components.
254
Fusion (CC7) Canada/United States of America, enUSA, First Printing FusesE217331
Page 259 of 528

GENERAL INFORMATION
Have your vehicle serviced regularly to help
maintain its roadworthiness and resale
value. There is a large network of
authorized dealers that are there to help
you with their professional servicing
expertise. We believe that their specially
trained technicians are best qualified to
service your vehicle properly and expertly.
They are supported by a wide range of
highly specialized tools developed
specifically for servicing your vehicle.
If your vehicle requires professional service,
an authorized dealer can provide the
necessary parts and service. Check your
warranty information to find out which
parts and services are covered.
Use only recommended fuels, lubricants,
fluids and service parts conforming to
specifications. Motorcraft® parts are
designed and built to provide the best
performance in your vehicle.
Precautions
•
Do not work on a hot engine.
• Make sure that nothing gets caught in
moving parts.
• Do not work on a vehicle with the
engine running in an enclosed space,
unless you are sure you have enough
ventilation.
• Keep all open flames and other burning
material (such as cigarettes) away
from the battery and all fuel related
parts.
Working with the Engine Off
1. Set the parking brake and shift to park
(P).
2. Switch off the engine.
3. Block the wheels. Working with the Engine On WARNING
To reduce the risk of vehicle damage
and/or personal burn injuries, do not
start your engine with the air cleaner
removed and do not remove it while the
engine is running. 1.
Set the parking brake and shift to park
(P).
2. Block the wheels.
OPENING AND CLOSING THE
HOOD
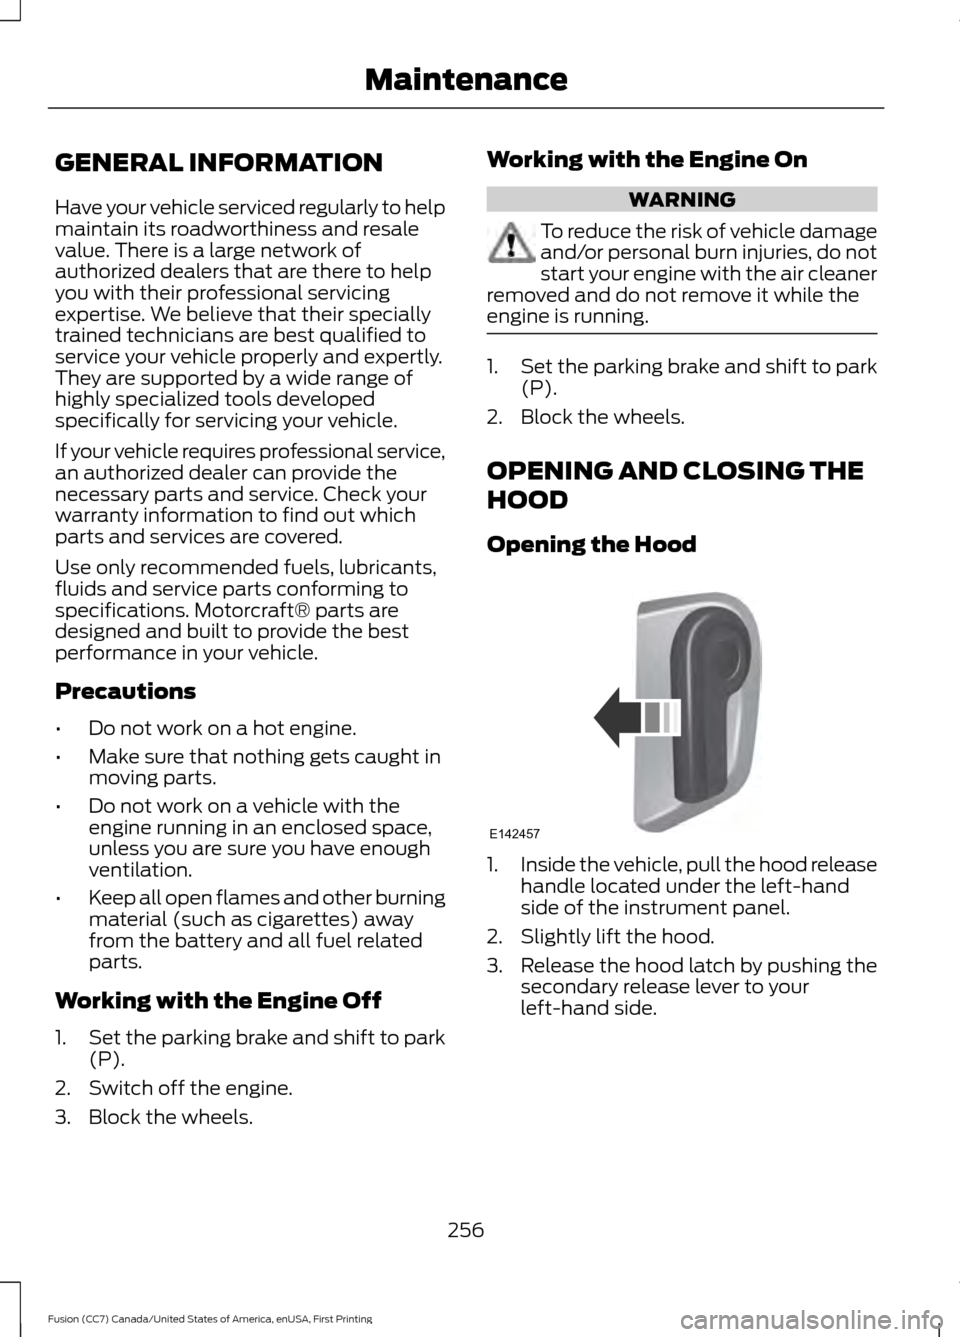
Opening the Hood 1.
Inside the vehicle, pull the hood release
handle located under the left-hand
side of the instrument panel.
2. Slightly lift the hood.
3. Release the hood latch by pushing the secondary release lever to your
left-hand side.
256
Fusion (CC7) Canada/United States of America, enUSA, First Printing MaintenanceE142457
Page 265 of 528

Do not use supplemental engine oil
additives because they are unnecessary
and could lead to engine damage that may
not be covered by the vehicle Warranty.
Only use oils certified for gasoline engines
by the American Petroleum Institute (API).
An oil with this trademark symbol
conforms to the current engine and
emission system protection standards and
fuel economy requirements of the
International Lubricants Specification
Advisory Committee (ILSAC), comprised
of U.S. and Japanese automobile
manufacturers.
To top up the engine oil level do the
following:
Clean the area surrounding the engine oil
filler cap before you remove it.
1. Remove the engine oil filler cap. See
Under Hood Overview (page 257).
Turn it counterclockwise and remove
it.
2. Add engine oil that meets the correct specification. See
Capacities and
Specifications (page 330). You may
have to use a funnel to pour the engine
oil into the opening.
3. Recheck the oil level.
4. If the oil level is correct, replace the dipstick and make sure it is fully seated. 5. Replace the engine oil filler cap. Turn
it clockwise until you feel a strong
resistance.
Note: Do not add oil further than the
maximum mark. Oil levels above the
maximum mark may cause engine damage.
Note: Make sure you install the oil filler cap
correctly.
Note: Soak up any spillage with an
absorbent cloth immediately.
OIL CHANGE INDICATOR
RESET
Use the information display controls on
the steering wheel to reset the oil change
indicator.
From the main menu scroll to: Action and description
Message
Press the right arrow button,
then from this menu scroll
to the following message.
Settings
Press the right arrow button,
then from this menu scroll
to the following message.
Vehicle
Press the right arrow button,
then from this menu scroll
to the following message.
Oil Life
Press and hold the
OK
button until the instrument
cluster displays the
following message.
Hold OK to
Reset
Reset Successful
When the oil change indic-
ator resets the instrument
cluster displays 100%.
Remaining Life
{00}%
262
Fusion (CC7) Canada/United States of America, enUSA, First Printing MaintenanceE142732
Page 276 of 528

REMOVING A HEADLAMP
Note:
To remove push pins, use a
flat-bladed screwdriver to pull up the center
release pin.
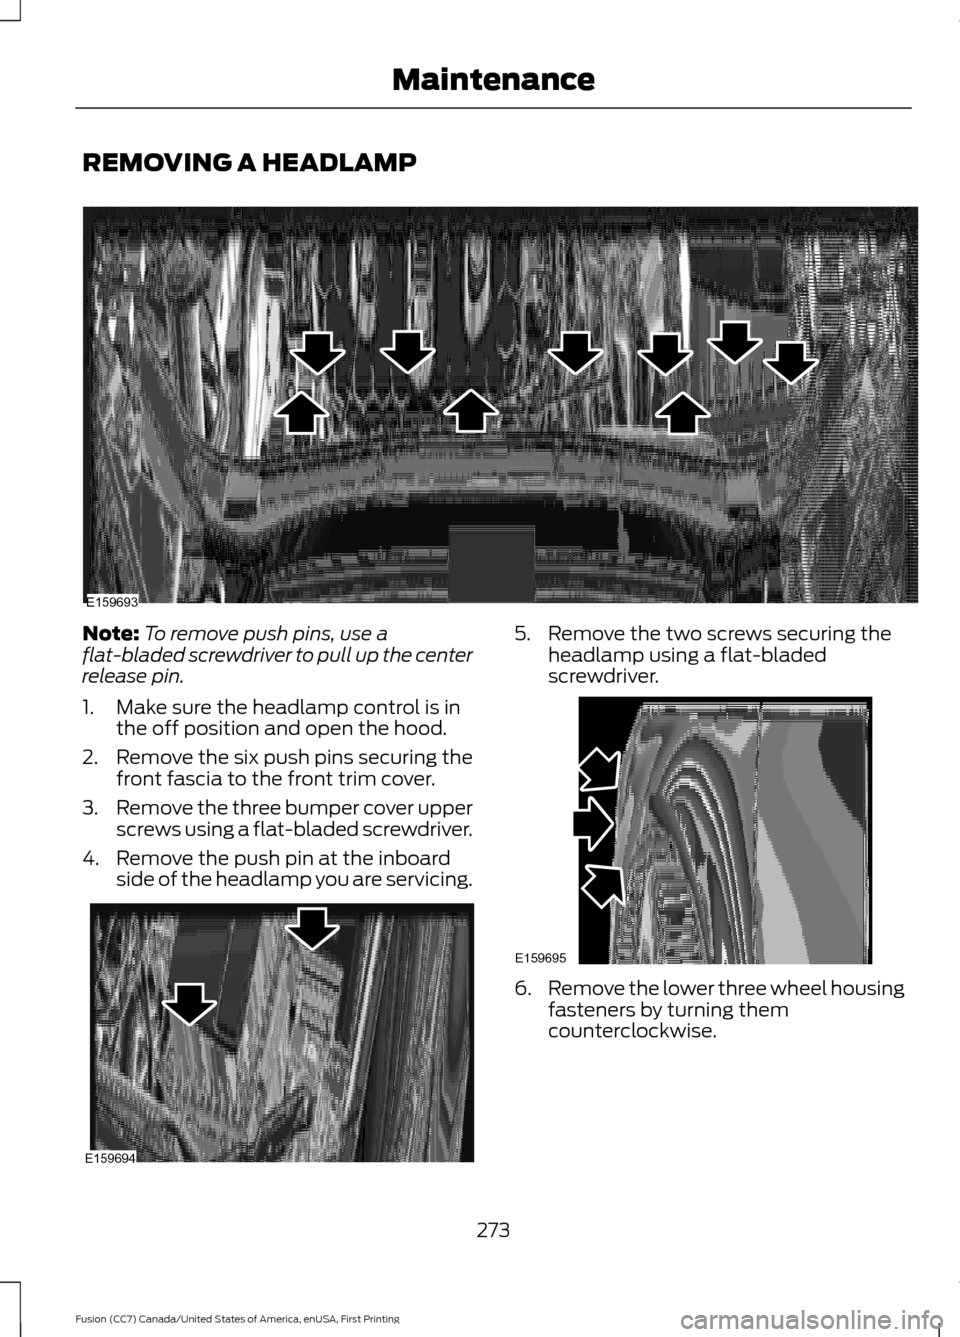
1. Make sure the headlamp control is in the off position and open the hood.
2. Remove the six push pins securing the
front fascia to the front trim cover.
3. Remove the three bumper cover upper
screws using a flat-bladed screwdriver.
4. Remove the push pin at the inboard side of the headlamp you are servicing. 5. Remove the two screws securing the
headlamp using a flat-bladed
screwdriver. 6.
Remove the lower three wheel housing
fasteners by turning them
counterclockwise.
273
Fusion (CC7) Canada/United States of America, enUSA, First Printing MaintenanceE159693 E159694 E159695