Page 320 of 528

17. To store the folded wrench on the
jack, engage the bracket of the jack
base on the wrench feature as shown.
Swing the wrench upward and adjust
the height of the jack until the pin
engages the hole. Tighten the hex nut
clockwise by hand until secure.
18. Put the flat tire, jack and lug wrench away. Make sure the jack is fastened
securely before you drive.
19. Unblock the wheel.
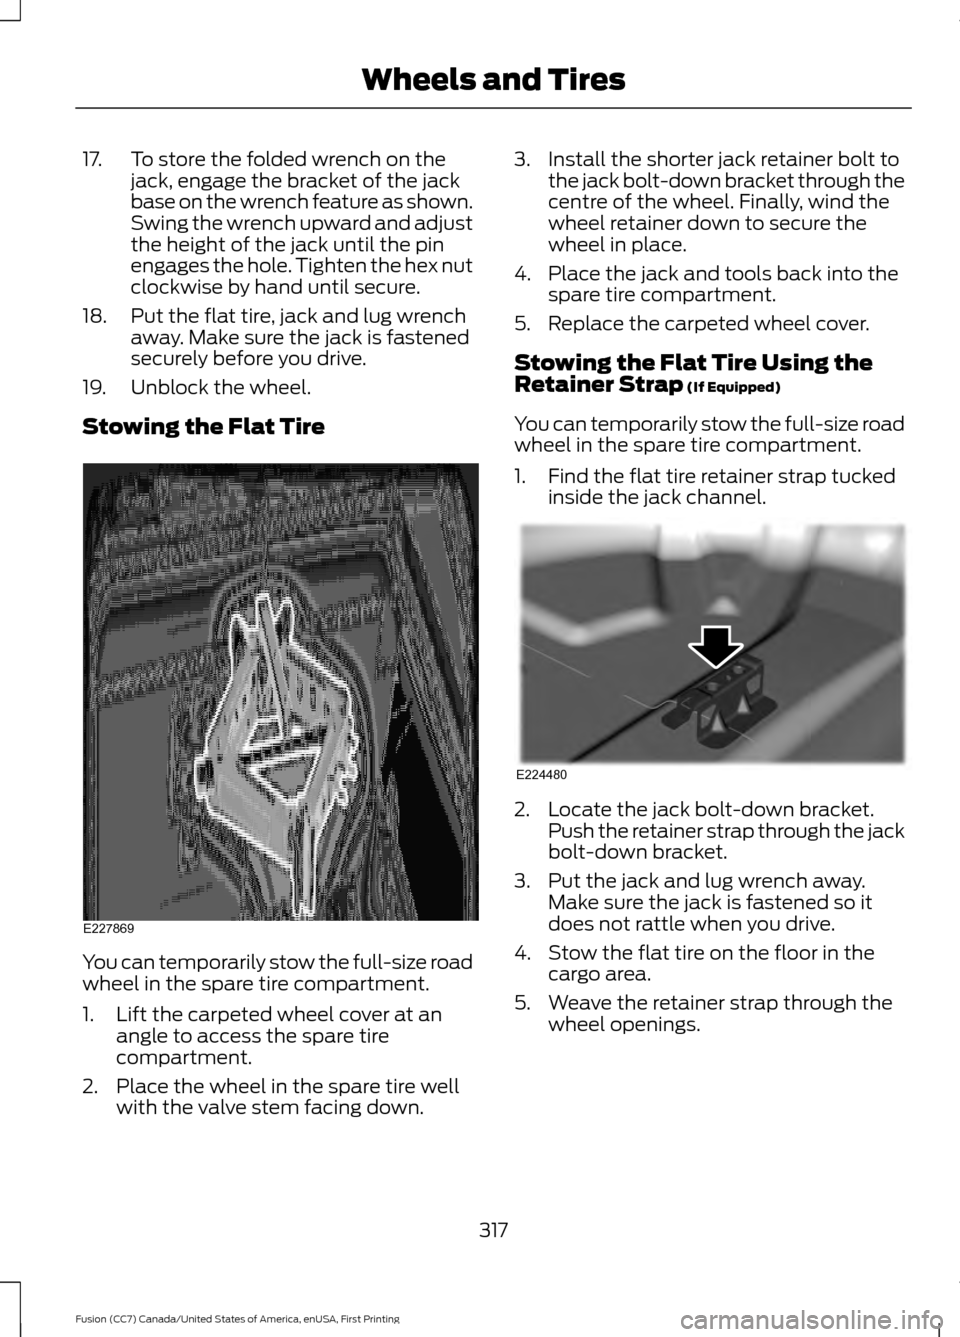
Stowing the Flat Tire You can temporarily stow the full-size road
wheel in the spare tire compartment.
1. Lift the carpeted wheel cover at an
angle to access the spare tire
compartment.
2. Place the wheel in the spare tire well with the valve stem facing down. 3. Install the shorter jack retainer bolt to
the jack bolt-down bracket through the
centre of the wheel. Finally, wind the
wheel retainer down to secure the
wheel in place.
4. Place the jack and tools back into the spare tire compartment.
5. Replace the carpeted wheel cover.
Stowing the Flat Tire Using the
Retainer Strap (If Equipped)
You can temporarily stow the full-size road
wheel in the spare tire compartment.
1. Find the flat tire retainer strap tucked inside the jack channel. 2. Locate the jack bolt-down bracket.
Push the retainer strap through the jack
bolt-down bracket.
3. Put the jack and lug wrench away. Make sure the jack is fastened so it
does not rattle when you drive.
4. Stow the flat tire on the floor in the cargo area.
5. Weave the retainer strap through the wheel openings.
317
Fusion (CC7) Canada/United States of America, enUSA, First Printing Wheels and TiresE227869 E224480
Page 321 of 528

6. Secure the flat tire by tying a flat knot.
TECHNICAL SPECIFICATIONS - 1.5L ECOBOOST™/2.0L
ECOBOOST™/2.5L
Wheel Lug Nut Torque Specifications WARNING
When a wheel is installed, always remove any corrosion, dirt or foreign materials
present on the mounting surfaces of the wheel or the surface of the wheel hub,
brake drum or brake disc that contacts the wheel. Make sure that any fasteners
that attach the rotor to the hub are secured so they do not interfere with the mounting
surfaces of the wheel. Installing wheels without correct metal-to-metal contact at the
wheel mounting surfaces can cause the wheel nuts to loosen and the wheel to come off
while your vehicle is in motion, resulting in loss of control. Ib-ft (Nm)
*
Bolt size
100 (135)
M12 x 1.5
* Torque specifications are for nut and bolt threads free of dirt and rust. Use only Ford
recommended replacement fasteners.
Retighten the lug nuts to the specified torque within 100 miles (160 kilometers) after any
wheel disturbance (such as tire rotation, changing a flat tire, wheel removal).
318
Fusion (CC7) Canada/United States of America, enUSA, First Printing Wheels and TiresE224479
Page 322 of 528

Wheel pilot bore.
A
Inspect the wheel pilot bore and
mounting surface prior to installation.
Remove any visible corrosion or loose
particles.
TECHNICAL SPECIFICATIONS - 2.7L ECOBOOST™
Wheel Lug Nut Torque Specifications WARNING
When a wheel is installed, always remove any corrosion, dirt or foreign materials
present on the mounting surfaces of the wheel or the surface of the wheel hub,
brake drum or brake disc that contacts the wheel. Make sure that any fasteners
that attach the rotor to the hub are secured so they do not interfere with the mounting
surfaces of the wheel. Installing wheels without correct metal-to-metal contact at the
wheel mounting surfaces can cause the wheel nuts to loosen and the wheel to come off
while your vehicle is in motion, resulting in loss of control. Ib-ft (Nm)
*
Bolt size
150 (204)
M14 x 1.5
* Torque specifications are for nut and bolt threads free of dirt and rust. Use only Ford
recommended replacement fasteners.
Retighten the lug nuts to the specified torque within 100 miles (160 kilometers) after any
wheel disturbance (such as tire rotation, changing a flat tire, wheel removal).
319
Fusion (CC7) Canada/United States of America, enUSA, First Printing Wheels and TiresE145950
Page 323 of 528
Wheel pilot bore.
A
Inspect the wheel pilot bore and
mounting surface prior to installation.
Remove any visible corrosion or loose
particles.
320
Fusion (CC7) Canada/United States of America, enUSA, First Printing Wheels and TiresE145950
Page 482 of 528

Check every month
Engine oil level.
Function of all interior and exterior lights.
Tires (including spare) for wear and proper pressure. Windshield washer fluid level. Check every six months
Battery connections. Clean if necessary.
Body and door drain holes for obstructions. Clean if necessary. Cooling system fluid level and coolant strength.
Door weatherstrips for wear. Lubricate if necessary.
Hinges, latches and outside locks for proper operation. Lubricate if necessary. Parking brake for proper operation.
Safety belts and seat latches for wear and function.
Safety warning lamps (brake, ABS, airbag and safety belt) for operation.
Washer spray and wiper operation. Clean or replace blades as necessary.
Multi-Point Inspection
In order to keep your vehicle running right,
it is important to have the systems on your
vehicle checked regularly. This can help
identify potential issues and prevent major
problems. We recommend having the
following multi-point inspection performed
at every scheduled maintenance interval
to help make sure your vehicle keeps
running great.
479
Fusion (CC7) Canada/United States of America, enUSA, First Printing Scheduled Maintenance
Page 483 of 528

Multi-Point inspection
Hazard warning system operation
Accessory drive belt(s)
Horn operation
Battery performance
Radiator, cooler, heater and air conditioninghoses
Engine air filter
Suspension components for leaks ordamage
Exhaust system
Steering and linkage
Exterior lamps operation
Tires (including spare) for wear and properpressure**
Fluid levels *
; fill if necessary
Windshield for cracks, chips or pits
For oil and fluid leaks
Washer spray and wiper operation
Half-shaft dust boots
* Brake, coolant recovery reservoir, automatic transmission and window washer
** If your vehicle is equipped with a temporary mobility kit, check the tire sealant expiration
Use By date on the canister. Replace as needed.
Be sure to ask your dealership service
advisor or technician about the multi-point
vehicle inspection. It is a comprehensive
way to perform a thorough inspection of
your vehicle. Your checklist gives you
immediate feedback on the overall
condition of your vehicle.
NORMAL SCHEDULED
MAINTENANCE
Intelligent Oil-Life Monitor
Your vehicle is equipped with an Intelligent
Oil-Life Monitor that determines when you
should change the engine oil based on how
your vehicle is used. By using several
important factors in its calculations, the
monitor helps reduce the cost of owning
your vehicle and reduces environmental
waste at the same time. This means you do not have to remember
to change the oil on a mileage-based
schedule. Your vehicle lets you know when
an oil change is due by displaying a
message in the information display.
The following table provides examples of
vehicle use and its impact on oil change
intervals. It is a guideline only. Actual oil
change intervals depend on several factors
and generally decrease with severity of
use.
480
Fusion (CC7) Canada/United States of America, enUSA, First Printing Scheduled Maintenance
Page 484 of 528

When to expect the message prompting you to change your oil
Vehicle use and example
Interval
Normal
7500-10000 miles
(12000-16000 km) Normal commuting with highway driving
No, or moderate, load or towing
Flat to moderately hilly roads
No extended idling
Severe
5000-7499 miles
(8000-11999 km) Moderate to heavy load or towing
Mountainous or off-road conditions
Extended idling
Extended hot or cold operation
Extreme
3000-4999 miles
(4800-7999 km) Maximum load or towing
Extreme hot or cold operation
Normal Maintenance Intervals At every oil change interval as indicated by the information display
*
Change engine oil and filter. **
Rotate the tires.
Perform a multi-point inspection (recommended).
Inspect the automatic transmission fluid level. Consult your dealer for requirements.
Inspect the brake pads, rotors, hoses and parking brake.
Inspect the engine cooling system strength and hoses.
Inspect the exhaust system and heat shields.
Inspect the rear axle and U-joints (AWD only).
Inspect the half-shaft boots.
Inspect the steering linkage, ball joints, suspension, tie-rod ends, driveshaft and U-joints.
481
Fusion (CC7) Canada/United States of America, enUSA, First Printing Scheduled Maintenance
Page 485 of 528

At every oil change interval as indicated by the information display
*
Inspect the tires, tire wear and measure the tread depth.
Inspect the wheels and related components for abnormal noise, wear, looseness or
drag.
* Do not exceed one year or 10000 miles (16000 kilometers) between service intervals.
** Reset the Intelligent Oil-Life Monitor after engine oil and filter changes. See Engine
Oil Check (page 261). Other maintenance items
1
Replace cabin air filter.
Every 20000 miles (32000
km)
Replace engine air filter.
Every 30000 miles (48000
km)
Change engine coolant.2
At 100000 miles (160000
km)
Replace spark plugs.
Every 100000 miles
(160000 km) Inspect accessory drive belt(s). 3
Change automatic transmission fluid.
Every 150000 miles
(240000 km) Replace accessory drive belt(s). 4
Replace timing belt (1.5L engine).
1 Perform these maintenance items within 3000 miles (4800 kilometers) of the last
engine oil and filter change. Do not exceed the designated distance for the interval.
2 Initial replacement at six years or 100000 miles (160000 kilometers), then every three
years or 50000 miles (80000 kilometers).
3 After initial inspection, inspect every other oil change until replaced.
4 If not replaced within the last 100000 miles (160000 kilometers).
482
Fusion (CC7) Canada/United States of America, enUSA, First Printing Scheduled Maintenance