2017 FORD F SERIES MOTORHOME AND COMMERCIAL CHASSIS maintenance reset
[x] Cancel search: maintenance resetPage 5 of 164

Reduced Engine Performance...................51
Economical Driving
.........................................51
Driving Through Water
..................................52
Roadside Emergencies
Roadside Assistance
.....................................53
Hazard Warning Flashers............................54
Jump Starting the Vehicle...........................54
Transporting the Vehicle
.............................56
Customer Assistance
Getting the Services You Need
.................58
In California (U.S. Only)
...............................59
The Better Business Bureau (BBB) Auto Line Program (U.S. Only).......................60
Utilizing the Mediation/Arbitration Program (Canada Only)
...........................61
Getting Assistance Outside the U.S. and Canada...........................................................61
Ordering Additional Owner's Literature.......................................................62
Reporting Safety Defects (U.S. Only)...............................................................63
Reporting Safety Defects (Canada Only)...............................................................63
Fuses
Fuse Specification Chart.............................65
Changing a Fuse
.............................................83
Maintenance
General Information
.....................................85
Under Hood Overview - Commercial Chassis..........................................................86
Under Hood Overview - Motorhome Chassis
...........................................................87
Engine Oil Dipstick
........................................88
Engine Oil Check............................................88
Oil Change Indicator Reset
........................89
Engine Coolant Check
.................................89
Automatic Transmission Fluid Check..............................................................93 Brake Fluid Check
..........................................95
Power Steering Fluid Check.......................97
Fuel Filter
..........................................................98
Changing the 12V Battery...........................98
Changing the Engine Air Filter.................100
Vehicle Care
General Information.....................................101
Cleaning the Exterior....................................101
Cleaning the Engine.....................................102
Cleaning the Alloy Wheels
........................102
Vehicle Storage.............................................103
Wheels and Tires
Tire Care
...........................................................105
Using Snow Chains
......................................120
Changing a Road Wheel
.............................121
Technical Specifications
............................124
Capacities and Specific- ations
Engine Specifications
..................................125
Motorcraft Parts
............................................125
Vehicle Identification Number
.................127
Vehicle Certification Label.........................127
Transmission Code Designation.............128
Capacities and Specifications
.................129
Ford Protect
Ford Protect....................................................134
Scheduled Maintenance
General Maintenance Information
........136
Normal Scheduled Maintenance...........139
Special Operating Conditions Scheduled Maintenance...............................................141
Scheduled Maintenance Record
............143
Appendices
Type Approvals
.............................................154
2
Motorhome (TY3) Canada/United States of America, enUSA, First Printing Table of Contents
Page 92 of 164
Only use oils certified for gasoline engines
by the American Petroleum Institute (API).
An oil with this trademark symbol
conforms to the current engine and
emission system protection standards and
fuel economy requirements of the
International Lubricants Specification
Advisory Committee (ILSAC), comprised
of U.S. and Japanese automobile
manufacturers.
To top up the engine oil level do the
following:
Clean the area surrounding the engine oil
filler cap before you remove it.
1. Remove the engine oil filler cap. See
Under Hood Overview (page 87).
Turn it counterclockwise and remove
it.
2. Add engine oil that meets the correct specification. See
Capacities and
Specifications (page 129). You may
have to use a funnel to pour the engine
oil into the opening.
3. Recheck the oil level.
4. If the oil level is correct, replace the dipstick and make sure it is fully seated.
5. Replace the engine oil filler cap. Turn it clockwise until you feel a strong
resistance.
Note: Do not add oil further than the
maximum mark. Oil levels above the
maximum mark may cause engine damage.
Note: Make sure you install the oil filler cap
correctly.
Note: Soak up any spillage with an
absorbent cloth immediately. OIL CHANGE INDICATOR
RESET
Resetting the Oil Life Monitoring
System
Only reset the oil life monitoring system
after changing the engine oil and oil filter.
To reset the oil life monitoring system do
the following:
1.
Switch the ignition on. Do not start the
engine.
2. Fully press the accelerator and brake pedals at the same time.
3. Keep the accelerator and brake pedals
fully pressed.
4. After three seconds, a message displays confirming the reset procedure
is in progress.
5. After 25 seconds, a message displays confirming the reset procedure is
complete.
6. Release the accelerator and brake pedals.
7. Switch the ignition off.
ENGINE COOLANT CHECK WARNINGS
Do not add engine coolant when the
engine is hot. Steam and scalding
liquids released from a hot cooling
system can burn you badly. Also, spilling
coolant on hot engine parts can burn you. Do not put engine coolant in the
windshield washer fluid container. If
sprayed on the windshield, engine
coolant could make it difficult to see
through the windshield.
89
Motorhome (TY3) Canada/United States of America, enUSA, First Printing Maintenance
Page 95 of 164
Coolant Change
At specific mileage intervals, as listed in
the scheduled maintenance information,
the coolant should be changed. Add
prediluted coolant approved to the correct
specification. See Capacities and
Specifications (page 129).
Fail-Safe Cooling
Fail-safe cooling allows you to temporarily
drive your vehicle before any incremental
component damage occurs. The fail-safe
distance depends on ambient
temperature, vehicle load and terrain.
How Fail-Safe Cooling Works
If the engine begins to overheat, the
coolant temperature gauge moves toward
the red zone: A warning lamp illuminates and
a message may appear in the
information display.
If the engine reaches a preset
over-temperature condition, the engine
automatically switches to alternating
cylinder operation. Each disabled cylinder
acts as an air pump and cools the engine.
When this occurs, your vehicle still
operates, however:
• Engine power is limited.
• The air conditioning system turns off.
Continued operation increases the engine
temperature, causing the engine to
completely shut down. Your steering and
braking effort increases in this situation.
When the engine temperature cools, you
can re-start the engine. Have your vehicle
checked as soon as possible to minimize
engine damage. When Fail-Safe Mode Is Activated WARNINGS
Fail-safe mode is for use during
emergencies only. Operate your
vehicle in fail-safe mode only as long
as necessary to bring your vehicle to rest
in a safe location and seek immediate
repairs. When in fail-safe mode, your
vehicle will have limited power, will not be
able to maintain high-speed operation, and
may completely shut down without
warning, potentially losing engine power,
power steering assist, and power brake
assist, which may increase the possibility
of a crash resulting in serious injury. Never remove the coolant reservoir
cap while the engine is running or hot.
Your vehicle has limited engine power
when in the fail-safe mode, drive your
vehicle with caution. Your vehicle does not
maintain high-speed operation and the
engine may operate poorly.
Remember that the engine is capable of
automatically shutting down to prevent
engine damage. In this situation:
1. Pull off the road as soon as safely
possible and switch the engine off.
2. If you are a member of a roadside assistance program, we recommend
that you contact your roadside
assistance service provider.
3. If this is not possible, wait a short period for the engine to cool.
4. Check the coolant level. If the coolant level is at or below the minimum mark,
add prediluted coolant immediately.
5. When the engine temperature cools, you can re-start the engine. Have your
vehicle checked as soon as possible to
minimize engine damage.
Note: Driving your vehicle without repair
increases the chance of engine damage.
92
Motorhome (TY3) Canada/United States of America, enUSA, First Printing Maintenance
Page 102 of 164
Your vehicle is equipped with a
Motorcraft® maintenance-free battery
which normally does not require additional
water during its life of service.
For longer, trouble-free operation, keep the
top of the battery clean and dry. Also,
make certain the battery cables are always
tightly fastened to the battery terminals.
If you see any corrosion on the battery or
terminals, remove the cables from the
terminals and clean with a wire brush. You
can neutralize the acid with a solution of
baking soda and water.
It is recommended that the negative
battery cable terminal be disconnected
from the battery if you plan to store your
vehicle for an extended period of time.
To ensure proper operation of the battery
management system (BMS), any electrical
devices that are added to the vehicle
should not have their ground connection
made directly at the negative battery post.
A connection at the negative battery post
can cause inaccurate measurements of
the battery condition and potential
incorrect system operation.
Note:
Electrical or electronic accessories
or components added to the vehicle by the
dealer or the owner may adversely affect
battery performance and durability and may
also affect the performance of other
electrical systems in the vehicle.
When a battery replacement is required,
the battery should only be replaced with
a Ford recommended replacement battery
that matches the electrical requirements
of the vehicle.
Note: Always dispose of automotive
batteries in a responsible manner. Follow
your local authorized standards for disposal.
Call your local authorized recycling center
to find out more about recycling automotive
batteries. Battery relearn
When the battery is disconnected or a new
battery installed:
•
The transmission must relearn its
adaptive strategy. As a result of this,
the transmission may shift firmly. This
operation is considered normal and will
not affect function or durability of the
transmission. Over time the adaptive
learning process will fully update
transmission operation to its optimum
shift feel.
• The clock and the preset radio stations
must be reset once the battery is
reconnected.
• Your vehicle ’s engine is electronically
controlled by a computer, some control
conditions are maintained by power
from the battery, the engine must
relearn its idle and fuel trim strategy.
When the battery is disconnected or a new
battery is installed, begin the battery
relearn process:
1. With the vehicle at a complete stop, set the parking brake.
2. Put the gearshift lever in P (Park), turn
off all accessories and start the engine.
3. Run the engine until it reaches normal operating temperature.
4. Allow the engine to idle for at least one
minute.
5. Turn the A/C on and allow the engine to idle for at least one minute.
6. Drive the vehicle to complete the relearning process.
•The vehicle may need to be driven
to relearn the idle and fuel trim
strategy.
99
Motorhome (TY3) Canada/United States of America, enUSA, First Printing Maintenance
Page 106 of 164
VEHICLE STORAGE
If you plan on storing your vehicle for 30
days or more, read the following
maintenance recommendations to make
sure your vehicle stays in good operating
condition.
We engineer and test all motor vehicles
and their components for reliable, regular
driving. Under various conditions,
long-term storage may lead to degraded
engine performance or failure unless you
use specific precautions to preserve engine
components.
General
•
Store all vehicles in a dry, ventilated
place.
• Protect from sunlight, if possible.
• If vehicles are stored outside, they
require regular maintenance to protect
against rust and damage.
Body
• Wash your vehicle thoroughly to
remove dirt, grease, oil, tar or mud from
exterior surfaces, rear-wheel housing
and the underside of front fenders.
• Periodically wash your vehicle if it is
stored in exposed locations.
• Touch-up exposed or primed metal to
prevent rust.
• Cover chrome and stainless steel parts
with a thick coat of auto wax to prevent
discoloration. Re-wax as necessary
when you wash your vehicle.
• Lubricate all hood, door and luggage
compartment hinges and latches with
a light grade oil.
• Cover interior trim to prevent fading.
• Keep all rubber parts free from oil and
solvents. Engine
•
Change the engine oil and filter prior to
storage because used engine oil
contains contaminates which may
cause engine damage.
• Start the engine every 15 days for a
minimum of 15 minutes. Run at fast idle
with the climate controls set to defrost
until the engine reaches normal
operating temperature.
• With your foot on the brake, shift
through all the gears while the engine
is running.
• We recommend that you change the
engine oil before you use your vehicle
again.
Fuel system
• Fill the fuel tank with high-quality fuel
until the first automatic shutoff of the
fuel pump nozzle.
Cooling system
• Protect against freezing temperatures.
• When removing your vehicle from
storage, check coolant fluid level.
Confirm that there are no cooling
system leaks and that fluid is at the
recommended level.
Battery
• Check and recharge as necessary. Keep
connections clean.
• If storing your vehicle for more than 30
days without recharging the battery,
we recommend that you disconnect
the battery cables to maintain battery
charge for quick starting.
Note: It is necessary to reset memory
features if battery cables are disconnected.
103
Motorhome (TY3) Canada/United States of America, enUSA, First Printing Vehicle Care
Page 162 of 164
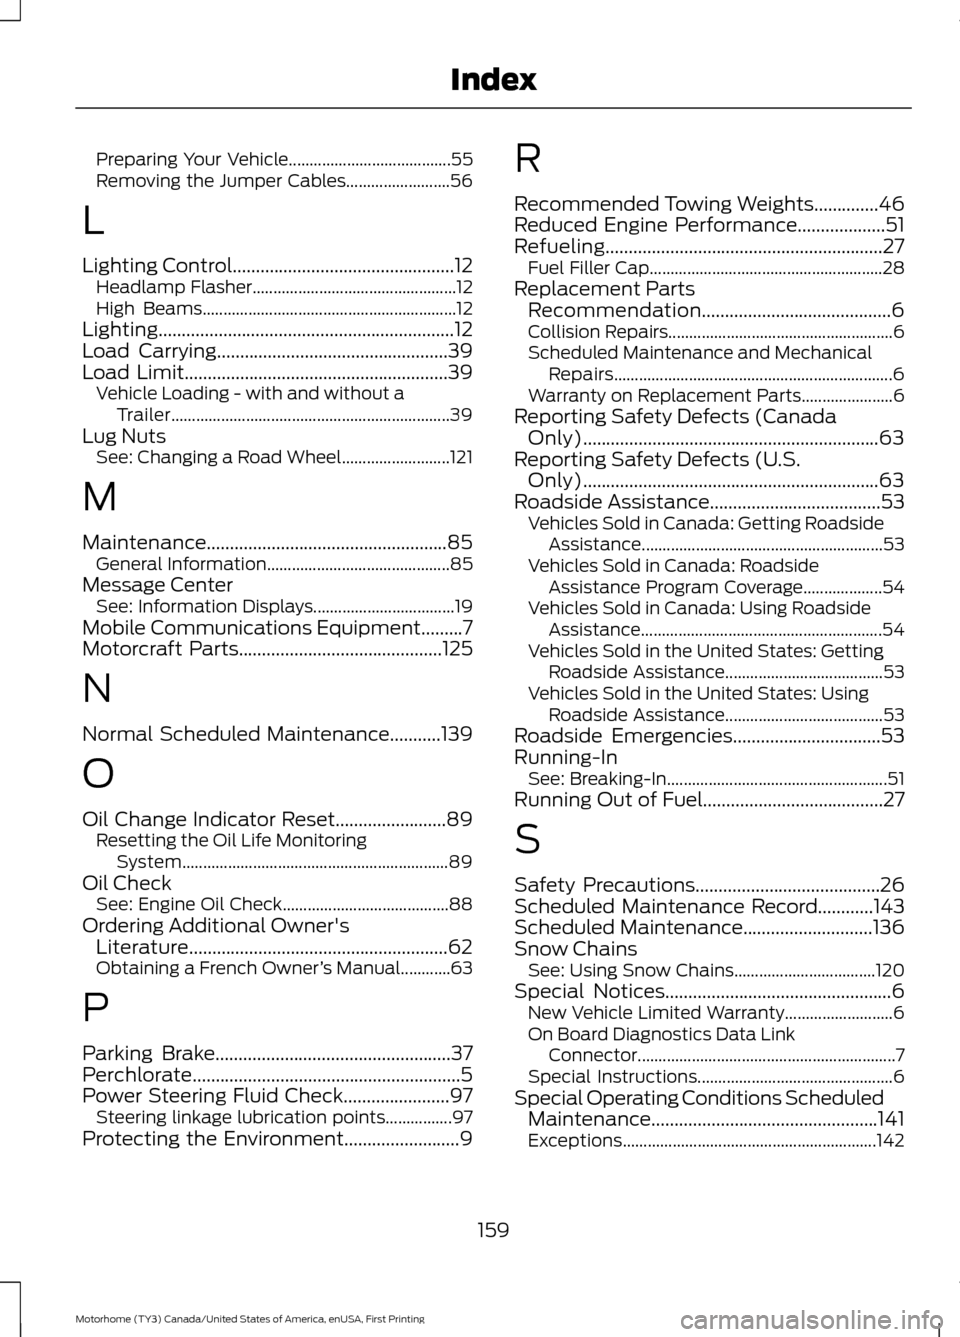
Preparing Your Vehicle.......................................
55
Removing the Jumper Cables......................... 56
L
Lighting Control................................................12 Headlamp Flasher................................................. 12
High Beams............................................................. 12
Lighting................................................................12
Load Carrying..................................................39
Load Limit.........................................................39
Vehicle Loading - with and without a
Trailer................................................................... 39
Lug Nuts See: Changing a Road Wheel.......................... 121
M
Maintenance....................................................85 General Information............................................ 85
Message Center See: Information Displays.................................. 19
Mobile Communications Equipment.........7
Motorcraft Parts
............................................125
N
Normal Scheduled Maintenance...........139
O
Oil Change Indicator Reset........................89 Resetting the Oil Life Monitoring
System................................................................ 89
Oil Check See: Engine Oil Check........................................ 88
Ordering Additional Owner's Literature........................................................62
Obtaining a French Owner ’s Manual............63
P
Parking Brake
...................................................37
Perchlorate..........................................................5
Power Steering Fluid Check.......................97 Steering linkage lubrication points................97
Protecting the Environment
.........................9 R
Recommended Towing Weights
..............46
Reduced Engine Performance...................51
Refueling............................................................27 Fuel Filler Cap........................................................ 28
Replacement Parts Recommendation.........................................6
Collision Repairs...................................................... 6
Scheduled Maintenance and Mechanical Repairs................................................................... 6
Warranty on Replacement Parts...................... 6
Reporting Safety Defects (Canada Only)................................................................63
Reporting Safety Defects (U.S. Only)................................................................63
Roadside Assistance
.....................................53
Vehicles Sold in Canada: Getting Roadside
Assistance.......................................................... 53
Vehicles Sold in Canada: Roadside Assistance Program Coverage................... 54
Vehicles Sold in Canada: Using Roadside Assistance .......................................................... 54
Vehicles Sold in the United States: Getting Roadside Assistance...................................... 53
Vehicles Sold in the United States: Using Roadside Assistance...................................... 53
Roadside Emergencies
................................53
Running-In See: Breaking-In..................................................... 51
Running Out of Fuel.......................................27
S
Safety Precautions........................................26
Scheduled Maintenance Record
............143
Scheduled Maintenance............................136
Snow Chains See: Using Snow Chains.................................. 120
Special Notices
.................................................6
New Vehicle Limited Warranty.......................... 6
On Board Diagnostics Data Link Connector
.............................................................. 7
Special Instructions............................................... 6
Special Operating Conditions Scheduled Maintenance.................................................141
Exceptions............................................................. 142
159
Motorhome (TY3) Canada/United States of America, enUSA, First Printing Index