Page 44 of 338

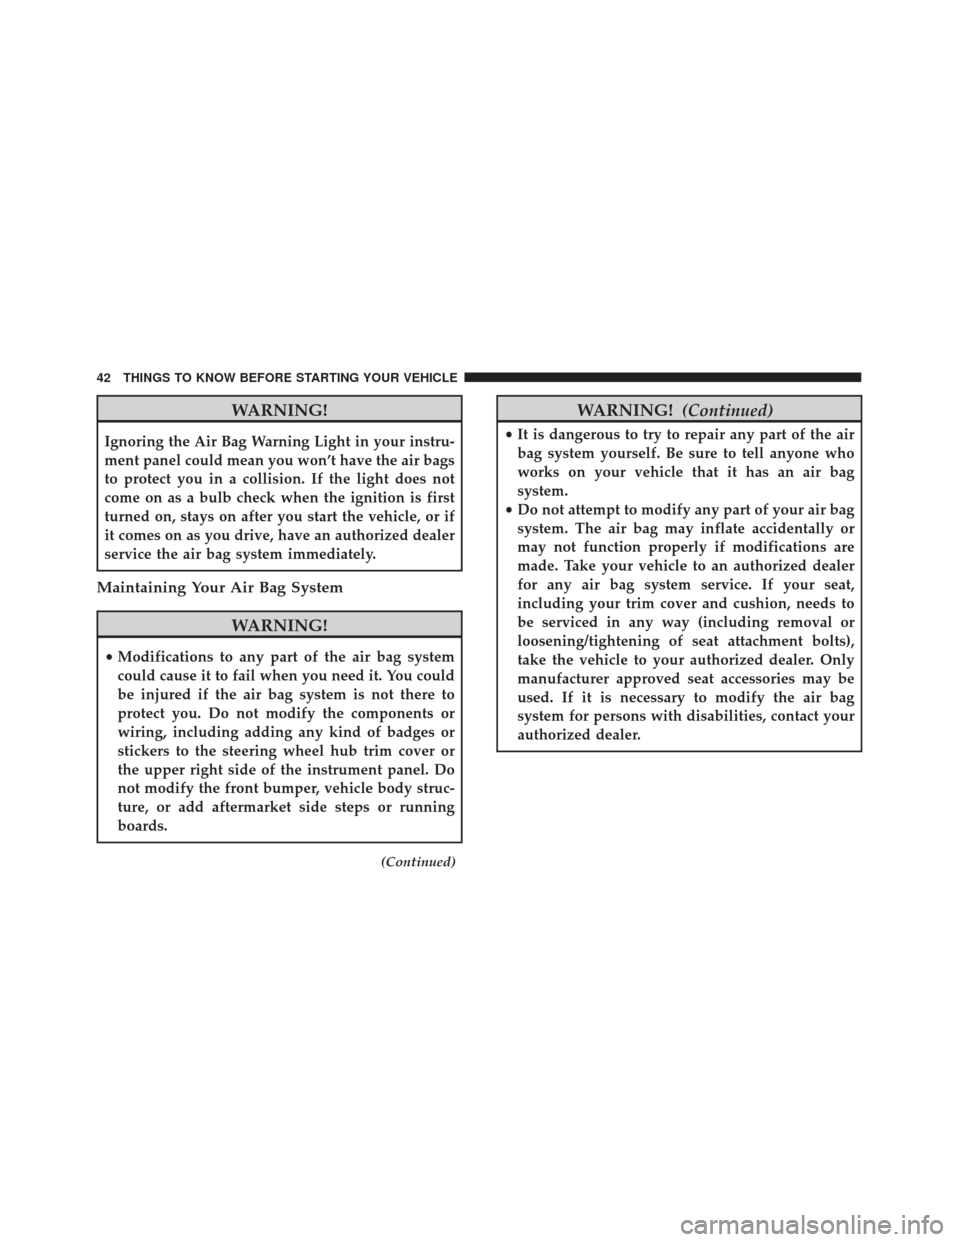
WARNING!
Ignoring the Air Bag Warning Light in your instru-
ment panel could mean you won’t have the air bags
to protect you in a collision. If the light does not
come on as a bulb check when the ignition is first
turned on, stays on after you start the vehicle, or if
it comes on as you drive, have an authorized dealer
service the air bag system immediately.
Maintaining Your Air Bag System
WARNING!
•Modifications to any part of the air bag system
could cause it to fail when you need it. You could
be injured if the air bag system is not there to
protect you. Do not modify the components or
wiring, including adding any kind of badges or
stickers to the steering wheel hub trim cover or
the upper right side of the instrument panel. Do
not modify the front bumper, vehicle body struc-
ture, or add aftermarket side steps or running
boards.
(Continued)
WARNING! (Continued)
•It is dangerous to try to repair any part of the air
bag system yourself. Be sure to tell anyone who
works on your vehicle that it has an air bag
system.
• Do not attempt to modify any part of your air bag
system. The air bag may inflate accidentally or
may not function properly if modifications are
made. Take your vehicle to an authorized dealer
for any air bag system service. If your seat,
including your trim cover and cushion, needs to
be serviced in any way (including removal or
loosening/tightening of seat attachment bolts),
take the vehicle to your authorized dealer. Only
manufacturer approved seat accessories may be
used. If it is necessary to modify the air bag
system for persons with disabilities, contact your
authorized dealer.
42 THINGS TO KNOW BEFORE STARTING YOUR VEHICLE
Page 66 of 338
Periodic Safety Checks You Should Make
Outside The Vehicle
Tires
Examine tires for excessive tread wear and uneven wear
patterns. Check for stones, nails, glass, or other objects
lodged in the tread or sidewall. Inspect the tread for
cuts and cracks. Inspect sidewalls for cuts, cracks and
bulges. Check the wheel bolts for tightness. Check the
tires (including spare) for proper cold inflation pres-
sure.
Lights
Have someone observe the operation of brake lights
and exterior lights while you work the controls. Check
turn signal and high beam indicator lights on the
instrument panel.
Door Latches
Check for proper closing, latching, and locking.
Fluid Leaks
Check area under vehicle after overnight parking for
fuel, engine coolant, oil, or other fluid leaks. Also, if
gasoline fumes are detected or if fuel, power steering
fluid (if equipped), or brake fluid leaks are suspected.
The cause should be located and corrected immediately.
64 THINGS TO KNOW BEFORE STARTING YOUR VEHICLE
Page 259 of 338

(F) Sealant Bottle And Hose Replacement:
1. Uncoil the Sealant Hose (6) (clear in color).
2. Locate the round Sealant Bottle release button in therecessed area under the sealant bottle.
3. Push the Sealant Bottle release button. The Sealant Bottle (1) will pop up. Remove the bottle and dispose
of it accordingly.
4. Clean any remaining sealant from the Tire Service Kit housing.
5. Position the new Sealant Bottle (1) in the housing so that the Sealant Hose (6) aligns with the hose slot in
the front of the housing. Push the bottle into the
housing. An audible click will be heard indicating
the bottle is locked into place.
6. Verify that the cap is installed on the fitting at the end of the Sealant Hose (6) and return the hose to its
storage area (located on the bottom of the air pump).
7. Return the Tire Service Kit to its storage location in the vehicle.
WHEEL AND TIRE TORQUE SPECIFICATIONS
Proper lug nut/bolt torque is very important to ensure
that the wheel is properly mounted to the vehicle. Any
time a wheel has been removed and reinstalled on the
vehicle the lug nuts/bolts should be torqued using a
properly calibrated torque wrench.
Torque Specifications
Lug Nut/Bolt Torque **Lug Nut/ Bolt SizeLug Nut/
Bolt
Socket Size
66 Ft-Lbs (90 N·m)
Steel Wheels Only
74 Ft-Lbs (100 N·m) Aluminum Wheels Only M12 x 1.25 17 mm
**Use only your Authorized Dealer recommended lug
nuts/bolts and clean or remove any dirt or oil before
tightening.6
WHAT TO DO IN EMERGENCIES 257
Page 260 of 338
Inspect the wheel mounting surface prior to mounting
the tire and remove any corrosion or loose particles.
Tighten the lug nuts/bolts in a star pattern until each
nut/bolt has been tightened twice.After 25 miles (40 km) check the lug nut/bolt torque to
be sure that all the lug nuts/bolts are properly seated
against the wheel.
WARNING!
To avoid the risk of forcing the vehicle off the jack,
do not tighten the lug nuts fully until the vehicle
has been lowered. Failure to follow this warning
may result in personal injury.
Wheel Mounting Surface
Torque Patterns
258 WHAT TO DO IN EMERGENCIES