2017 FIAT 124 SPIDER child lock
[x] Cancel search: child lockPage 128 of 300
Emergency Locking
Mode
When the seat belt is fastened, it will
always be in the emergency locking
mode.
In the emergency locking mode, the
belt remains comfortable on the
occupant and the retractor will lock in
position during a collision.
If the belt is locked and cannot be
pulled out, retract the belt once, and
then try pulling it out slowly. If this fails,
pull the belt strongly one time and
loosen, then pull it out again slowly.
Seat Belt With Automatic Locking
Mode
When the seat belt is fastened, it will
always be in the emergency locking
mode until it is switched to automatic
locking mode by pulling it all the way
out to its full length.
If the belt feels tight and hinders
comfortable movement while the
vehicle is stopped or in motion, it may
be in the automatic locking mode
because the belt has been pulled too
far out.
To return the belt to the more
comfortable emergency locking mode,
wait until the vehicle has stopped in a
safe, level area, retract the belt fully to
convert it back to emergency locking
mode and then extend it around you
again.Automatic Locking Mode
Always use the automatic locking mode
to keep the child-restraint system from
shifting to an unsafe position in the
event of an accident.
To enable seat belt automatic locking
mode, pull it all the way out and
connect it as instructed on the child
restraint system. It will retract down to
the child restraint system and stay
locked on it.
Warning!
The seat belt assembly must be
replaced if the switchable Automatic
Locking Retractor (ALR) feature or any
other seat belt function is not working
properly when checked according to the
procedures in the Service Manual.
Failure to replace the seat belt assembly
could increase the risk of injury in collisions.
Do not use the Automatic Locking Mode
to restrain occupants who are wearing the
seat belt or children who are using booster
seats. The locked mode is only used to
install rear-facing or forward-facing child
restraints that have a harness for
restraining the child.
Lap/Shoulder Belts
Fastening The Seat Belt
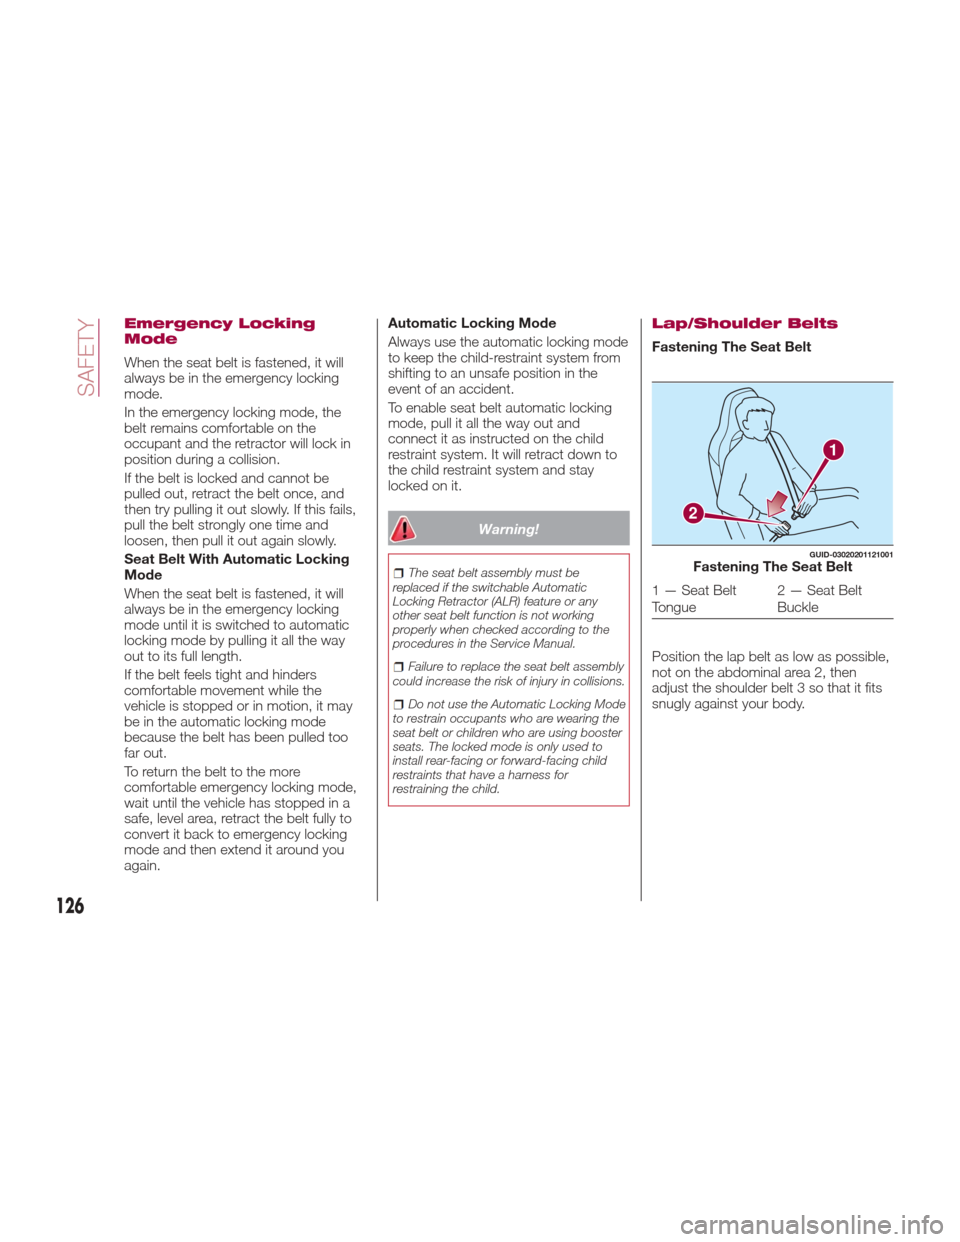
Position the lap belt as low as possible,
not on the abdominal area 2, then
adjust the shoulder belt 3 so that it fits
snugly against your body.
1
2
GUID-03020201121001Fastening The Seat Belt
1 — Seat Belt
Tongue 2 — Seat Belt
Buckle
126
SAFETY
Page 133 of 300
Infant Seat
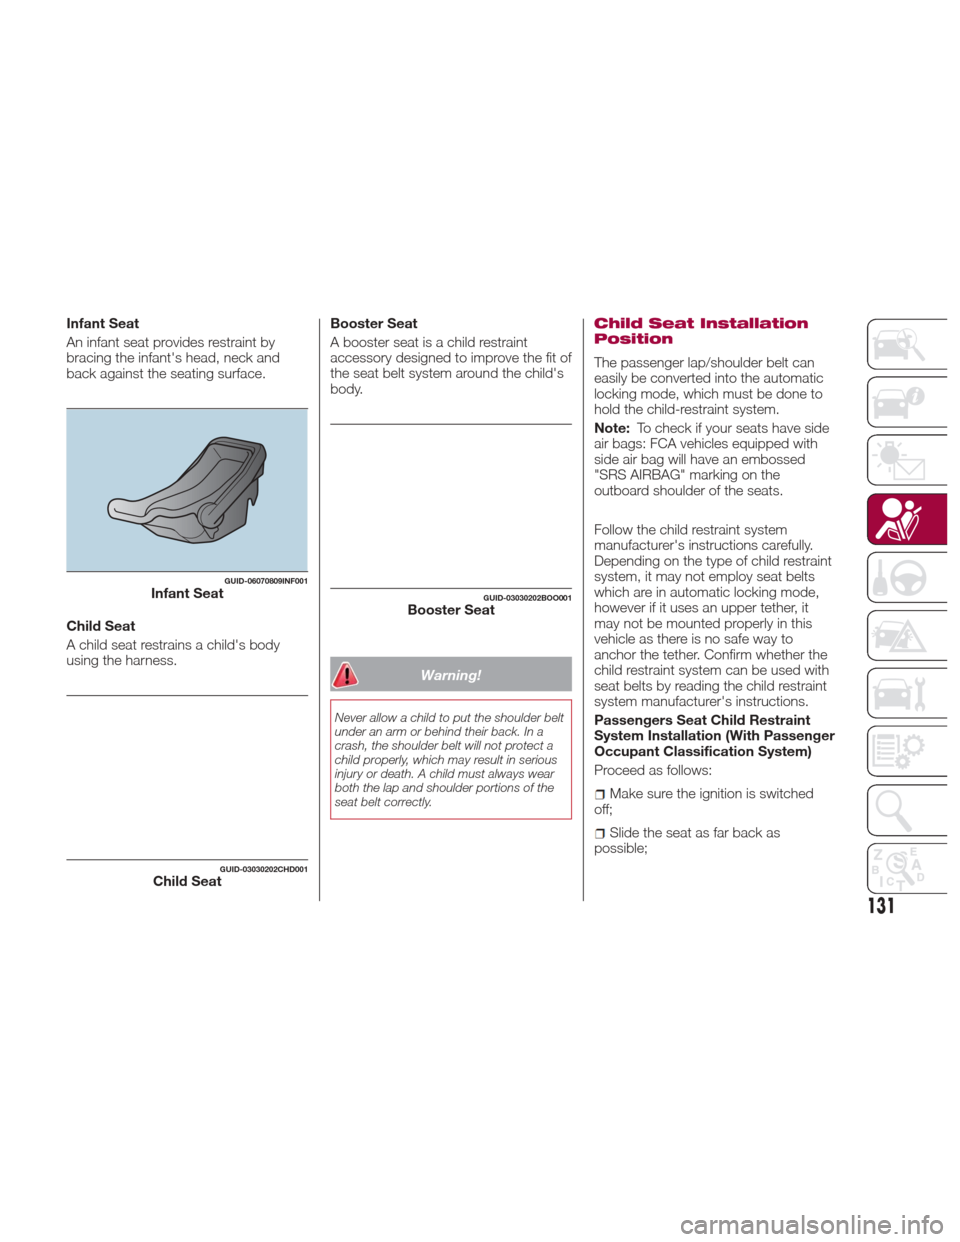
An infant seat provides restraint by
bracing the infant's head, neck and
back against the seating surface.
Child Seat
A child seat restrains a child's body
using the harness.Booster Seat
A booster seat is a child restraint
accessory designed to improve the fit of
the seat belt system around the child's
body.
Warning!
Never allow a child to put the shoulder belt
under an arm or behind their back. In a
crash, the shoulder belt will not protect a
child properly, which may result in serious
injury or death. A child must always wear
both the lap and shoulder portions of the
seat belt correctly.
Child Seat Installation
Position
The passenger lap/shoulder belt can
easily be converted into the automatic
locking mode, which must be done to
hold the child-restraint system.
Note:
To check if your seats have side
air bags: FCA vehicles equipped with
side air bag will have an embossed
"SRS AIRBAG" marking on the
outboard shoulder of the seats.
Follow the child restraint system
manufacturer's instructions carefully.
Depending on the type of child restraint
system, it may not employ seat belts
which are in automatic locking mode,
however if it uses an upper tether, it
may not be mounted properly in this
vehicle as there is no safe way to
anchor the tether. Confirm whether the
child restraint system can be used with
seat belts by reading the child restraint
system manufacturer's instructions.
Passengers Seat Child Restraint
System Installation (With Passenger
Occupant Classification System)
Proceed as follows:
Make sure the ignition is switched
off;
Slide the seat as far back as
possible;
GUID-06070809INF001Infant Seat
GUID-03030202CHD001Child Seat
GUID-03030202BOO001Booster Seat
131
Page 134 of 300
Place the child-restraint system on
the seat without putting your weight on
the seat and secure the child-restraint
system with the lap portion of the
lap/shoulder belt. See the
manufacturer's instructions on the
child-restraint system for belt routing
instructions;
To get the retractor into the
automatic locking mode, pull the
shoulder belt portion of the seat belt
until the entire length of the belt is out of
the retractor;
Push the child-restraint system firmly
into the vehicle seat. Be sure the belt
retracts as snugly as possible. A
clicking noise from the retractor will be
heard during retraction if the system is
in automatic locking mode. If the belt
does not lock the seat down tight,
repeat the previous step and also this
one;
Seat your child safely in the
child-restraint system and secure the
child according to the instructions from
the child-restraint system manufacturer; Note:
Inspect this function before
each use of the child restraint system.
You should not be able to pull the
shoulder belt out of the retractor while
the system is in the automatic locking
mode. When you remove the
child-restraint system, be sure the belt
fully retracts to return the system to
emergency locking mode before
occupants use the seat belts.
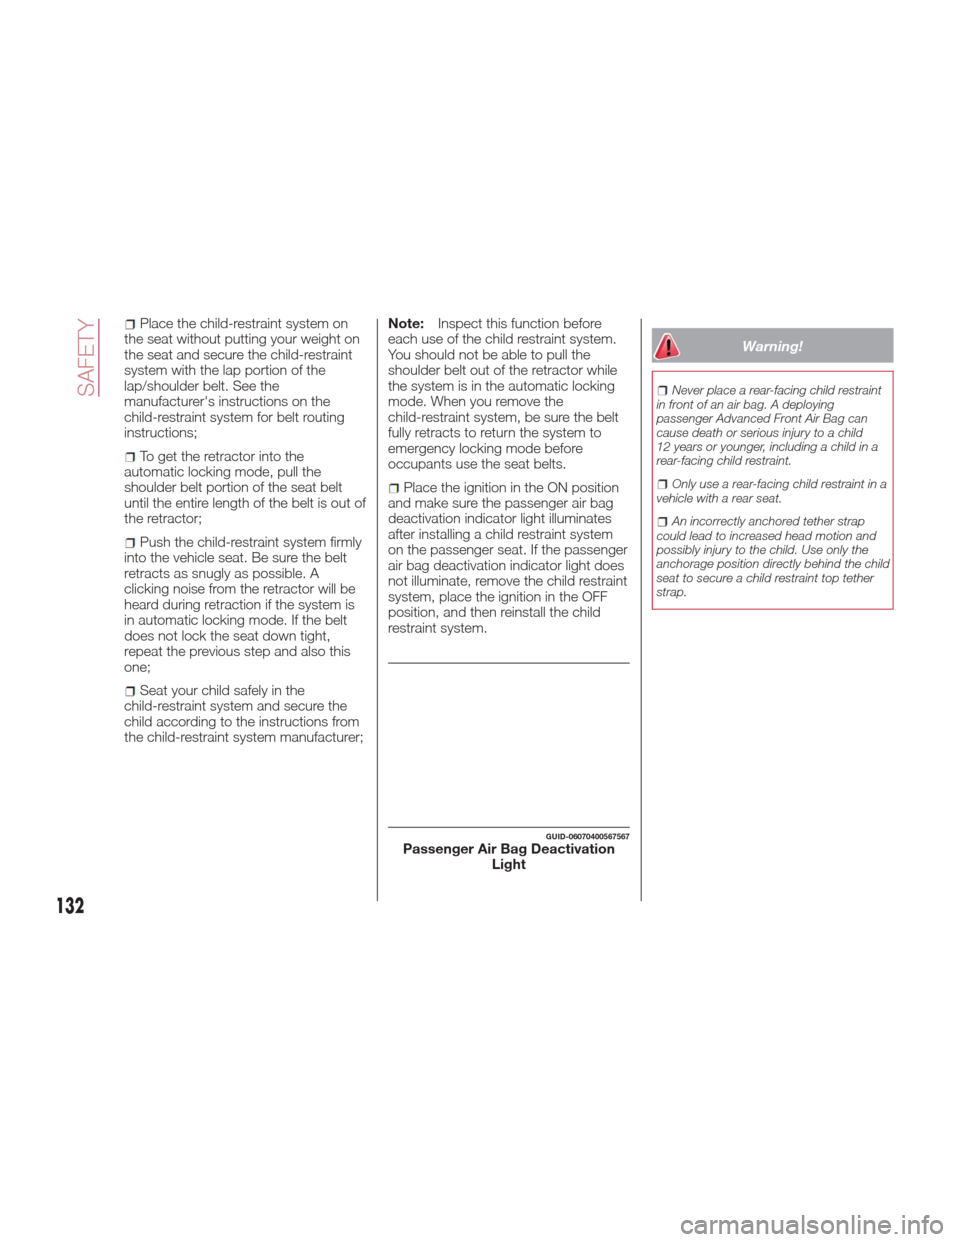
Place the ignition in the ON position
and make sure the passenger air bag
deactivation indicator light illuminates
after installing a child restraint system
on the passenger seat. If the passenger
air bag deactivation indicator light does
not illuminate, remove the child restraint
system, place the ignition in the OFF
position, and then reinstall the child
restraint system.
Warning!
Never place a rear-facing child restraint
in front of an air bag. A deploying
passenger Advanced Front Air Bag can
cause death or serious injury to a child
12 years or younger, including a child in a
rear-facing child restraint.
Only use a rear-facing child restraint in a
vehicle with a rear seat.
An incorrectly anchored tether strap
could lead to increased head motion and
possibly injury to the child. Use only the
anchorage position directly behind the child
seat to secure a child restraint top tether
strap.
GUID-06070400567567Passenger Air Bag Deactivation Light
132
SAFETY
Page 151 of 300
STARTING THE
ENGINE
Starting The Engine
Before starting the engine, adjust the
seat, the interior rear view mirrors, the
door mirrors and fasten the seat belt
correctly.
Warning!
When leaving the vehicle, always remove
the key fob from the vehicle and lock your
vehicle.
Never leave children alone in a vehicle,
or with access to an unlocked vehicle.
Allowing children to be in a vehicle
unattended is dangerous for a number of
reasons. A child or others could be
seriously or fatally injured. Children should
be warned not to touch the parking brake,
brake pedal or the transmission gear
selector.
Do not leave the key fob in or near the
vehicle, or in a location accessible to
children, and do not leave the ignition of a
vehicle equipped with Advanced Keyless
Entry in the ACC or ON/RUN mode. A child
could operate power windows, other
controls, or move the vehicle.
Do not leave children or animals inside
parked vehicles in hot weather. Interior heat
build-up may cause serious injury or death.
Never press the accelerator pedal for
starting the engine.
Models Equipped With A
Manual Transmission
Proceed as follows:
1. Engage the parking brake and place
the gear selector in NEUTRAL.
2. Place the start button in the ACC
mode.
3. Fully depress the clutch pedal
without touching the accelerator.
4. Place the start button in the ON
mode, push and release it as soon as
the engine starts. If the engine does not
start within 10 seconds, push the start
button to OFF mode and wait for
10-15 seconds before repeating the
starting procedure.
Models Equipped With
An Automatic
Transmission
Proceed as follows:
1. Engage the parking brake and place
the gear selector to P (PARK) or N
(NEUTRAL).
2. Fully depress the brake pedal
without touching the accelerator.
3. Place the start button in the ACC
mode. 4. Place the start button in the ON
mode, push and release it as soon as
the engine starts. If the engine does not
start within 10 seconds, push the start
button to OFF mode and wait for
10-15 seconds before repeating the
starting procedure.
Cold Weather Operation
Regarding Cold Start Disable
When the ambient temperature is
extremely low, the engine may not
crank even when the engine starting
procedure is performed. At this time,
the Cold Start Disable Indicator light in
the instrument cluster flashes. However,
this does not indicate a problem.
Perform the necessary procedures (see
“Warning lights And Messages”
paragraph in “Getting To Know Your
Instrument Panel” chapter).
Regarding Ice Breaker
When the ambient temperature is low,
the start of cranking may be delayed
after engine starting procedure is
performed. At this time, the Cold Start
Disable Indicator light in the instrument
cluster illumintes. However, this does
not indicate a problem.
Refer to your authorized dealer
regarding other related parts which are
to be input such as function name,
operating scenario (condition) of each
function, indicator operation, and user
operation/procedure information.
149
Page 153 of 300
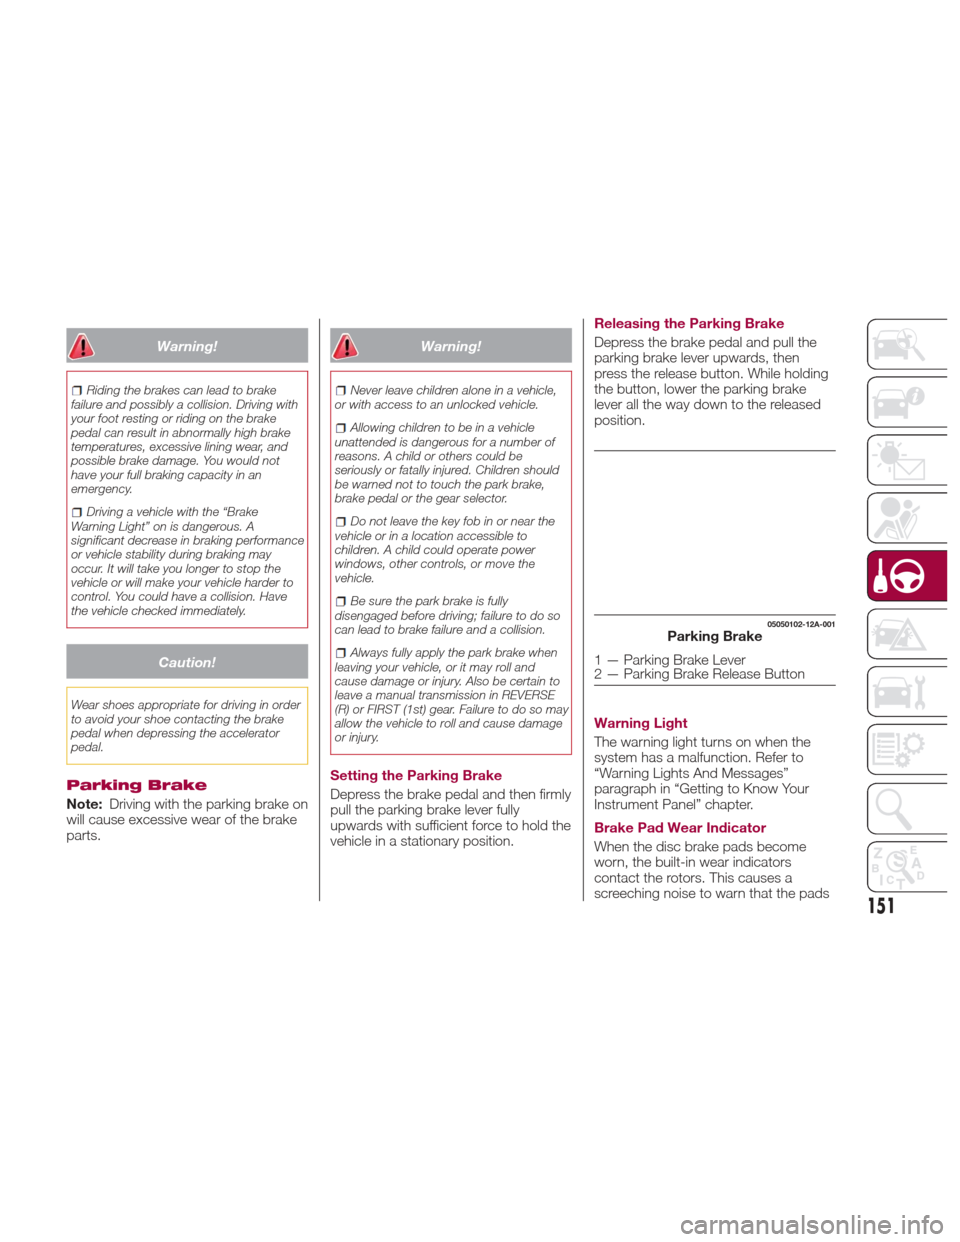
Warning!
Riding the brakes can lead to brake
failure and possibly a collision. Driving with
your foot resting or riding on the brake
pedal can result in abnormally high brake
temperatures, excessive lining wear, and
possible brake damage. You would not
have your full braking capacity in an
emergency.
Driving a vehicle with the “Brake
Warning Light” on is dangerous. A
significant decrease in braking performance
or vehicle stability during braking may
occur. It will take you longer to stop the
vehicle or will make your vehicle harder to
control. You could have a collision. Have
the vehicle checked immediately.
Caution!
Wear shoes appropriate for driving in order
to avoid your shoe contacting the brake
pedal when depressing the accelerator
pedal.
Parking Brake
Note: Driving with the parking brake on
will cause excessive wear of the brake
parts.
Warning!
Never leave children alone in a vehicle,
or with access to an unlocked vehicle.
Allowing children to be in a vehicle
unattended is dangerous for a number of
reasons. A child or others could be
seriously or fatally injured. Children should
be warned not to touch the park brake,
brake pedal or the gear selector.
Do not leave the key fob in or near the
vehicle or in a location accessible to
children. A child could operate power
windows, other controls, or move the
vehicle.
Be sure the park brake is fully
disengaged before driving; failure to do so
can lead to brake failure and a collision.
Always fully apply the park brake when
leaving your vehicle, or it may roll and
cause damage or injury. Also be certain to
leave a manual transmission in REVERSE
(R) or FIRST (1st) gear. Failure to do so may
allow the vehicle to roll and cause damage
or injury.
Setting the Parking Brake
Depress the brake pedal and then firmly
pull the parking brake lever fully
upwards with sufficient force to hold the
vehicle in a stationary position. Releasing the Parking Brake
Depress the brake pedal and pull the
parking brake lever upwards, then
press the release button. While holding
the button, lower the parking brake
lever all the way down to the released
position.
Warning Light
The warning light turns on when the
system has a malfunction. Refer to
“Warning Lights And Messages”
paragraph in “Getting to Know Your
Instrument Panel” chapter.
Brake Pad Wear Indicator
When the disc brake pads become
worn, the built-in wear indicators
contact the rotors. This causes a
screeching noise to warn that the pads
05050102-12A-001Parking Brake
1 — Parking Brake Lever
2 — Parking Brake Release Button
151
Page 155 of 300
Caution!
Keep your foot off the clutch pedal
except when shifting gears. Also, do not
use the clutch to hold the vehicle on an hill
or grade. Riding the clutch will cause
needless clutch wear and damage.
Do not apply any excessive lateral force
to the gear selector when changing from
fifth to fourth gear. This could lead to the
accidental selection of second gear, which
could result in damage to the transmission.
Make sure the vehicle comes to a
complete stop before shifting to REVERSE
(R). Shifting to REVERSE (R) while the
vehicle is still moving may damage the
transmission.
Reverse can only be engaged when the
vehicle is completely stationary. With the
engine running, wait at least two seconds
with the clutch pedal fully pressed before
engaging reverse to prevent damage to the
gears.
AUTOMATIC
TRANSMISSION — IF
EQUIPPED
Shift Interlock
Warning!
It is dangerous to shift out of PARK or
NEUTRAL if the engine speed is higher
than idle speed. If your foot is not firmly
pressing the brake pedal, the vehicle could
accelerate quickly forward or in reverse.
You could lose control of the vehicle and hit
someone or something. Only shift into gear
when the engine is idling normally and your
foot is firmly pressing the brake pedal.
Unintended movement of a vehicle
could injure those in or near the vehicle. As
with all vehicles, you should never exit a
vehicle while the engine is running. Before
exiting a vehicle, always apply the park
brake, shift the transmission into PARK
and, turn the ignition OFF. When the
ignition is in the OFF mode, the
transmission is locked in PARK, securing
the vehicle against unwanted movement.
When leaving the vehicle, always make
sure the ignition is in the OFF mode,
remove the key fob from the vehicle, and
lock the vehicle.
Never leave children alone in a vehicle,
or with access to an unlocked vehicle.
Allowing children to be in a vehicle
unattended is dangerous for a number of
reasons. A child or others could be seriously or fatally injured. Children should
be warned not to touch the park brake,
brake pedal or the transmission gear
selector.
Do not leave the key fob in or near the
vehicle (or in a location accessible to
children), and do not leave the ignition in
the ACC or ON/RUN mode. A child could
operate power windows, other controls, or
move the vehicle.
Caution!
Damage to the transmission may occur if
the following precautions are not observed:
Shift into or out of PARK or REVERSE
only after the vehicle has come to a
complete stop.
Do not shift between PARK, REVERSE,
NEUTRAL, or DRIVE when the engine is
above idle speed.
Before shifting into any gear, make sure
your foot is firmly pressing the brake pedal.
This vehicle is equipped with an
interlock system that holds the
transmission gear selector in PARK (P)
unless the brakes are applied. To shift
the transmission out of PARK (P), the
ignition must be placed in the ON/RUN
mode (engine running or not) and the
brake pedal must be pressed.
The transmission gear selector has
PARK (P), REVERSE (R), NEUTRAL (N),
153
Page 157 of 300

Never leave children alone in a vehicle,
or with access to an unlocked vehicle.
Allowing children to be in a vehicle
unattended is dangerous for a number of
reasons. A child or others could be
seriously or fatally injured. Children should
be warned not to touch the park brake,
brake pedal or the transmission gear
selector.
Do not leave the key fob in or near the
vehicle (or in a location accessible to
children), and do not leave the ignition in
the ACC or ON/RUN mode. A child could
operate power windows, other controls, or
move the vehicle.
Caution!
Before moving the transmission gear
selector out of PARK, you must place the
ignition from the LOCK/OFF mode to the
ON/RUN mode, and also press the brake
pedal. Otherwise, damage to the gear
selector could result.
DO NOT race the engine when shifting
from PARK or NEUTRAL into another gear
range, as this can damage the drivetrain.
Note:
Shifting into PARK (P), NEUTRAL (N)
or REVERSE (R) while the vehicle is
moving can damage your transmission.
Shifting into a gear or reverse when
the engine is running faster than idle
can damage the transmission. REVERSE (R)
In position REVERSE (R), the vehicle
moves only backward. You must be at
a complete stop before shifting to or
from REVERSE (R), except under rare
circumstances.
With Parking Sensor system
: when
the gear selector is shifted to the
REVERSE (R) position with the ignition
placed in the ON mode, the parking
sensor system is activated and an
audible sound is heard.
NEUTRAL (N)
In NEUTRAL (N), the wheels and
transmission are not locked. The vehicle
will roll freely even on the slightest
incline unless the parking brake or
brakes are on.
Warning!
Do not coast in NEUTRAL and never turn
off the ignition to coast down a hill. These
are unsafe practices that limit your
response to changing traffic or road
conditions. You might lose control of the
vehicle and have a collision.
Note: Do not shift into NEUTRAL (N)
when driving the vehicle. Doing so can
cause transaxle damage. Apply the
parking brake or depress the brake
pedal before moving the gear selector
from NEUTRAL (N) to prevent the
vehicle from moving unexpectedly. DRIVE (D)
DRIVE (D) is the normal driving position.
From a stop, the transmission will
automatically shift through all six gears
in sequence.
MANUAL (M)
MANUAL (M) is the manual shift mode
position. Gears can be shifted up or
down by operating the gear selector.
(Refer to “Manual Shift Mode”
paragraph in this section).
Warning!
Do not downshift for additional engine
braking on a slippery surface. The drive
wheels could lose their grip and the vehicle
could skid, causing a collision or personal
injury.
Active Adaptive Shift
(AAS)
Active Adaptive Shift (AAS)
automatically controls the transmission
shift points to best suit the road
conditions and driver input. This
improves driving feel.
The transmission may switch to AAS
mode when driving up and down
slopes, cornering, driving at high
elevations, or depressing the
accelerator pedal quickly while the gear
selector is in the Drive (D) position.
155
Page 288 of 300
INDEX
About Your Brakes...........150
ABS system ............... .112
Active Adaptive Shift (AAS) ......155
Adaptive Front Lighting System (AFS) ...................42
Additives, Fuel ..............174
Advanced Keyless Entry System Key Left In Trunk ............22
Key left In Vehicle ...........22
Locking Doors .............22
Passive Entry ..............22
Request Switch ............22
Unlocking Doors ............22
AirBag............... .133,137
Advance Front Air Bag . . . .133,137
Air Bag Warning Light .......147
Event Data Recorder (EDR) . . . .146
FrontAirBag ............ .147
Maintaining Your Air Bag
System ............... .145
Air Bag Maintenance ..........145
Air Pressure, Tires ............244
Alarm Vehicle Security Alarm ......24,25
Alarm (Security Alarm) ........24,25
Aluminium wheel maintenance . . . .257
Automatic Dimming Mirror ........37
Automatic Headlights ...........40Automatic Temperature Control
(ATC) ...................52
Automatic Transmission ........153
Auxiliary Power Outlet ..........63
B-Pillar Location.............241
Battery (maintenance) ..........235
Battery charging procedure ......236
Battery recharging ............236
Blind Spot Monitoring ..........114
Body and underbody warranty . . . .253
Body lubrication .............236
Bodywork (care and maintenance). .253
Boot, Convertible Top Lowering ....70
Boot, Convertible Top Precautions . .73
Boot, Convertible Top Raising .....72
Brake System ...............150
Brake/clutch fluid (level check) . . . .234
Brakes ............... .150,269
Bright-metal maintenance .......257
Camera, Rear..............167
Carbon Monoxide Warning ......175
Center Seat Storage Compartment. .61
Certification Label ............177
Changing A Flat Tire .....204,205,238
Checking levels ..............232
Child Restraint ..............129
Child Restraints Child Restraints ...........129
Clean Air Gasoline ............173 Climate Control
..............44
Close The Hood ..............69
Compact Spare Tire ...........249
Contract, Service ............282
Convertible Top ..............70
Convertible top maintenance .....257
Cooling Air Conditioning ............50
Cupholders .................64
Customer Assistance ..........281
Data Recorder, Event.........146
Daytime Running Lights .........40
Diagnostic System, Onboard ......77
Dimensions ............... .272
Disabled Vehicle Towing .....221,223
Driver's Seat Back Tilt ..........33
Driving in flooded area .........182
Driving tips ............... .178
Electric power steering.........74
Electric Remote Mirrors .........38
Electromagnetic Compatibility . . . .278
Electronic Brake Control System Traction Control System ......112
Electronic Speed Control (Cruise Control) ................ .158
Electronic Vehicle Information Center (EVIC)
Electronic Vehicle Information
Center (EVIC) ..............78
INDEX