2017 FIAT 124 SPIDER ABARTH maintenance
[x] Cancel search: maintenancePage 232 of 292

ENGINE COMPARTMENT
Checking Levels
07030300-121-003-high.jpg
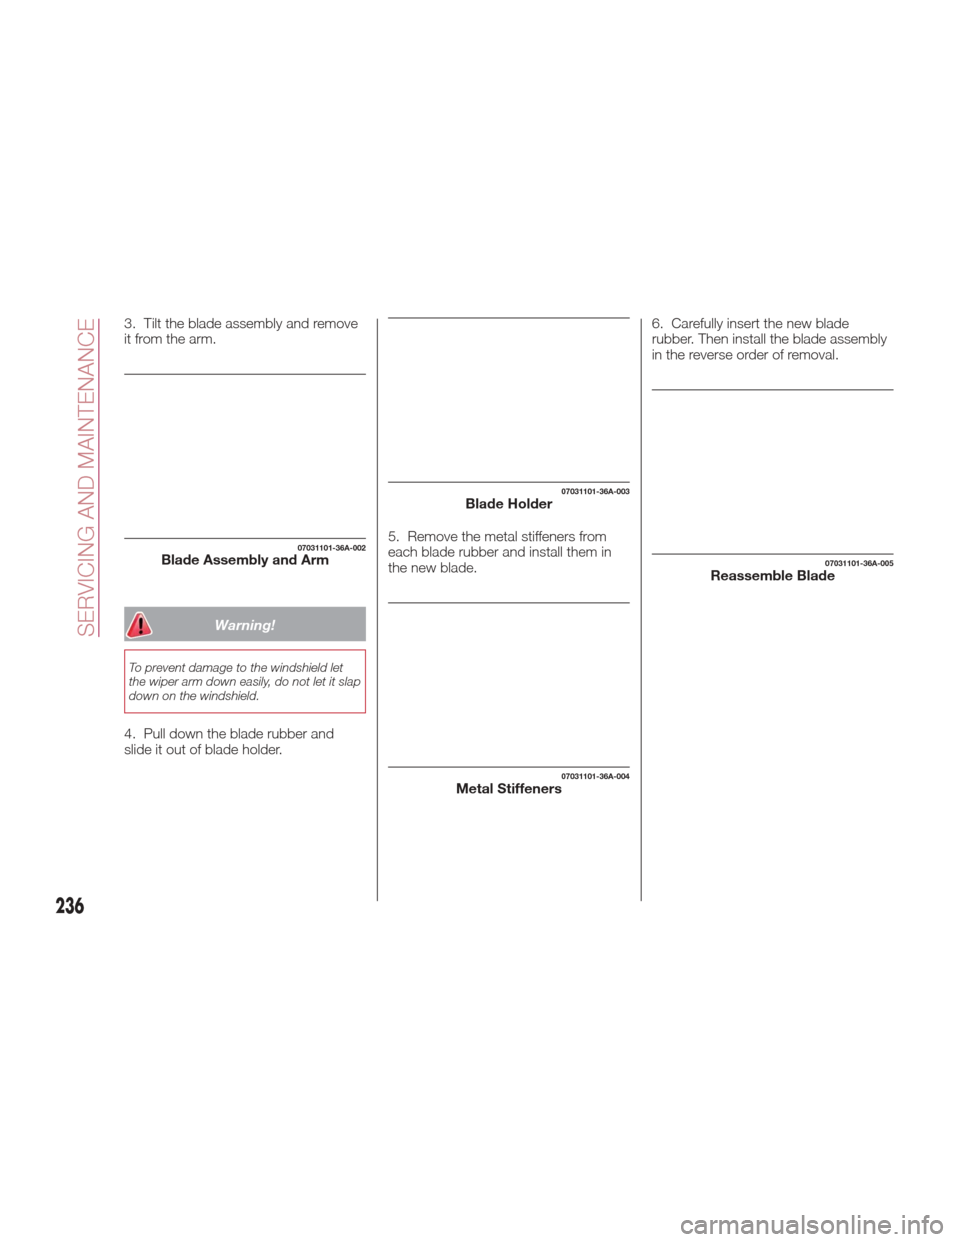
1 — Window Washer Fill4 — Engine Coolant Fill
2 — Engine Oil Dipstick 5 — Brake/Clutch Fluid Reservoir
3 — Engine Oil Cap 6 — Battery
230
SERVICING AND MAINTENANCE
Page 234 of 292

Warning!
Do not open hot engine cooling system.
Never add engine coolant (antifreeze) when
the engine is overheated. Do not loosen or
remove the cap to cool an overheated
engine. Heat causes pressure to build up in
the cooling system. To prevent scalding or
injury, do not remove the pressure cap
while the system is hot or under pressure.
Do not use a pressure cap other than
the one specified for your vehicle. Personal
injury or engine damage may result.
The coolant should be at full in the
radiator and between the F (Full) and L
(Low) marks on the coolant reservoir
when the engine is cool.
If it is at or near L (Low), add coolant by
mixing a minimum solution of 50% Mopar Long Life Coolant Concentrate
for FIAT Spider. Use higher
concentrations (not to exceed 70%) if
temperatures below −34°F (−37°C) are
anticipated. Bring the level to F (Full).
Please contact your Authorized Dealer
for assistance.
Securely tighten the coolant reservoir
tank cap after adding coolant.
If the coolant reservoir is empty or new
coolant is required frequently, contact
your Authorized Dealer.
Brake/Clutch Fluid
Inspecting Brake/Clutch Fluid Level
The brakes and clutch draw fluid
from the same reservoir.
Inspect the fluid level in the reservoir
regularly.
It should be kept between the MAX
and MIN lines.
The level normally drops with
accumulated use, a condition
associated with wear of brake and
clutch linings. If it is excessively low,
have the brake/clutch system
inspected. Contact your Authorized
Dealer.
Warning!
Use only manufacturer's recommended
brake fluid. Refer to “Fluids And Lubricants”
in “Technical Specifications” for further
information. Using the wrong type of brake
fluid can severely damage your brake
system and/or impair its performance. The
proper type of brake fluid for your vehicle is
also identified on the original factory
installed hydraulic master cylinder reservoir.
To avoid contamination from foreign
matter or moisture, use only new brake
fluid or fluid that has been in a tightly
closed container. Keep the master cylinder
reservoir cap secured at all times. Brake
fluid in a open container absorbs moisture
from the air resulting in a lower boiling
point. This may cause it to boil
unexpectedly during hard or prolonged
braking, resulting in sudden brake failure.
This could result in a collision.
07030501-121-001Coolant Reservoir
07030601-121-002Brake Fluid Reservoir
232
SERVICING AND MAINTENANCE
Page 235 of 292

Overfilling the brake fluid reservoir can
result in spilling brake fluid on hot engine
parts, causing the brake fluid to catch fire.
Brake fluid can also damage painted and
vinyl surfaces, care should be taken to
avoid its contact with these surfaces.
Do not allow petroleum based fluid to
contaminate the brake fluid. Brake seal
components could be damaged, causing
partial or complete brake failure. This could
result in a collision.
Windshield And
Headlight Washer Fluid
Inspecting Washer Fluid Level
Inspect fluid level in the washer fluid
reservoir, open the cap and add fluid if
necessary.
Use plain water if washer fluid is
unavailable. But use only washer fluid in
cold weather to prevent it from freezing.
Automatic Transmission
Control Unit
The transmission oil level should only be
checked at your Authorized Dealer.
Battery Maintenance
To get the best service from a battery:
Keep it securely mounted.
Keep the top clean and dry.
Keep terminals and connections
clean, tight, and coated with petroleum
jelly or terminal grease.
Rinse off spilled electrolyte
immediately with a solution of water
and baking soda.
If the vehicle will not be used for an
extended time, disconnect the battery
leads and charge the battery every six
weeks.
Battery Replacement
Contact your Authorized Dealer to
purchase a replacement battery.
Warning!
Battery fluid is a corrosive acid solution
and can burn or even blind you. Do not
allow battery fluid to contact your eyes,
skin, or clothing. Do not lean over a battery
when attaching clamps. If acid splashes in
eyes or on skin, flush the area immediately
with large amounts of water. Refer to
“Jump-Starting” in “In Case Of Emergency”
for further information.
Battery gas is flammable and explosive.
Keep flame or sparks away from the
battery. Do not use a booster battery or
any other booster source with an output
greater than 12 Volts. Do not allow cable
clamps to touch each other.
Battery posts, terminals, and related
accessories contain lead and lead
compounds. Wash hands after handling.
07030901-121-001Windshield Washer Fluid Reservoir
233
Page 236 of 292

BATTERY
RECHARGING
BATTERY CHARGING
PROCEDURE
Warning!
Battery fluid is a corrosive acid solution
and can burn or even blind you. Do not
allow battery fluid to contact your eyes,
skin, or clothing. Do not lean over a battery
when attaching clamps. If acid splashes in
eyes or on skin, flush the area immediately
with large amounts of water. Refer to
“Jump-Starting” in “In Case Of Emergency”
for further information.
Battery gas is flammable and explosive.
Keep flame or sparks away from the
battery. Do not use a booster battery or
any other booster source with an output
greater than 12 Volts. Do not allow cable
clamps to touch each other.
Battery posts, terminals, and related
accessories contain lead and lead
compounds. Wash hands after handling.
Caution!
It is essential when replacing the cables
on the battery that the positive cable is
attached to the positive post and the
negative cable is attached to the negative
post. Battery posts are marked positive (+)
and negative (-) and are identified on the
battery case. Cable clamps should be tight
on the terminal posts and free of corrosion.
If a “fast charger” is used while the
battery is in the vehicle, disconnect both
vehicle battery cables before connecting
the charger to the battery. Do not use a
“fast charger” to provide starting voltage.
Charge battery as follows:
Before recharging the battery, turn off
all accessories and turn the engine off
by placing the ignition in the OFF mode.
Disconnect the negative battery
cable.
Connect the charger cables to the
battery terminals, observing the polarity
(+,–).
Turn on the charger.
When finished, turn the charger off
before disconnecting the battery.
Reconnect the negative battery
terminal.
MAINTENANCE
PROCEDURES
The following pages contain
instructions on the required
maintenance from the technical
personnel who designed the vehicle.
In addition to these specific
maintenance instructions specified for
routine scheduled servicing, there are
other components which may require
periodic maintenance or replacement
over the vehicle’s life cycle.
Body Lubrication
Ensure that the locks and bodywork
junction points, including components
such as the seat guides, door hinges
(and rollers), trunk and hood are
periodically lubricated with lithium
based grease to ensure correct, silent
operation and to protect them from rust
and wear.
Thoroughly clean the components,
eliminating every trace of dirt and dust.
After lubricating, eliminate excess oil
and grease. Also pay particular
attention to the hood closing devices,
to ensure correct operation.
During operations on the hood, be sure
to perform with the engine cold, also
remember to check, clean and lubricate
the locking, release and safety devices.
Make sure the hood's secondary latch
keeps the hood from opening when the
primary latch is released.
234
SERVICING AND MAINTENANCE
Page 238 of 292

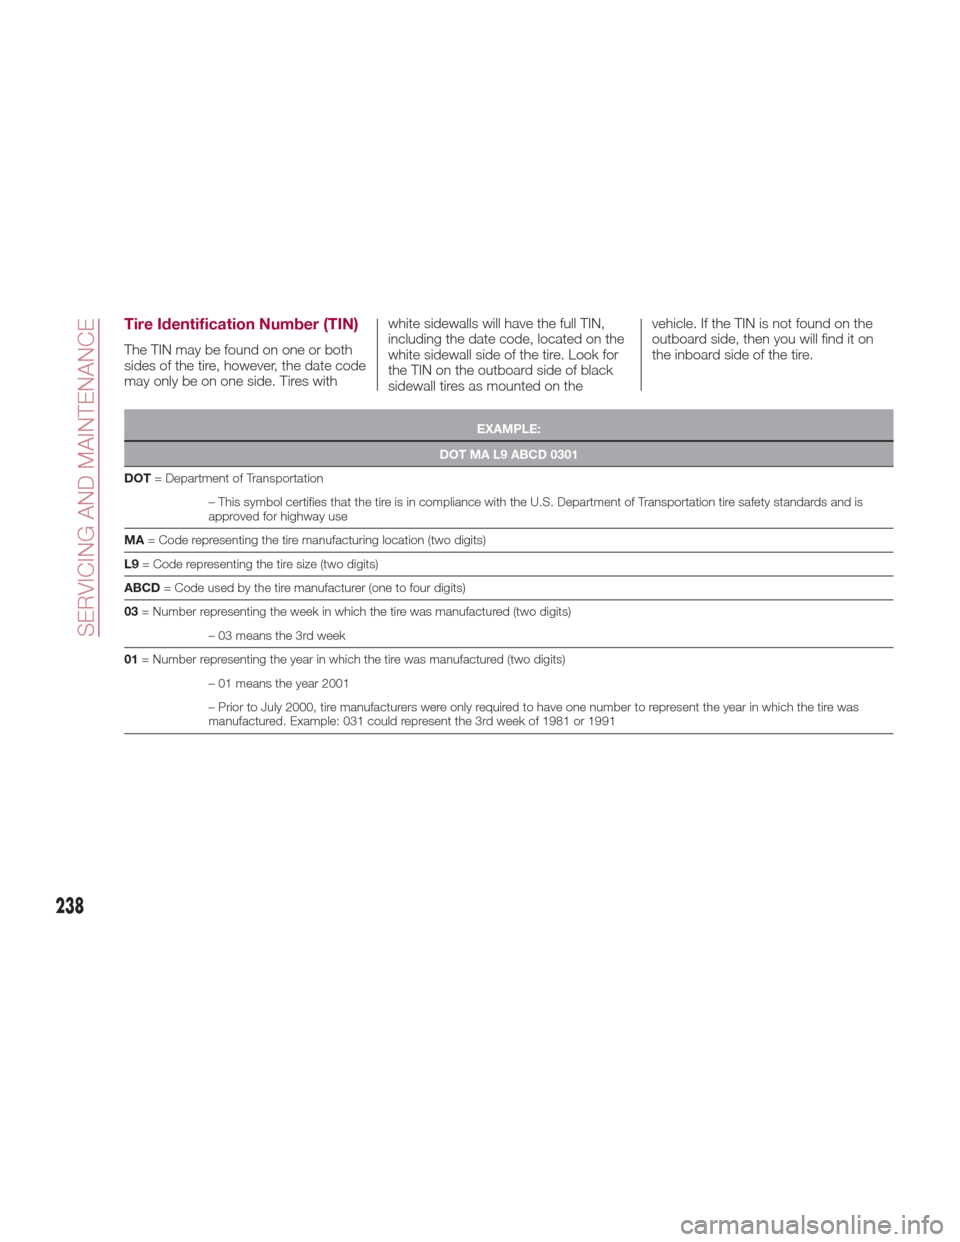
3. Tilt the blade assembly and remove
it from the arm.
Warning!
To prevent damage to the windshield let
the wiper arm down easily, do not let it slap
down on the windshield.
4. Pull down the blade rubber and
slide it out of blade holder.5. Remove the metal stiffeners from
each blade rubber and install them in
the new blade.6. Carefully insert the new blade
rubber. Then install the blade assembly
in the reverse order of removal.
07031101-36A-002Blade Assembly and Arm
07031101-36A-003Blade Holder
07031101-36A-004Metal Stiffeners
07031101-36A-005Reassemble Blade
236
SERVICING AND MAINTENANCE
Page 240 of 292

Tire Identification Number (TIN)
The TIN may be found on one or both
sides of the tire, however, the date code
may only be on one side. Tires withwhite sidewalls will have the full TIN,
including the date code, located on the
white sidewall side of the tire. Look for
the TIN on the outboard side of black
sidewall tires as mounted on thevehicle. If the TIN is not found on the
outboard side, then you will find it on
the inboard side of the tire.
EXAMPLE:
DOT MA L9 ABCD 0301
DOT =
Department of Transportation
– This symbol certifies that the tire is in compliance with the U.S. Department of Transportation tire safety standards and is
approved for highway use
MA = Code representing the tire manufacturing location (two digits)
L9 = Code representing the tire size (two digits)
ABCD = Code used by the tire manufacturer (one to four digits)
03 = Number representing the week in which the tire was manufactured (two digits)
– 03 means the 3rd week
01 = Number representing the year in which the tire was manufactured (two digits)
– 01 means the year 2001
– Prior to July 2000, tire manufacturers were only required to have one number to represent the year in which the tire was
manufactured. Example: 031 could represent the 3rd week of 1981 or 1991
238
SERVICING AND MAINTENANCE
Page 242 of 292

Tire Loading And Tire Pressure
Note:
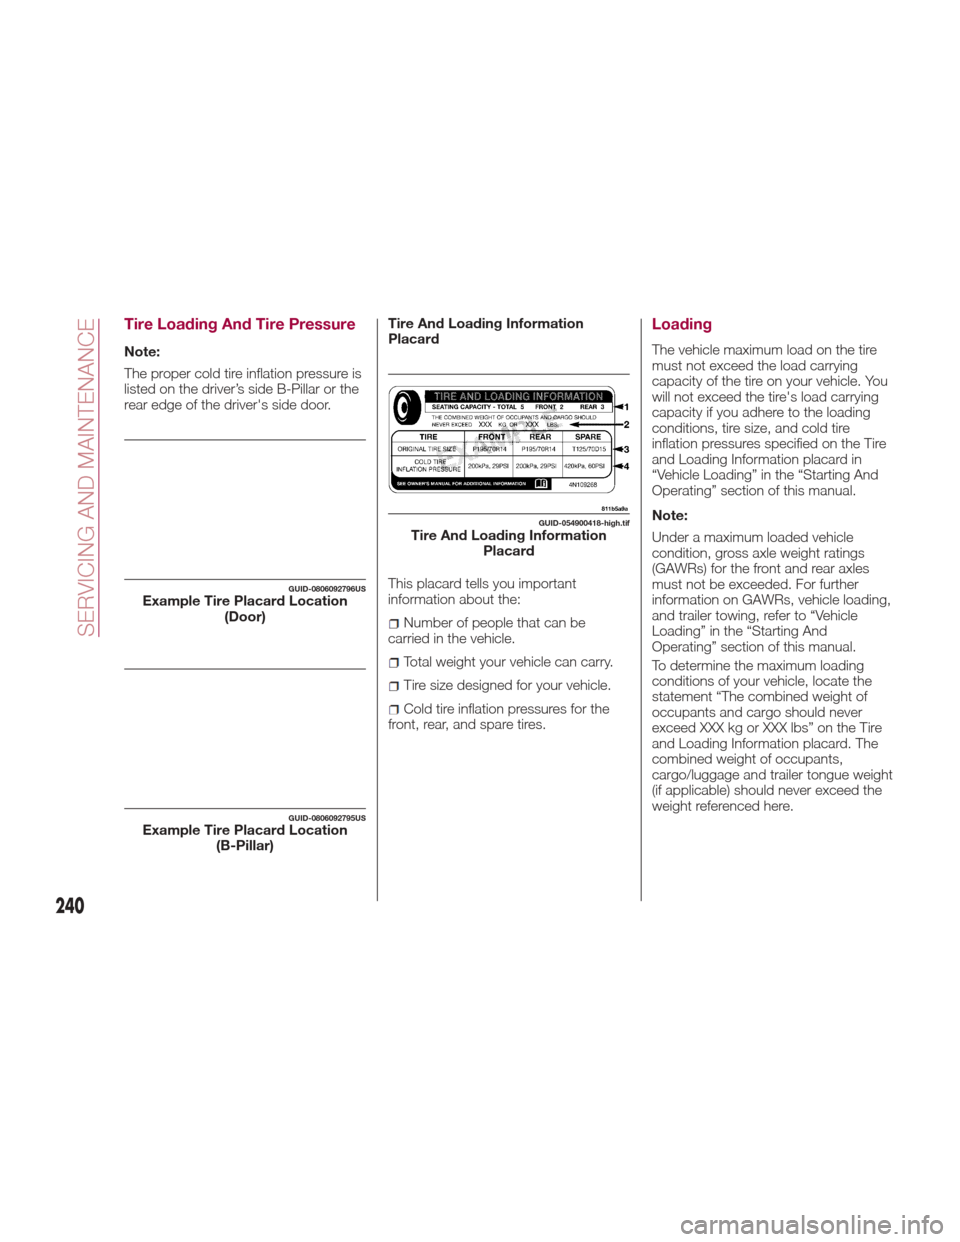
The proper cold tire inflation pressure is
listed on the driver’s side B-Pillar or the
rear edge of the driver's side door.Tire And Loading Information
Placard
This placard tells you important
information about the:
Number of people that can be
carried in the vehicle.
Total weight your vehicle can carry.
Tire size designed for your vehicle.
Cold tire inflation pressures for the
front, rear, and spare tires.
Loading
The vehicle maximum load on the tire
must not exceed the load carrying
capacity of the tire on your vehicle. You
will not exceed the tire's load carrying
capacity if you adhere to the loading
conditions, tire size, and cold tire
inflation pressures specified on the Tire
and Loading Information placard in
“Vehicle Loading” in the “Starting And
Operating” section of this manual.
Note:
Under a maximum loaded vehicle
condition, gross axle weight ratings
(GAWRs) for the front and rear axles
must not be exceeded. For further
information on GAWRs, vehicle loading,
and trailer towing, refer to “Vehicle
Loading” in the “Starting And
Operating” section of this manual.
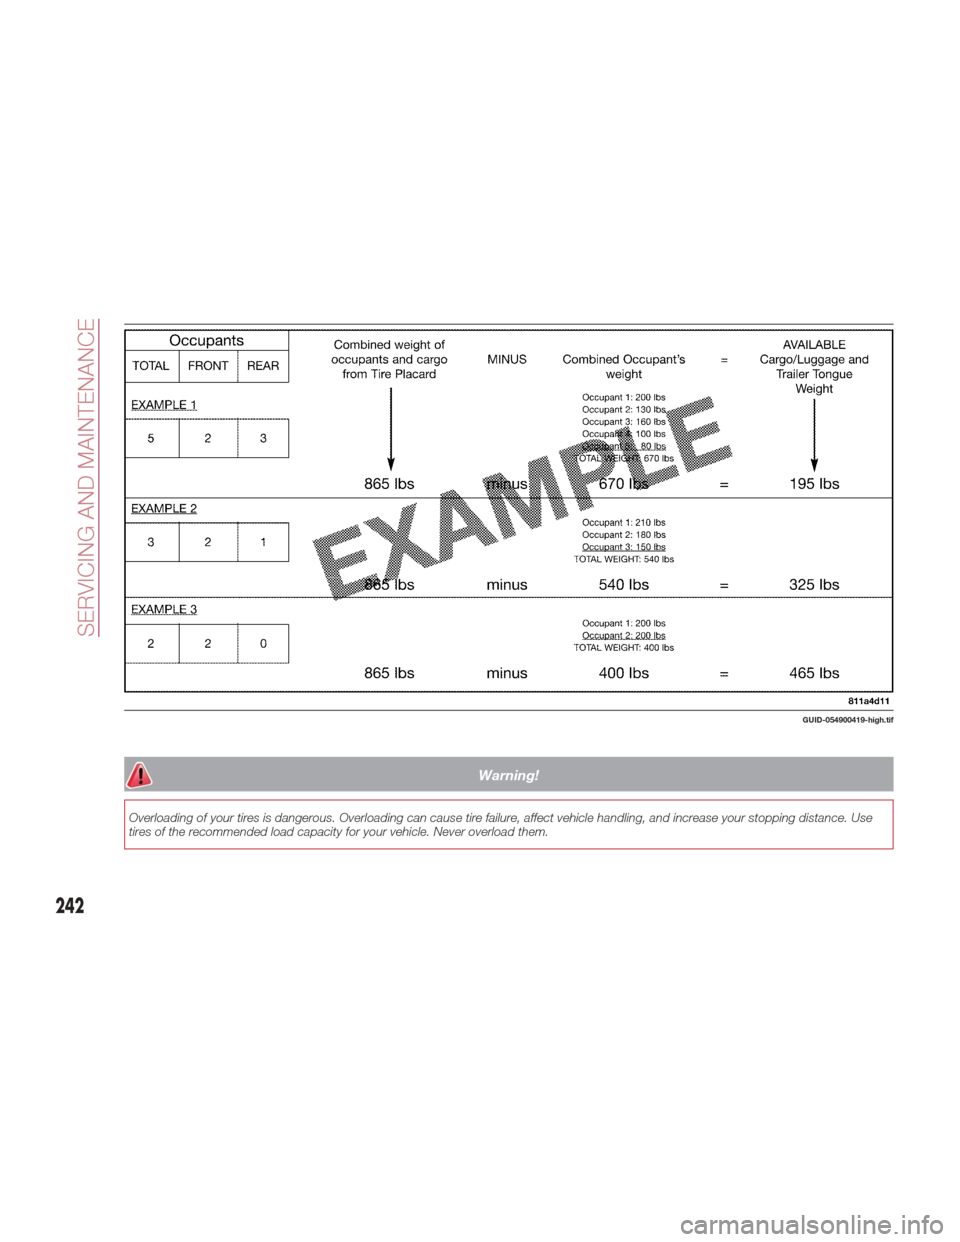
To determine the maximum loading
conditions of your vehicle, locate the
statement “The combined weight of
occupants and cargo should never
exceed XXX kg or XXX lbs” on the Tire
and Loading Information placard. The
combined weight of occupants,
cargo/luggage and trailer tongue weight
(if applicable) should never exceed the
weight referenced here.
GUID-0806092796USExample Tire Placard Location (Door)
GUID-0806092795USExample Tire Placard Location(B-Pillar)
GUID-054900418-high.tifTire And Loading InformationPlacard
240
SERVICING AND MAINTENANCE
Page 244 of 292

Warning!
Overloading of your tires is dangerous. Overloading can cause tire failure, affect vehicle handling, and increase your stopping distance. Use
tires of the recommended load capacity for your vehicle. Never overload them.
GUID-054900419-high.tif
242
SERVICING AND MAINTENANCE