Page 179 of 530
low beams to high beams. Pulling back to the neutral
position returns the headlights to the low beam operation.
Flash-To-Pass
You can signal another vehicle with your headlights by
lightly pulling the multifunction lever toward you. This
will cause the headlights to turn on at high beam and
remain on until the lever is released.
Battery Protection
This feature provides battery protection to avoid wearing
down the battery if the headlights, parking lights, or front
fog lights are left on for extended periods of time when the
ignition switch is in the LOCK position. After eight min-
utes of the ignition switch being in the LOCK position and
the headlight switch in any position other than OFF or
AUTO, the lights will turn off automatically until the next
cycle of the ignition switch or headlight switch.
The battery protection feature will be disabled if the
ignition switch is turned to any other position other than
LOCK during the eight minute delay.
WINDSHIELD WIPER AND WASHERS
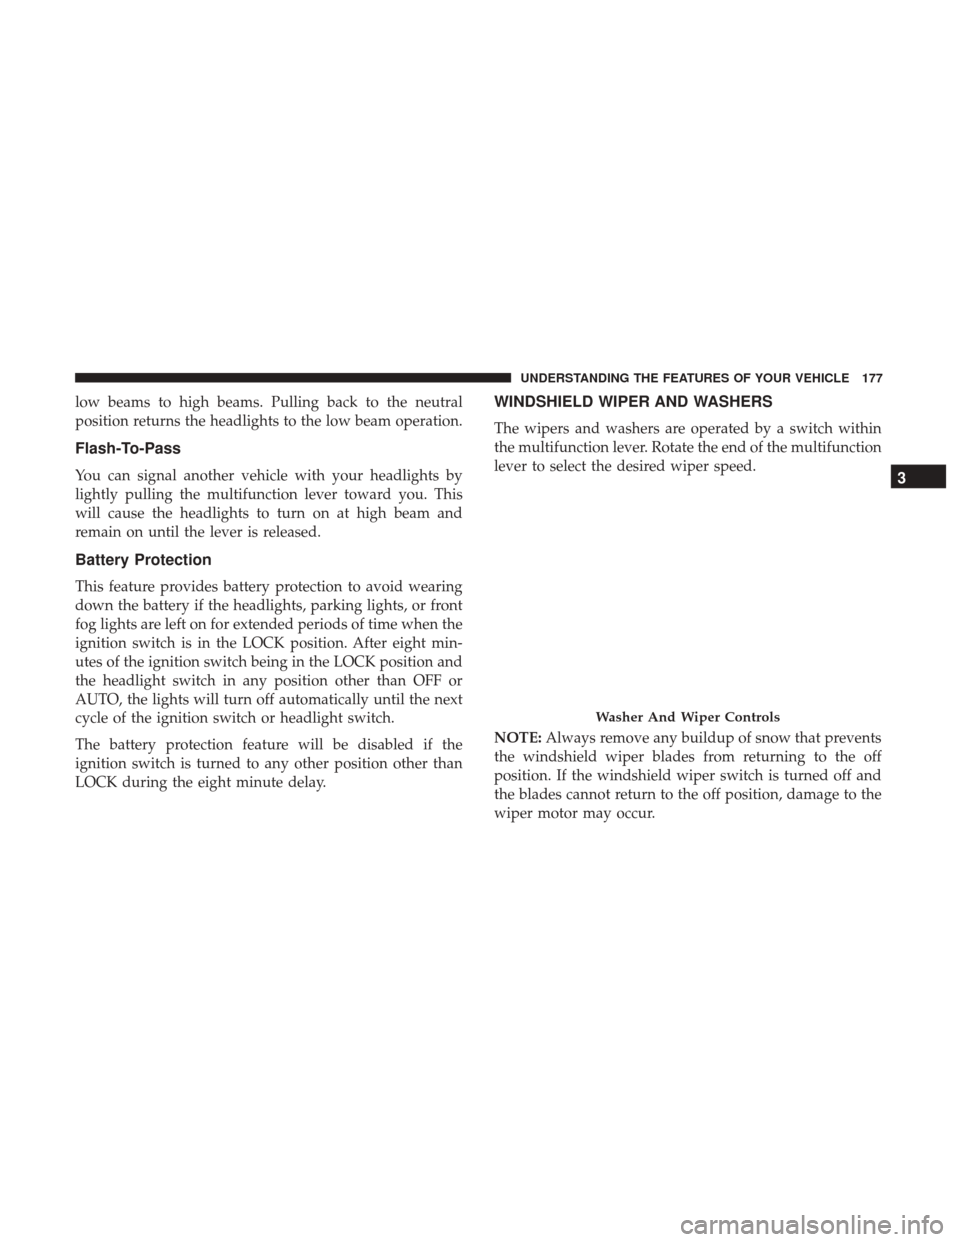
The wipers and washers are operated by a switch within
the multifunction lever. Rotate the end of the multifunction
lever to select the desired wiper speed.
NOTE:Always remove any buildup of snow that prevents
the windshield wiper blades from returning to the off
position. If the windshield wiper switch is turned off and
the blades cannot return to the off position, damage to the
wiper motor may occur.
Washer And Wiper Controls
3
UNDERSTANDING THE FEATURES OF YOUR VEHICLE 177
Page 195 of 530
WARNING!
Drivers must be careful when backing up even when
using the ParkView Rear Back Up Camera. Always
check carefully behind your vehicle, and be sure to
check for pedestrians, animals, other vehicles, obstruc-
tions, or blind spots before backing up. You are re-
sponsible for the safety of your surroundings and must
continue to pay attention while backing up. Failure to
do so can result in serious injury or death.
CAUTION!
•To avoid vehicle damage, ParkView should only be
used as a parking aid. The ParkView camera is
unable to view every obstacle or object in your drive
path.
• To avoid vehicle damage, the vehicle must be driven
slowly when using ParkView to be able to stop in
time when an obstacle is seen. It is recommended
that the driver look frequently over his/her shoulder
when using ParkView. NOTE:
If snow, ice, mud, or any foreign substance builds
up on the camera lens, clean the lens, rinse with water, and
dry with a soft cloth. Do not cover the lens.
OVERHEAD CONSOLES
Front Overhead Console
Two versions of the overhead console are available. The
base front overhead console model featured fixed incan-
descent courtesy/reading lights, flip-down sunglass stor-
age and conversation mirror. The premium front overhead
console model features a LED focused light that illumi-
nates the instrument panel cupholders, two swiveling LED
lights, flip-down sunglass storage, conversation mirror,
optional power sliding door switches and an optional
power liftgate switch.
3
UNDERSTANDING THE FEATURES OF YOUR VEHICLE 193
Page 196 of 530
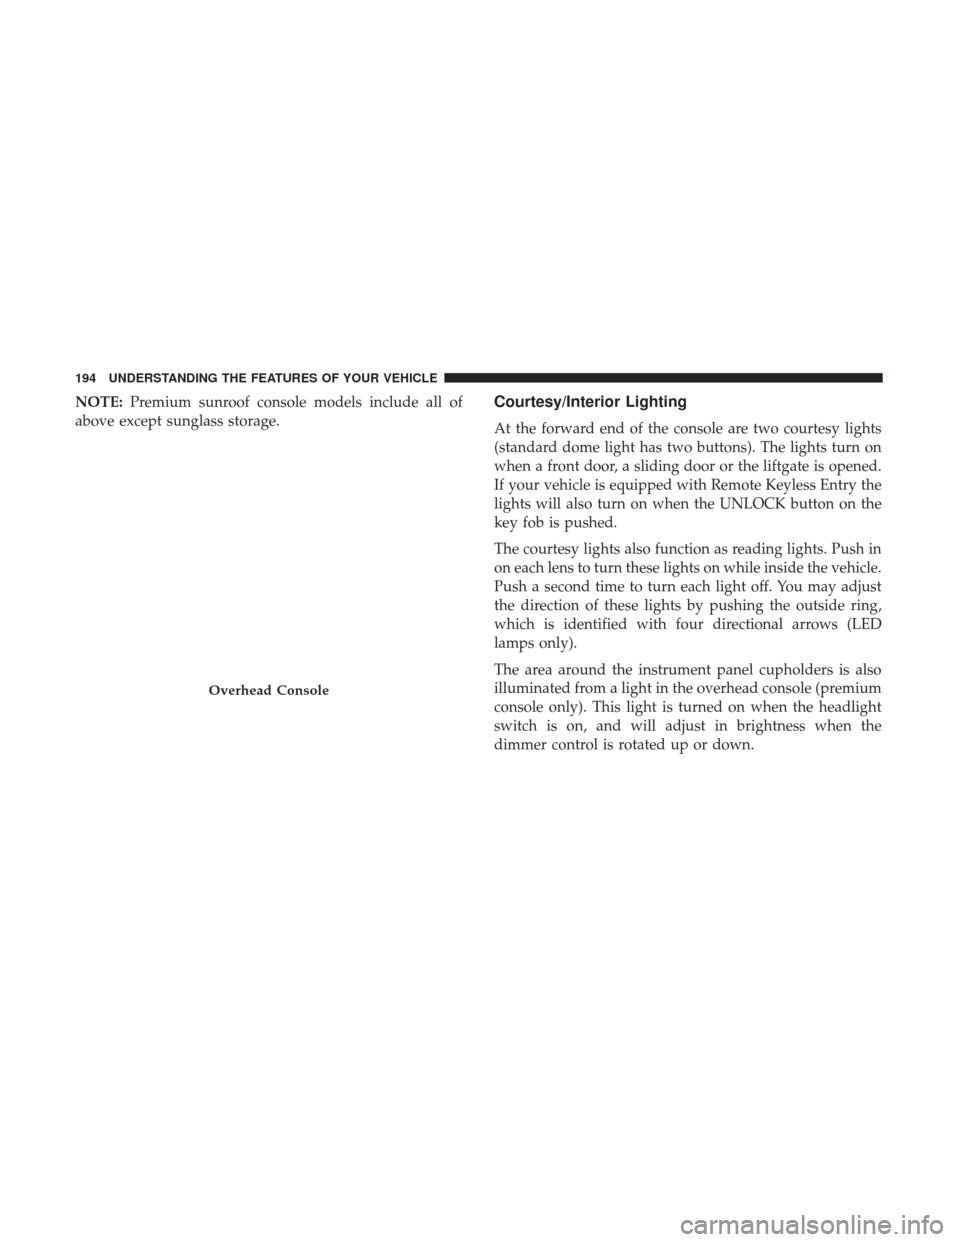
NOTE:Premium sunroof console models include all of
above except sunglass storage.Courtesy/Interior Lighting
At the forward end of the console are two courtesy lights
(standard dome light has two buttons). The lights turn on
when a front door, a sliding door or the liftgate is opened.
If your vehicle is equipped with Remote Keyless Entry the
lights will also turn on when the UNLOCK button on the
key fob is pushed.
The courtesy lights also function as reading lights. Push in
on each lens to turn these lights on while inside the vehicle.
Push a second time to turn each light off. You may adjust
the direction of these lights by pushing the outside ring,
which is identified with four directional arrows (LED
lamps only).
The area around the instrument panel cupholders is also
illuminated from a light in the overhead console (premium
console only). This light is turned on when the headlight
switch is on, and will adjust in brightness when the
dimmer control is rotated up or down.
Overhead Console
194 UNDERSTANDING THE FEATURES OF YOUR VEHICLE
Page 198 of 530
NOTE:From the “conversation mirror” position, the door
can only be closed.
To return to the full open position, the door must first be
closed and then opened by pushing the latch again to
release.
Rear Courtesy/Reading Lights — If Equipped
The overhead console has two sets of courtesy lights. The
lights turn on when a front door, a sliding door or the
liftgate is opened. If your vehicle is equipped with Remote
Keyless Entry the lights will also turn on when the
UNLOCK button on the key fob is pushed.
The courtesy lights also function as reading lights. Push in
on each lens to turn these lights on while inside the vehicle.
Push the lens a second time to turn each light off. You may
adjust the direction of these lights by pushing the outside
ring, which is identified with four directional arrows.
Conversation Mirror Position
Reading Lights
196 UNDERSTANDING THE FEATURES OF YOUR VEHICLE
Page 199 of 530
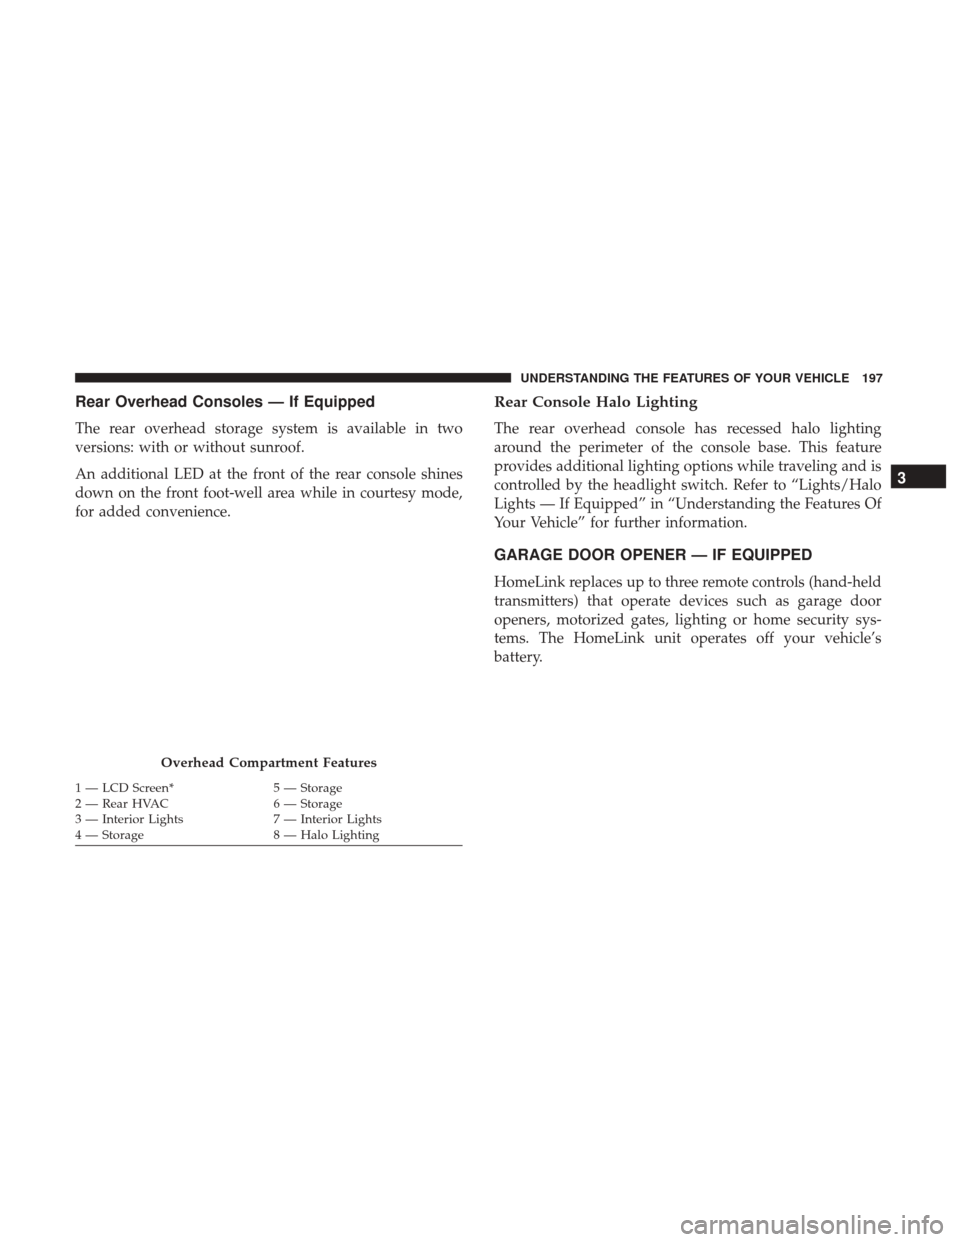
Rear Overhead Consoles — If Equipped
The rear overhead storage system is available in two
versions: with or without sunroof.
An additional LED at the front of the rear console shines
down on the front foot-well area while in courtesy mode,
for added convenience.
Rear Console Halo Lighting
The rear overhead console has recessed halo lighting
around the perimeter of the console base. This feature
provides additional lighting options while traveling and is
controlled by the headlight switch. Refer to “Lights/Halo
Lights — If Equipped” in “Understanding the Features Of
Your Vehicle” for further information.
GARAGE DOOR OPENER — IF EQUIPPED
HomeLink replaces up to three remote controls (hand-held
transmitters) that operate devices such as garage door
openers, motorized gates, lighting or home security sys-
tems. The HomeLink unit operates off your vehicle’s
battery.
Overhead Compartment Features
1 — LCD Screen*5 — Storage
2 — Rear HVAC 6 — Storage
3 — Interior Lights 7 — Interior Lights
4 — Storage 8 — Halo Lighting
3
UNDERSTANDING THE FEATURES OF YOUR VEHICLE 197
Page 211 of 530

WARNING!
To avoid serious injury or death:
•Only devices designed for use in this type of outlet
should be inserted into any 12 Volt outlet.
• Do not touch with wet hands.
• Close the lid when not in use and while driving the
vehicle.
• If this outlet is mishandled, it may cause an electric
shock and failure.
CAUTION!
•Many accessories that can be plugged in draw power
from the vehicle’s battery, even when not in use (i.e.,
cellular phones, etc.). Eventually, if plugged in long
enough, the vehicle’s battery will discharge suffi-
ciently to degrade battery life and/or prevent the
engine from starting.
• Accessories that draw higher power (i.e., coolers,
vacuum cleaners, lights, etc.), will degrade the bat-
tery even more quickly. Only use these intermit-
tently and with greater caution.
(Continued)
Power Outlet Fuses
1 — M7 Fuse 20 A Yellow Power Outlet Center Seat (Opt) or with
Console Rear
2 — M6 Fuse 20 A Yellow Cigar Lighter Instrument Panel or with
Console Front
3 — M36 Fuse 20 A Yellow Power Outlet Instrument Panel or with
Console Center
3
UNDERSTANDING THE FEATURES OF YOUR VEHICLE 209
Page 226 of 530
NOTE:The front cupholder light ring and pass through
lighting is controlled by a dimming switch located on the
instrument panel, refer to “Lights” in “Understanding The
Features Of Your Vehicle” for further information.
Located in the back of the Super Console is a storage
drawer and cupholders for the rear passengers.
REAR WINDOW FEATURES
Rear Window Defroster
The rear window defroster button is located on the
climate control (Mode) knob. Push this button to
turn on the rear window defroster and the heated outside
mirrors (if equipped). An indicator in the button will
illuminate when the rear window defroster is on. The rear
window defroster automatically turns off after approxi-
mately 10 minutes. For an additional five minutes of
operation, push the button a second time.
Super Console
1 — Front Sliding Tambour Door
2 — Cupholder Light Ring
3 — Rear Sliding Tambour Door
Rear Drawer Storage
224 UNDERSTANDING THE FEATURES OF YOUR VEHICLE
Page 235 of 530
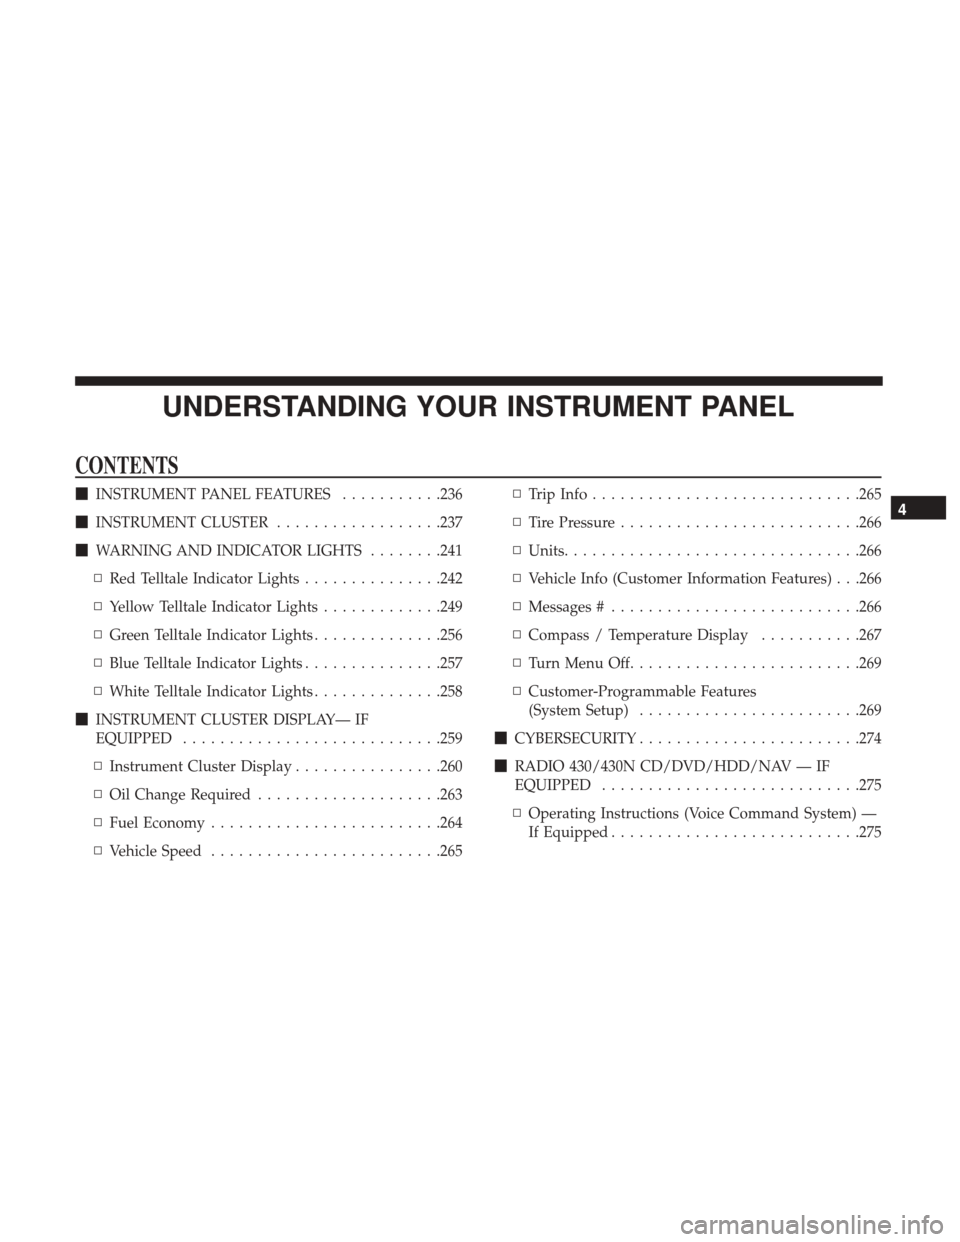
UNDERSTANDING YOUR INSTRUMENT PANEL
CONTENTS
�INSTRUMENT PANEL FEATURES ...........236
� INSTRUMENT CLUSTER ..................237
� WARNING AND INDICATOR LIGHTS ........241
▫ Red Telltale Indicator Lights ...............242
▫ Yellow Telltale Indicator Lights .............249
▫ Green Telltale Indicator Lights ..............256
▫ Blue Telltale Indicator Lights ...............257
▫ White Telltale Indicator Lights ..............258
� INSTRUMENT CLUSTER DISPLAY— IF
EQUIPPED ............................259
▫ Instrument Cluster Display ................260
▫ Oil Change Required ....................263
▫ Fuel Economy ........................ .264
▫ Vehicle Speed ........................ .265▫
Trip Info ............................ .265
▫ Tire Pressure ..........................266
▫ Units ............................... .266
▫ Vehicle Info (Customer Information Features) . . .266
▫ Messages # .......................... .266
▫ Compass / Temperature Display ...........267
▫ Turn Menu Off ........................ .269
▫ Customer-Programmable Features
(System Setup) ........................269
� CYBERSECURITY ........................274
� RADIO 430/430N CD/DVD/HDD/NAV — IF
EQUIPPED ............................275
▫ Operating Instructions (Voice Command System) —
If Equipped .......................... .2754