2017 DODGE GRAND CARAVAN inflation pressure
[x] Cancel search: inflation pressurePage 393 of 530
WARNING!
The traction grade assigned to this tire is based on
straight-ahead braking traction tests, and does not
include acceleration, cornering, hydroplaning, or peak
traction characteristics.
Temperature Grades
The temperature grades are A (the highest), B, and C,
representing the tire’s resistance to the generation of heat
and its ability to dissipate heat, when tested under con-
trolled conditions on a specified indoor laboratory test
wheel. Sustained high temperature can cause the material
of the tire to degenerate and reduce tire life, and excessive
temperature can lead to sudden tire failure. The grade C
corresponds to a level of performance, which all passenger
vehicle tires must meet under the Federal Motor Vehicle
Safety Standard No. 109. Grades B and A represent higher
levels of performance on the laboratory test wheel, than the
minimum required by law.
WARNING!
The temperature grade for this tire is established for a
tire that is properly inflated and not overloaded. Ex-
cessive speed, under-inflation, or excessive loading,
either separately or in combination, can cause heat
buildup and possible tire failure.
TIRE PRESSURE MONITOR SYSTEM (TPMS)
The TPMS will warn the driver of a low tire pressure based
on the cold inflation tire placard pressure requirements
found on the tire placard label located on the driver’s-side
B-Pillar.
The tire pressure will vary with temperature by about 1 psi
(7 kPa) for every 12°F (6.5°C). This means that when the
outside temperature decreases, the tire pressure will de-
crease. Tire pressure should always be set based on cold
inflation tire pressure. This is defined as the tire pressure
after the vehicle has not been driven for at least three
hours, or driven less than 1 mile (1.6 km) after a three hour
period. The cold tire inflation pressure must not exceed the
maximum inflation pressure molded into the tire sidewall.
Refer to “Tires – General Information” in “Starting And
Operating” for information on how to properly inflate the
5
STARTING AND OPERATING 391
Page 395 of 530

CAUTION!(Continued)
equipped on your vehicle. Undesirable system op-
eration or sensor damage may result when using
replacement equipment that is not of the same size,
type, and/or style. Aftermarket wheels can cause
sensor damage. Using aftermarket tire sealants may
cause the Tire Pressure Monitoring System (TPMS)
sensor to become inoperable. After using an after-
market tire sealant it is recommended that you take
your vehicle to an authorized dealership to have your
sensor function checked.
• After inspecting or adjusting the tire pressure always
reinstall the valve stem cap. This will prevent mois-
ture and dirt from entering the valve stem, which
could damage the TPMS sensor.
NOTE:
• The TPMS is not intended to replace normal tire care and
maintenance, or to provide warning of a tire failure or
condition.
• The TPMS should not be used as a tire pressure gauge
while adjusting your tire pressure. •
Driving on a significantly under-inflated tire causes the
tire to overheat and can lead to tire failure. Under-
inflation also reduces fuel efficiency and tire tread life,
and may affect the vehicle’s handling and stopping
ability.
• The TPMS is not a substitute for proper tire mainte-
nance, and it is the driver’s responsibility to maintain
correct tire pressure, using an accurate tire pressure
gage, even if under-inflation has not reached the level to
trigger illumination of the “Tire Pressure Monitoring
Telltale Light.”
• Seasonal temperature changes will affect tire pressure,
and the TPMS will monitor the actual tire pressure in the
tire.
Base System
The TPMS uses wireless technology with wheel rim
mounted electronic sensors to monitor tire pressure levels.
Sensors, mounted to each wheel as part of the valve stem,
transmit tire pressure readings to the Receiver Module.
NOTE: It is particularly important for you to check the tire
pressure in all of your tires regularly and to maintain the
proper pressure.
5
STARTING AND OPERATING 393
Page 396 of 530

The Basic TPMS consists of the following components:
•Receiver Module
• Four Tire Pressure Monitoring Sensors
• TPMS Telltale Warning Light
Tire Pressure Monitoring Low Tire Pressure
Warnings
The “Tire Pressure Monitoring Telltale Light”
will illuminate in the instrument cluster, a “LOW
TIRE PRESSURE” message will display in the
instrument cluster, and an audible chime will be
activated when one or more of the four active road tire
pressures are low. Should this occur, you should stop as
soon as possible, check the inflation pressure of each tire on
your vehicle, and inflate each tire to the vehicle’s recom-
mended cold tire placard pressure value (located on the
placard label on the driver’s-side B-Pillar).
NOTE: When filling warm tires, the tire pressure may
need to be increased up to an additional 4 psi (30 kPa)
above the recommended cold placard pressure in order to
turn the Tire Pressure Monitoring Telltale Light off. The system will automatically update and the “Tire Pres-
sure Monitoring Telltale Light” will extinguish once the
updated tire pressures have been received.
NOTE:
The vehicle may need to be driven for up to 20
minutes above 15 mph (24 km/h) to receive this informa-
tion.
SERVICE TPM SYSTEM
The “Tire Pressure Monitoring Telltale Light” will flash on
and off for 75 seconds, and remain on solid when a system
fault is detected. The system fault will also sound a chime.
If the ignition switch is cycled, this sequence will repeat,
providing the system fault still exists. The “Tire Pressure
Monitoring Telltale Light” will turn off when the fault
condition no longer exists. A system fault can occur with
any of the following scenarios:
• Jamming due to electronic devices or driving next to
facilities emitting the same radio frequencies as the
TPMS sensors.
• Installing some form of aftermarket window tinting that
affects radio wave signals.
• Accumulation of excessive snow and/or ice around the
wheels or wheel housings.
394 STARTING AND OPERATING
Page 409 of 530
•Vehicle Identification Number (VIN)
• Type of vehicle
• Month Day and Hour of Manufacture (MDH)
The bar code allows a computer scanner to read the VIN.
Gross Vehicle Weight Rating (GVWR)
The GVWR is the total allowable weight of your vehicle.
This includes driver, passengers, and cargo. The total load
must be limited so that you do not exceed the GVWR.
Gross Axle Weight Rating (GAWR)
The GAWR is the maximum capacity of the front and rear
axles. Distribute the load over the front and rear axles
evenly. Make sure that you do not exceed either front or
rear GAWR.
WARNING!
Because the front wheels steer the vehicle, it is impor-
tant that you do not exceed the maximum front or rear
GAWR. A dangerous driving condition can result if
either rating is exceeded. You could lose control of the
vehicle and have a collision.
Tire Size
The tire size on the Vehicle Certification Label represents
the actual tire size on your vehicle. Replacement tires must
be equal to the load capacity of this tire size.
Rim Size
This is the rim size that is appropriate for the tire size
listed.
Inflation Pressure
This is the cold tire inflation pressure for your vehicle for
all loading conditions up to full GAWR.
Curb Weight
The curb weight of a vehicle is defined as the total weight
of the vehicle with all fluids, including vehicle fuel, at full
capacity conditions, and with no occupants or cargo loaded
into the vehicle. The front and rear curb weight values are
determined by weighing your vehicle on a commercial
scale before any occupants or cargo are added.
5
STARTING AND OPERATING 407
Page 417 of 530
Towing Requirements — Tires
•Do not attempt to tow a trailer while using a compact
spare tire.
• Proper tire inflation pressures are essential to the safe
and satisfactory operation of your vehicle. Refer to
“Tires – General Information” in “Starting And Operat-
ing” for proper tire inflation procedures.
• Check the trailer tires for proper tire inflation pressures
before trailer usage.
• Check for signs of tire wear or visible tire damage before
towing a trailer. Refer to “Tires – General Information”
in “Starting And Operating” for the proper inspection
procedure.
• When replacing tires, refer to “Tires – General Informa-
tion” in “Starting And Operating” for the proper tire
replacement procedures. Replacing tires with a higher
load carrying capacity will not increase the vehicle’s
GVWR and GAWR limits.
Towing Requirements — Trailer Brakes
•Do not interconnect the hydraulic brake system or
vacuum system of your vehicle with that of the trailer.
This could cause inadequate braking and possible per-
sonal injury.
• An electronically actuated trailer brake controller is
required when towing a trailer with electronically actu-
ated brakes. When towing a trailer equipped with a
hydraulic surge actuated brake system, an electronic
brake controller is not required.
• Trailer brakes are recommended for trailers over
1,000 lbs (453 kg) and required for trailers in excess of
2,000 lbs (907 kg).
WARNING!
•Do not connect trailer brakes to your vehicle’s hy-
draulic brake lines. It can overload your brake sys-
tem and cause it to fail. You might not have brakes
when you need them and could have a collision.
• Towing any trailer will increase your stopping dis-
tance. When towing you should allow for additional
space between your vehicle and the vehicle in front
of you. Failure to do so could result in a collision.
5
STARTING AND OPERATING 415
Page 431 of 530
2. The pump will start to inject air into the tire immedi-ately after the Sealant Bottle (1) is empty. Continue to
operate the pump and inflate the tire to the pressure
indicated on the tire pressure label on the driver-side
latch pillar (recommended pressure). Check the tire
pressure by looking at the Pressure Gauge (3).
If the tire does not inflate to at least 26 psi (1.8 Bar)
pressure within 15 minutes:
• The tire is too badly damaged. Do not attempt to drive
the vehicle further. Call for assistance.
NOTE: If the tire becomes over-inflated, push the Defla-
tion Button to reduce the tire pressure to the recommended
inflation pressure before continuing.
If the tire inflates to the recommended pressure or is at
least 26 psi (1.8 Bar) pressure within 15 minutes:
1. Push the Power Button (4) to turn off the Tire Service Kit.
2. Remove the Speed Limit sticker from the top of the Sealant Bottle (1) and place the sticker on the instrument
panel. 3. Immediately disconnect the Sealant Hose (6) from the
valve stem, reinstall the cap on the fitting at the end of
the hose, and place the Tire Service Kit in the vehicle
storage location. Quickly proceed to (D) “Drive Ve-
hicle.”
CAUTION!
•The metal end fitting from Power Plug (8) may get
hot after use, so it should be handled carefully.
• Failure to reinstall the cap on the fitting at the end of
the Sealant Hose (6) can result in sealant contacting
your skin, clothing, and the vehicle’s interior. It can
also result in sealant contacting internal Tire Service
Kit components which may cause permanent damage
to the kit.
(D) Drive Vehicle:
Immediately after injecting sealant and inflating the tire,
drive the vehicle 5 miles (8 km) or 10 minutes to ensure
distribution of the Tire Service Kit Sealant within the tire.
Do not exceed 55 mph (90 km/h).
6
WHAT TO DO IN EMERGENCIES 429
Page 432 of 530
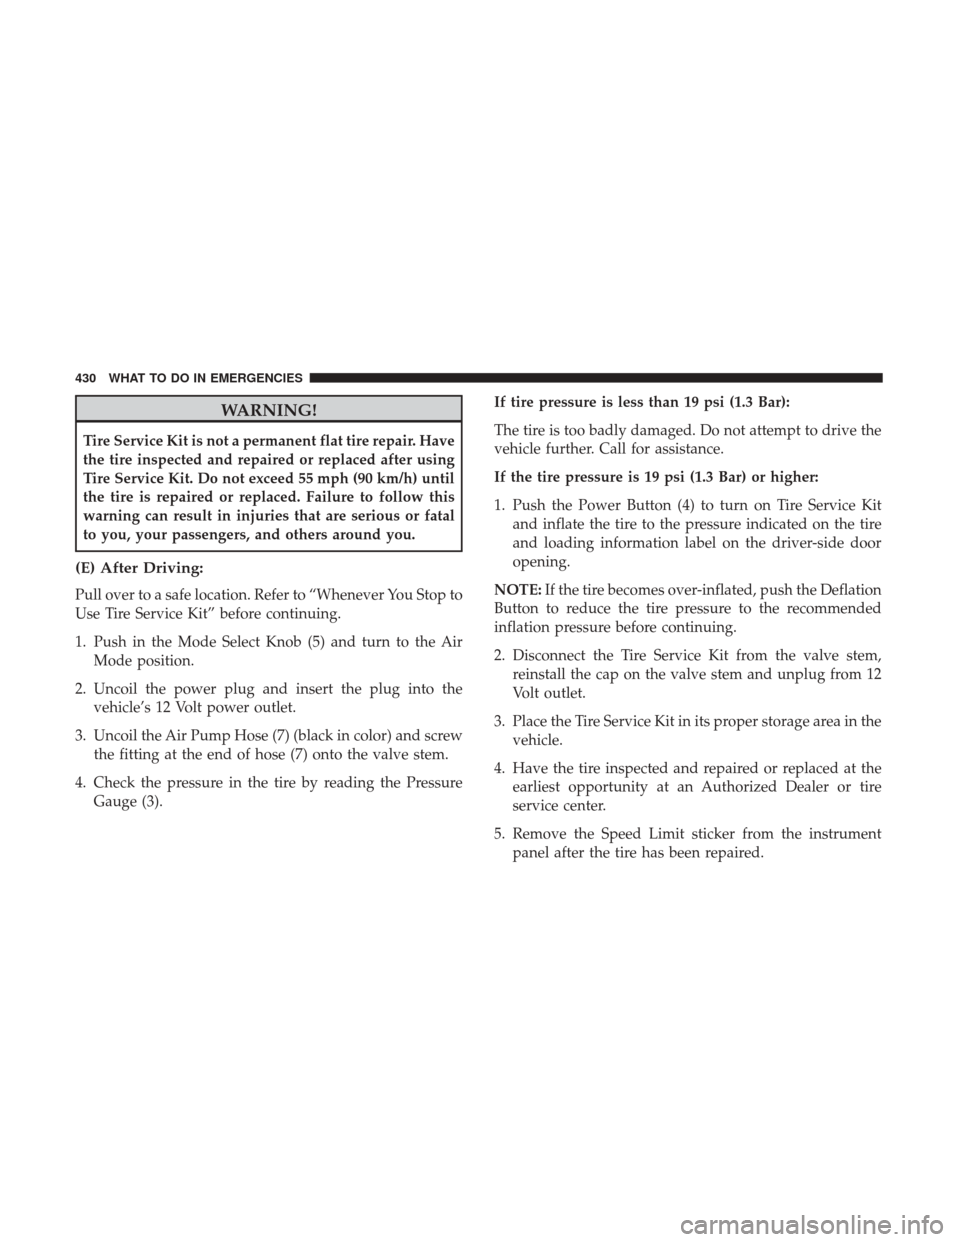
WARNING!
Tire Service Kit is not a permanent flat tire repair. Have
the tire inspected and repaired or replaced after using
Tire Service Kit. Do not exceed 55 mph (90 km/h) until
the tire is repaired or replaced. Failure to follow this
warning can result in injuries that are serious or fatal
to you, your passengers, and others around you.
(E) After Driving:
Pull over to a safe location. Refer to “Whenever You Stop to
Use Tire Service Kit” before continuing.
1. Push in the Mode Select Knob (5) and turn to the AirMode position.
2. Uncoil the power plug and insert the plug into the vehicle’s 12 Volt power outlet.
3. Uncoil the Air Pump Hose (7) (black in color) and screw the fitting at the end of hose (7) onto the valve stem.
4. Check the pressure in the tire by reading the Pressure Gauge (3). If tire pressure is less than 19 psi (1.3 Bar):
The tire is too badly damaged. Do not attempt to drive the
vehicle further. Call for assistance.
If the tire pressure is 19 psi (1.3 Bar) or higher:
1. Push the Power Button (4) to turn on Tire Service Kit
and inflate the tire to the pressure indicated on the tire
and loading information label on the driver-side door
opening.
NOTE: If the tire becomes over-inflated, push the Deflation
Button to reduce the tire pressure to the recommended
inflation pressure before continuing.
2. Disconnect the Tire Service Kit from the valve stem, reinstall the cap on the valve stem and unplug from 12
Volt outlet.
3. Place the Tire Service Kit in its proper storage area in the vehicle.
4. Have the tire inspected and repaired or replaced at the earliest opportunity at an Authorized Dealer or tire
service center.
5. Remove the Speed Limit sticker from the instrument panel after the tire has been repaired.
430 WHAT TO DO IN EMERGENCIES
Page 526 of 530
Starting Procedures........................ .342
Steering Power ............................... .356
Tilt Column ............................180
Wheel, Heated ..........................181
Wheel, Tilt ............................ .180
Steering Wheel Audio Controls .................321
Steering Wheel Mounted Sound System Controls . . . .321
Storage ................................. .490
Storage Bin ...............................214
Storage, Vehicle ........................337, 490
Storing Your Vehicle ........................490
Stow N Go (Fold in Floor) Seats ................151
Sunglasses Storage ..........................195
Sun Roof ............................... .204
Supplemental Restraint System - Air Bag ...........60
Sway Control, Trailer ........................368
Synthetic Engine Oil ........................465
System, Remote Starting ......................23
Telescoping Steering Column ..................180
Temperature Control, Automatic (ATC) ...........329
Tilt Steering Column ........................180
Tire And Loading Information Placard ........374, 375
Tire Markings ............................ .368Tires..........................
.95, 379, 383, 390
Aging (Life Of Tires) ..................... .387
Air Pressure ........................ .374, 379
Chains ............................... .388
Changing ............................. .433
Compact Spare ..........................384
General Information ...................379, 383
High Speed ............................ .381
Inflation Pressures ........................380
Jacking ............................433, 439
Life Of Tires ............................387
Load Capacity .......................374, 376
Pr
essure Monitor System (TPMS) .............391
Pressure Warning Light ....................254
Quality Grading ........................ .390
Radial ............................... .381
Replacement ............................387
Rotation ...............................389
Safety ............................ .368, 379
Sizes .................................370
Snow Tires ............................ .382
Spare Tire .......................383, 385, 434
Spinning ...............................386
Trailer Towing .......................... .415
Tread Wear Indicators .....................386
524 INDEX